
This DIY Nappy Box Castle is a fun activity suitable for a rainy day that uses everyday household items to create a castle big enough for dolls to live in!
You will need:
- Two nappy boxes
- Coloured paper and fabric scraps
- Toilet rolls
- Tissue, muesli bar or similar boxes
- Glue
- Scissors
- Stanley knife
What to do:
Castle:
1. Glue boxes short sides together. Cut down the corners on the back of each box as below.

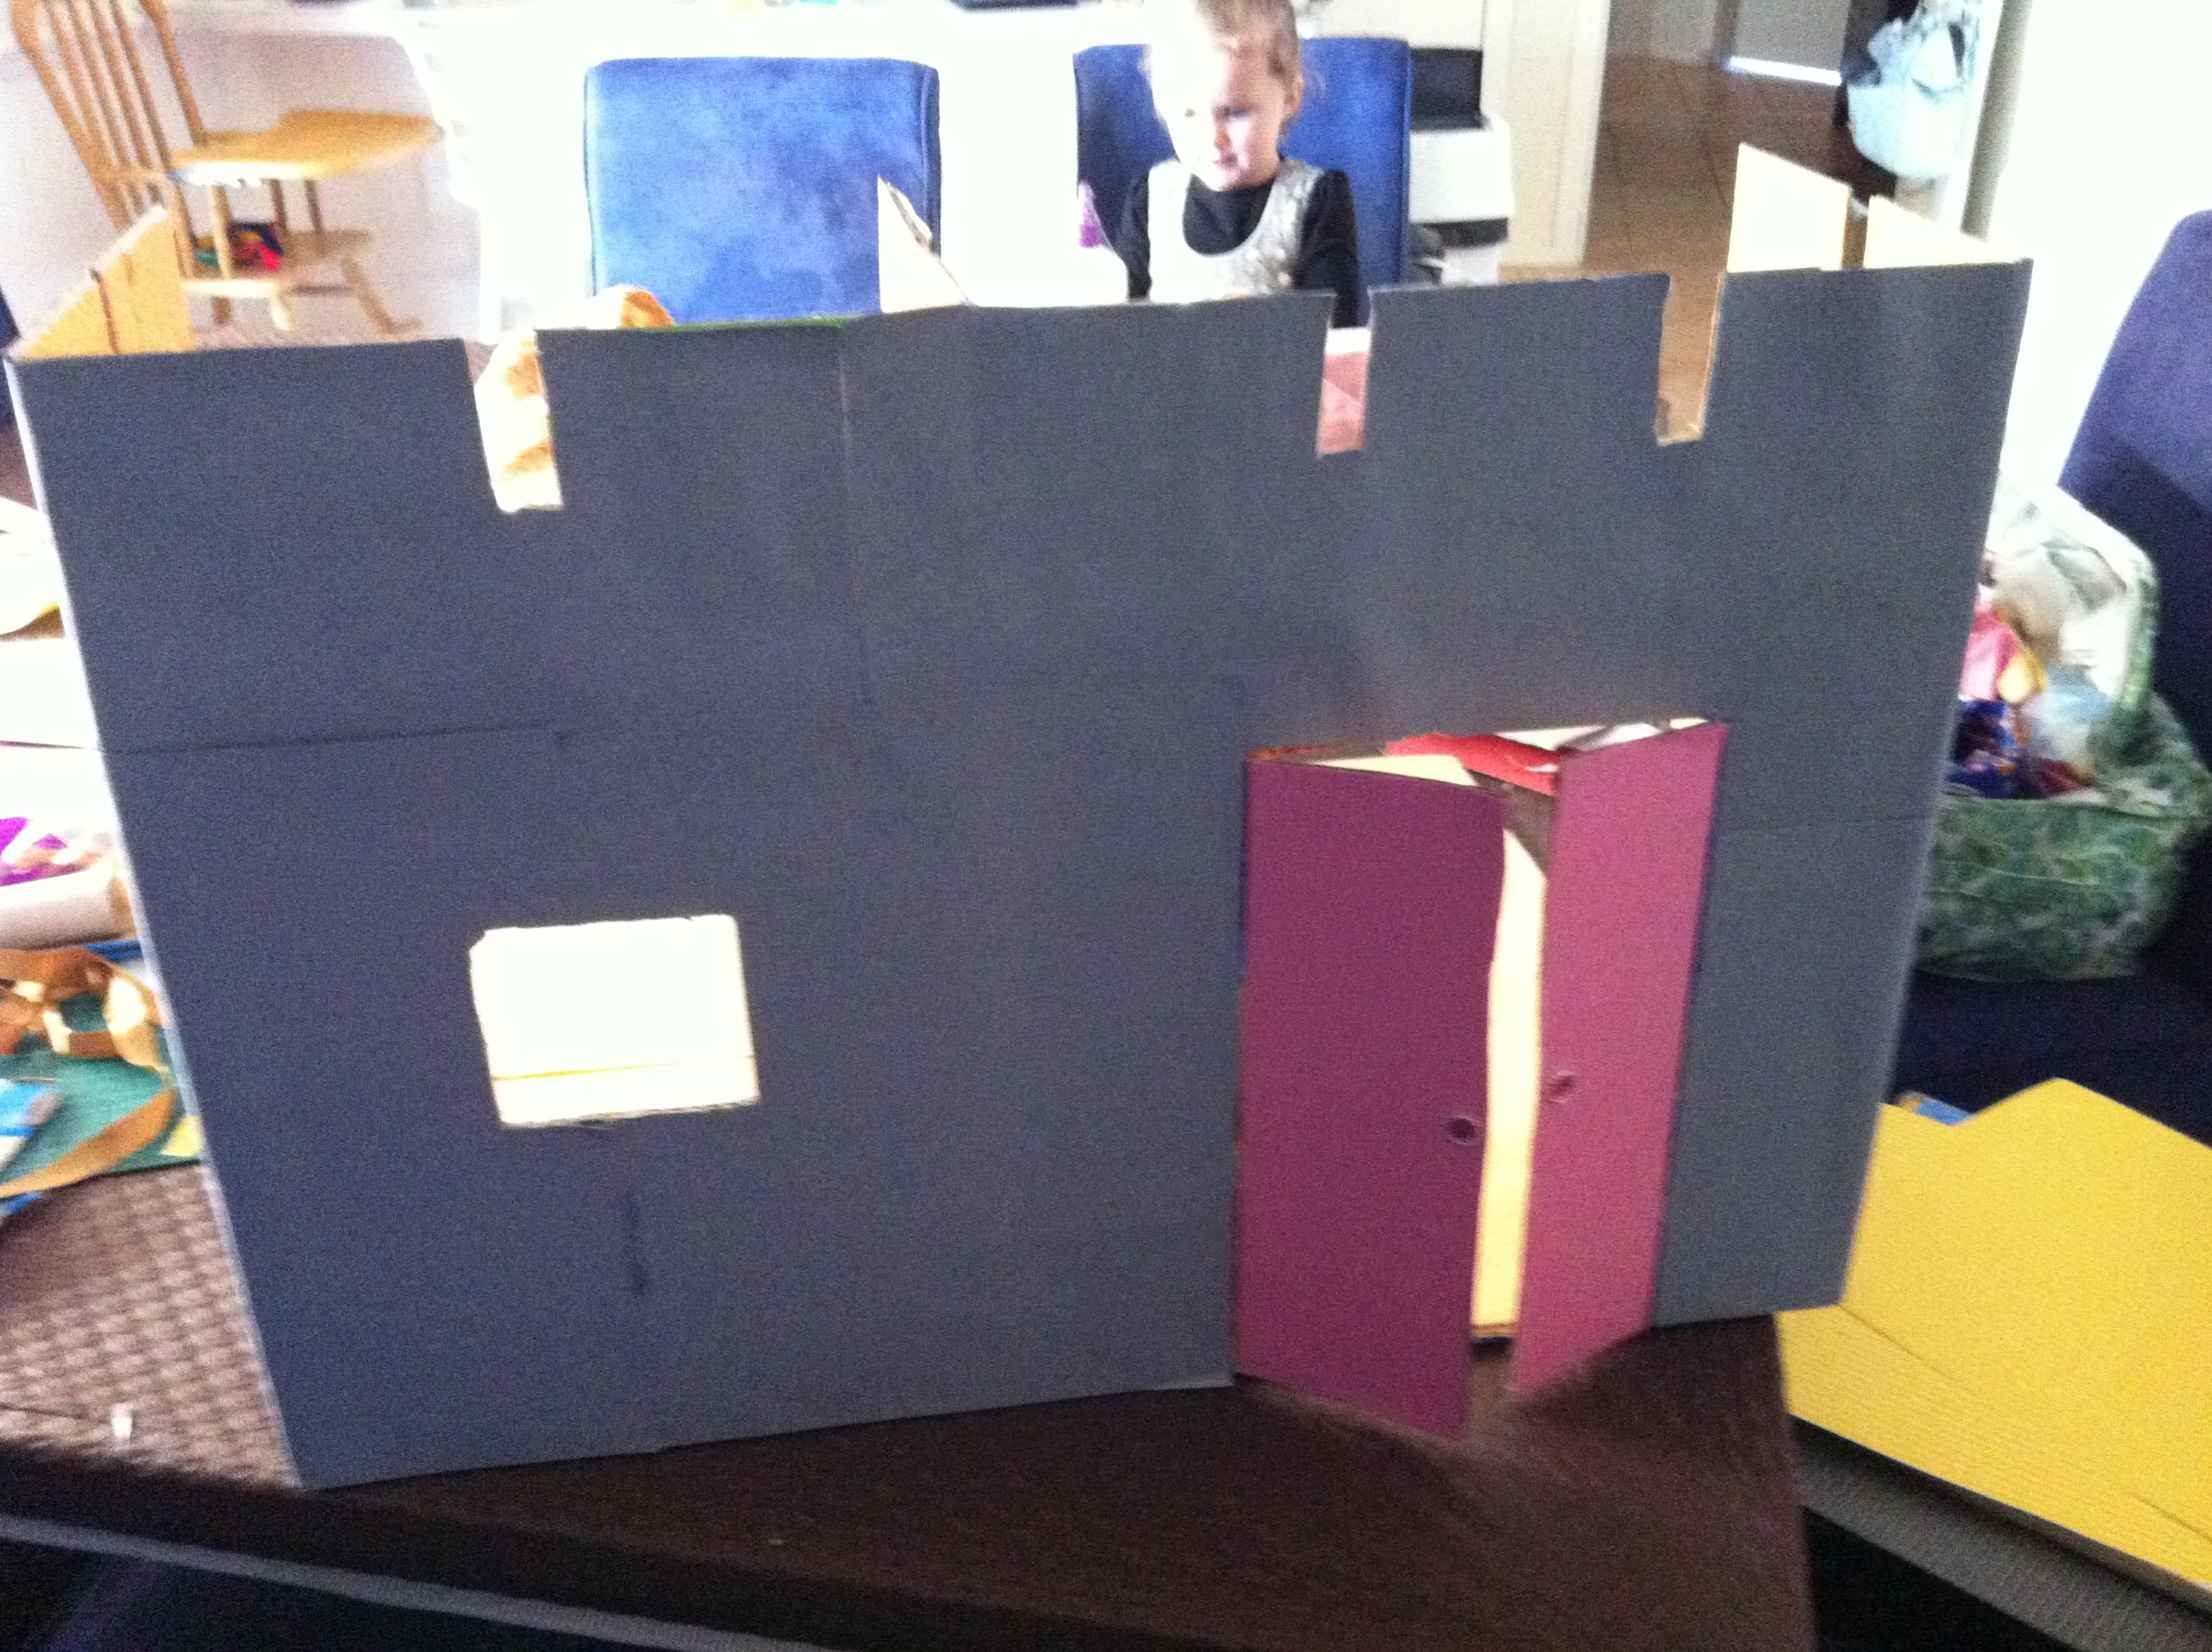
2. Cut small rectangles out along top edge and make window shapes and a door as below.
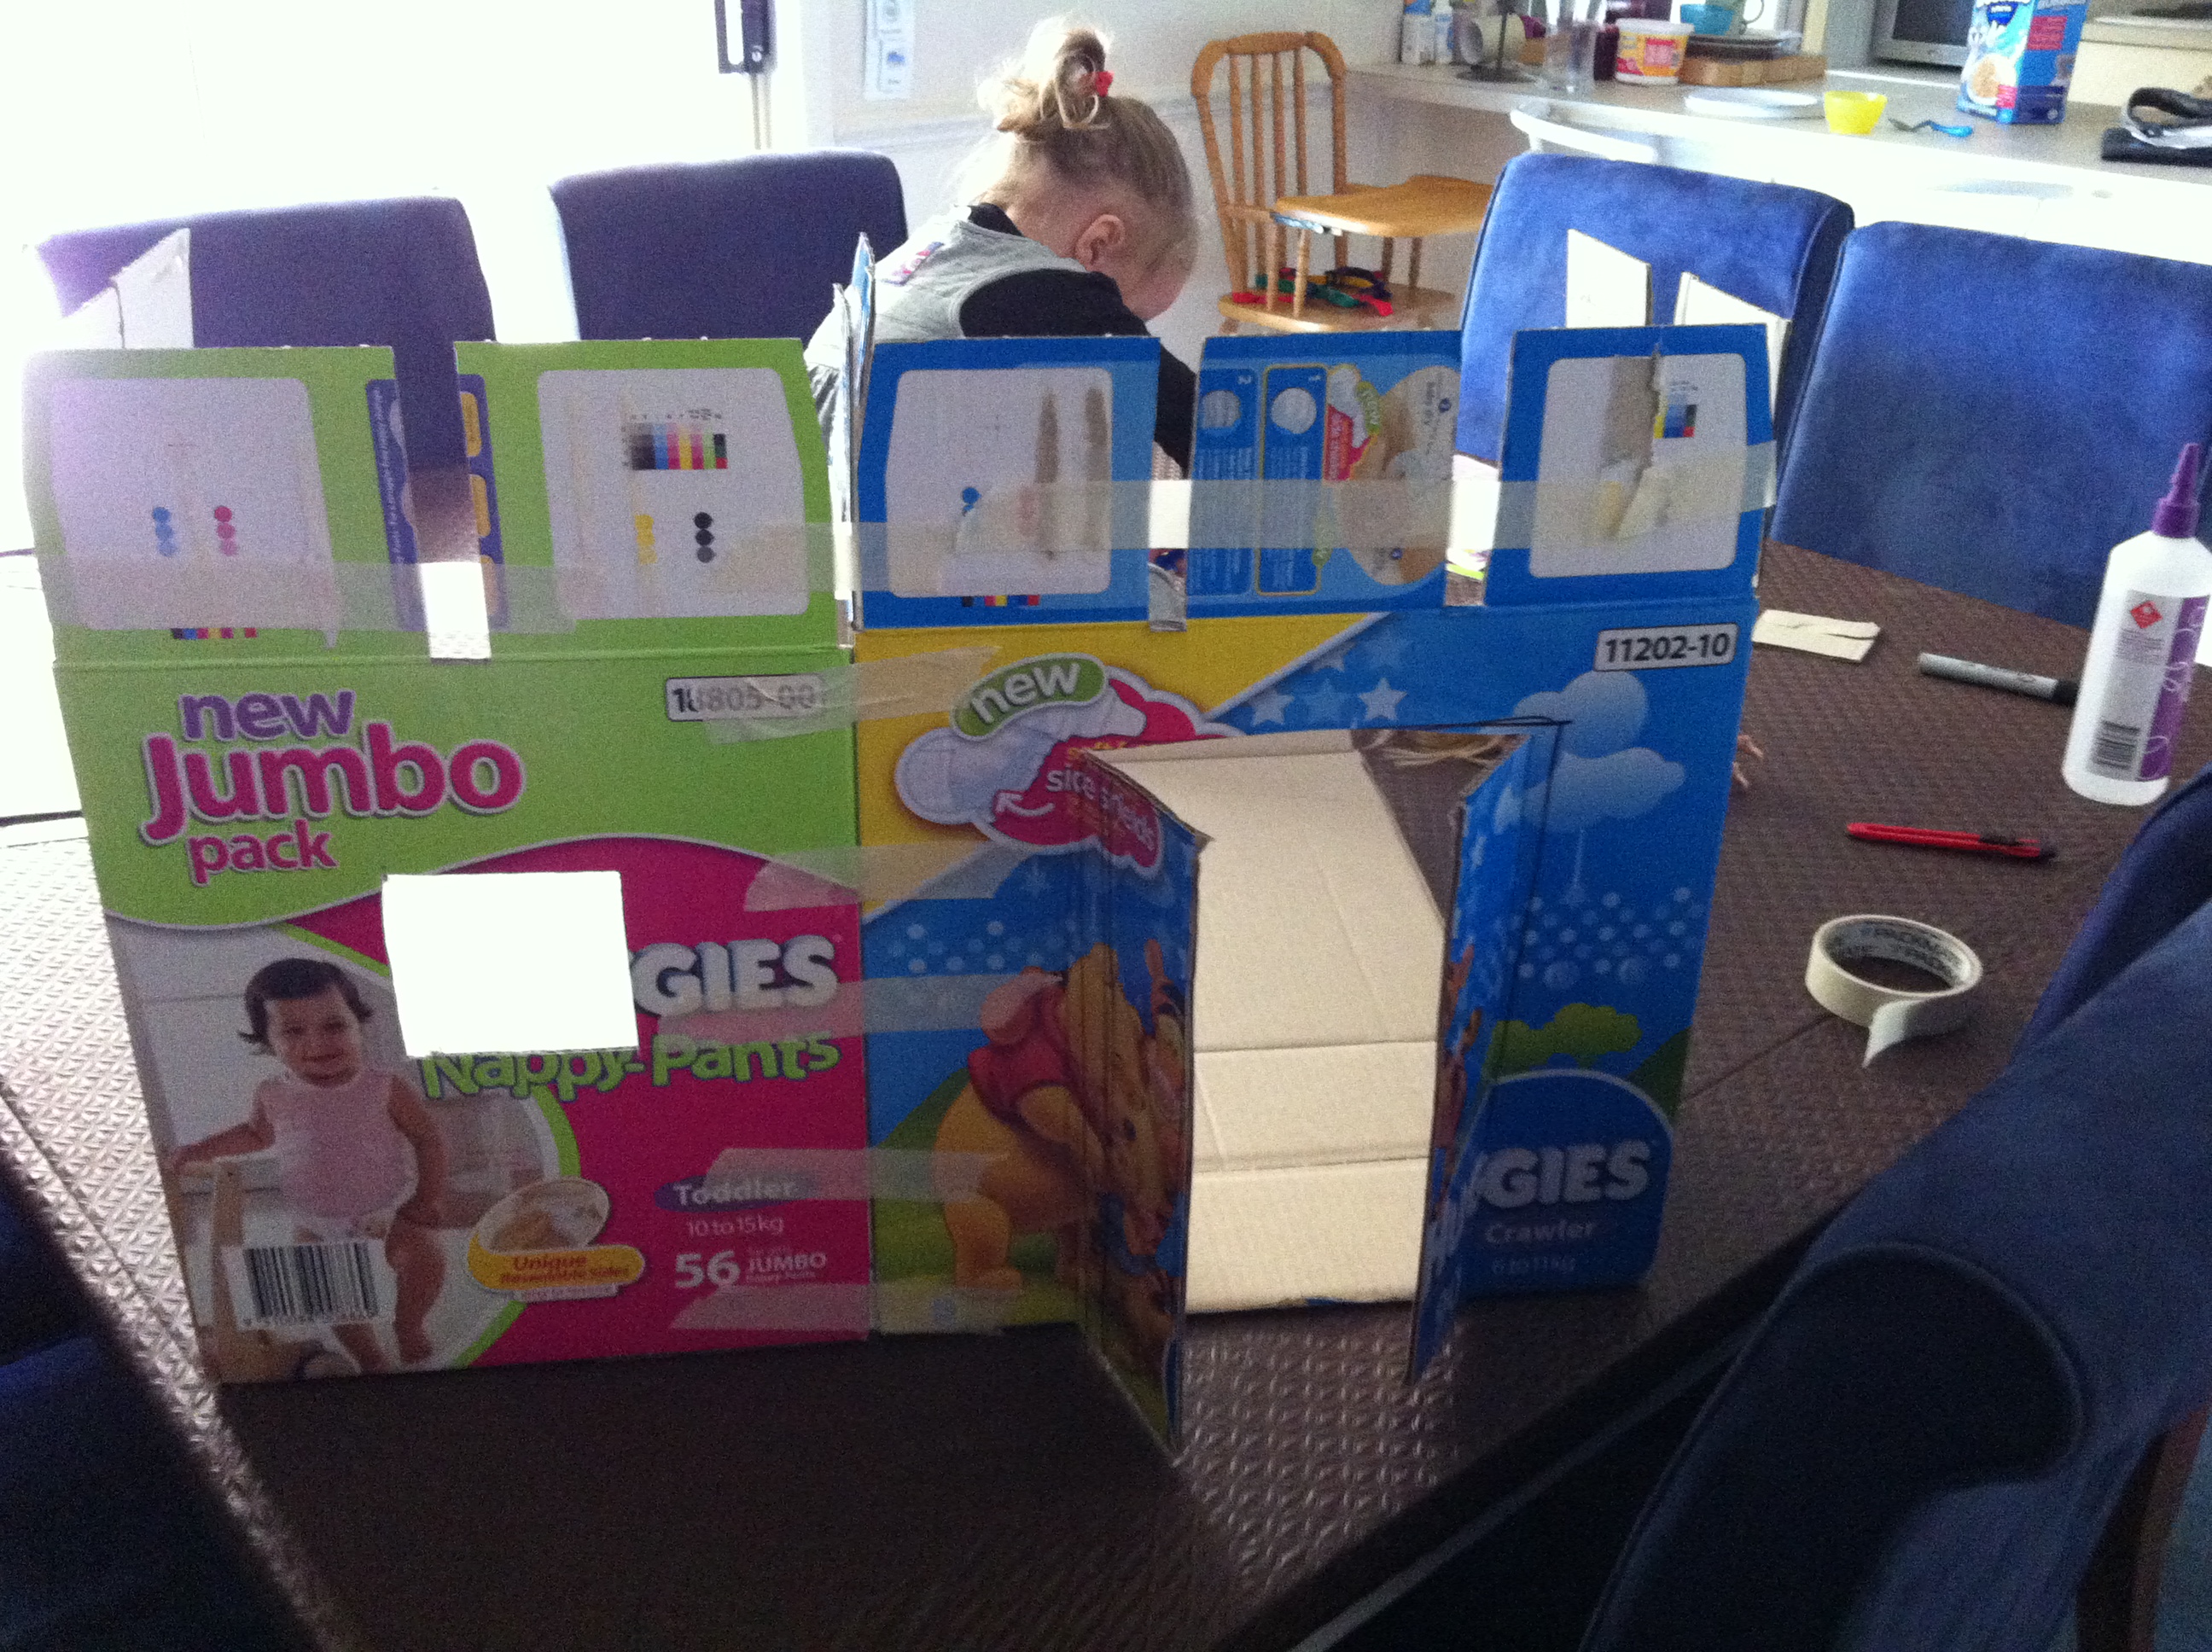
3. Cover outside of castle with coloured paper.
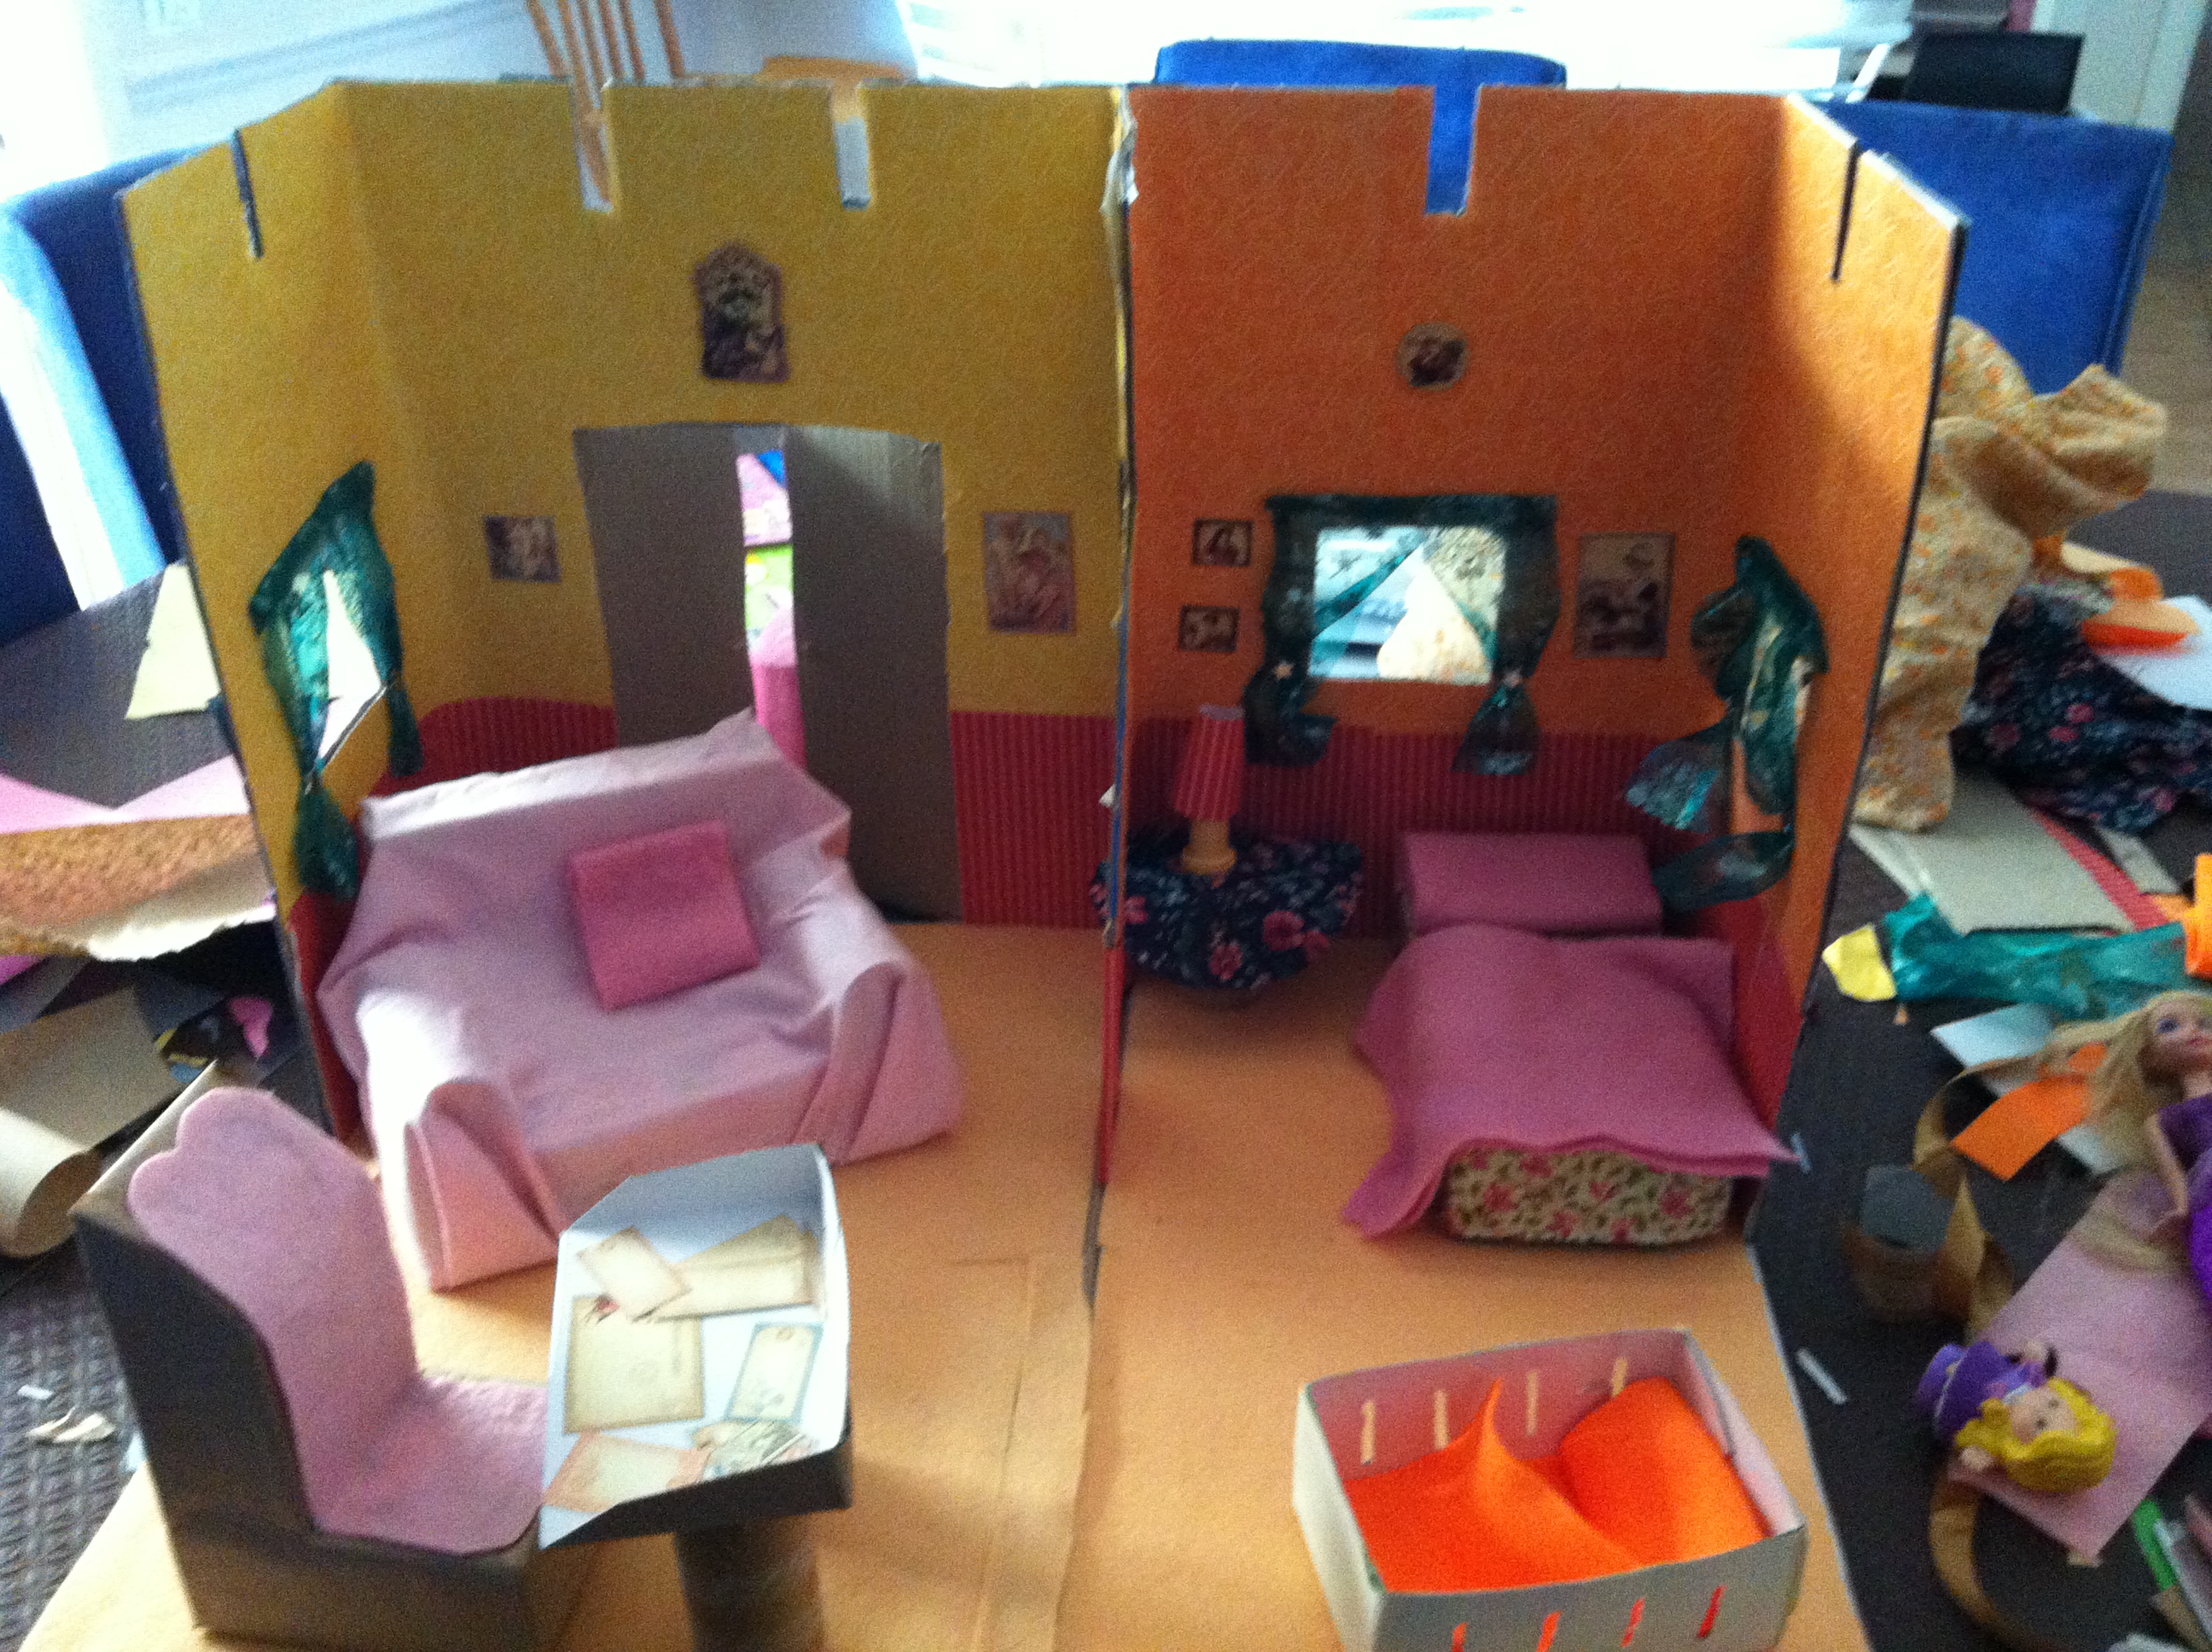
4. Cover inside of castle with paper on the walls. Cover floors too, we used felt but you can use any fabric you like or just more coloured paper.

5. Cut out small pictures from cards, magazines or print off computer to make pictures hangings for castle walls. Use small strips of fabric to make curtains and glue on.
In order to pack up and store this castle more effectively I added some push pins to each of the back walls. Then stapled a loop of string underneath the floor section that uses the side walls of the boxes. Simply fold up the floor and loop the string around the push pin to close.

Furniture:
Arm Chair:
1. Cut a tissue box in half along long edges. Stick a toilet roll on each side and affix a small, thin box along the back to form a chair as below.
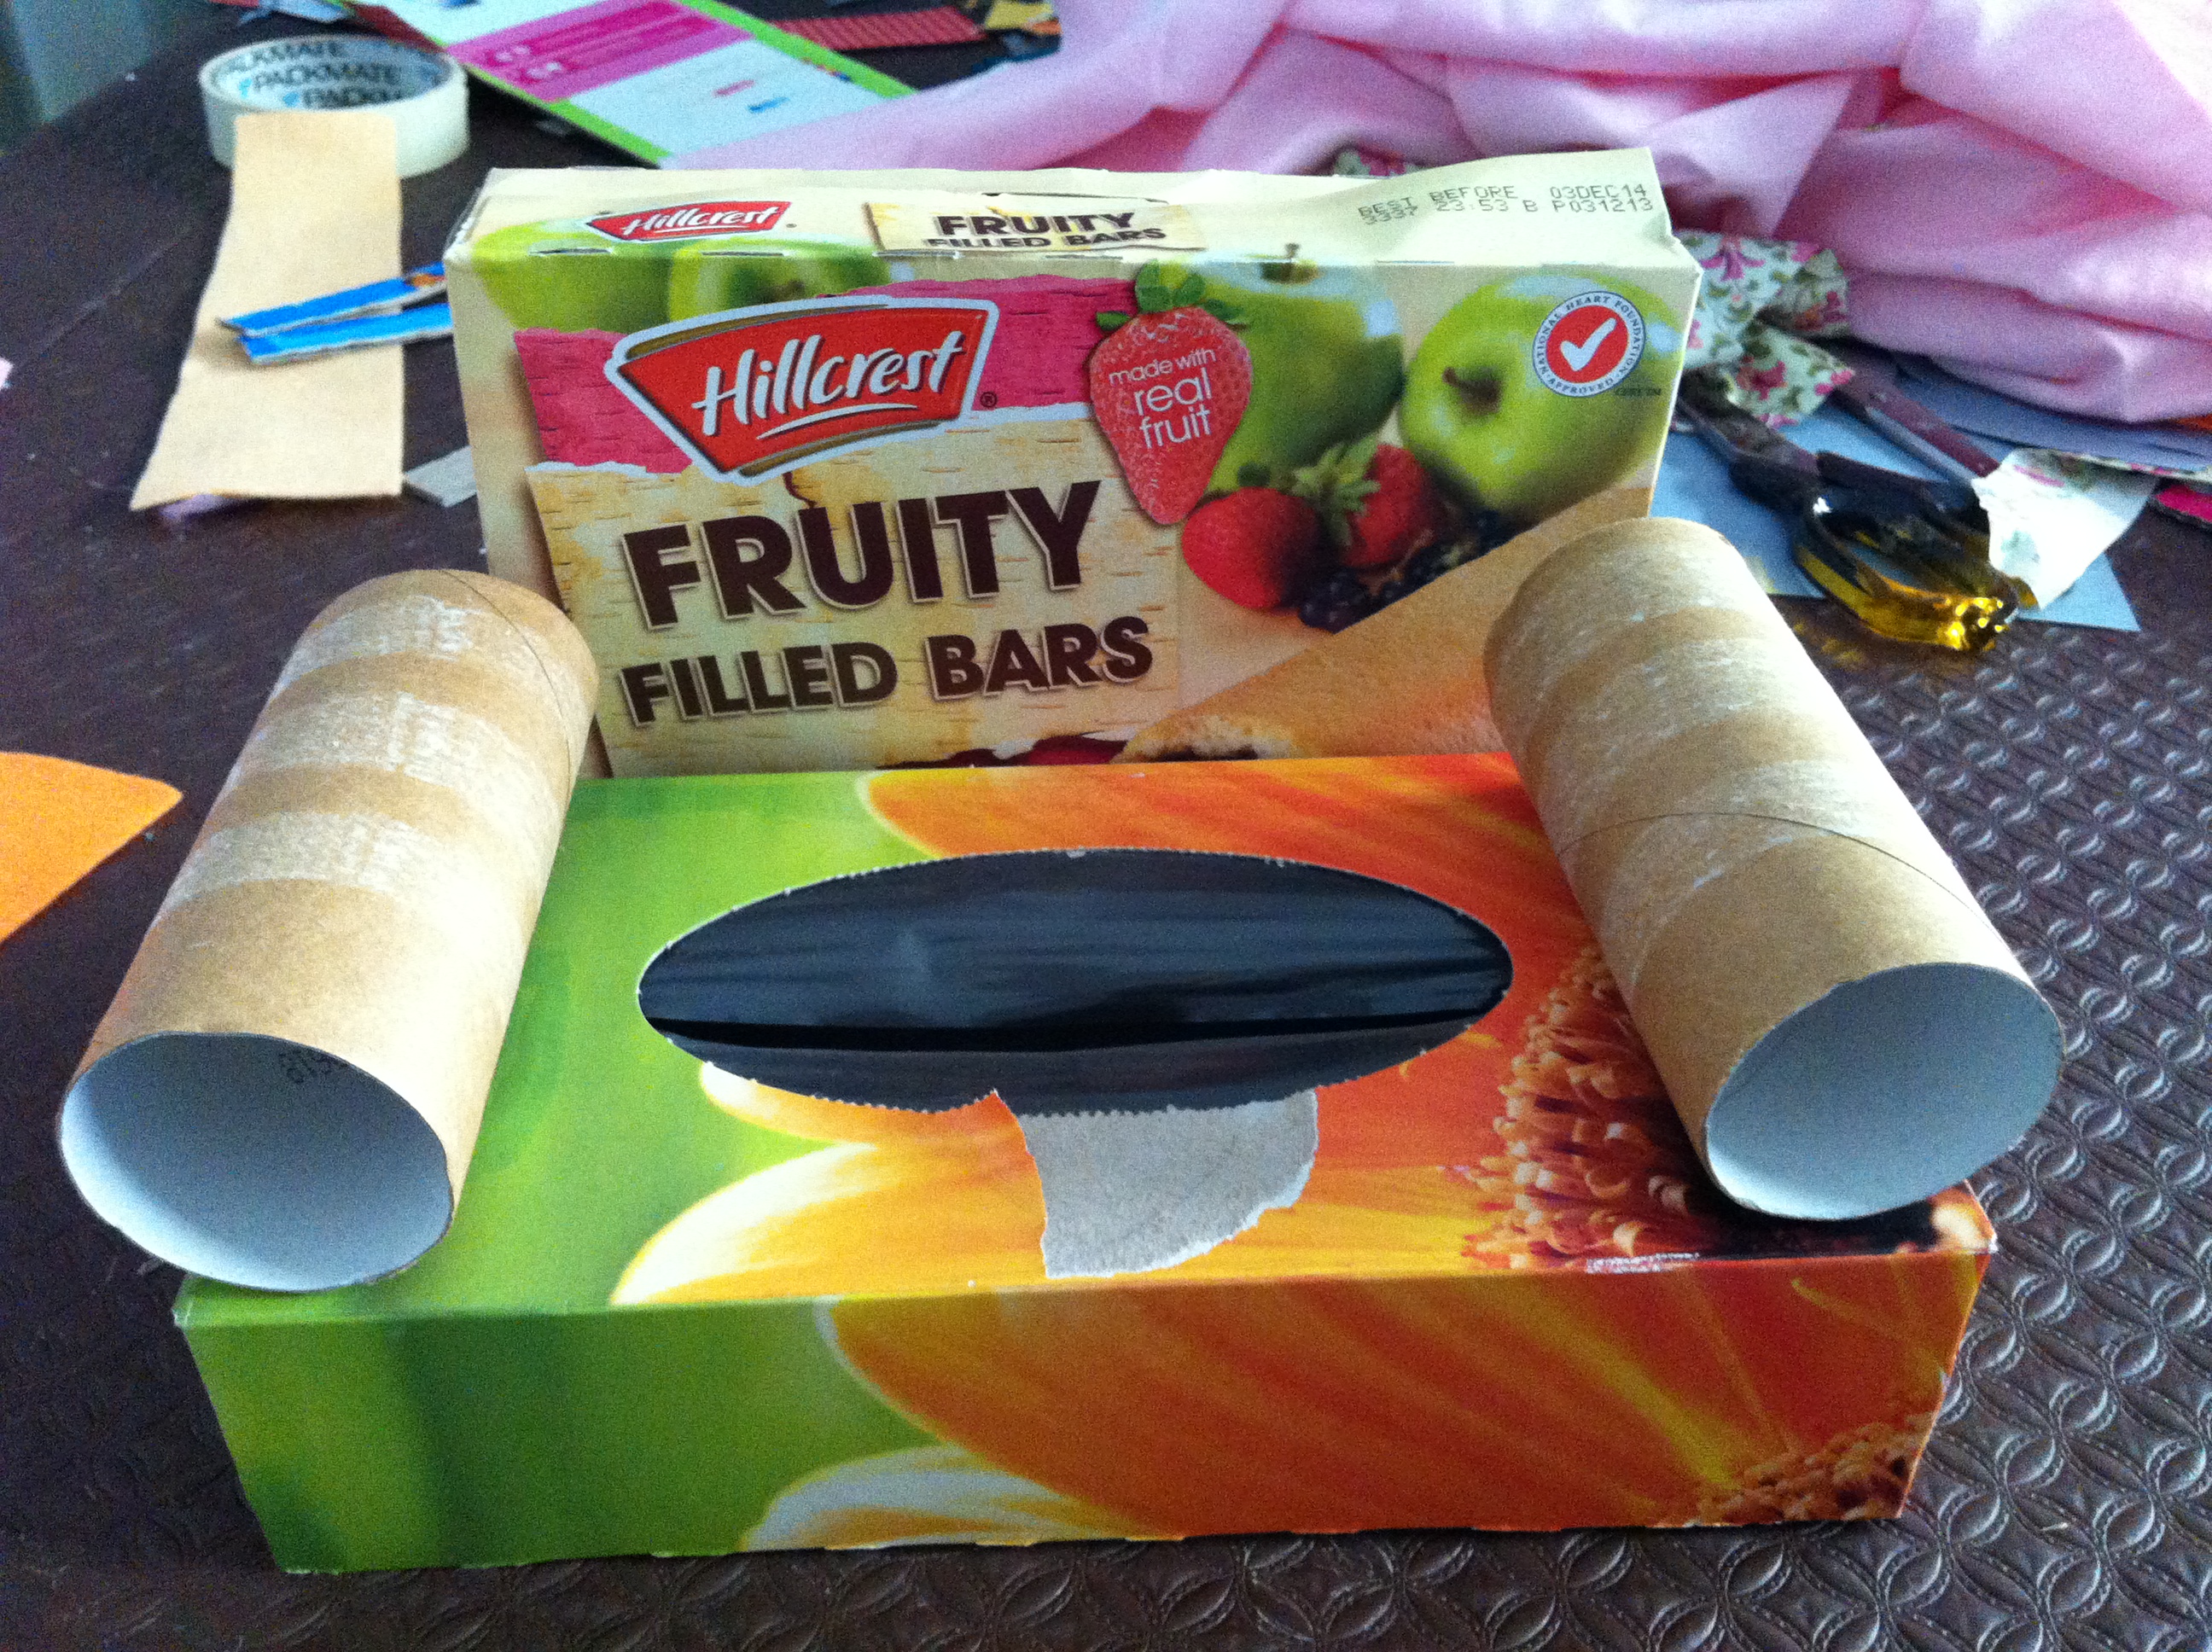
2. Cover with fabric and glue in place. Fold another piece of fabric and glue to make a cushion.

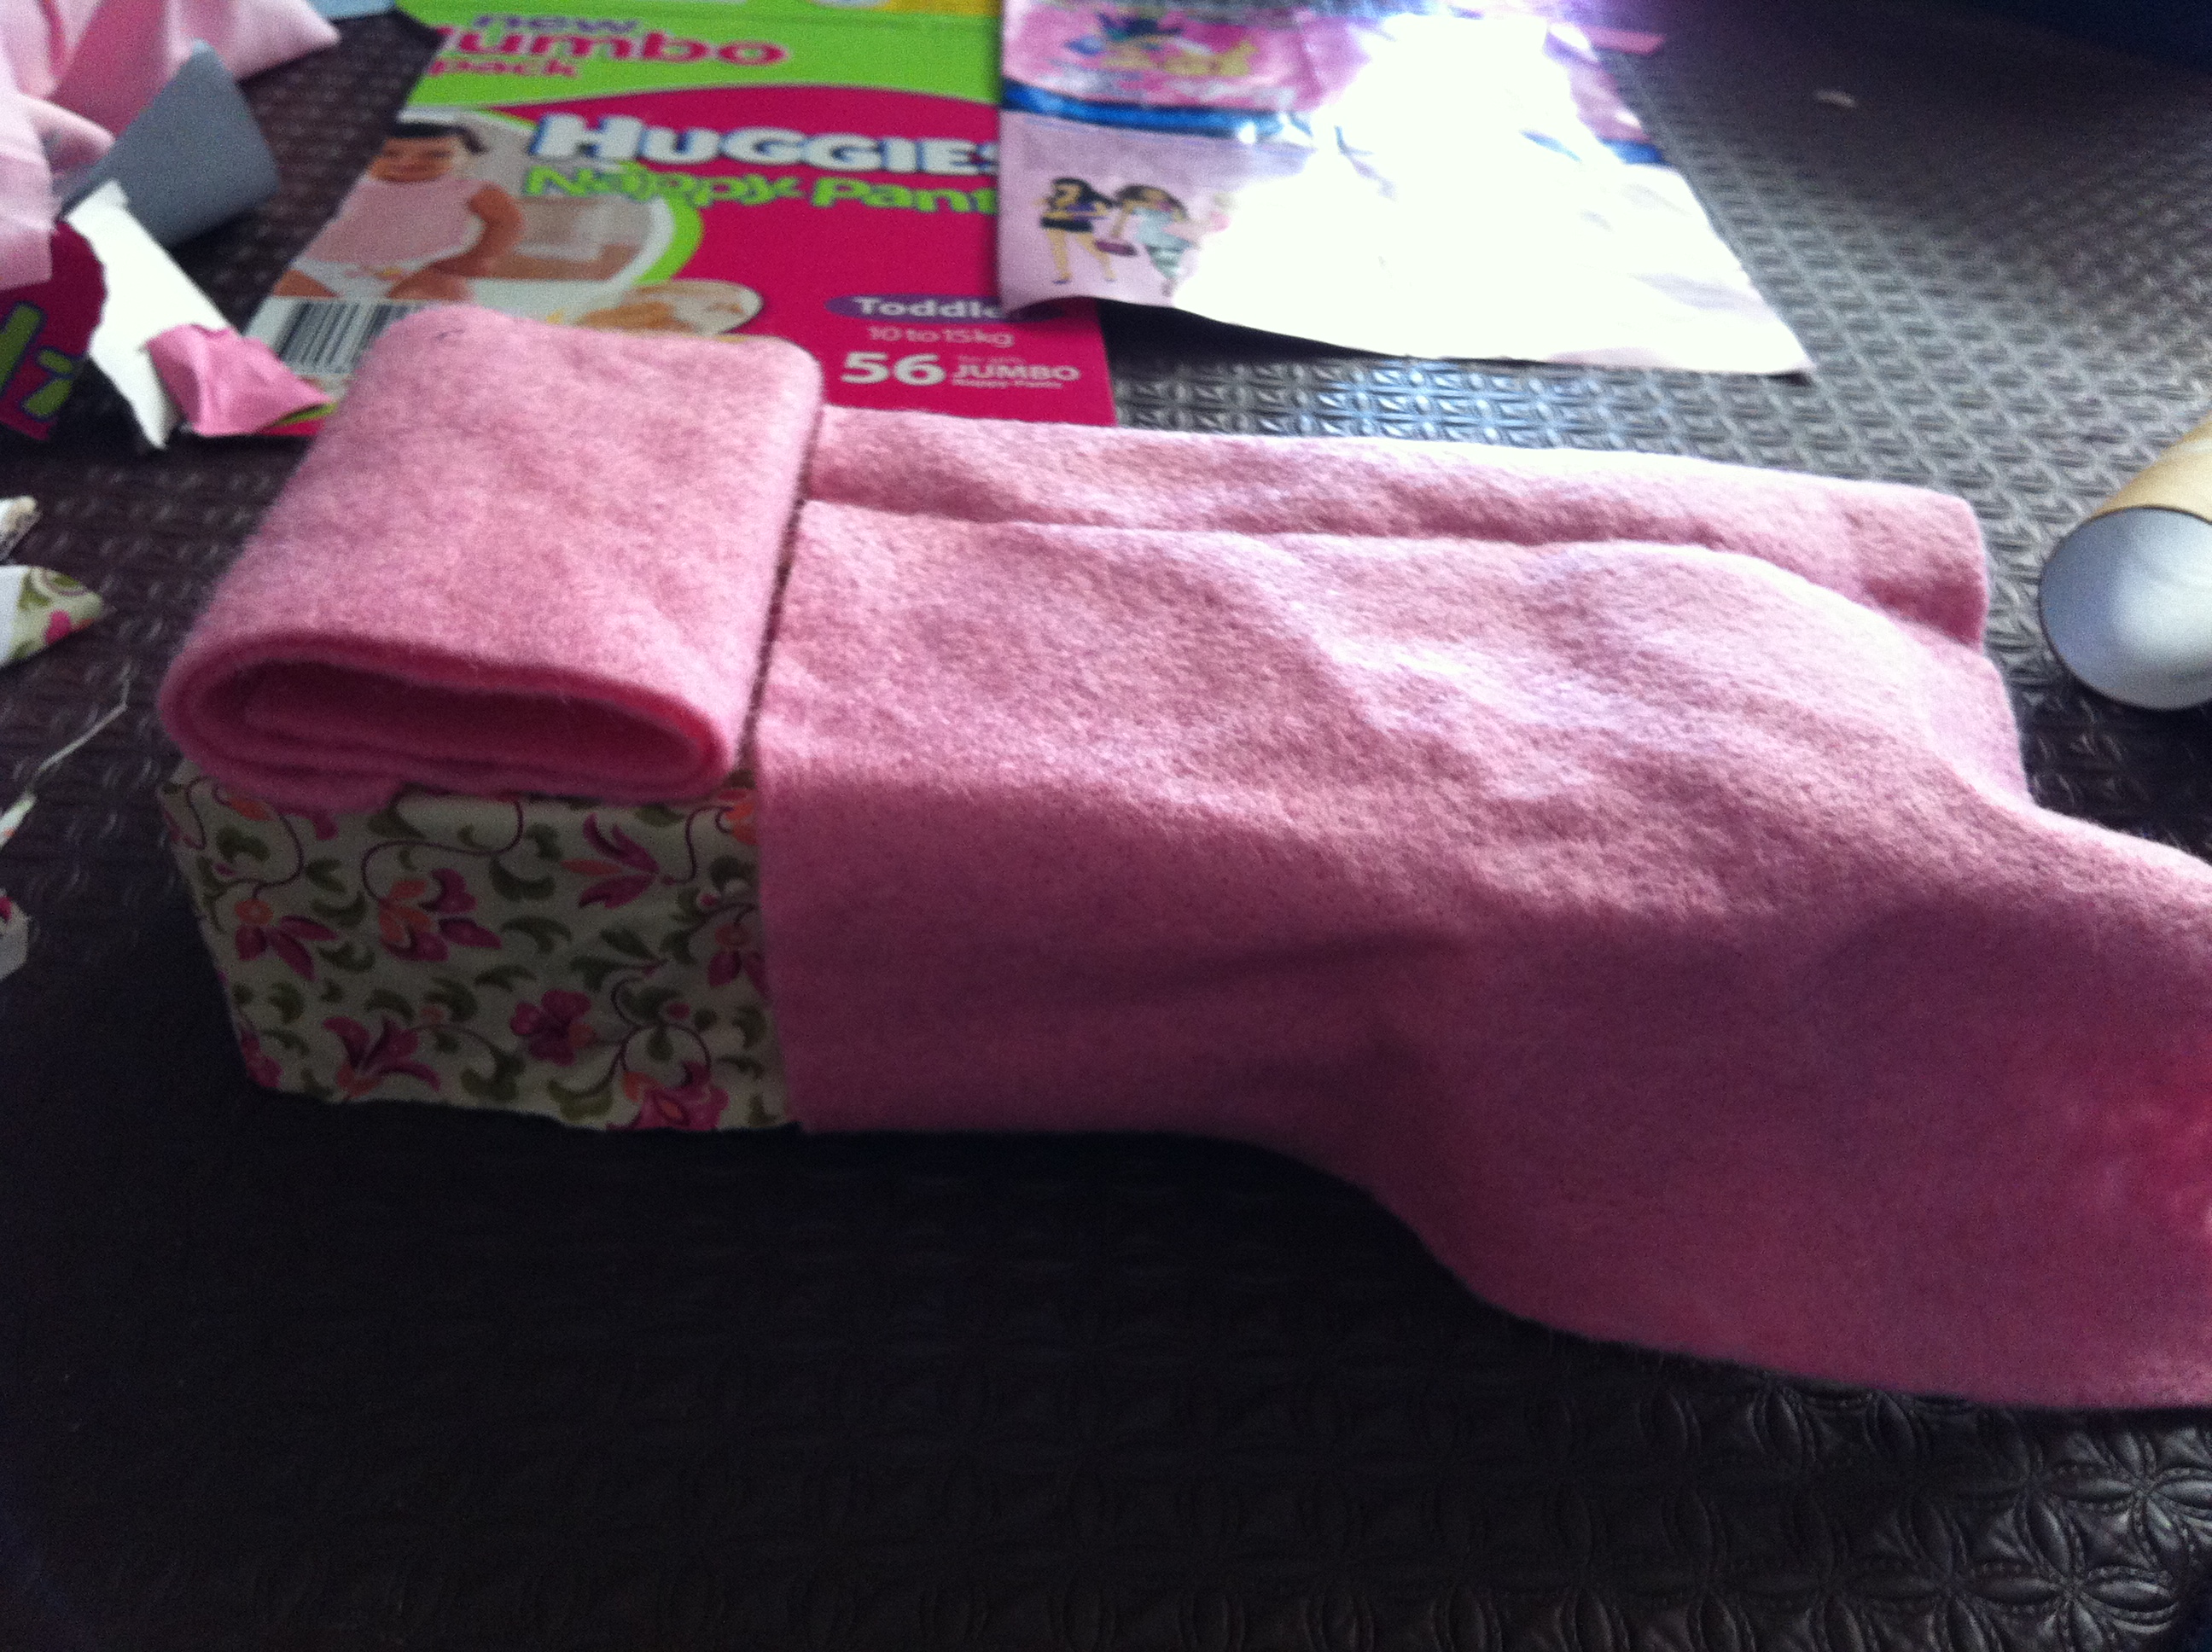
Bed: Use the other half of the tissue box and cover with fabric. Make a pillow in the same way as the cushion in the previous step and glue to the top of the tissue box. Cut another piece of fabric for a blanket.
The bedside table: is simply a toilet roll trimmed shorter and a circle of cardboard glued on top then covered with fabric.
The lamp: is a cotton reel with a paper lampshade.
Cot: We also made a cot using the bottom of a tea box and cutting slits along the sides after we had covered it with paper and we made blankets and a pillow in the same way as the bed above.
Desk: We used the lid of a tea box that had a sloping edge and glued on some toilet rolls for legs. We cut out some small pieces of notebook paper and stuck them onto the desk for a bit more details.
Desk chair: we used an old project compassion box and another small box of similar width and height and glued them together. We then covered it with paper and some felt for the seat.
You can add as much, or as little, detail as you like but this castle is a sure winner and was a big hit with my kids! If you have boys, rather than girls who would play in this with dolls, worry less about furniture and focus more on the castle itself. You could easily make a drawbridge a blue paper moat and with all of the extra bits a pieces you could add towers and turrets. You’re only limited by your imagination!
Originally posted 2014-09-11 03:31:11.