
Christmas is coming up. While it may still be a few months away, it is the perfect time to start planning if you are thinking of undertaking any DIY projects for Advent.
In this tutorial I will be showing you how to paint Jesse Tree Ornaments. These are the ones I made in 2015, and I did not leave myself very much time! I was frantically painting them days before I needed to use them. So for peace of mind I recommend taking the time to be prepared and enjoy the process!
If you don’t fancy yourself a painter, you are welcome to print these photos to cut and laminate or draw the images instead! (Printable at end of post) OR if you would prefer a tutorial for felt ornaments click here.
For your use here is a link for a printable Jesse Tree Readings Booklet (with matching symbols listed).
If you are keen to paint, here is what you need:
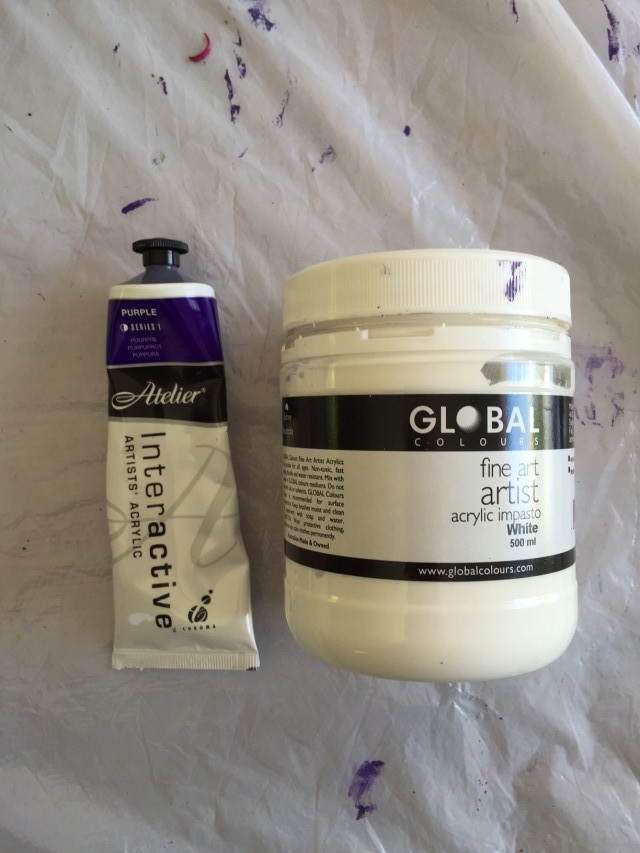
1. Paint – white (large), purple, gold and prime colours (red, yellow, blue) at a minimum.
2. Brushes – Large flat brush for main/undercoat and a selection of fine tip brushes, see image. Also Pencil, Eraser.

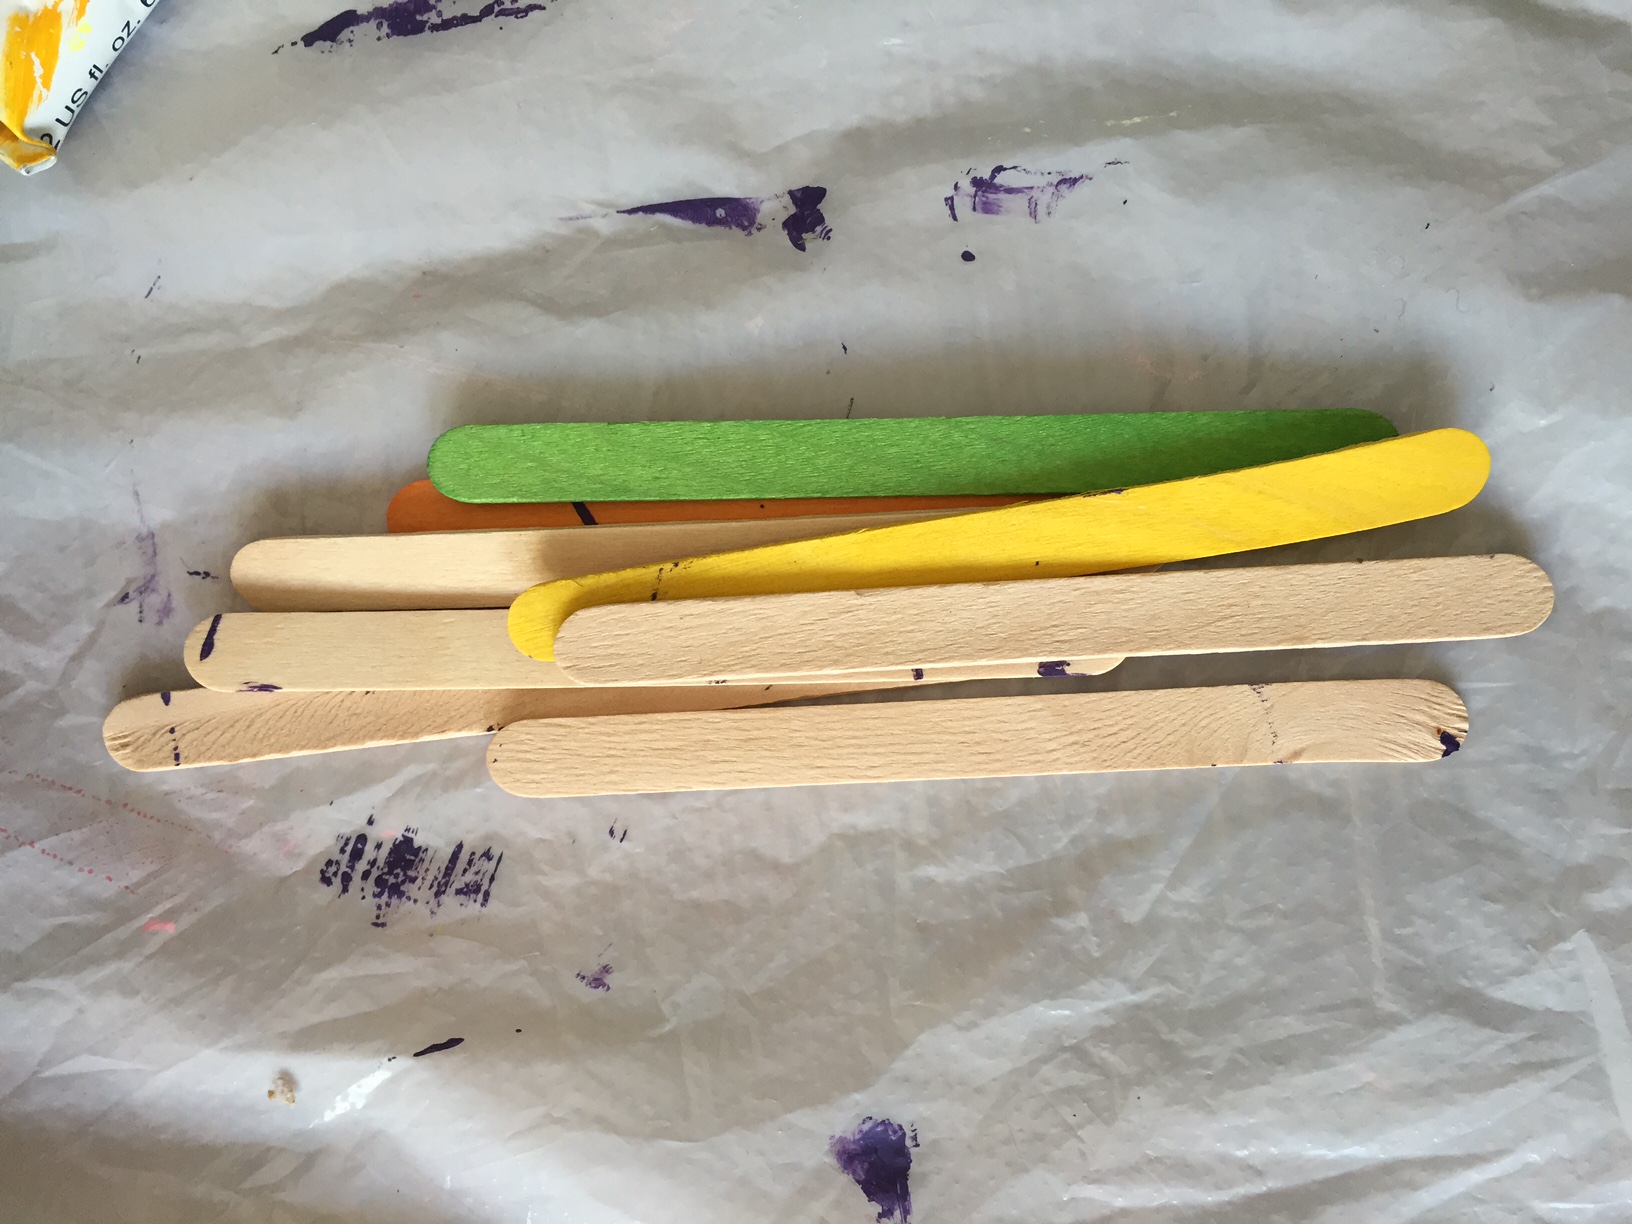
3. Plastic table cloth, paddle pop sticks (to stop discs sticking to the table cloth).

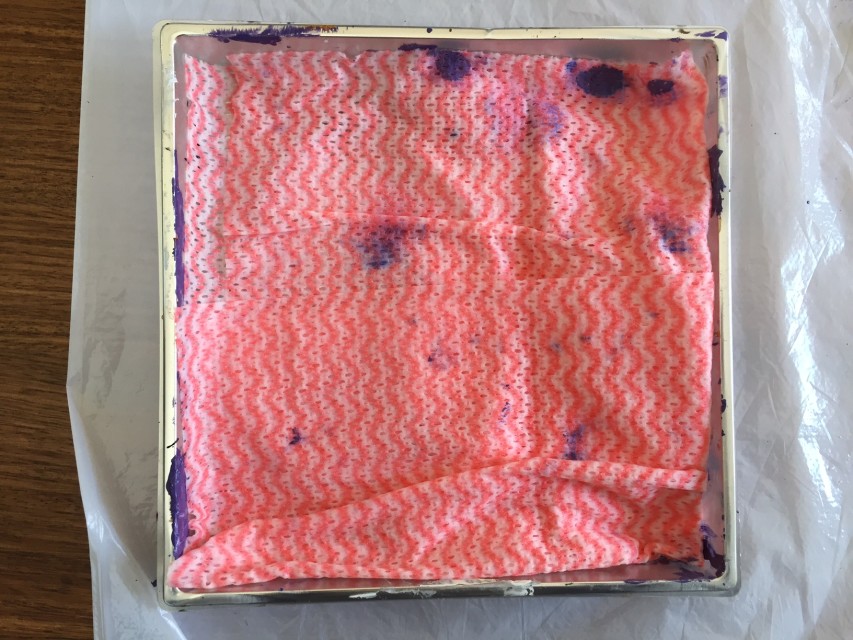
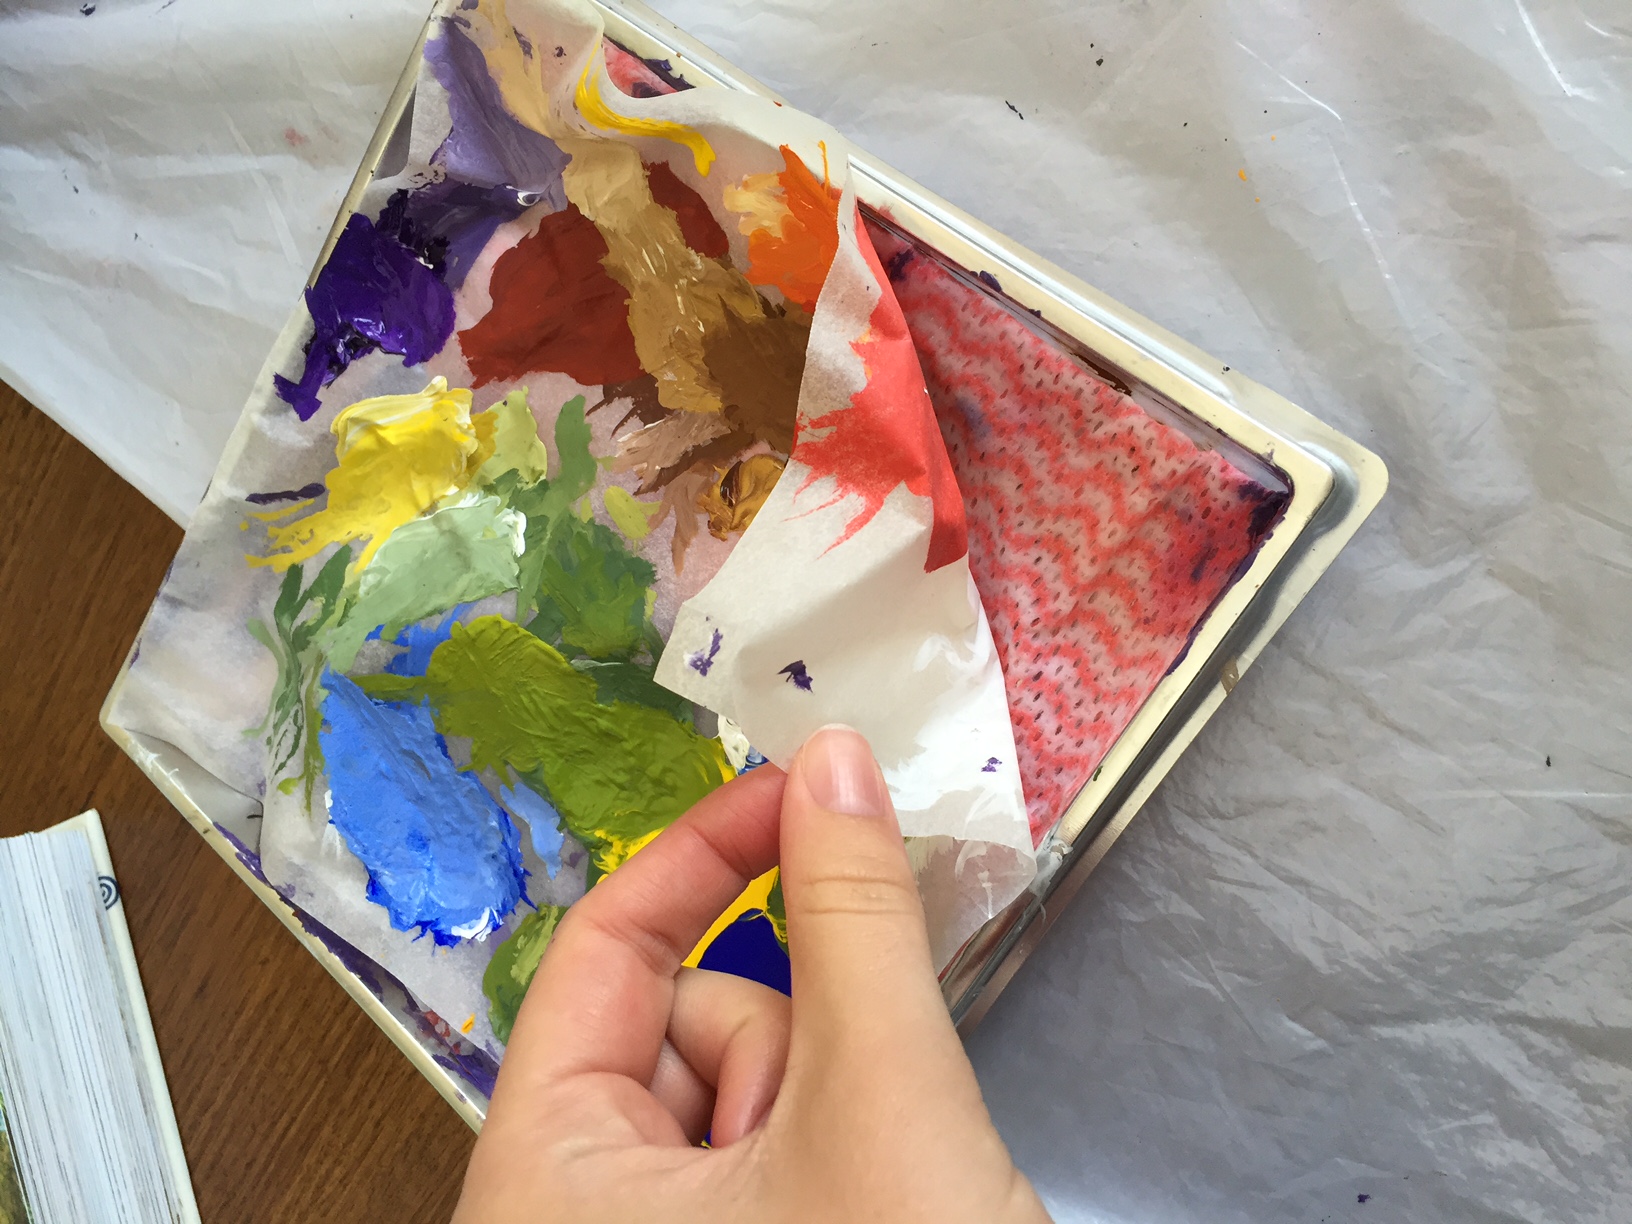
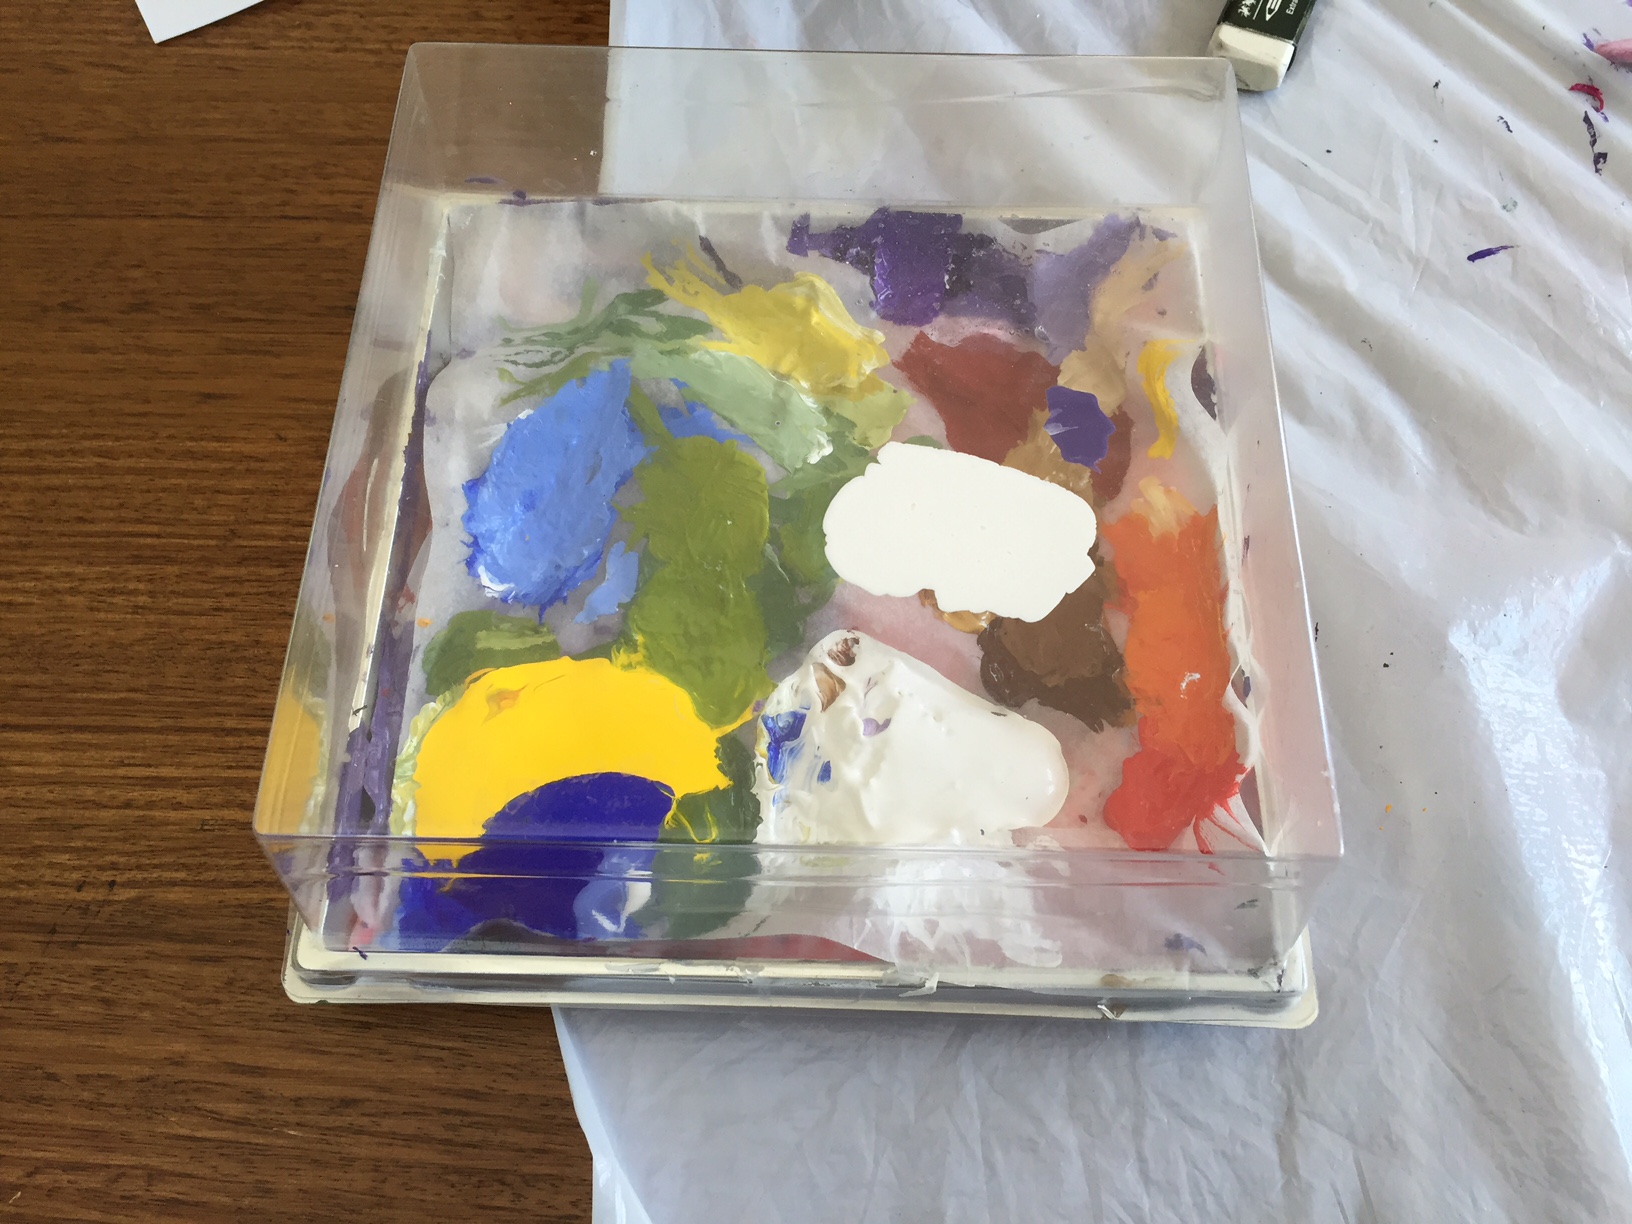
4. Plastic container with lid, wash cloth, baking paper.
To keep paint from drying out:
1. Moisten cloth and place in the bottom of container.
2 Place baking paper on top.
3. Squeeze paint and kept lid sealed when not in use.
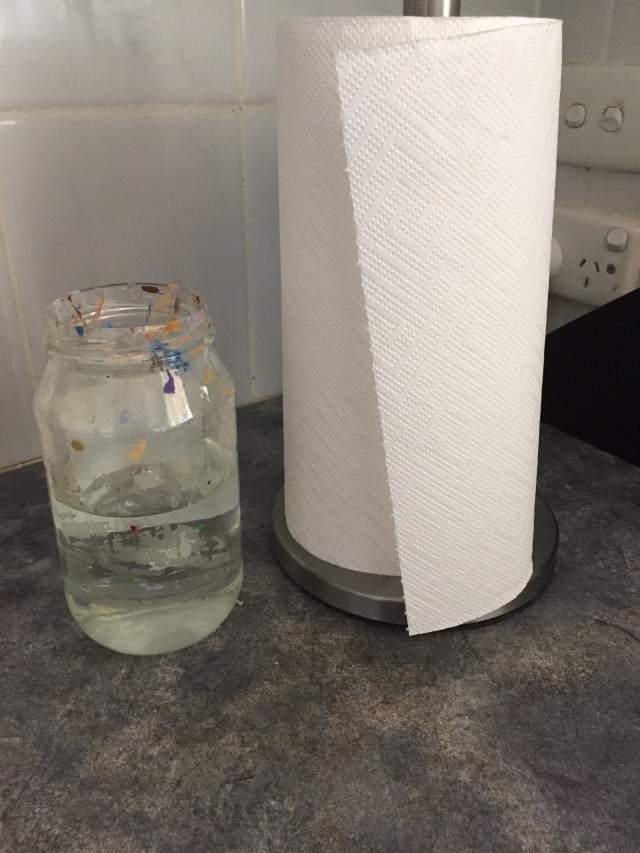
5. Paper towel, glass jar of water (for rinsing brushes).
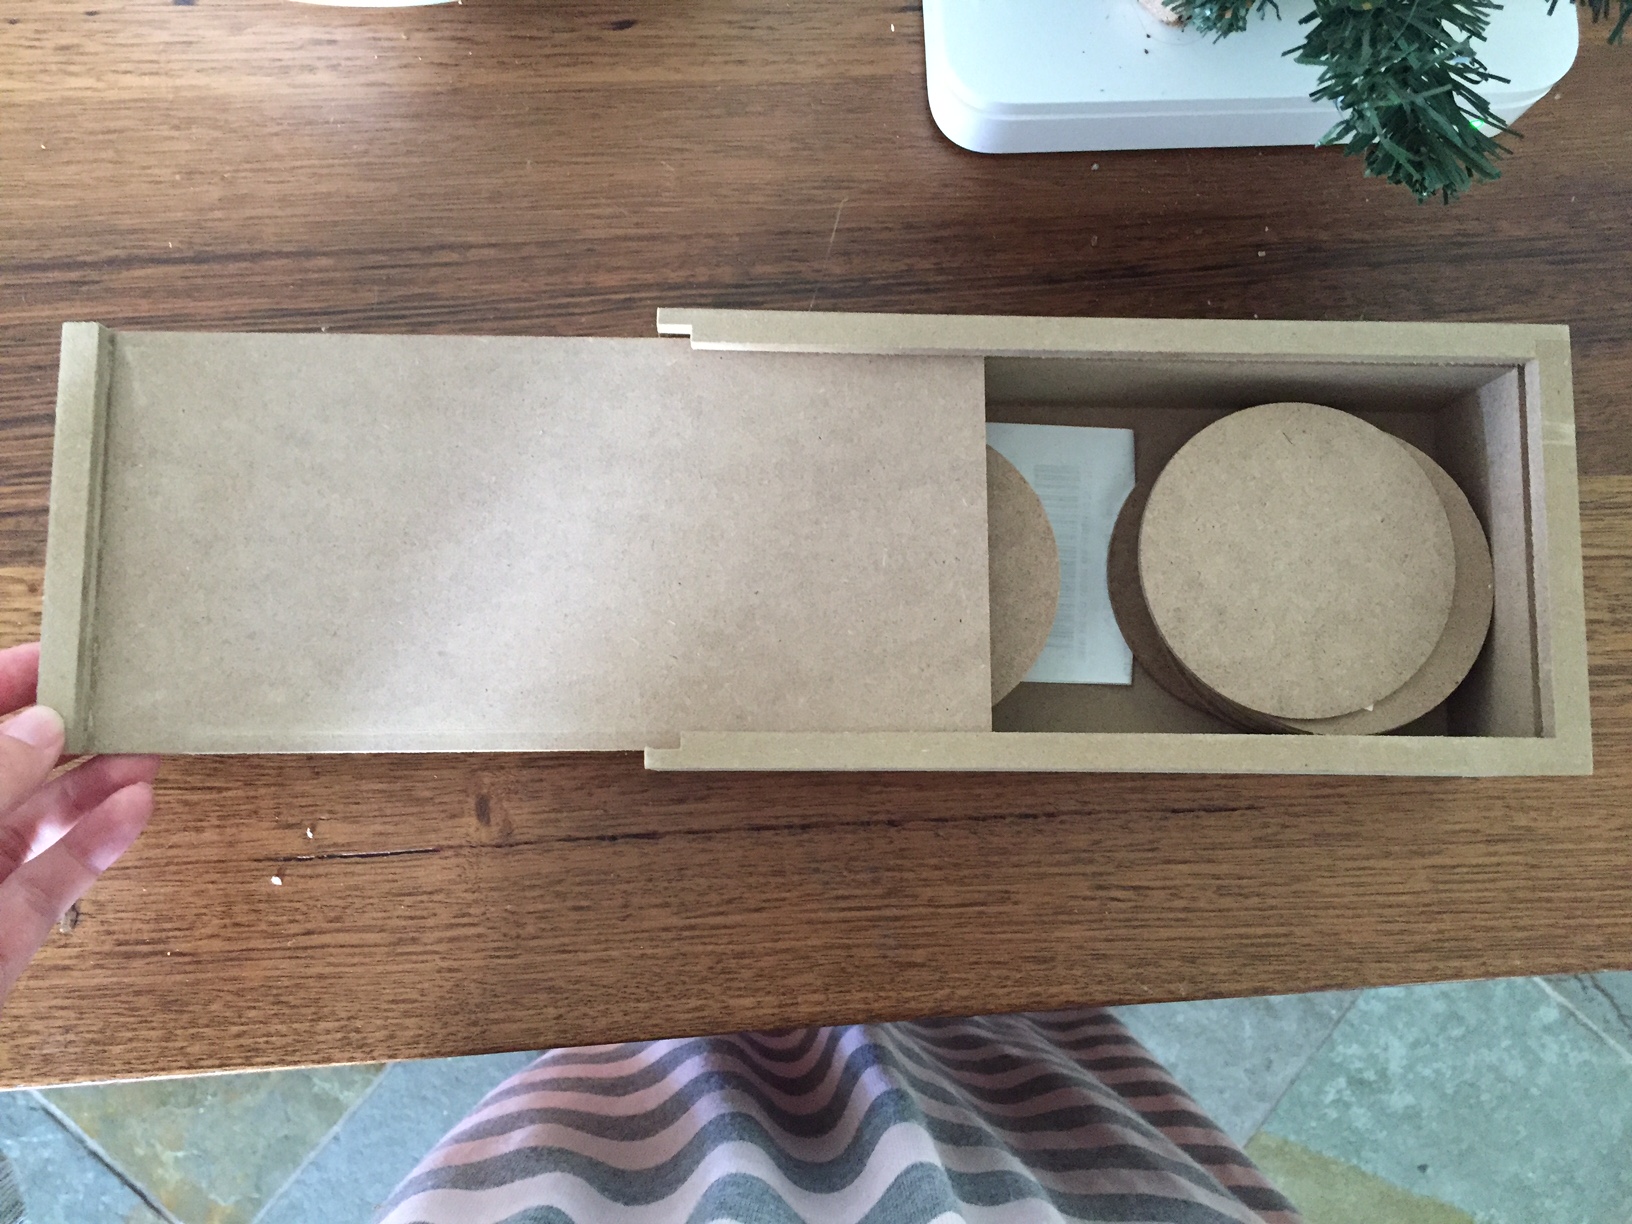
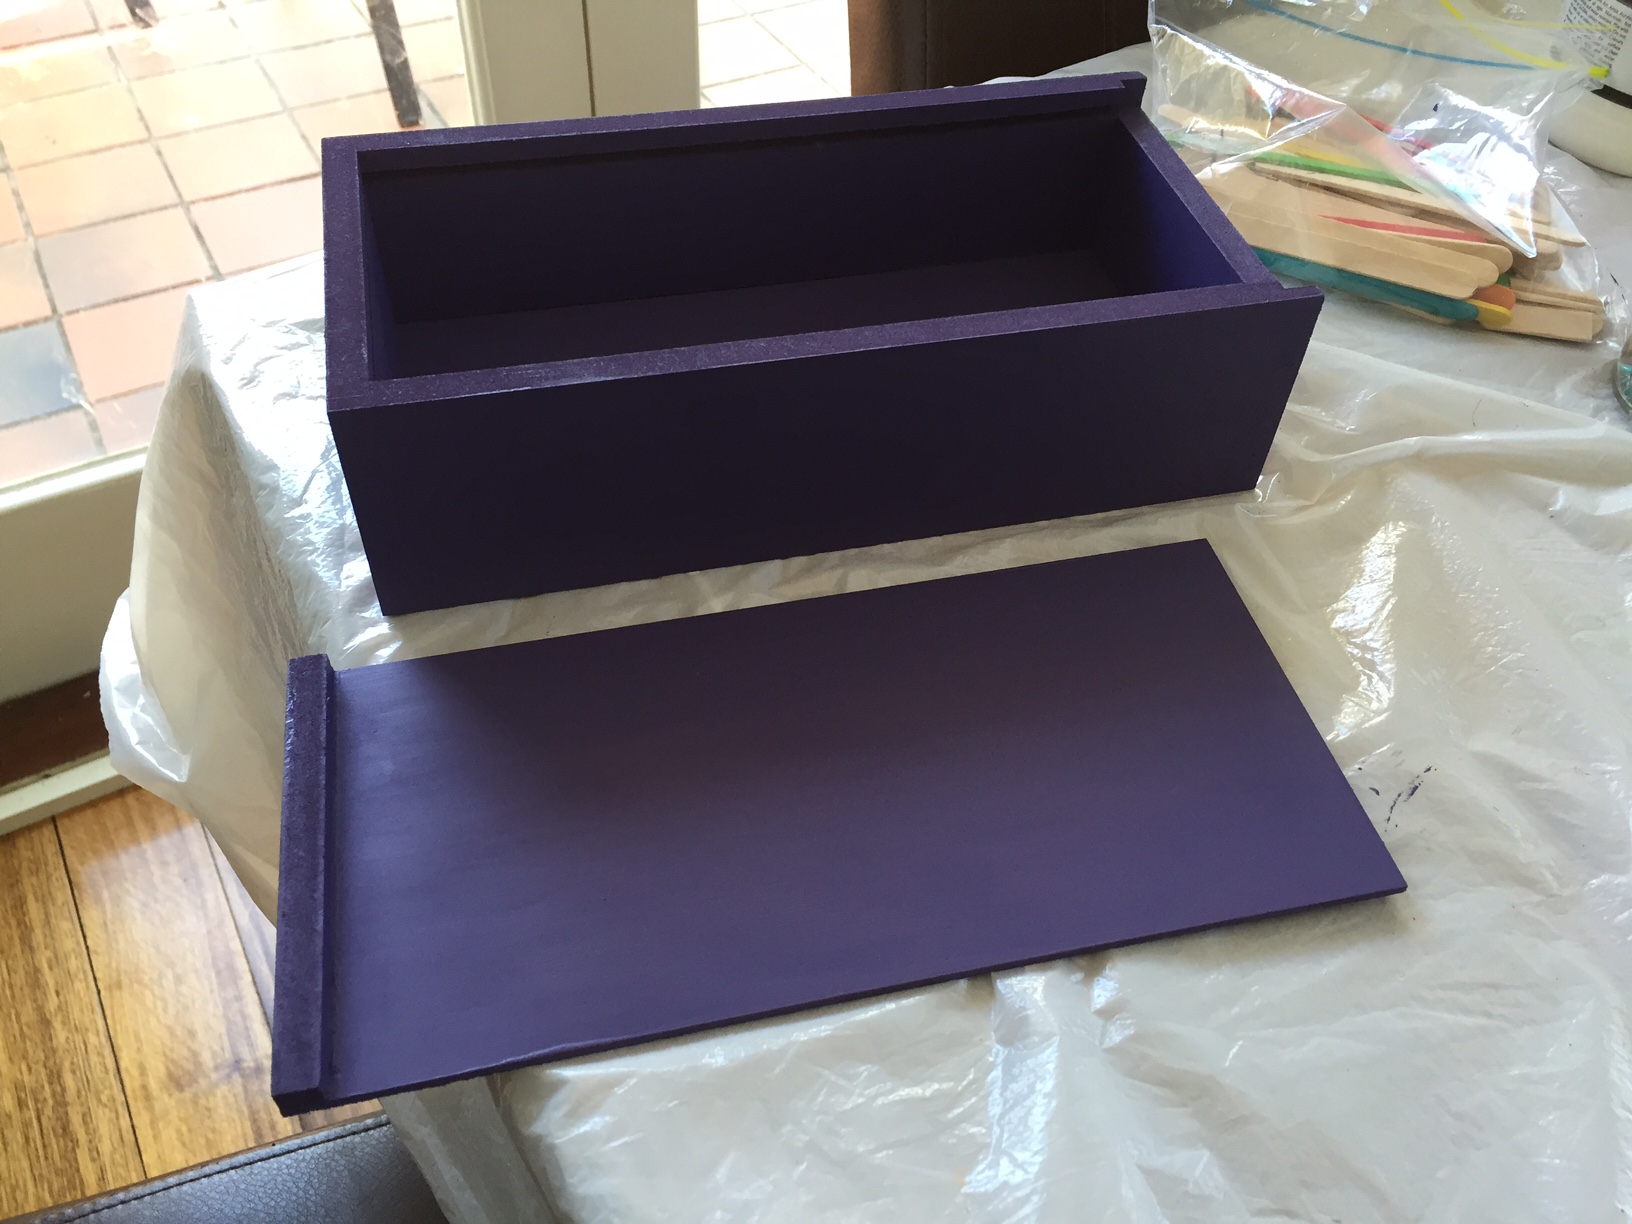
6. Wooden box and 24 discs + star
(can be purchased from Bunnings, make sure they fit in box)
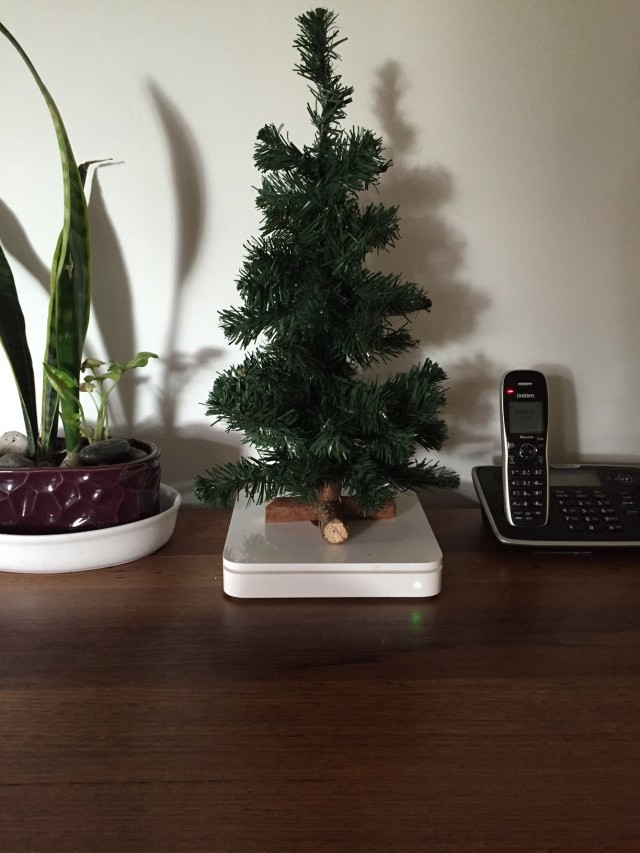
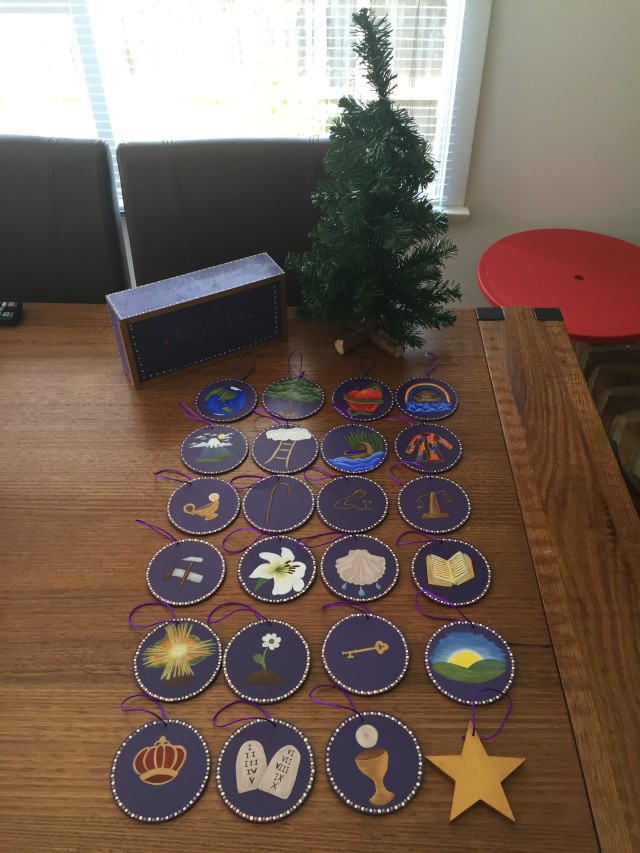
7. Small Christmas Tree
(I bought mine from Riot art)
8. String/cord.
(purchased online or Spotlight)
9. Gloss Spray Varnish
(bunnings)
Steps:
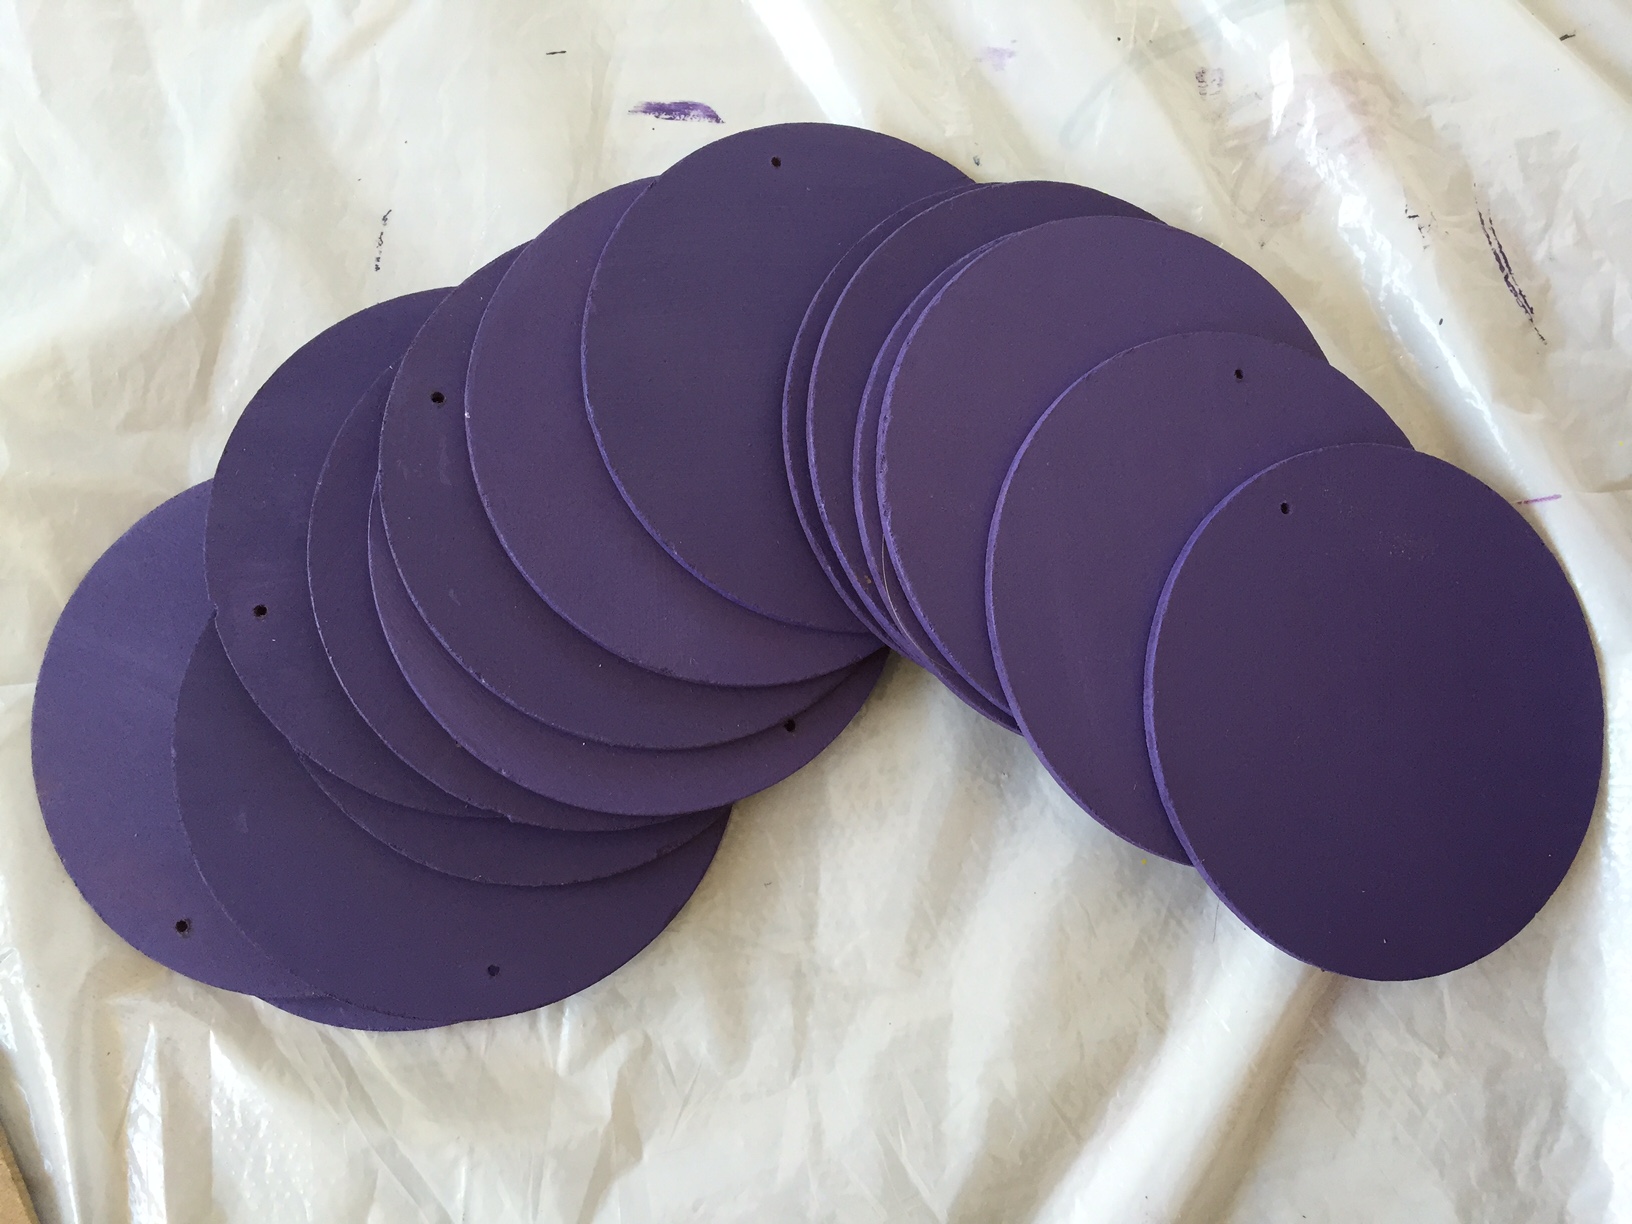
1. Drill small hole in each disc, for string ties.
2. Lay out plastic table cloth and paddle pop sticks. Undercoat each wooden piece white.
#Tip: use a toothpick to stop paint from clogging up drilled hole.

3. Paint each wooden object purple. I blended my purple paint with white to achieve this shade.
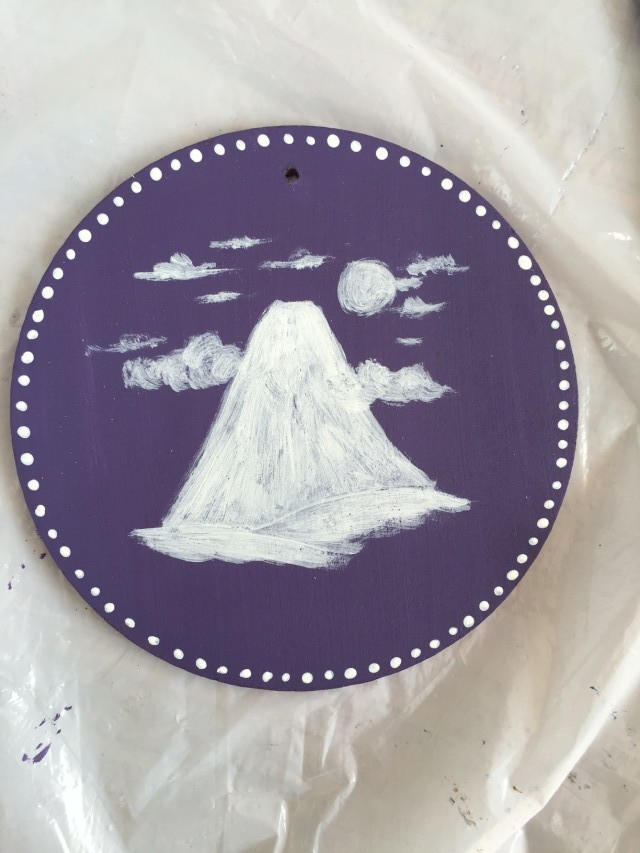
4. Draw image on with a pencil, then paint white. Paint white dots around outside (I used end of paint brush).
5.

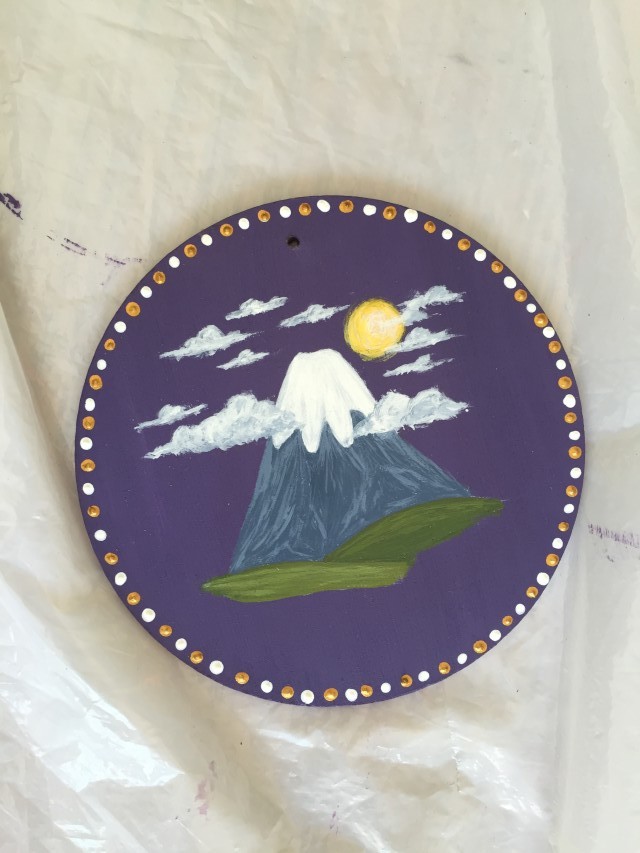

See slideshow for all ornaments:
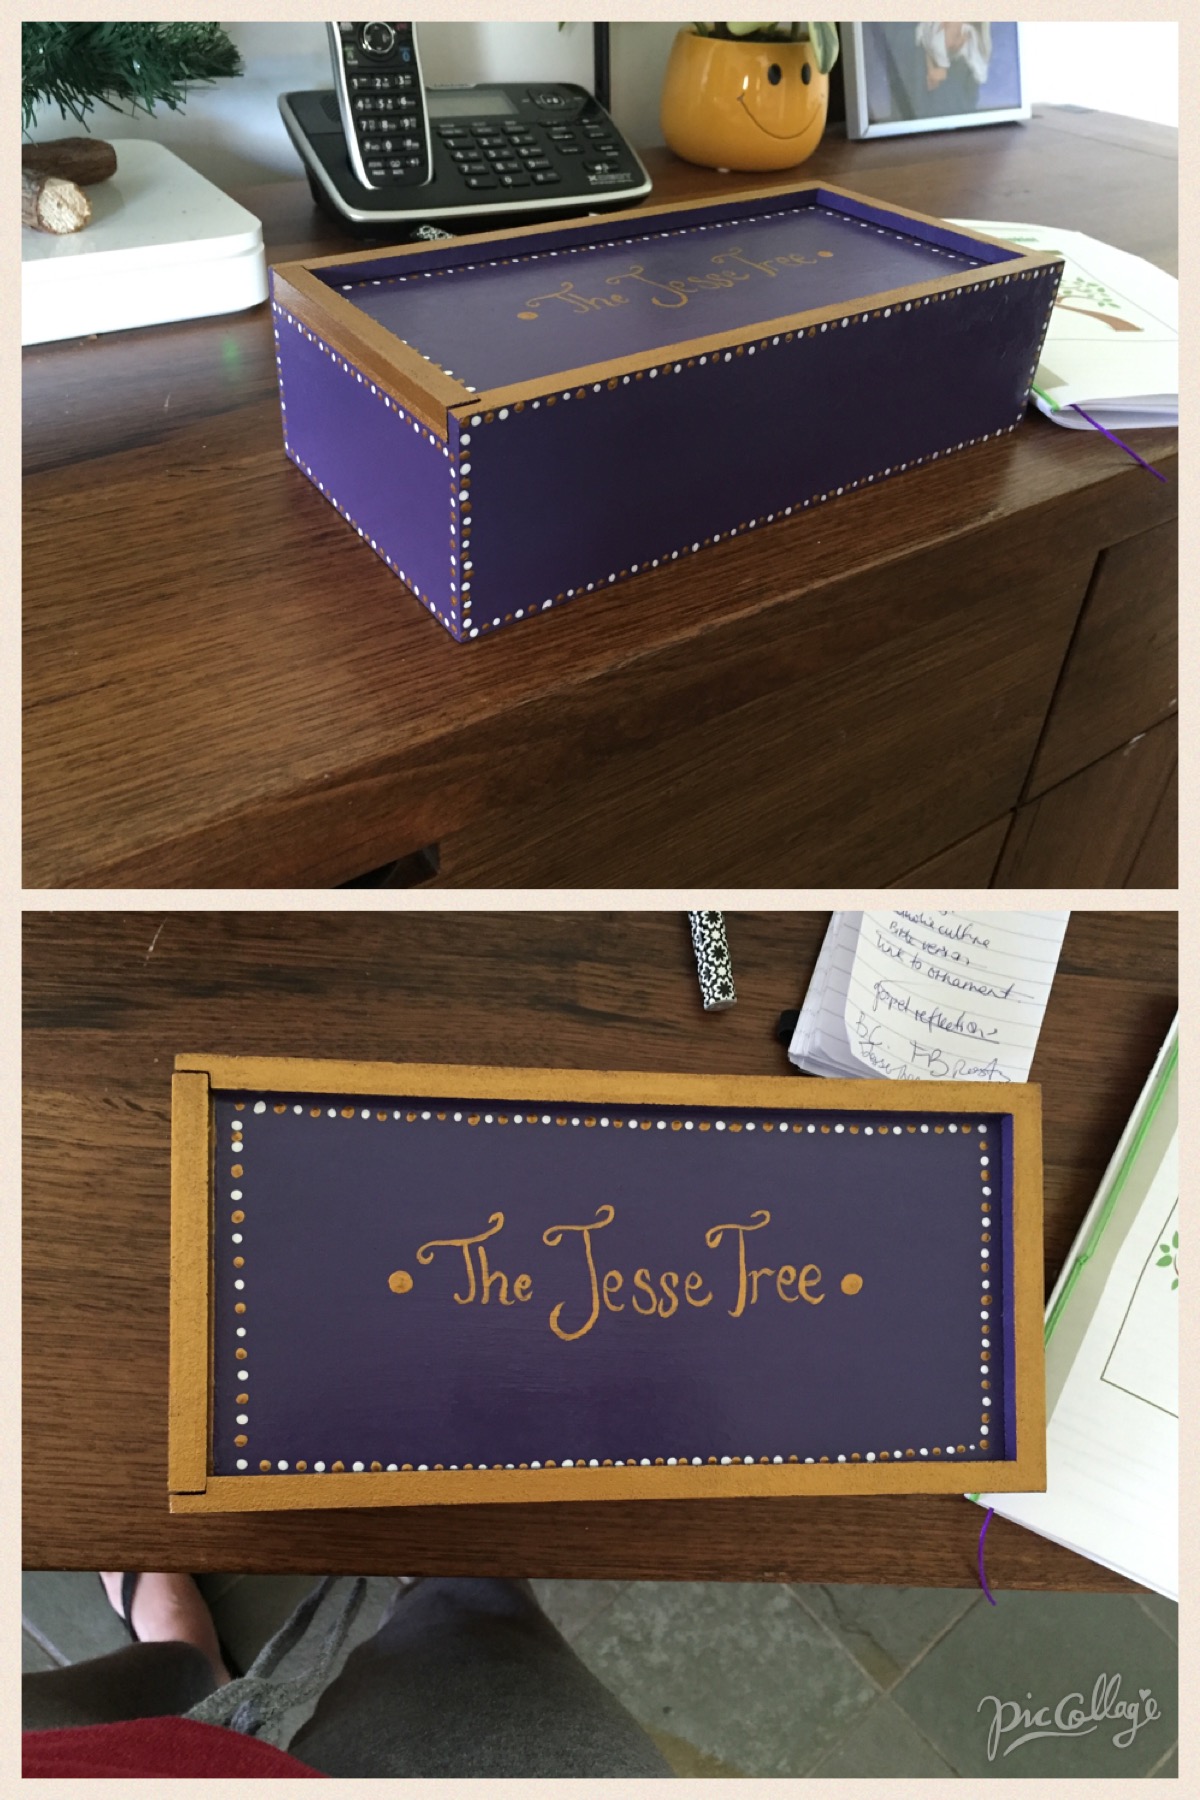
Box
Finished product
This image below can be used to print ornaments

Here is a link to post for 1. Creation (including colouring activity)
Here is link to printable Jesse Tree Daily Readings booklet
Original published September 29th 2016
Originally posted 2021-10-14 14:41:16.
Your Jesse tree is beautifully painted. I do like that your tutorial includes a storage box too, nice finishing touch!
My son (then 6y.o.) and I worked on one last year. We aimed for a very simple style – a twiggy branch from our garden stuck in a vase, and then each Sunday we’d work together to draw the symbols for the following week. They were just done quickly with pencils and felts on little discs of white paper and then sellotaped to the branches. We had a few different lists of symbols to choose from so we discussed them and picked what we wanted. I was very pleased with how the act of drawing the symbols helped both of us to learn more of our bible “family tree”. I’ll have to talk to my children about what we might do this year, as the last Jesse tree was quite temporary in nature!
Thanks Chaucey! Thats a great idea! I love the idea of using the twigs from the garden!
Yeah I have also found that when you take the time to make these things by hand it really gives you time to meditate on the meaning behind the symbols and the stories. Have fun this year! We have colouring in pictures for each day aswell 🙂