
As a mother of a very inquisitive two-year-old girl, I was very reluctant to put up Christmas decorations on the first Sunday of Advent. But then I stumbled across this idea; a felt Christmas tree where she was in charge of the decorating and exploring the shapes of this festive and holy season.

There are a few variations of this idea online, but most blogs lacked an explanation of what to do with regards to hanging the ornaments. My version incorporates the symbolic hanging ornaments on the tree as well as practicing fine motor skills for my toddler.
This isn’t the only way to create a toddler-friendly Christmas tree, so explore!
Materials:
- Green felt, 1m-1.5m
- Mixed colour patches of felt (At the craft/material store I went to, they had A4 sized patches of felt for 99cents)
- Buttons (1cm in diameter)
- Millinery elastic (my husband got this, although what I had in mind was the flat version of this, would’ve been much easier to sew on! But it is possible, just difficult)
- Needle and thread
- Printouts of ornament shapes to be used as stencils (just google Christmas ornaments and you’ll find heaps)
- Scissors
- Low temp glue gun
- Push pins or double-sided tape for wall attachment.
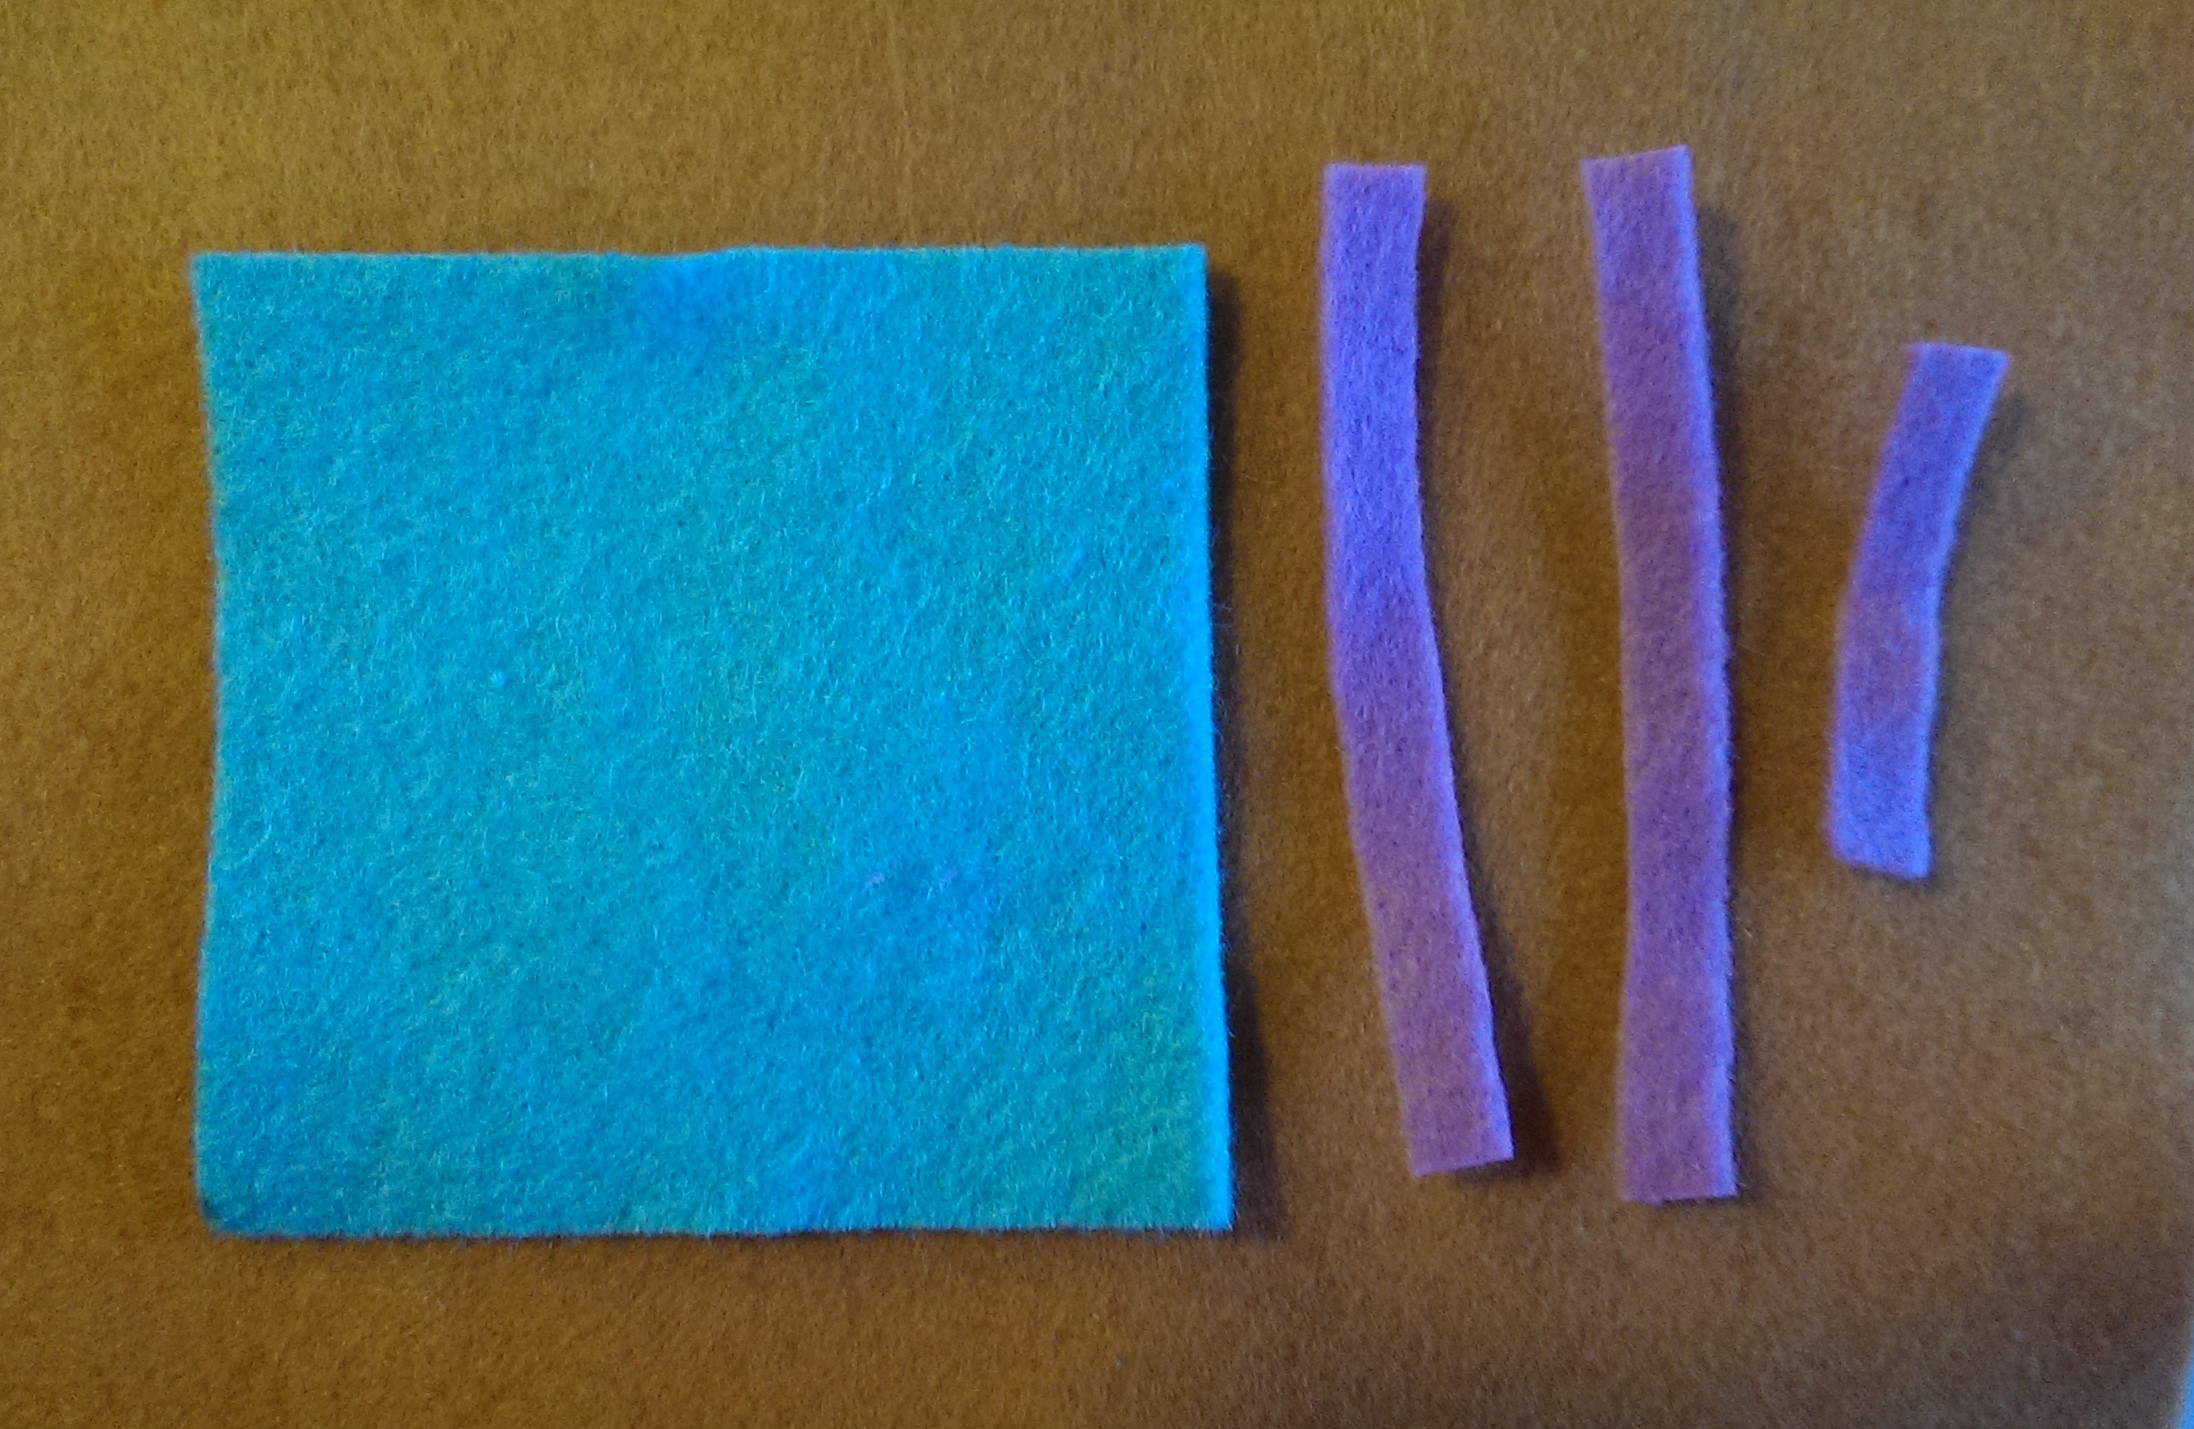
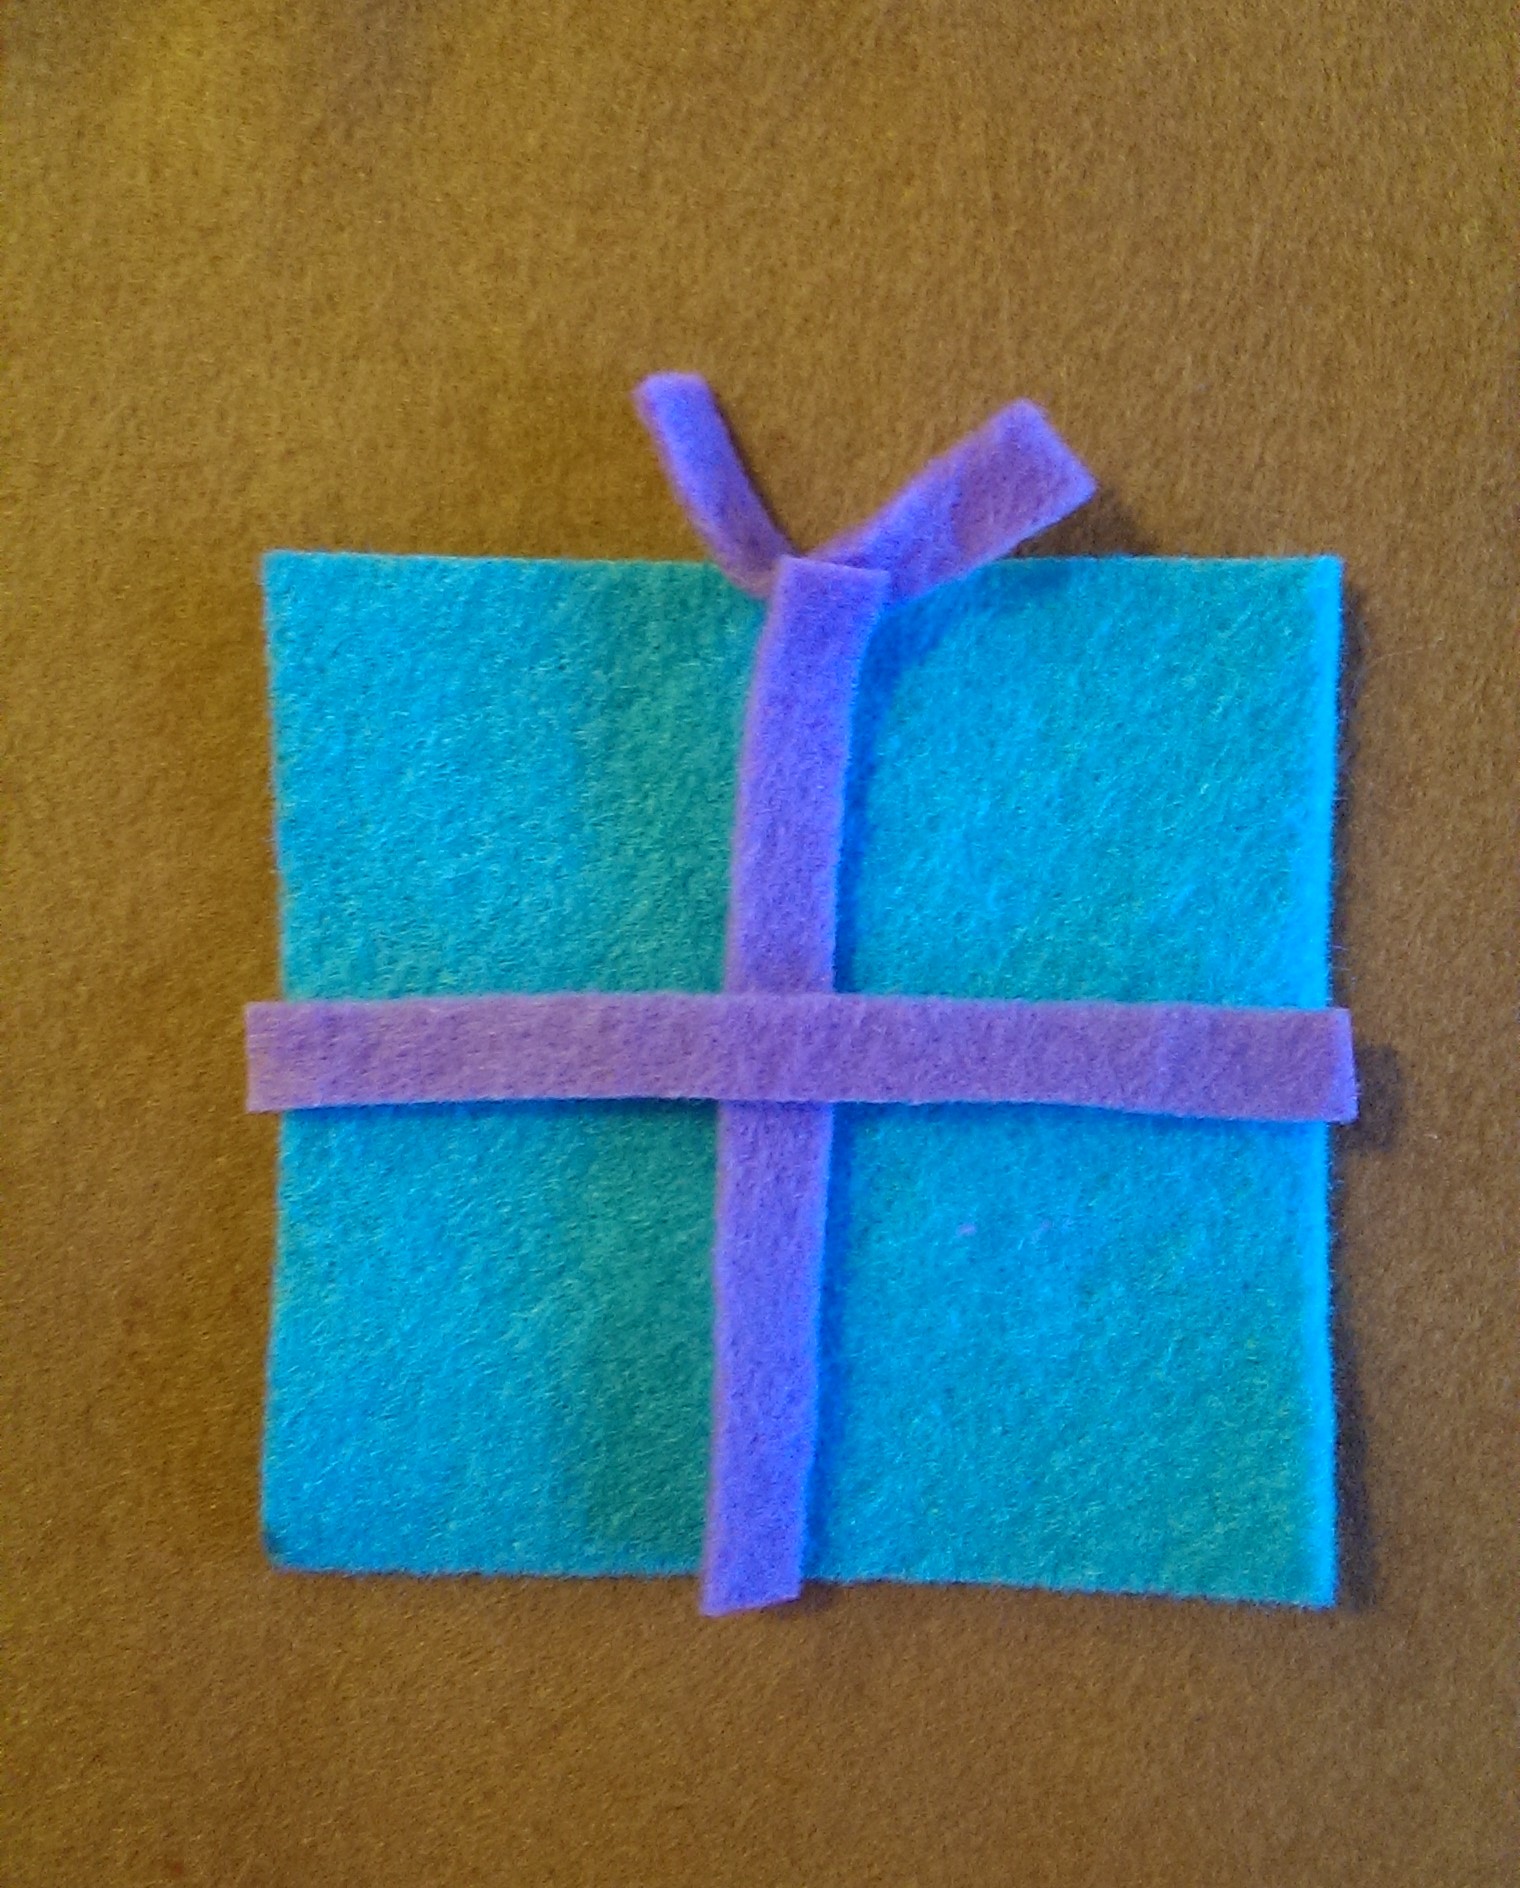
Ok so armed with the materials above, I set out to pick my shapes: stars, circles, present, bell, gingerbread man, candy cane, bow, heart and angel.
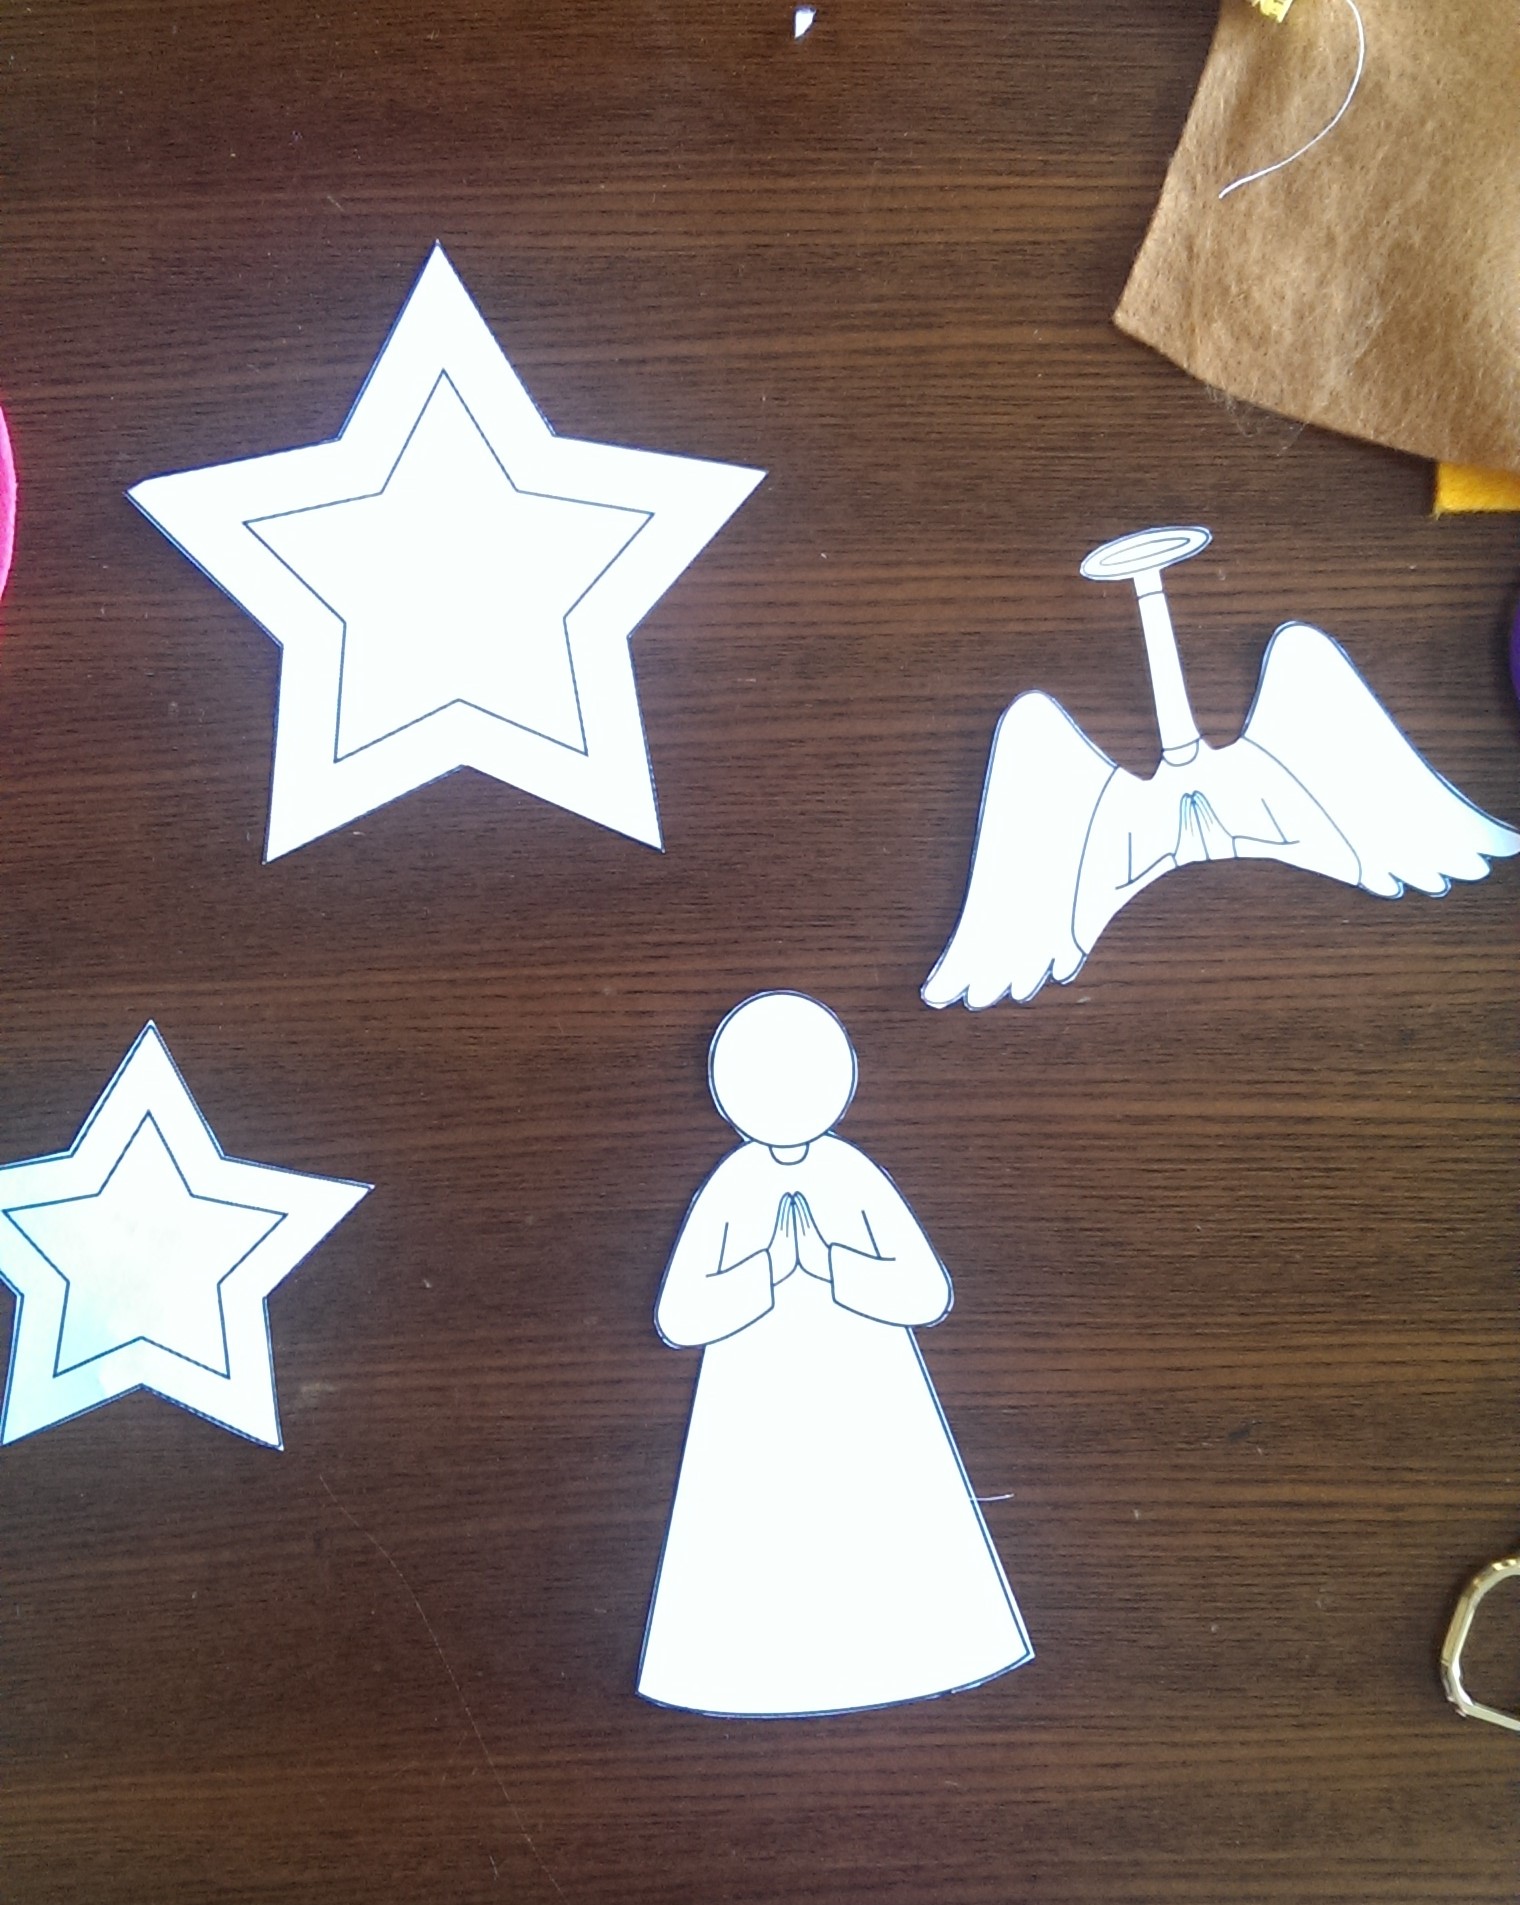
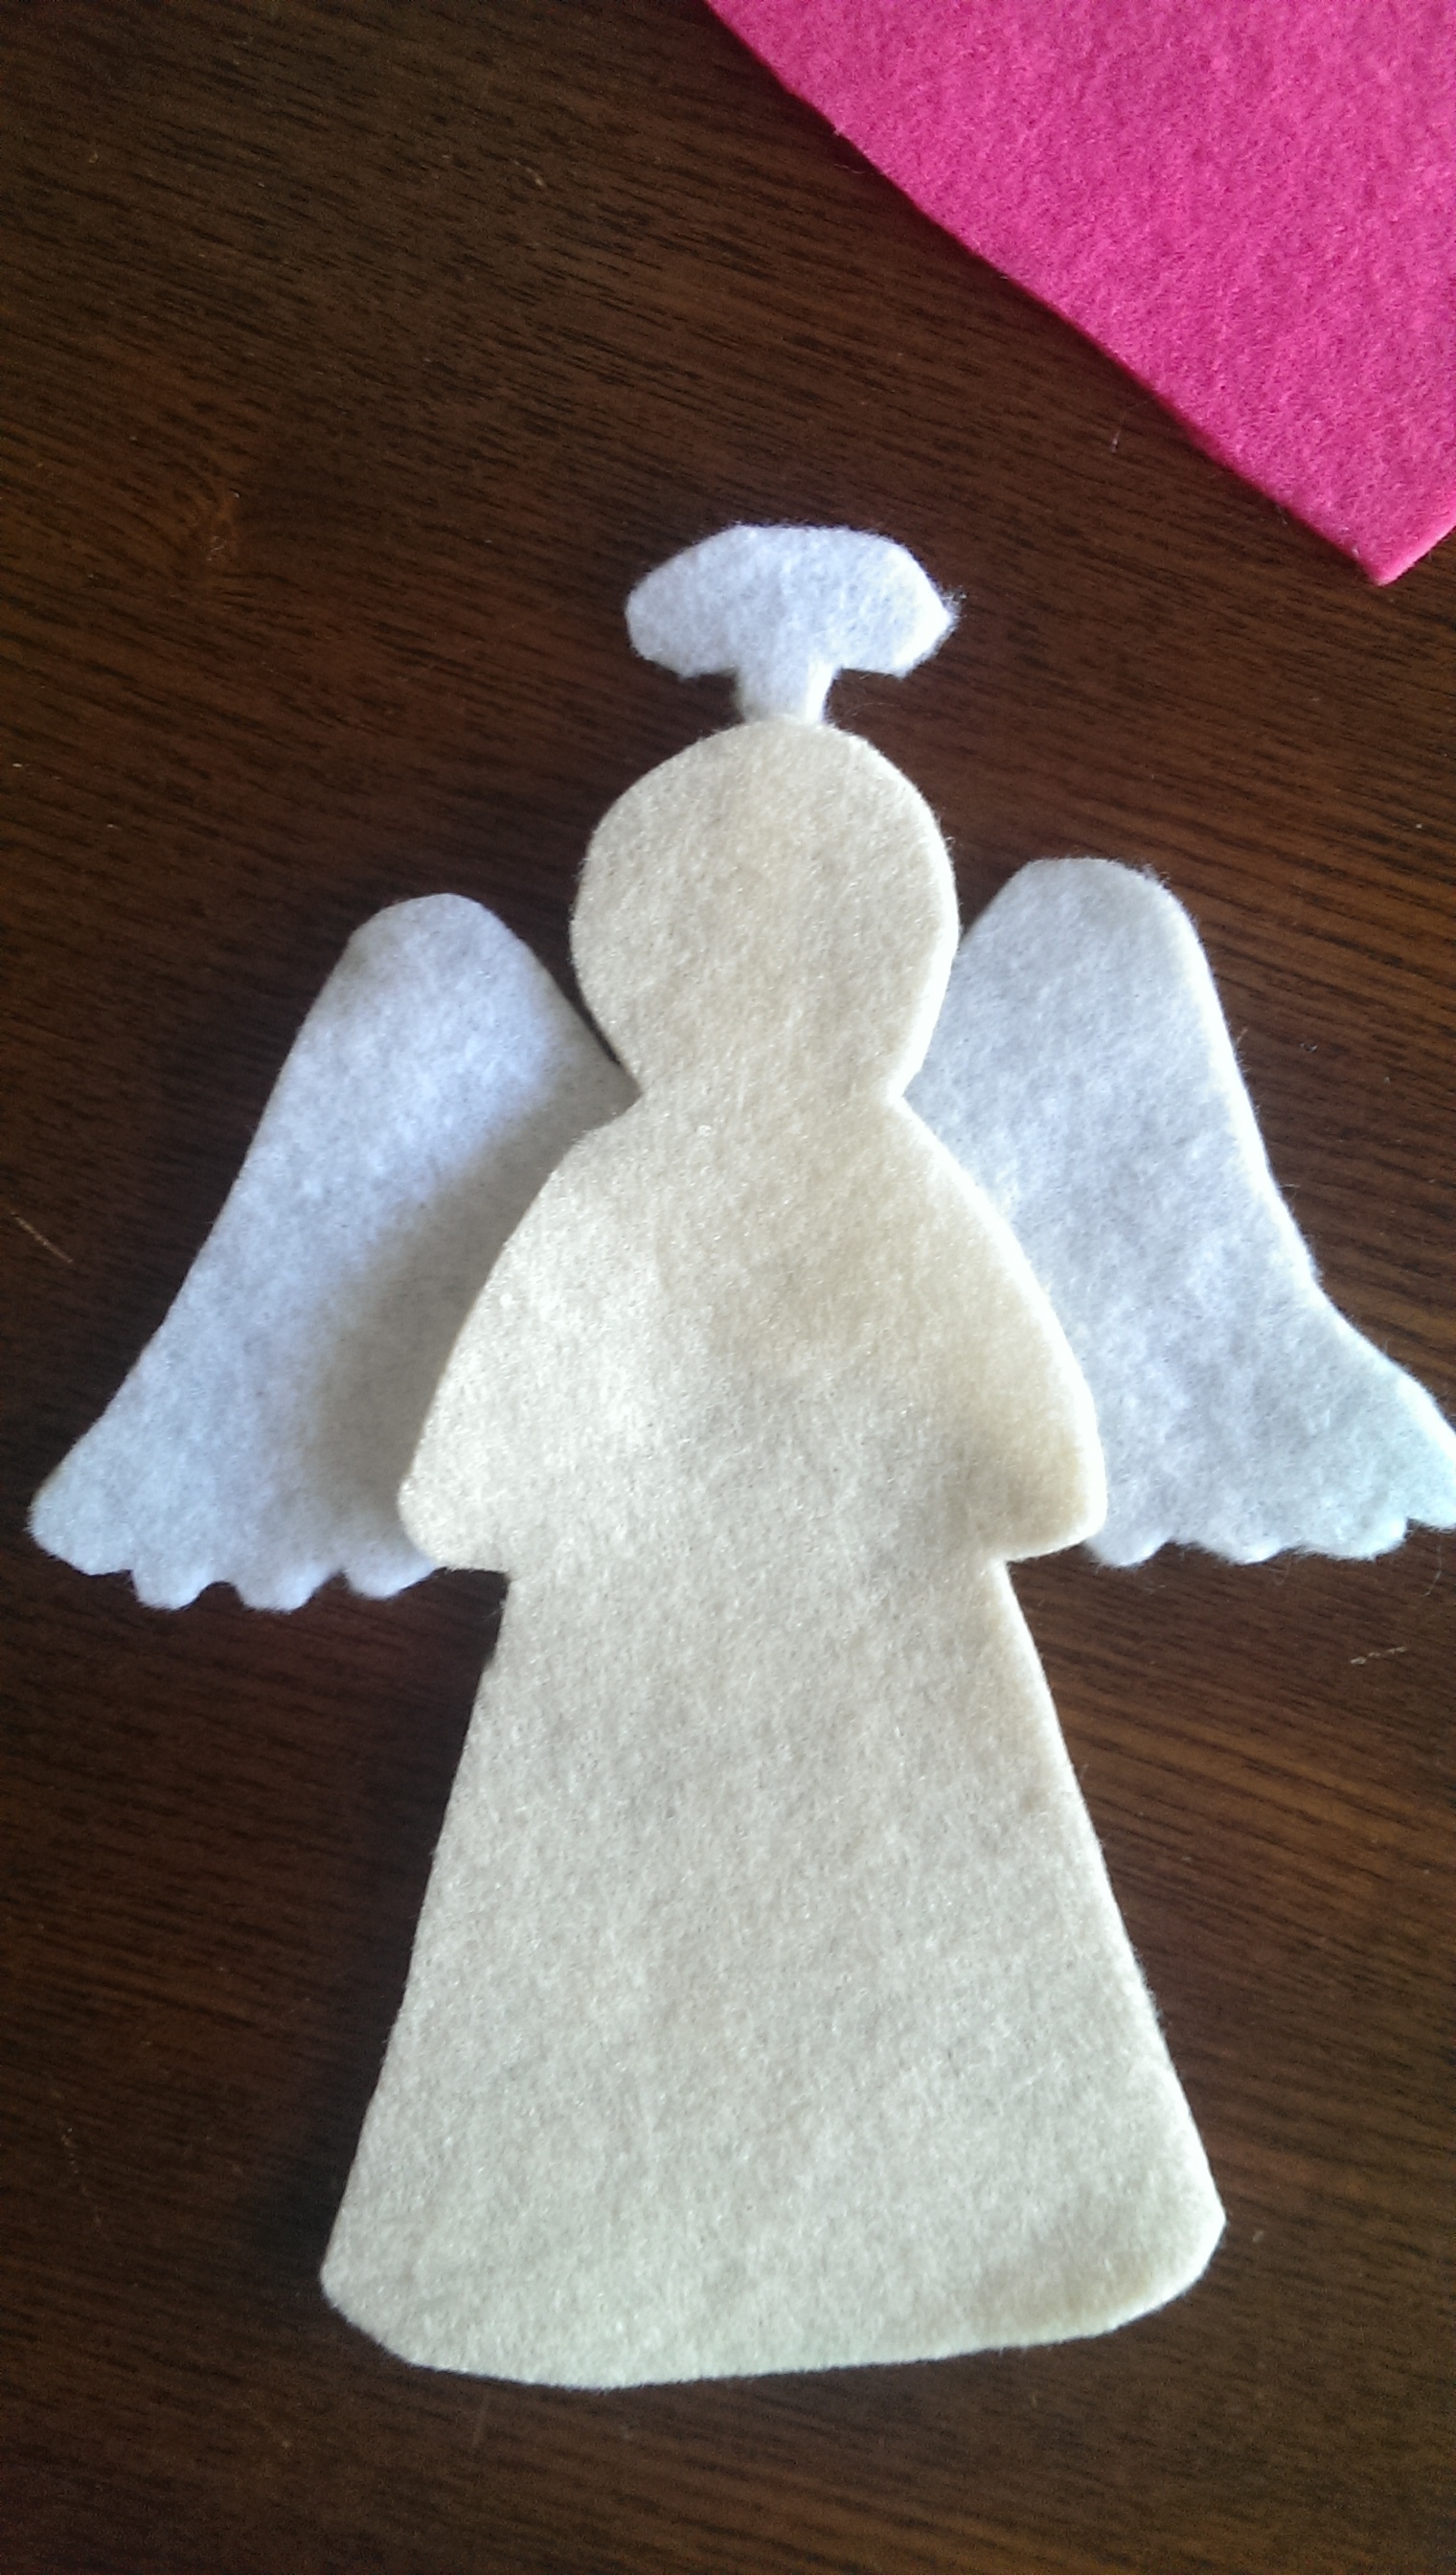
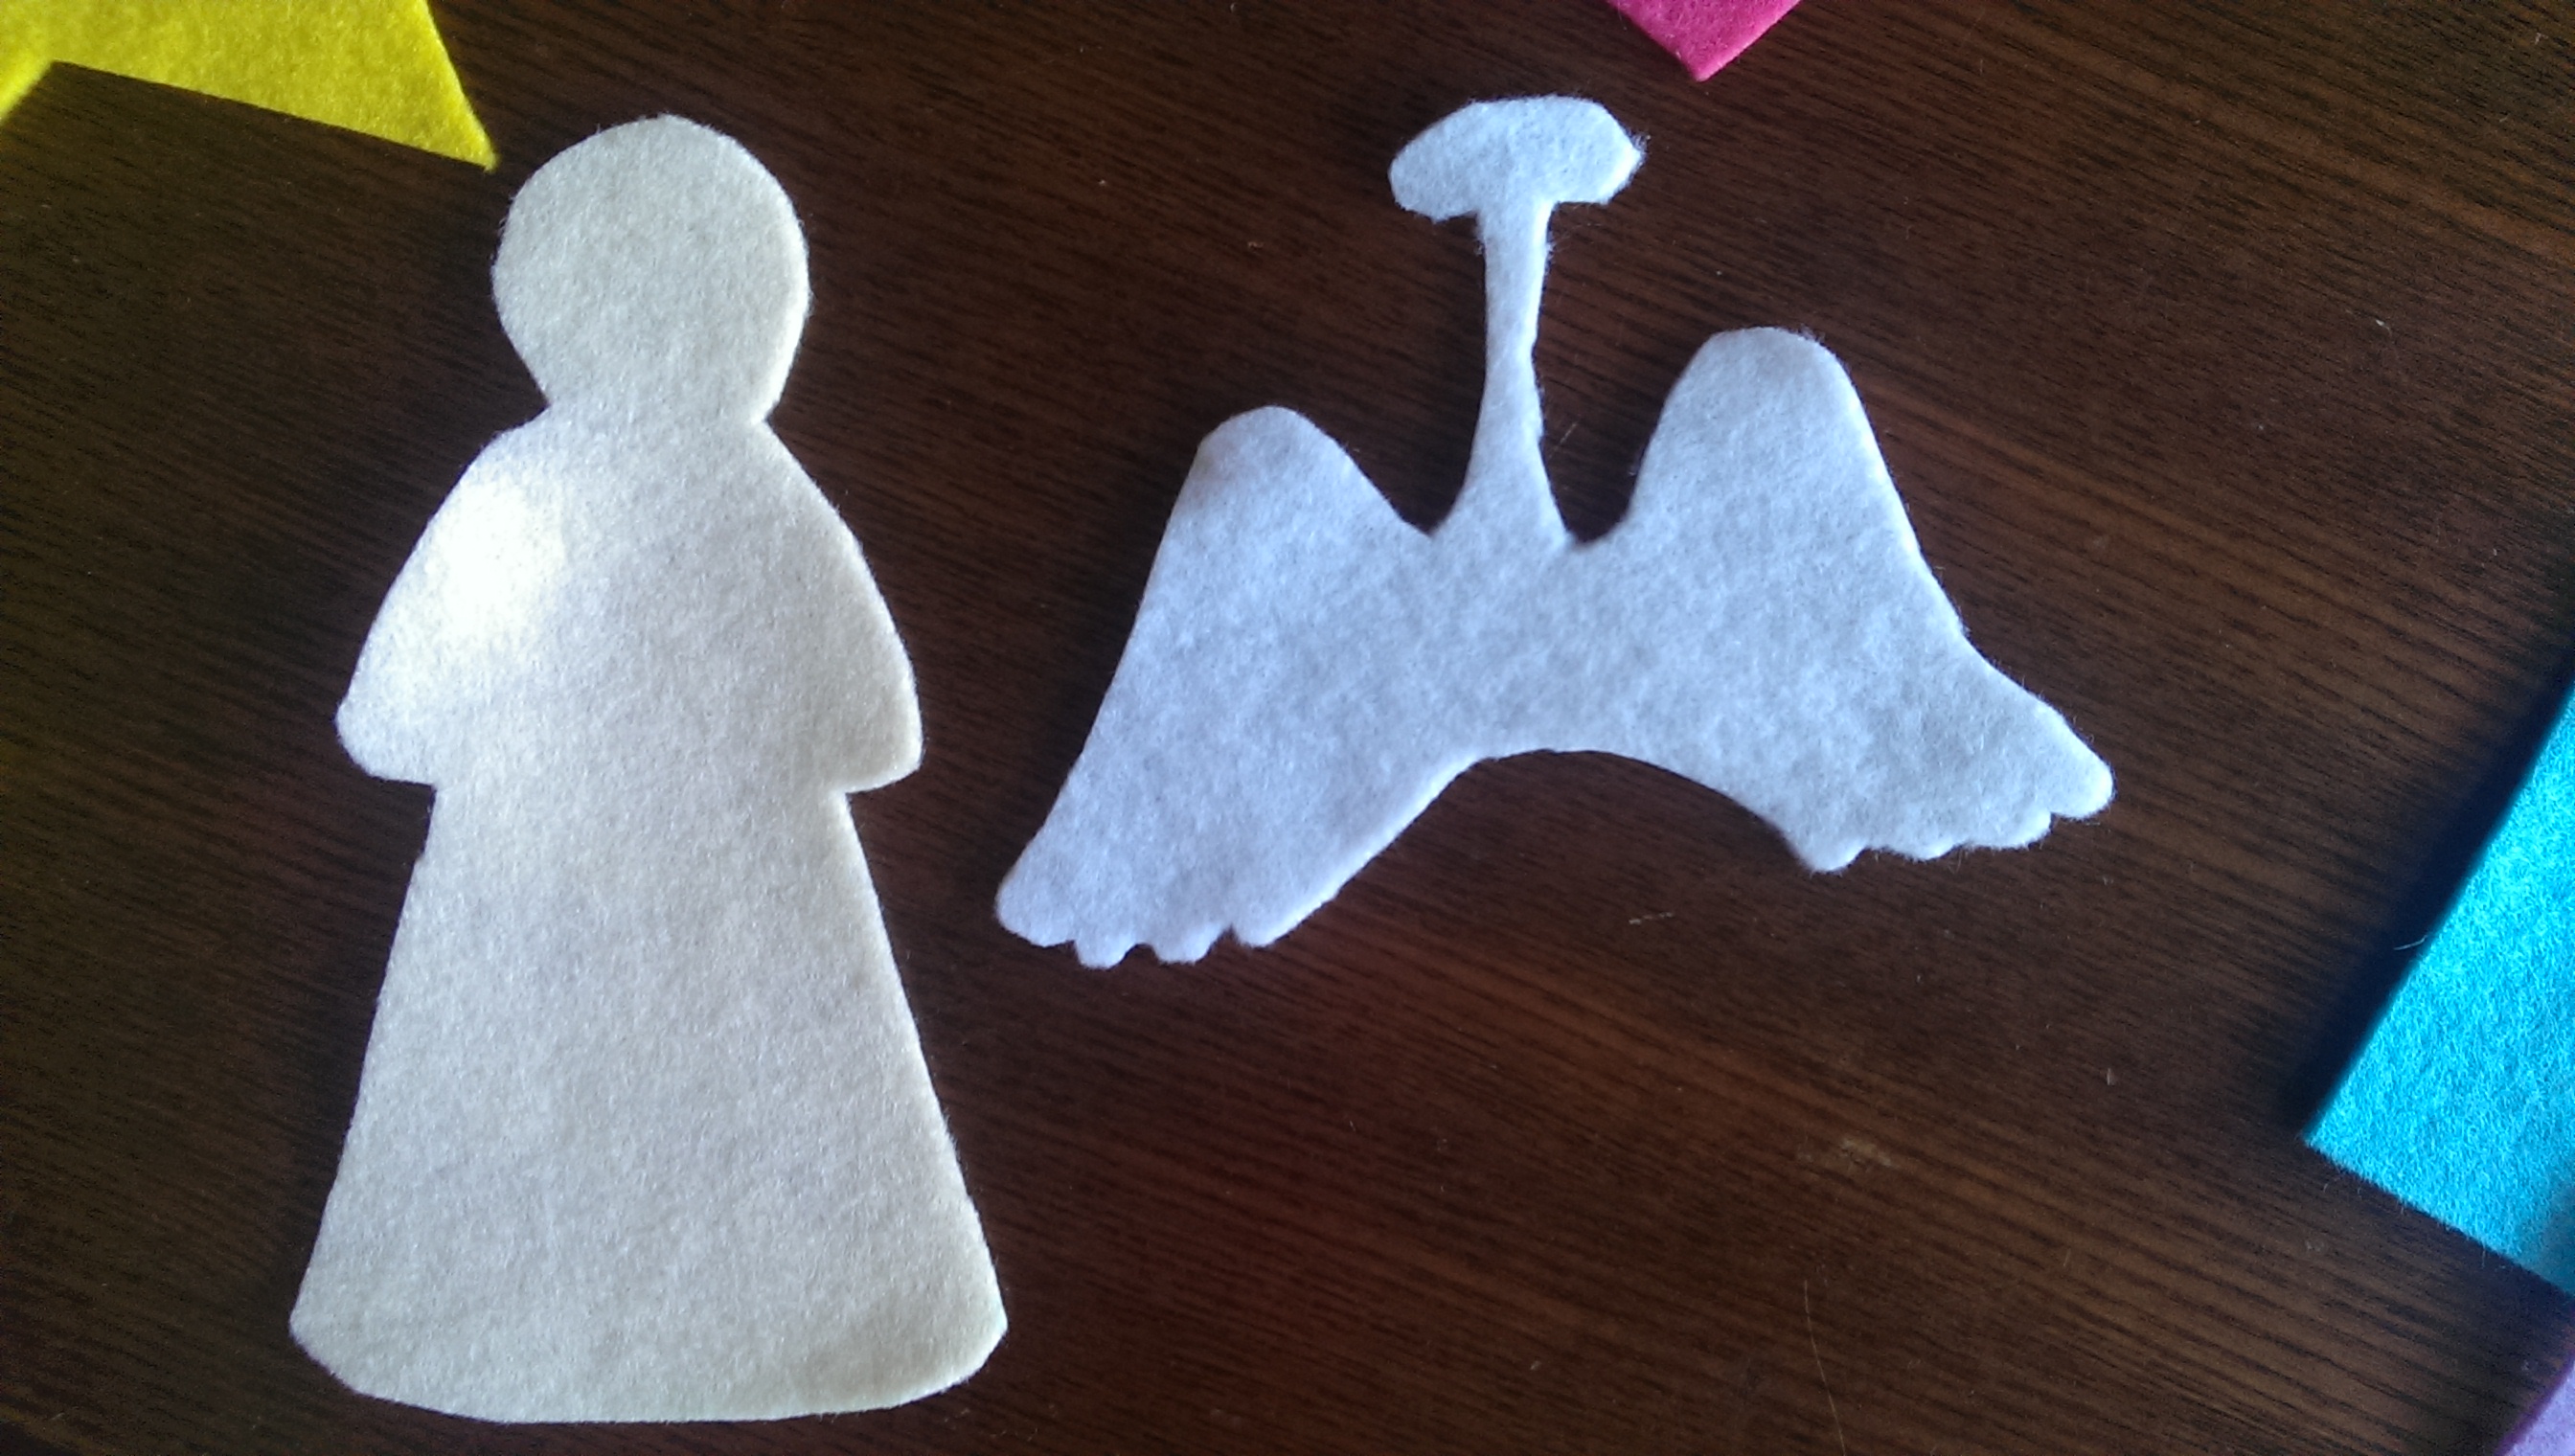
I traced and cut out the shapes from the felt patches.

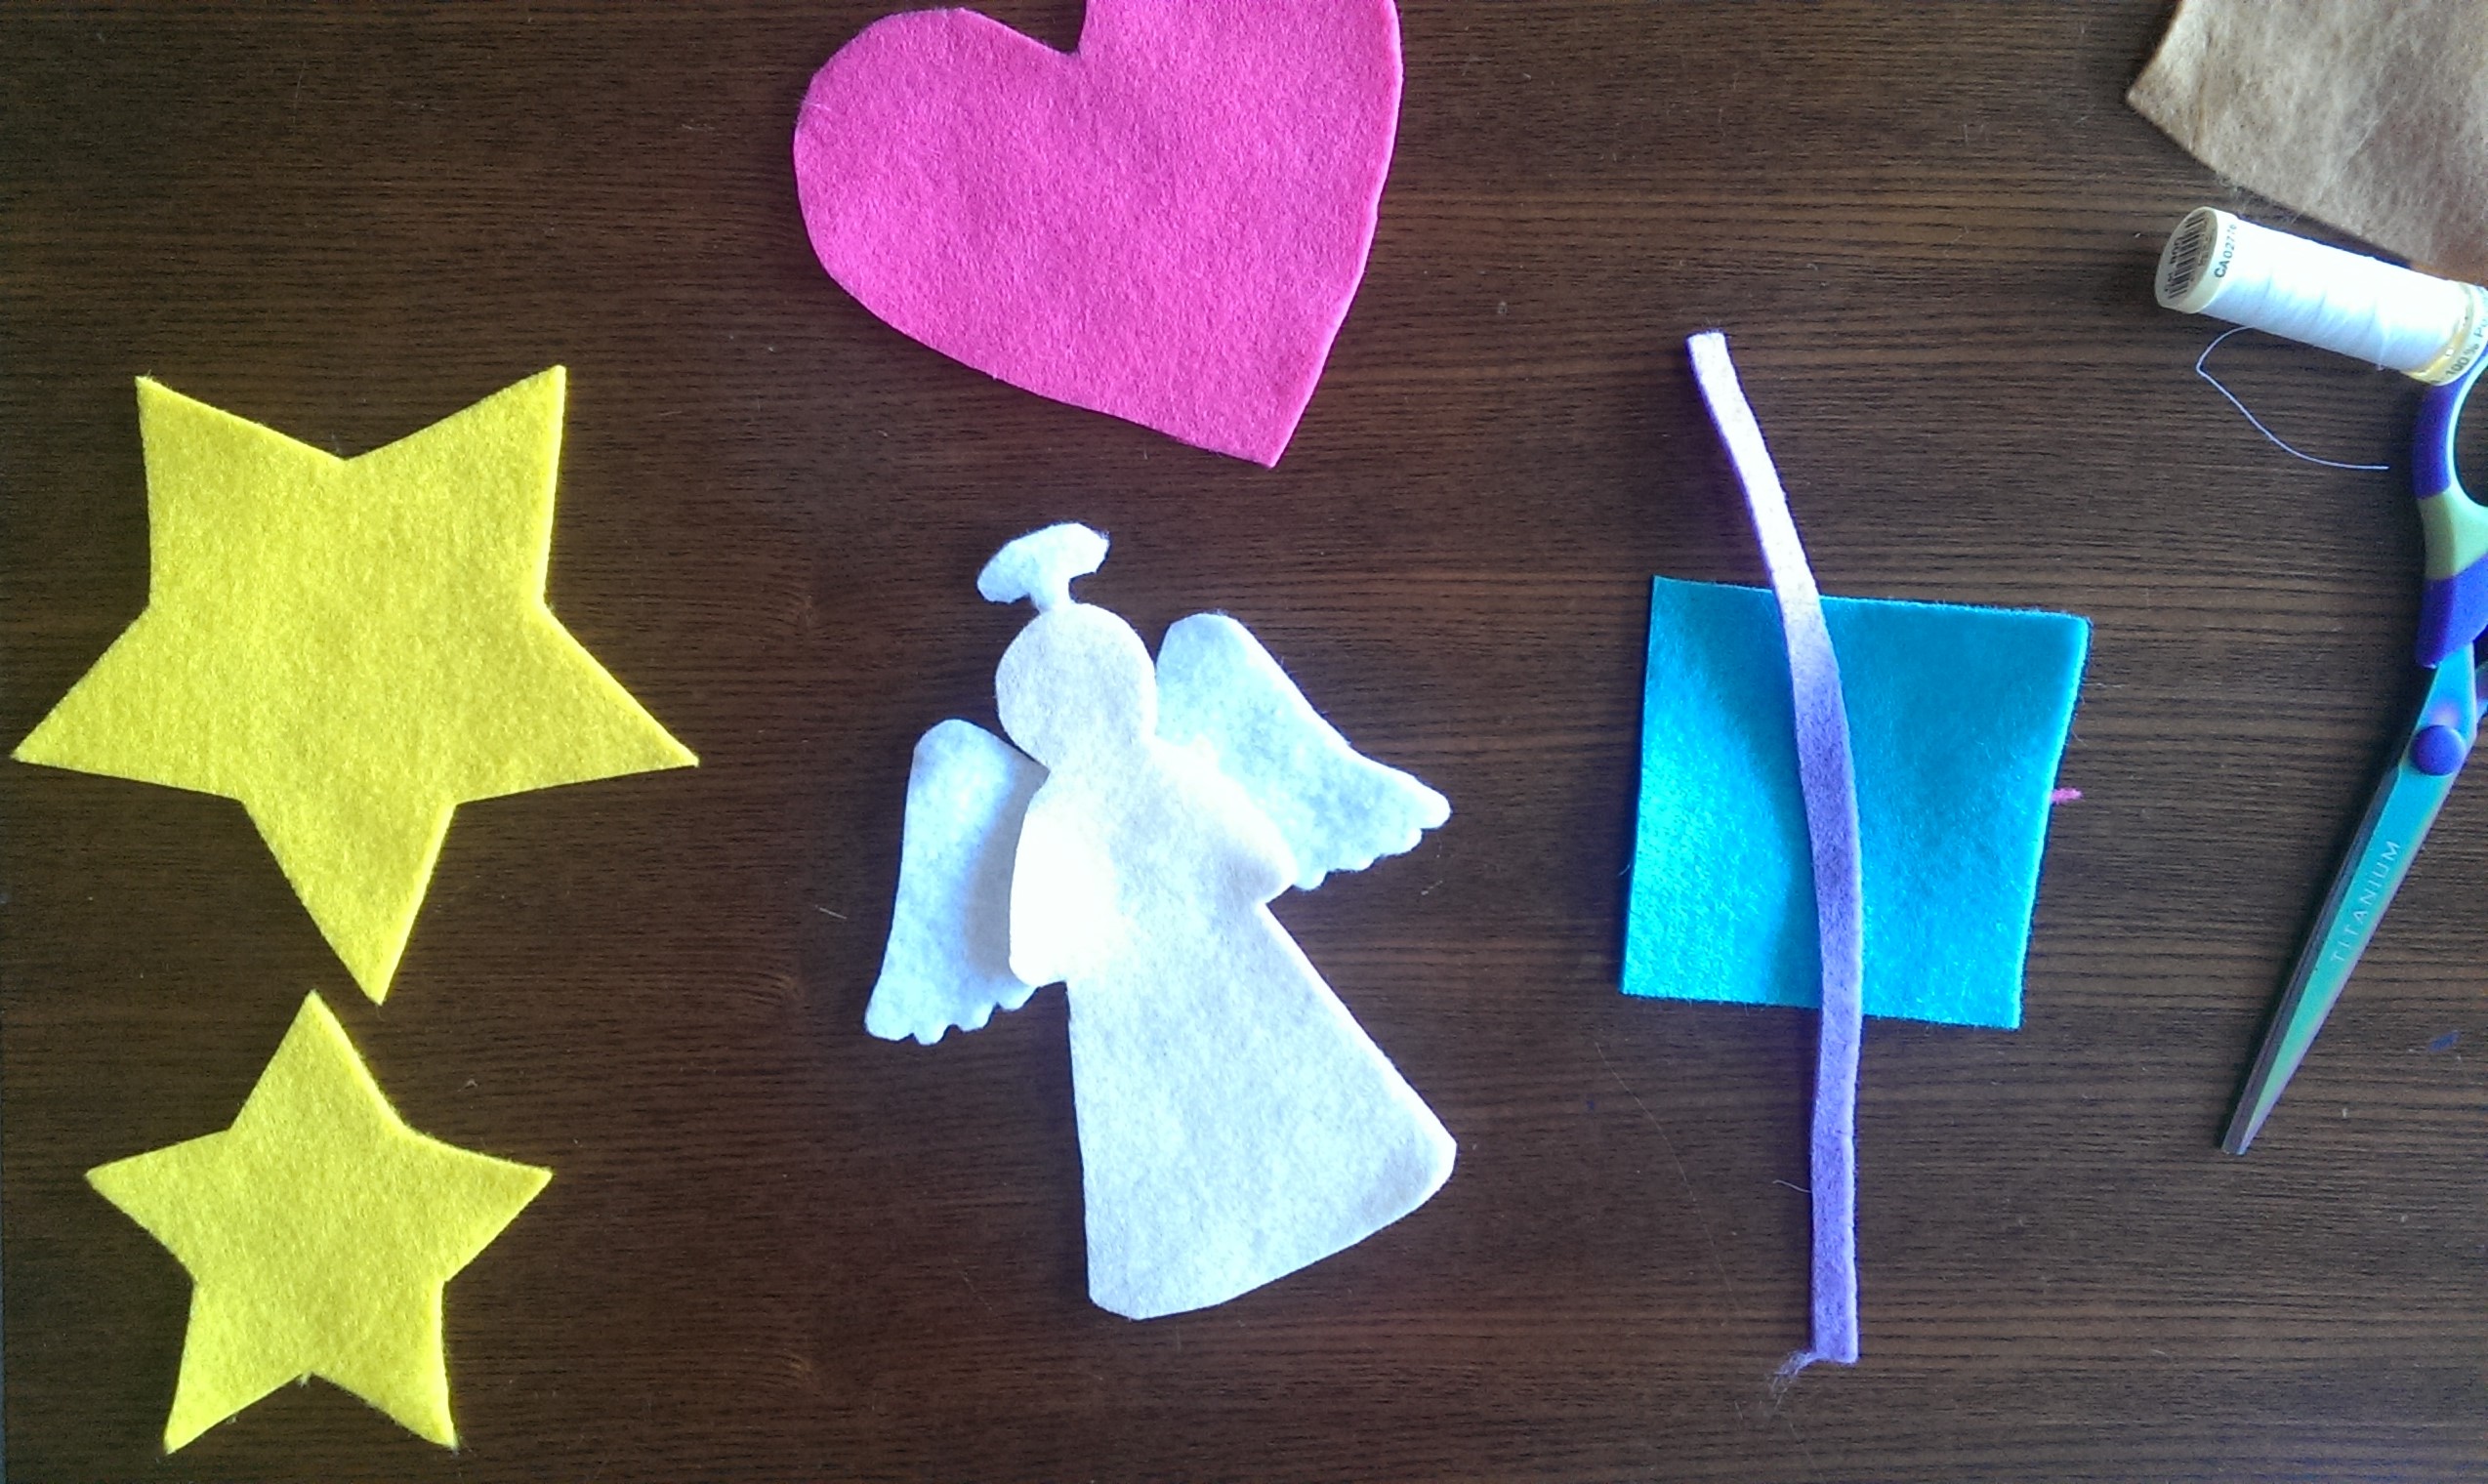
Next I glued on the special elements to some of the ornaments (ie: gingerbread man’s buttons and angel’s wings).
I then enlisted my husband to cut out the tree from the green felt and what a beautiful job he did!
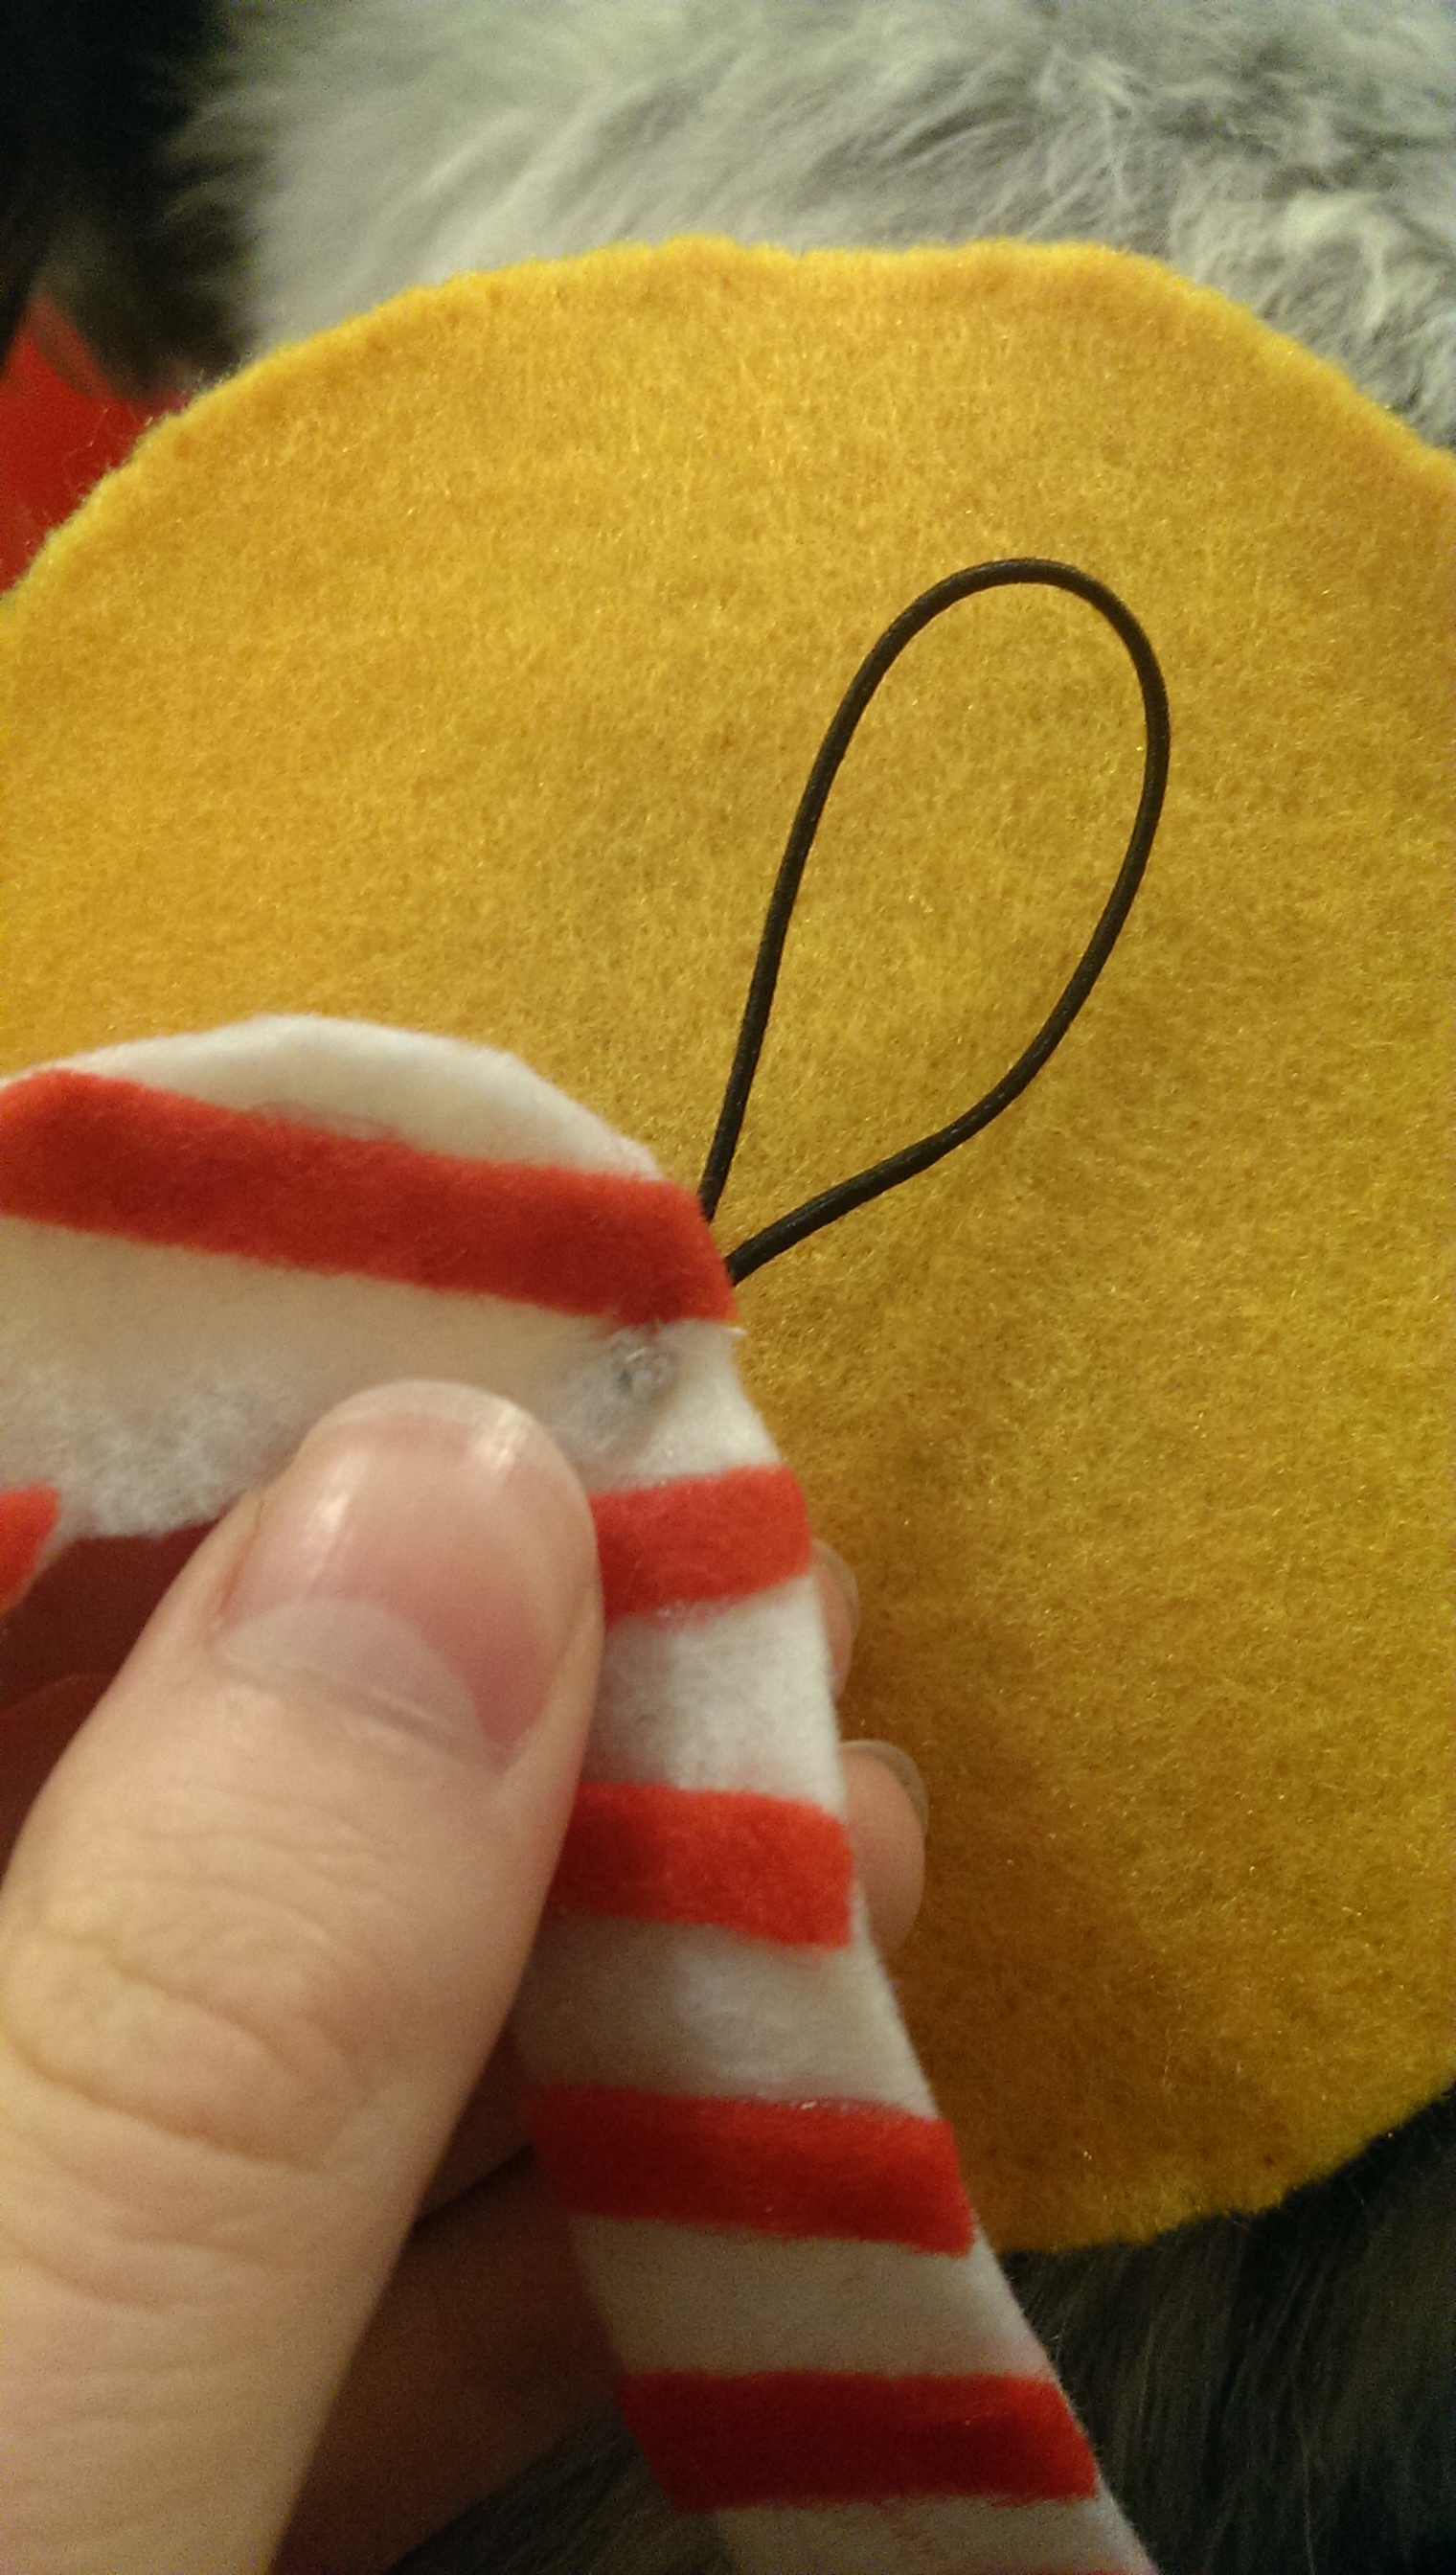
Next to do was the loops with the elastic. Requiring my very poor sewing techniques.

Last sewing job is the buttons on the tree itself, just as you would for a shirt.
The penultimate step: Attaching to the wall.

I used 4 push pins, 1 at the top and 3 down the bottom. Don’t fret if you think this option will not be appropriate for your walls. You could use double sided tape instead, or attach to a big window. Another option is to attach to a big board and prop it against your wall.
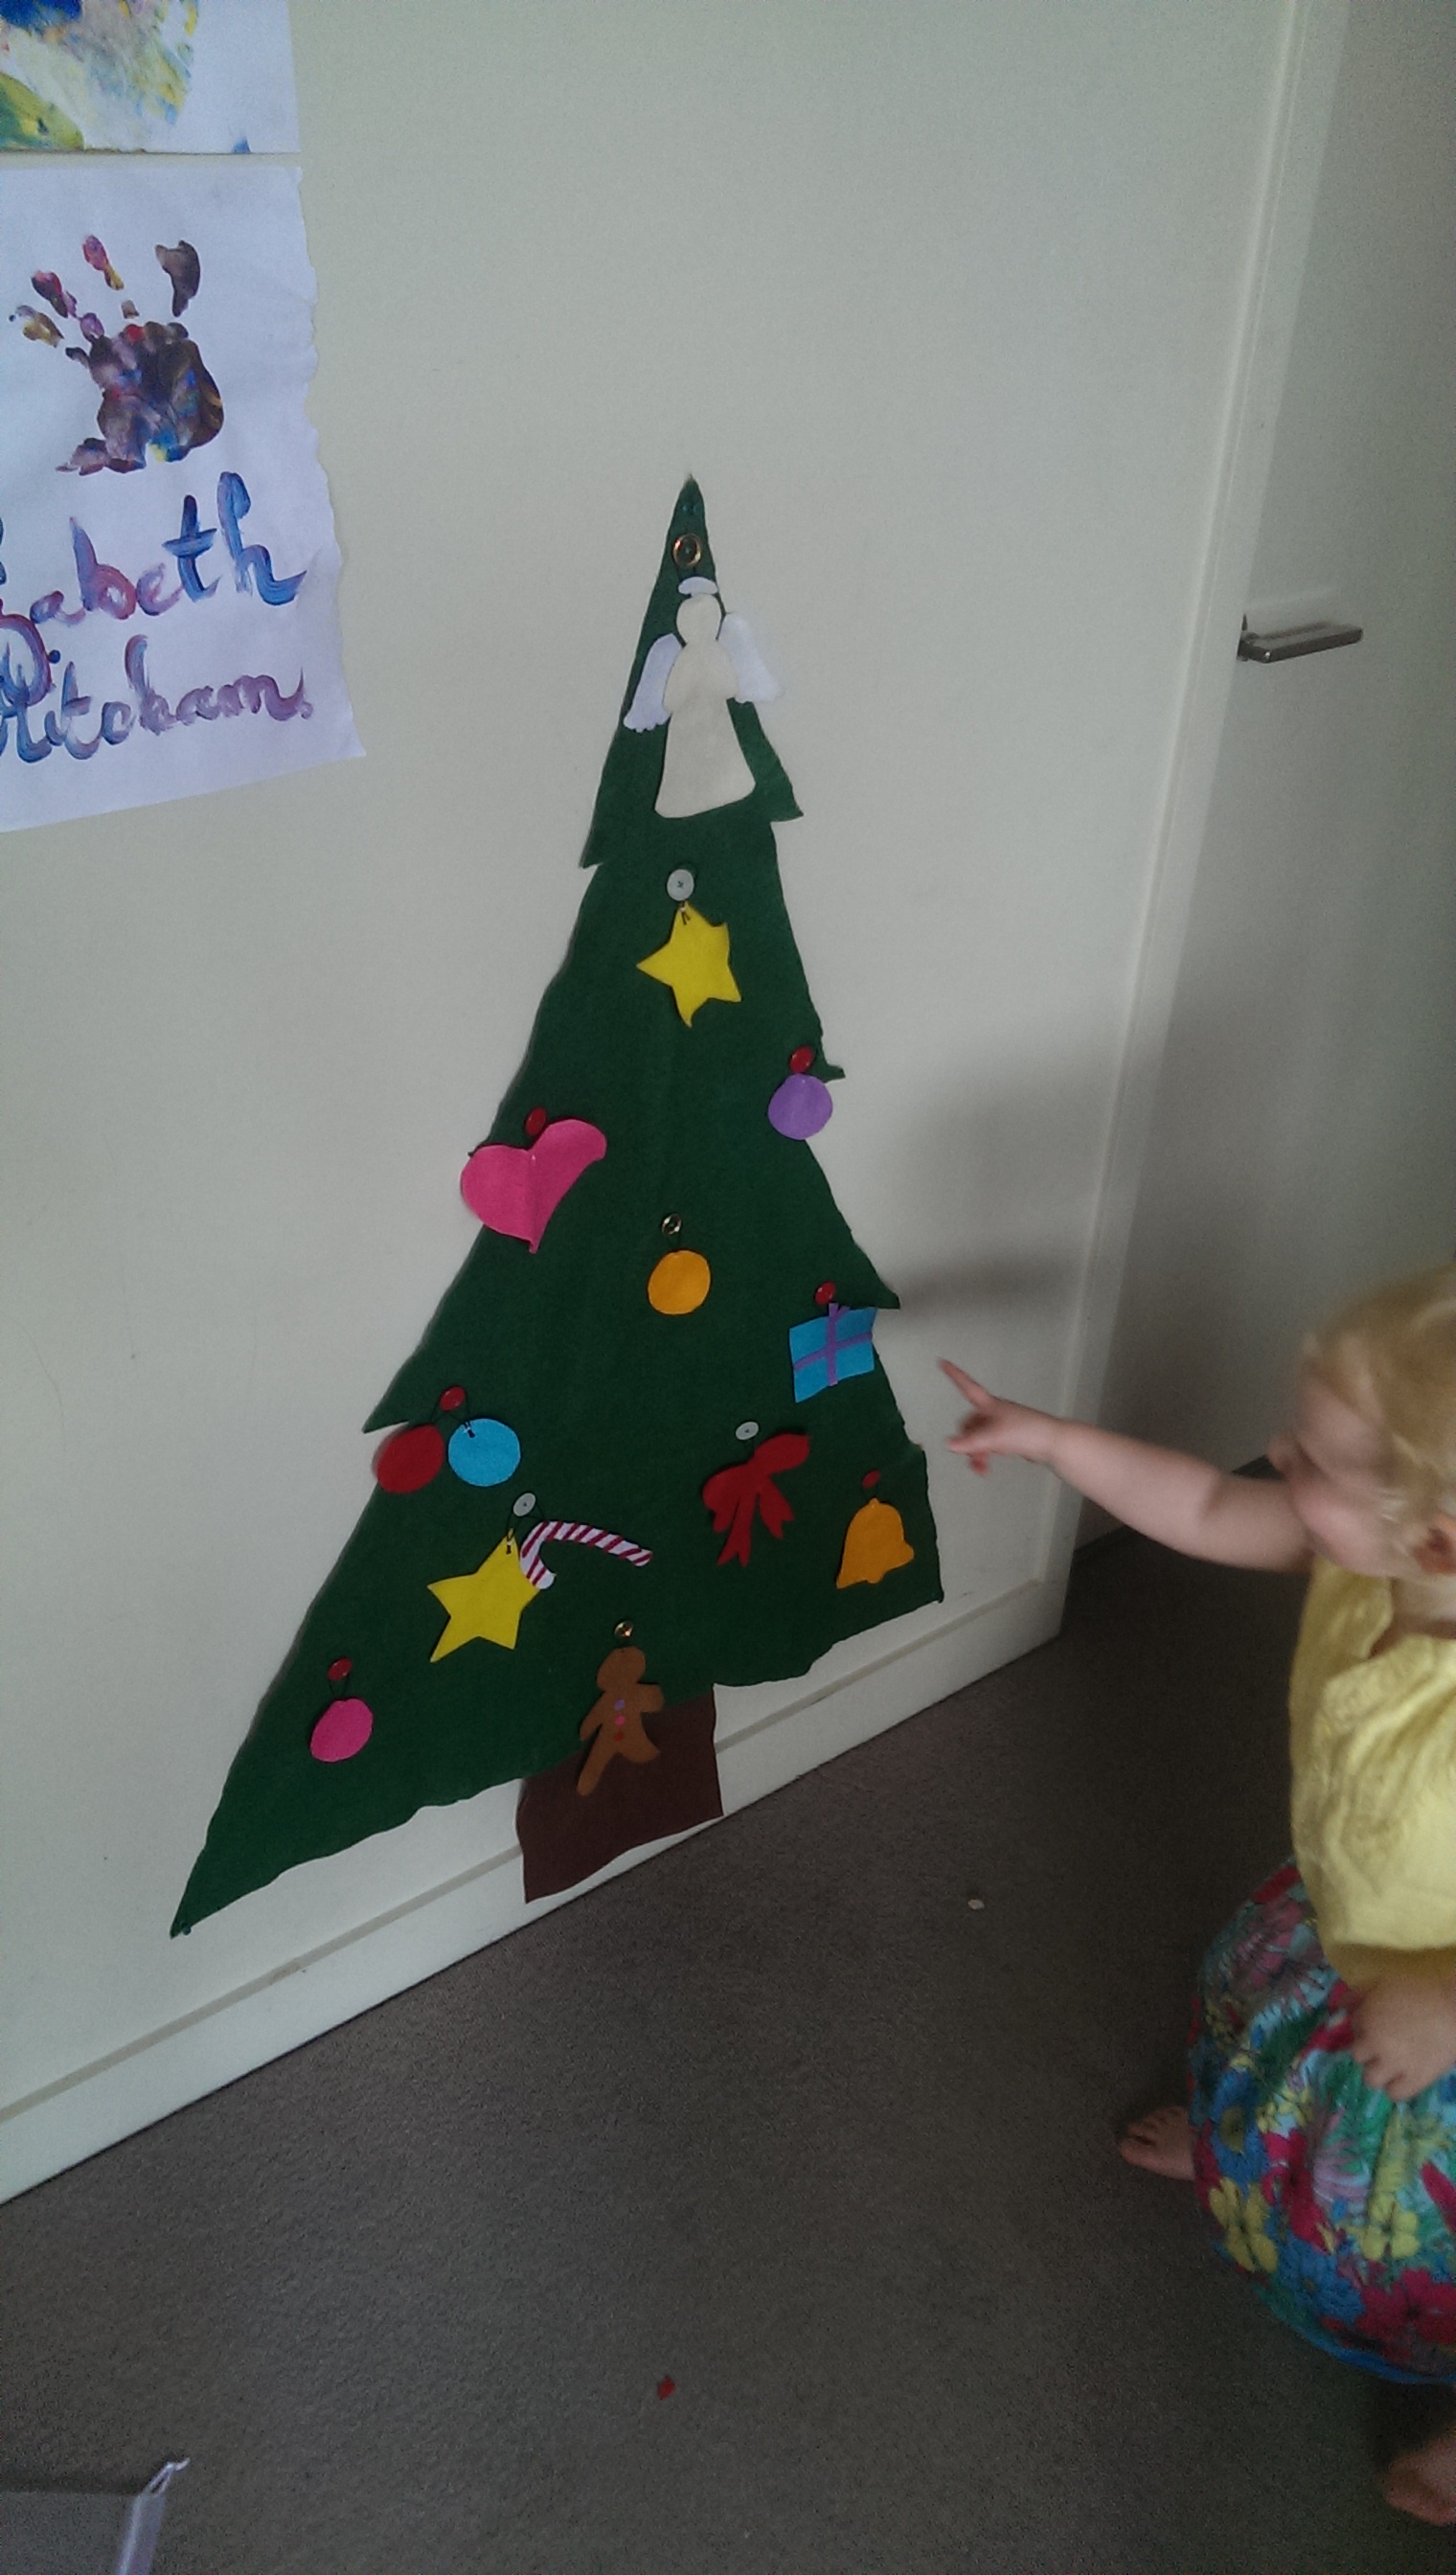
The final step, playing with your toddler!
Originally posted 2014-12-22 03:41:25.