
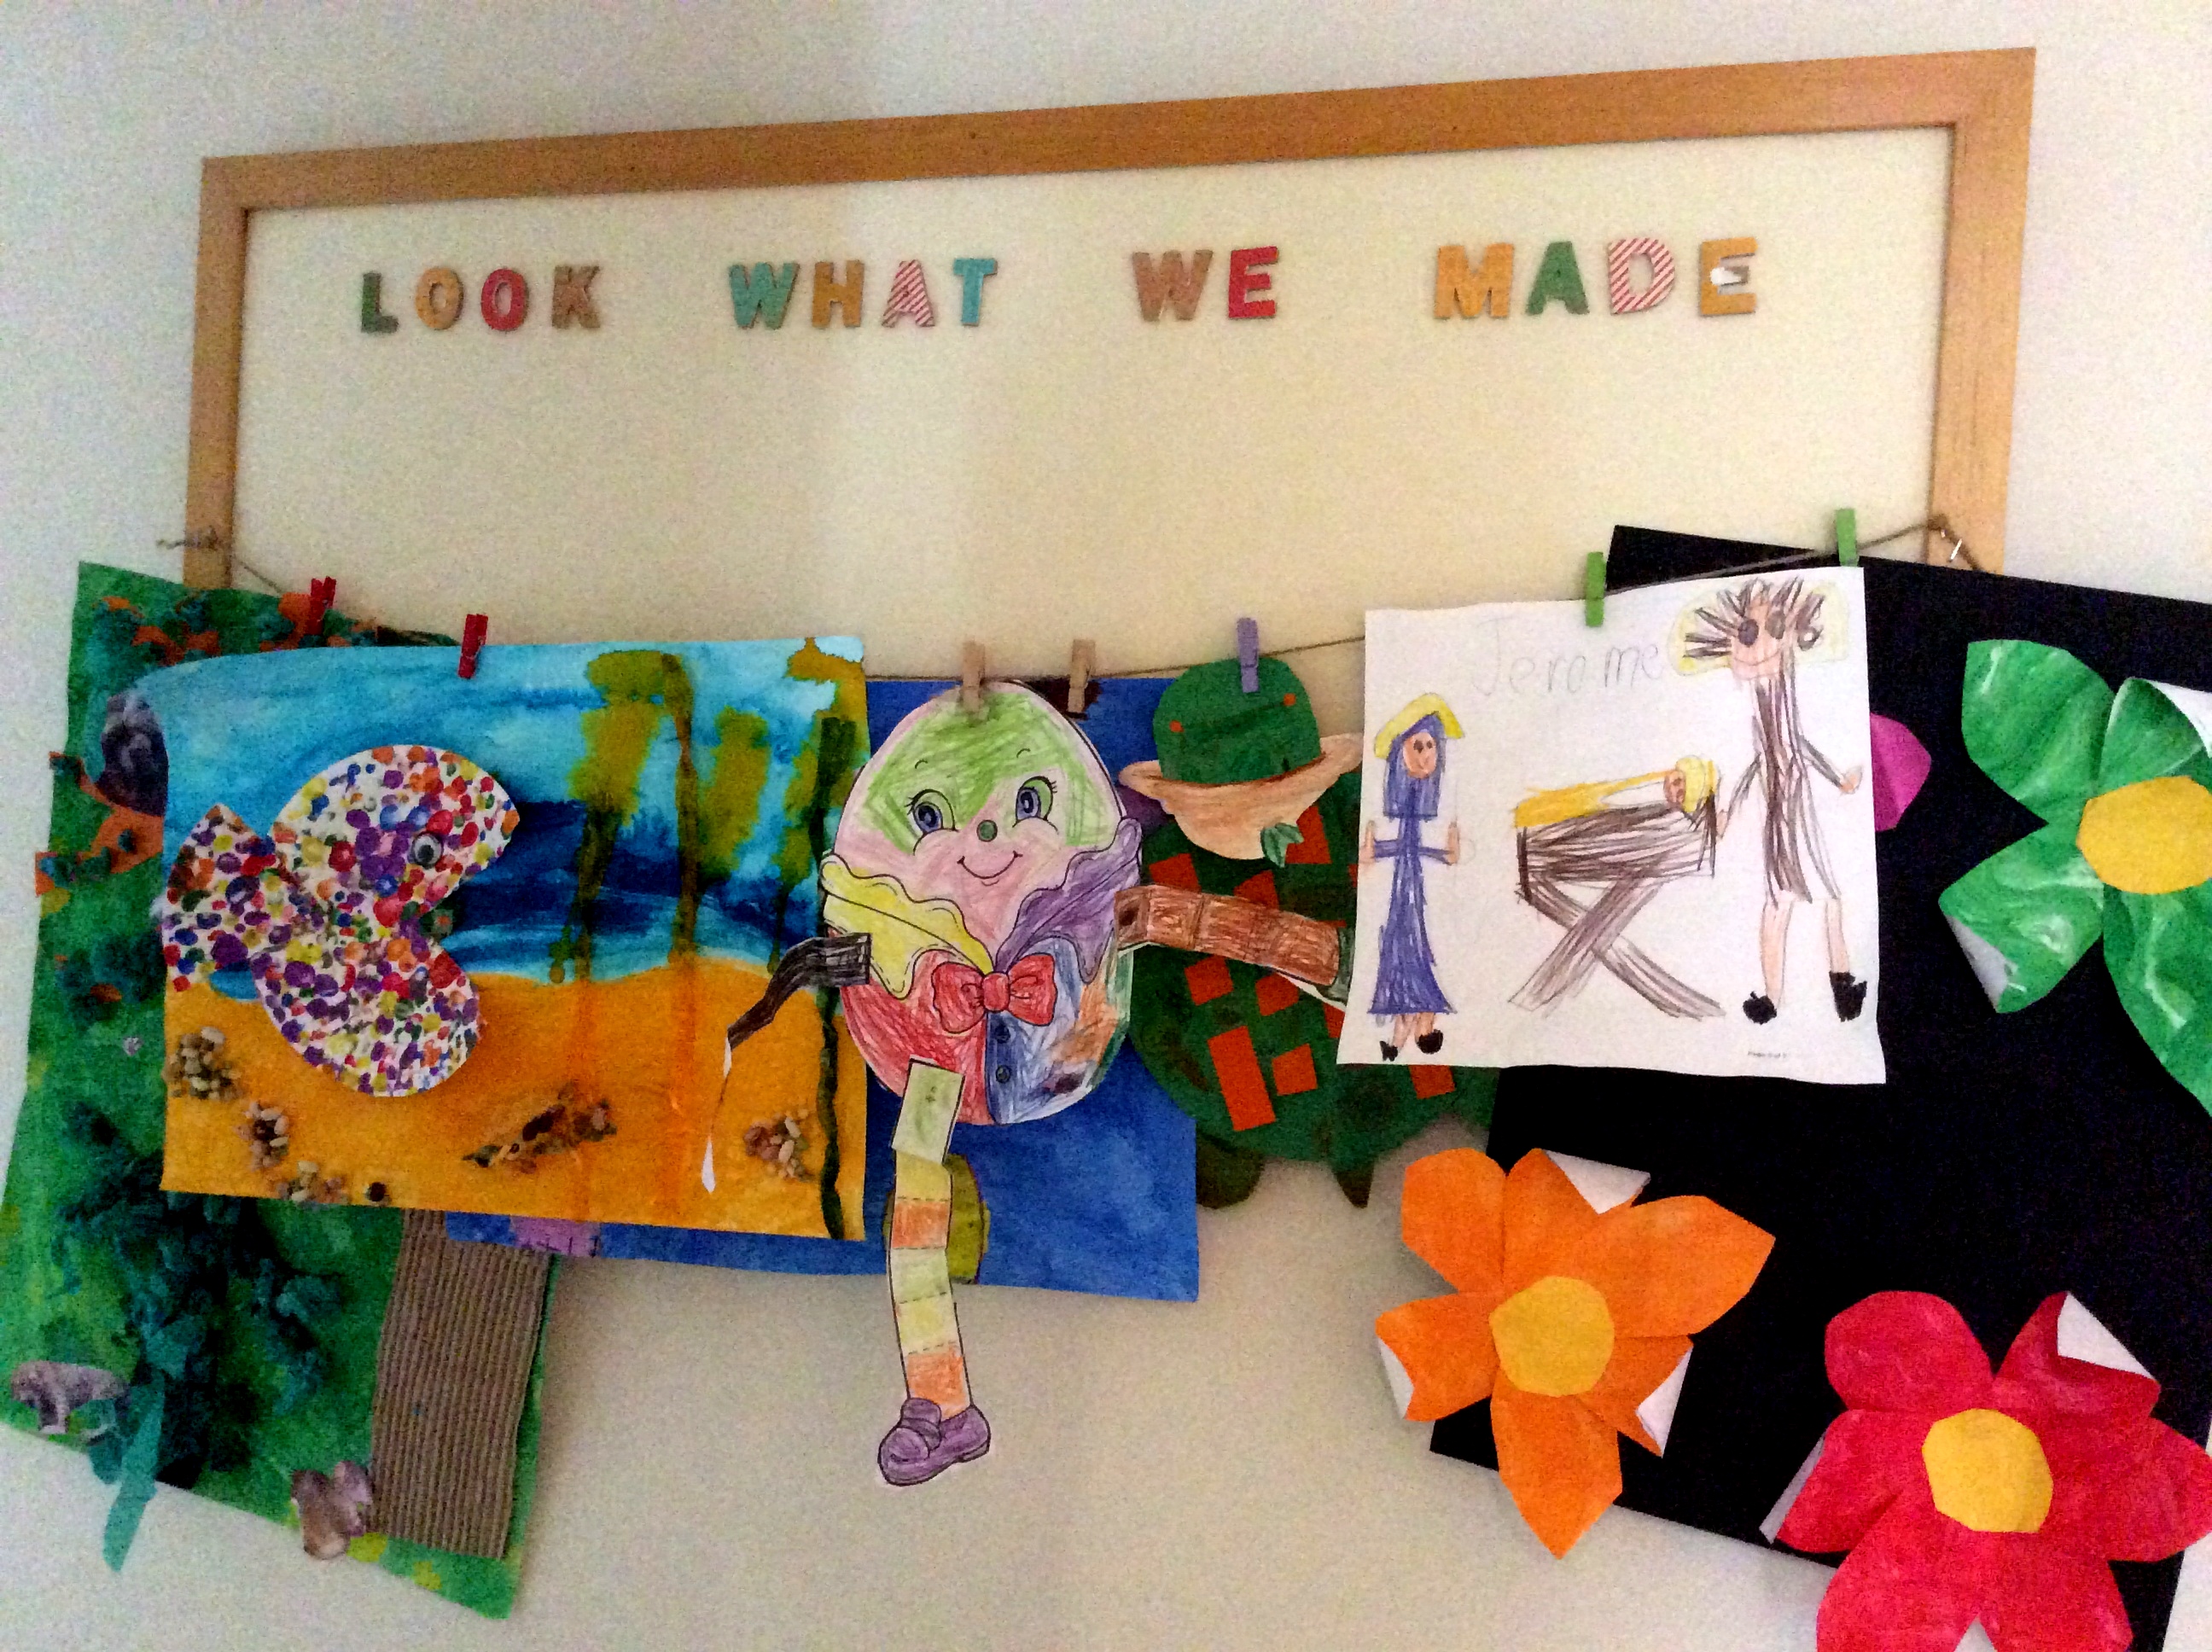
This is a relatively simple project that will provide a nice place to display your children’s artworks.
What you’ll need:
- A large wooden picture frame
- Poster board or other heavy weight card
- Fabric in a neutral colour
- Scrapbooking letters
- Scrapbooking papers or glue
- Small pegs
- Twine
- Staple gun and staples
- Craft glue
What to do:
Remove glass from frame and dispose of carefully. Keep frame and its backing.
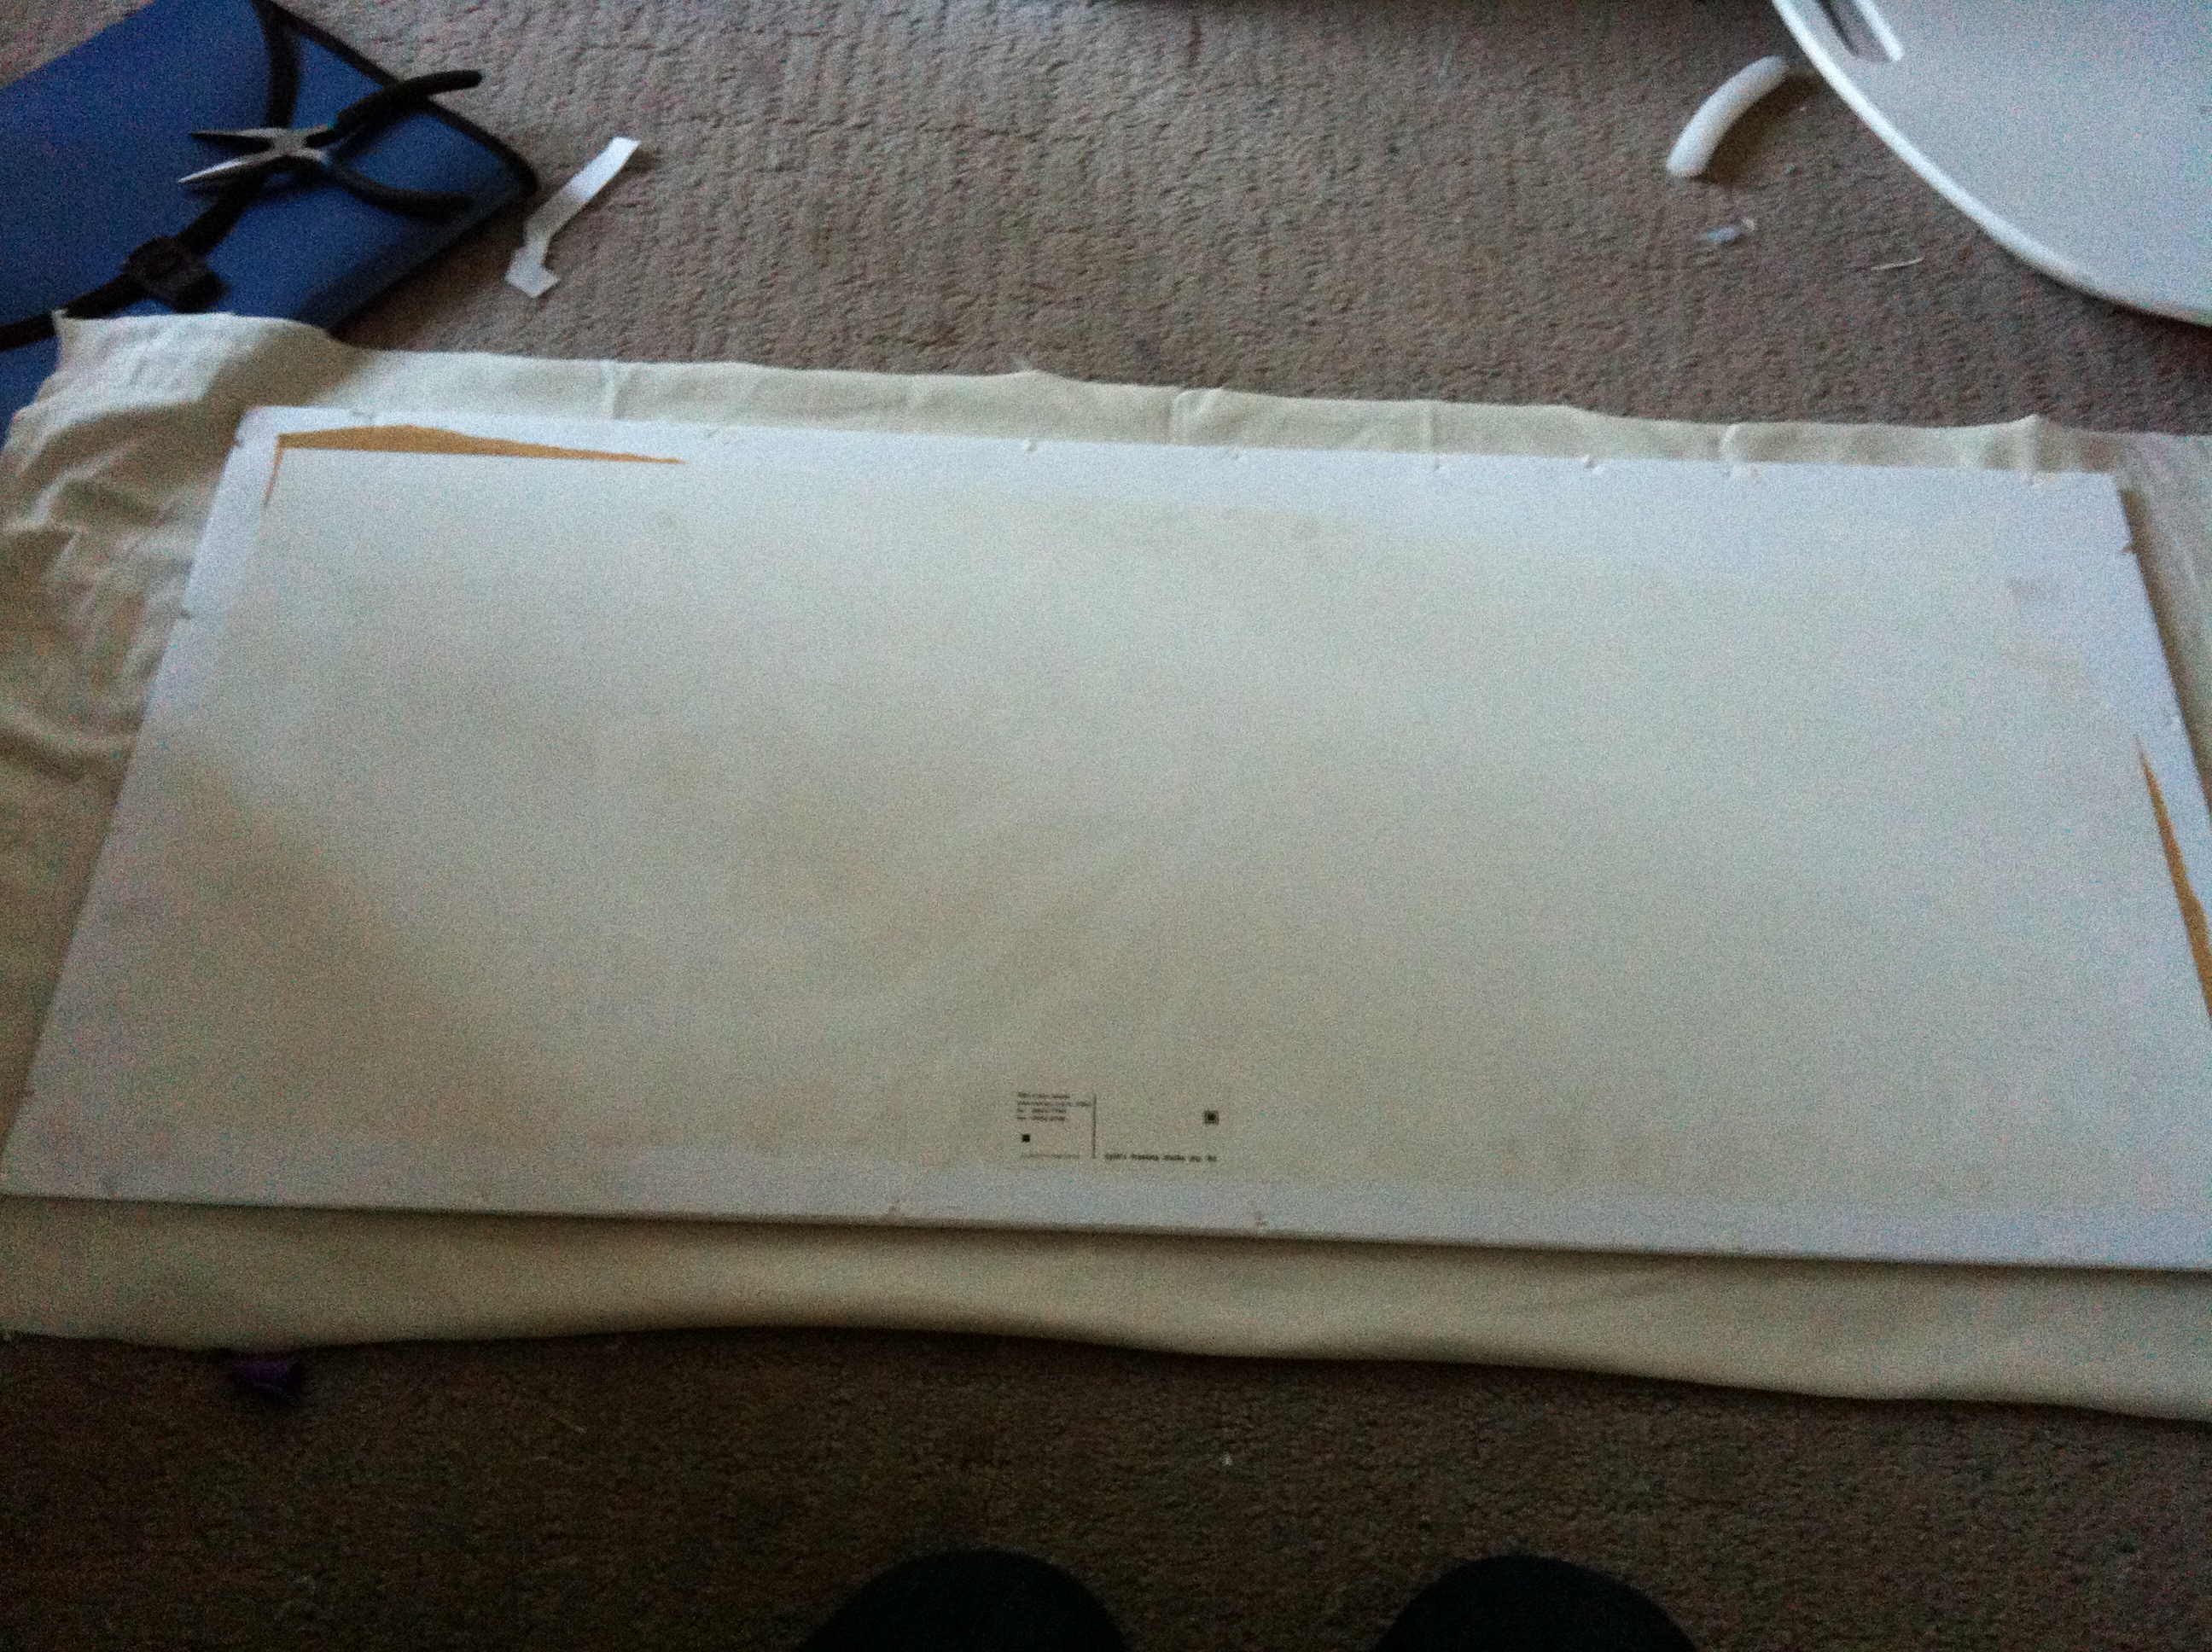
Cut your poster board of heavy weight card to fit inside the frame.
Lay your card on the wrong side of your fabric. Trim fabric so that it overlaps on all sides by about an inch. Cut corners as though you were covering a book with contact.
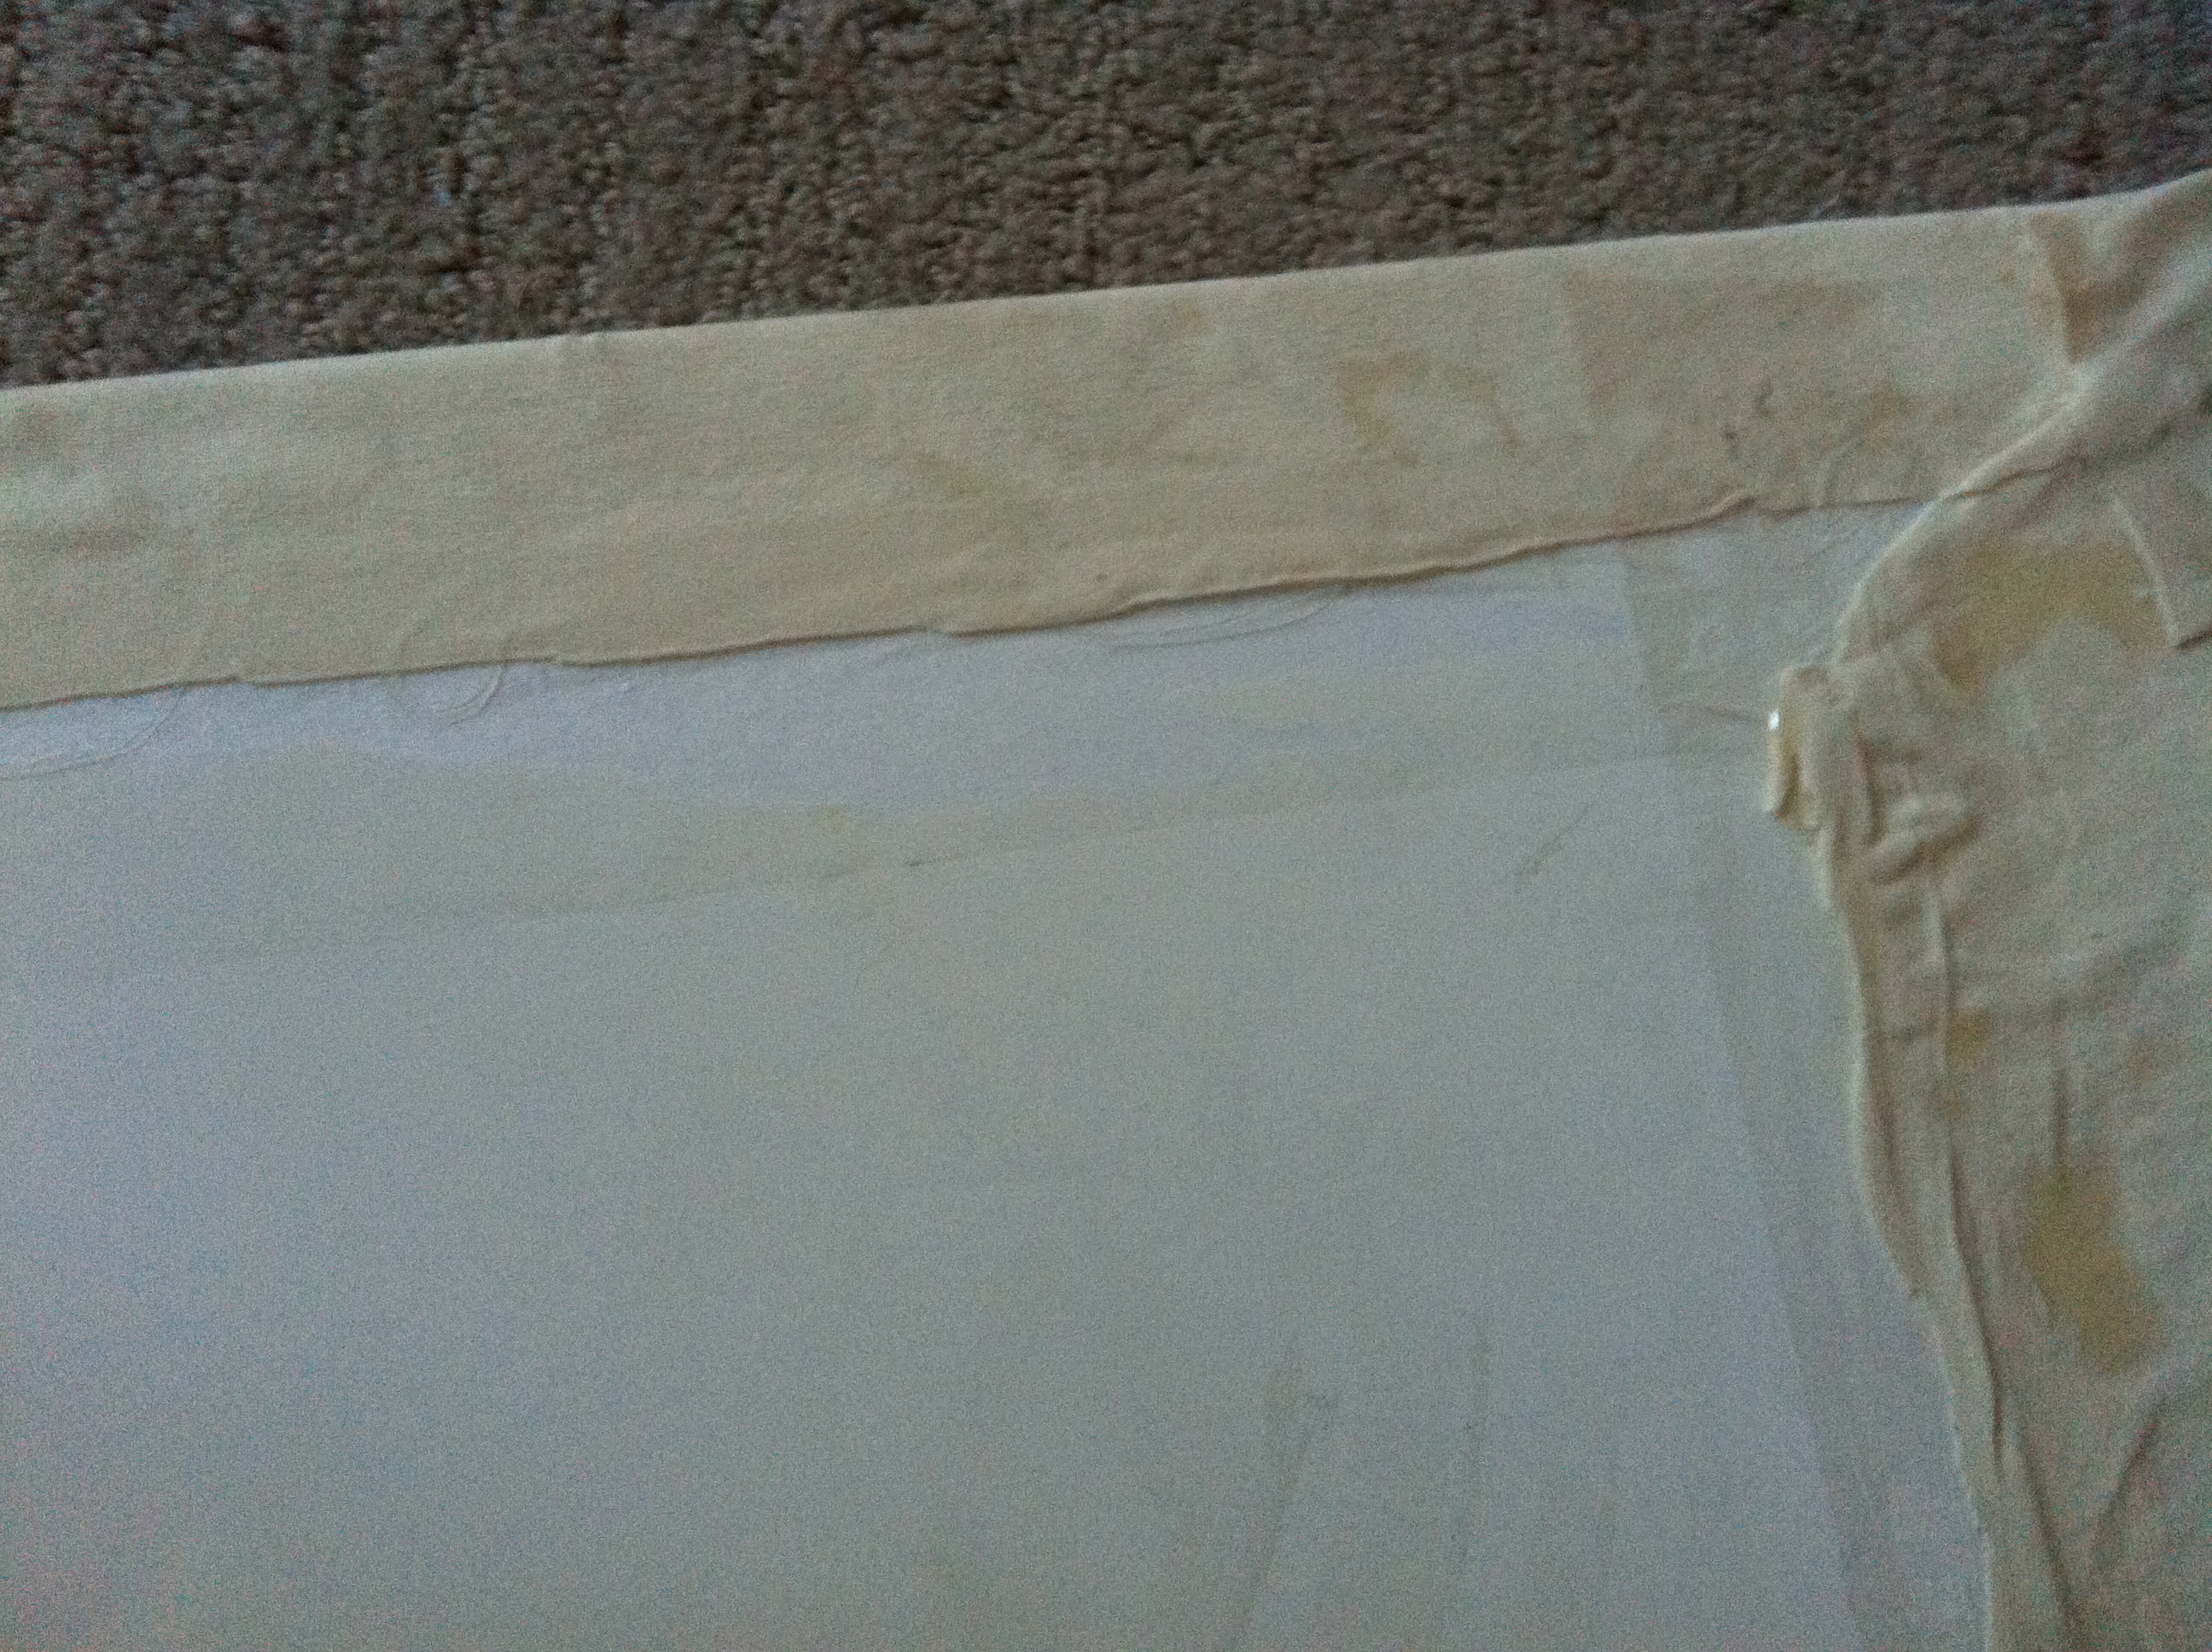
Glue along sides, working opposite sides first and pulling the fabric taut as you go.

For added durability you might like to tape down ends once the craft glue is dry. I used a clear packing tape but something like duct tape would also do the trick.
I used pre-cut chipboard letters and covered them with scrapbooking papers using craft glue.
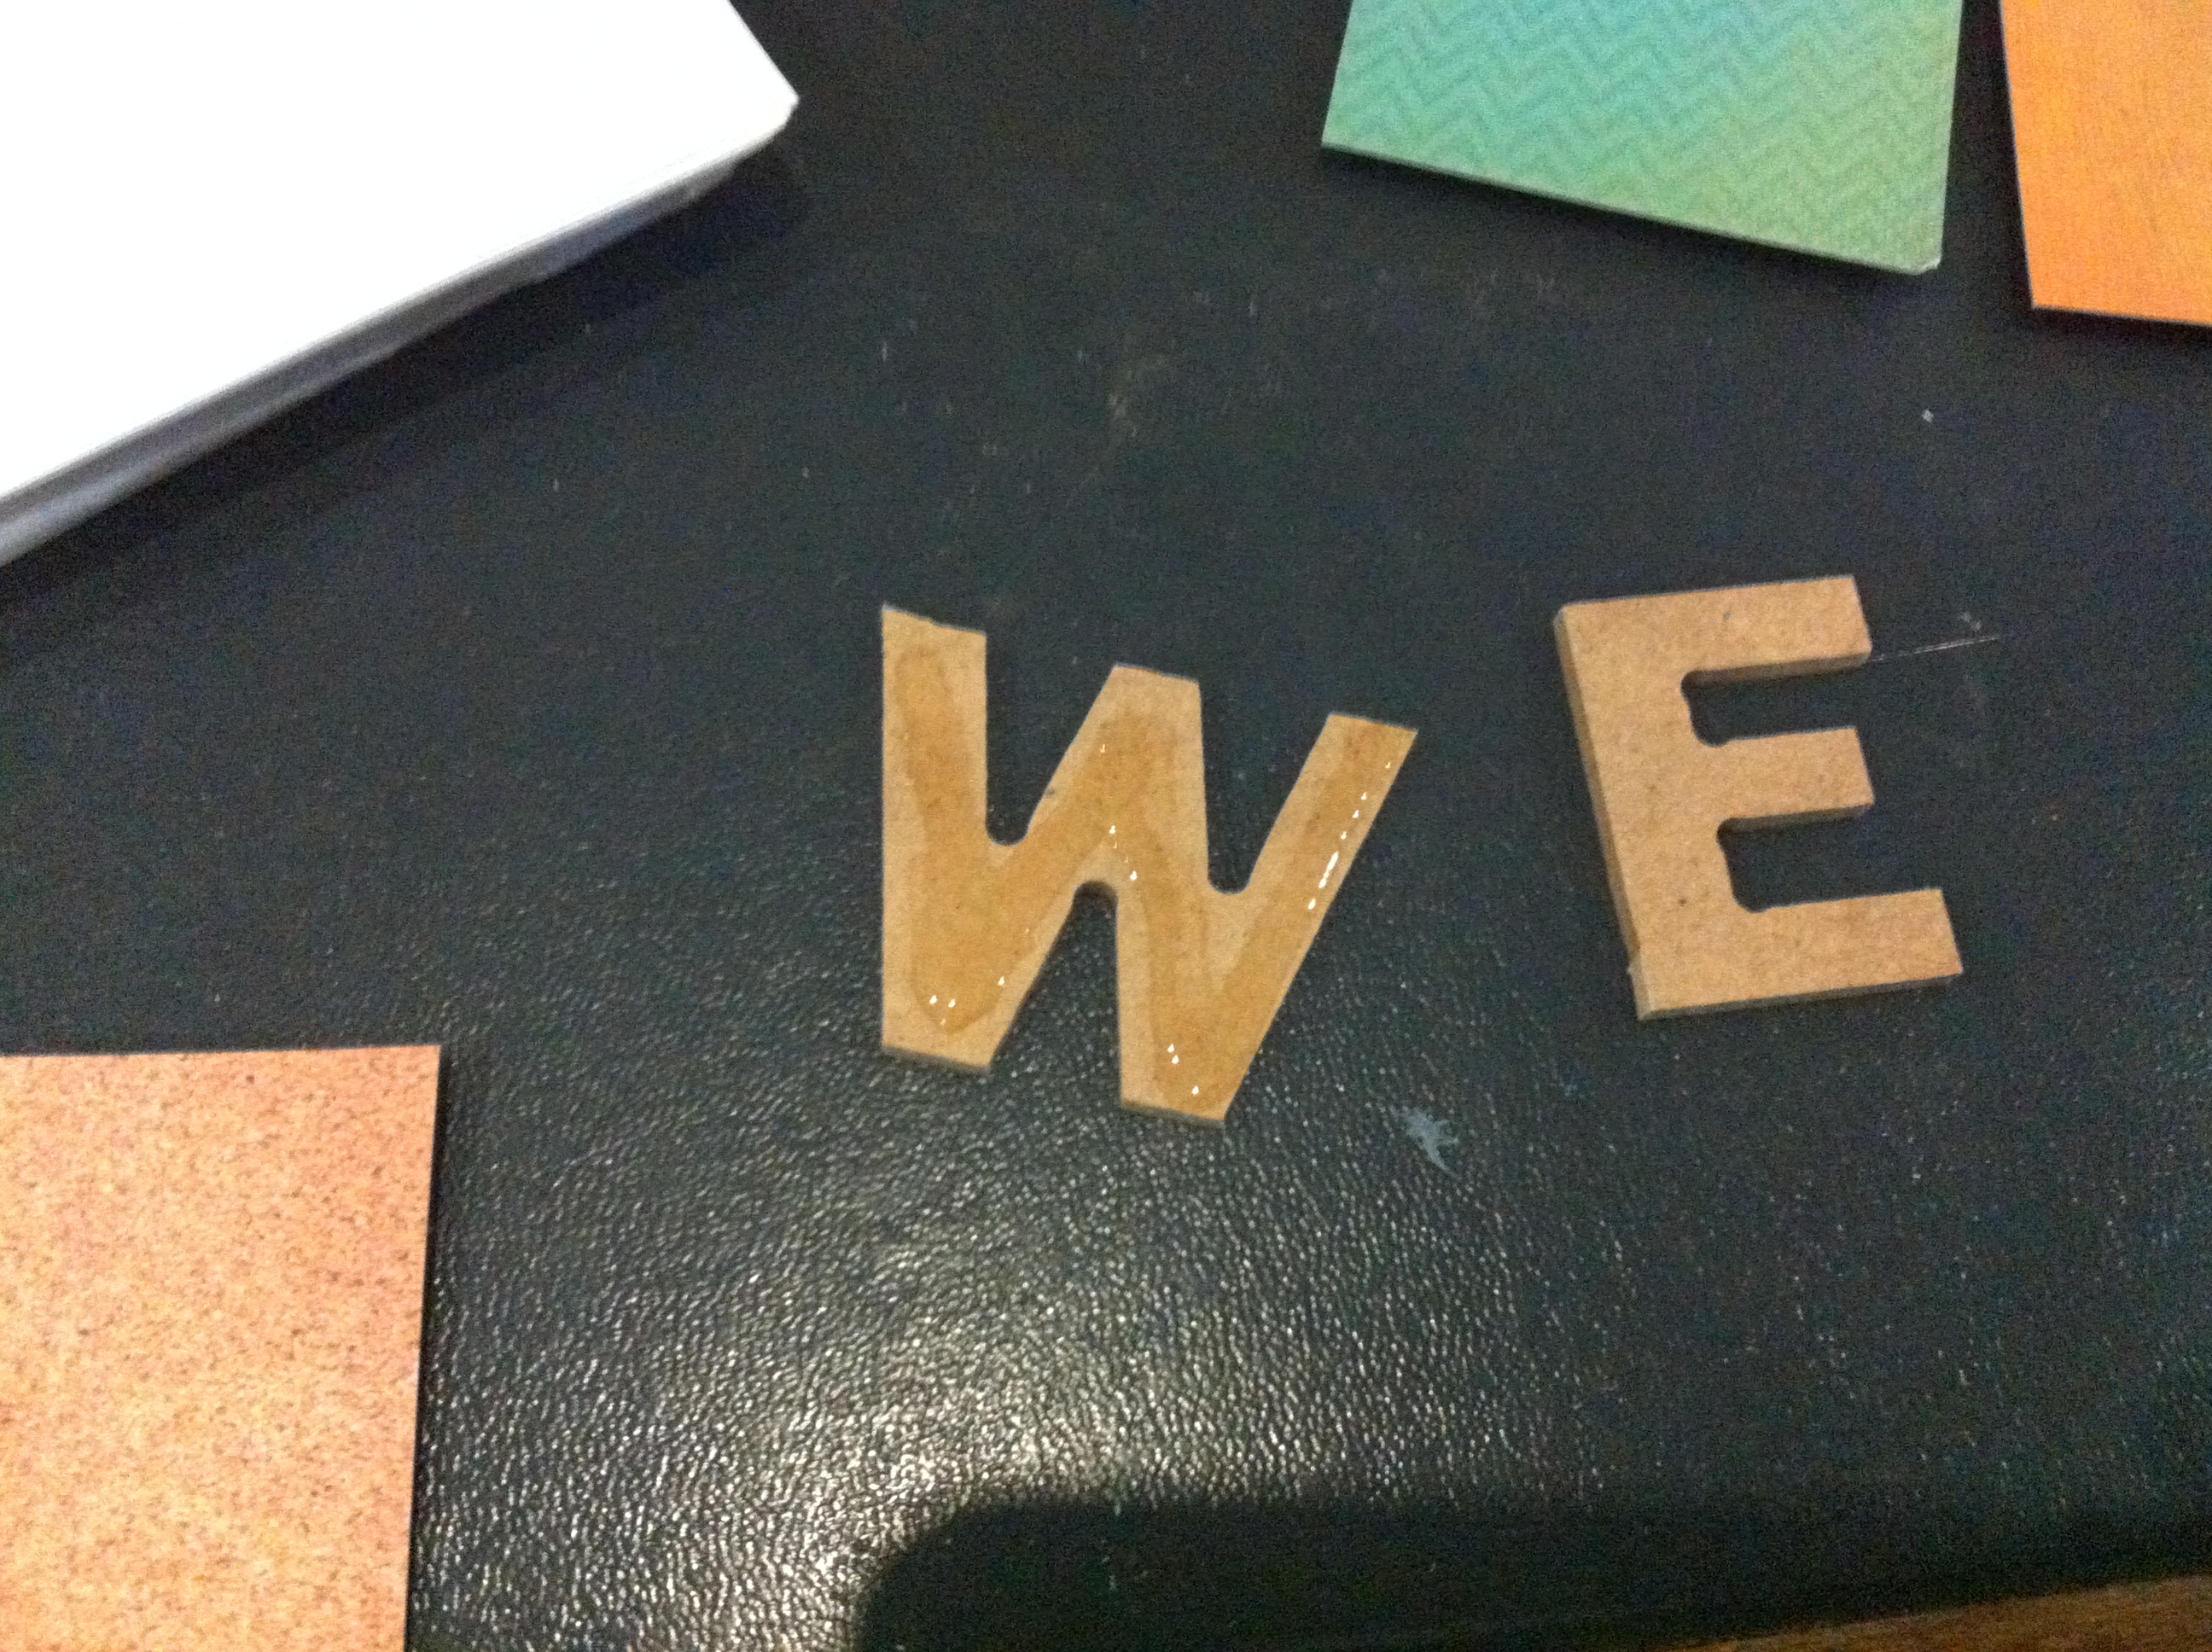
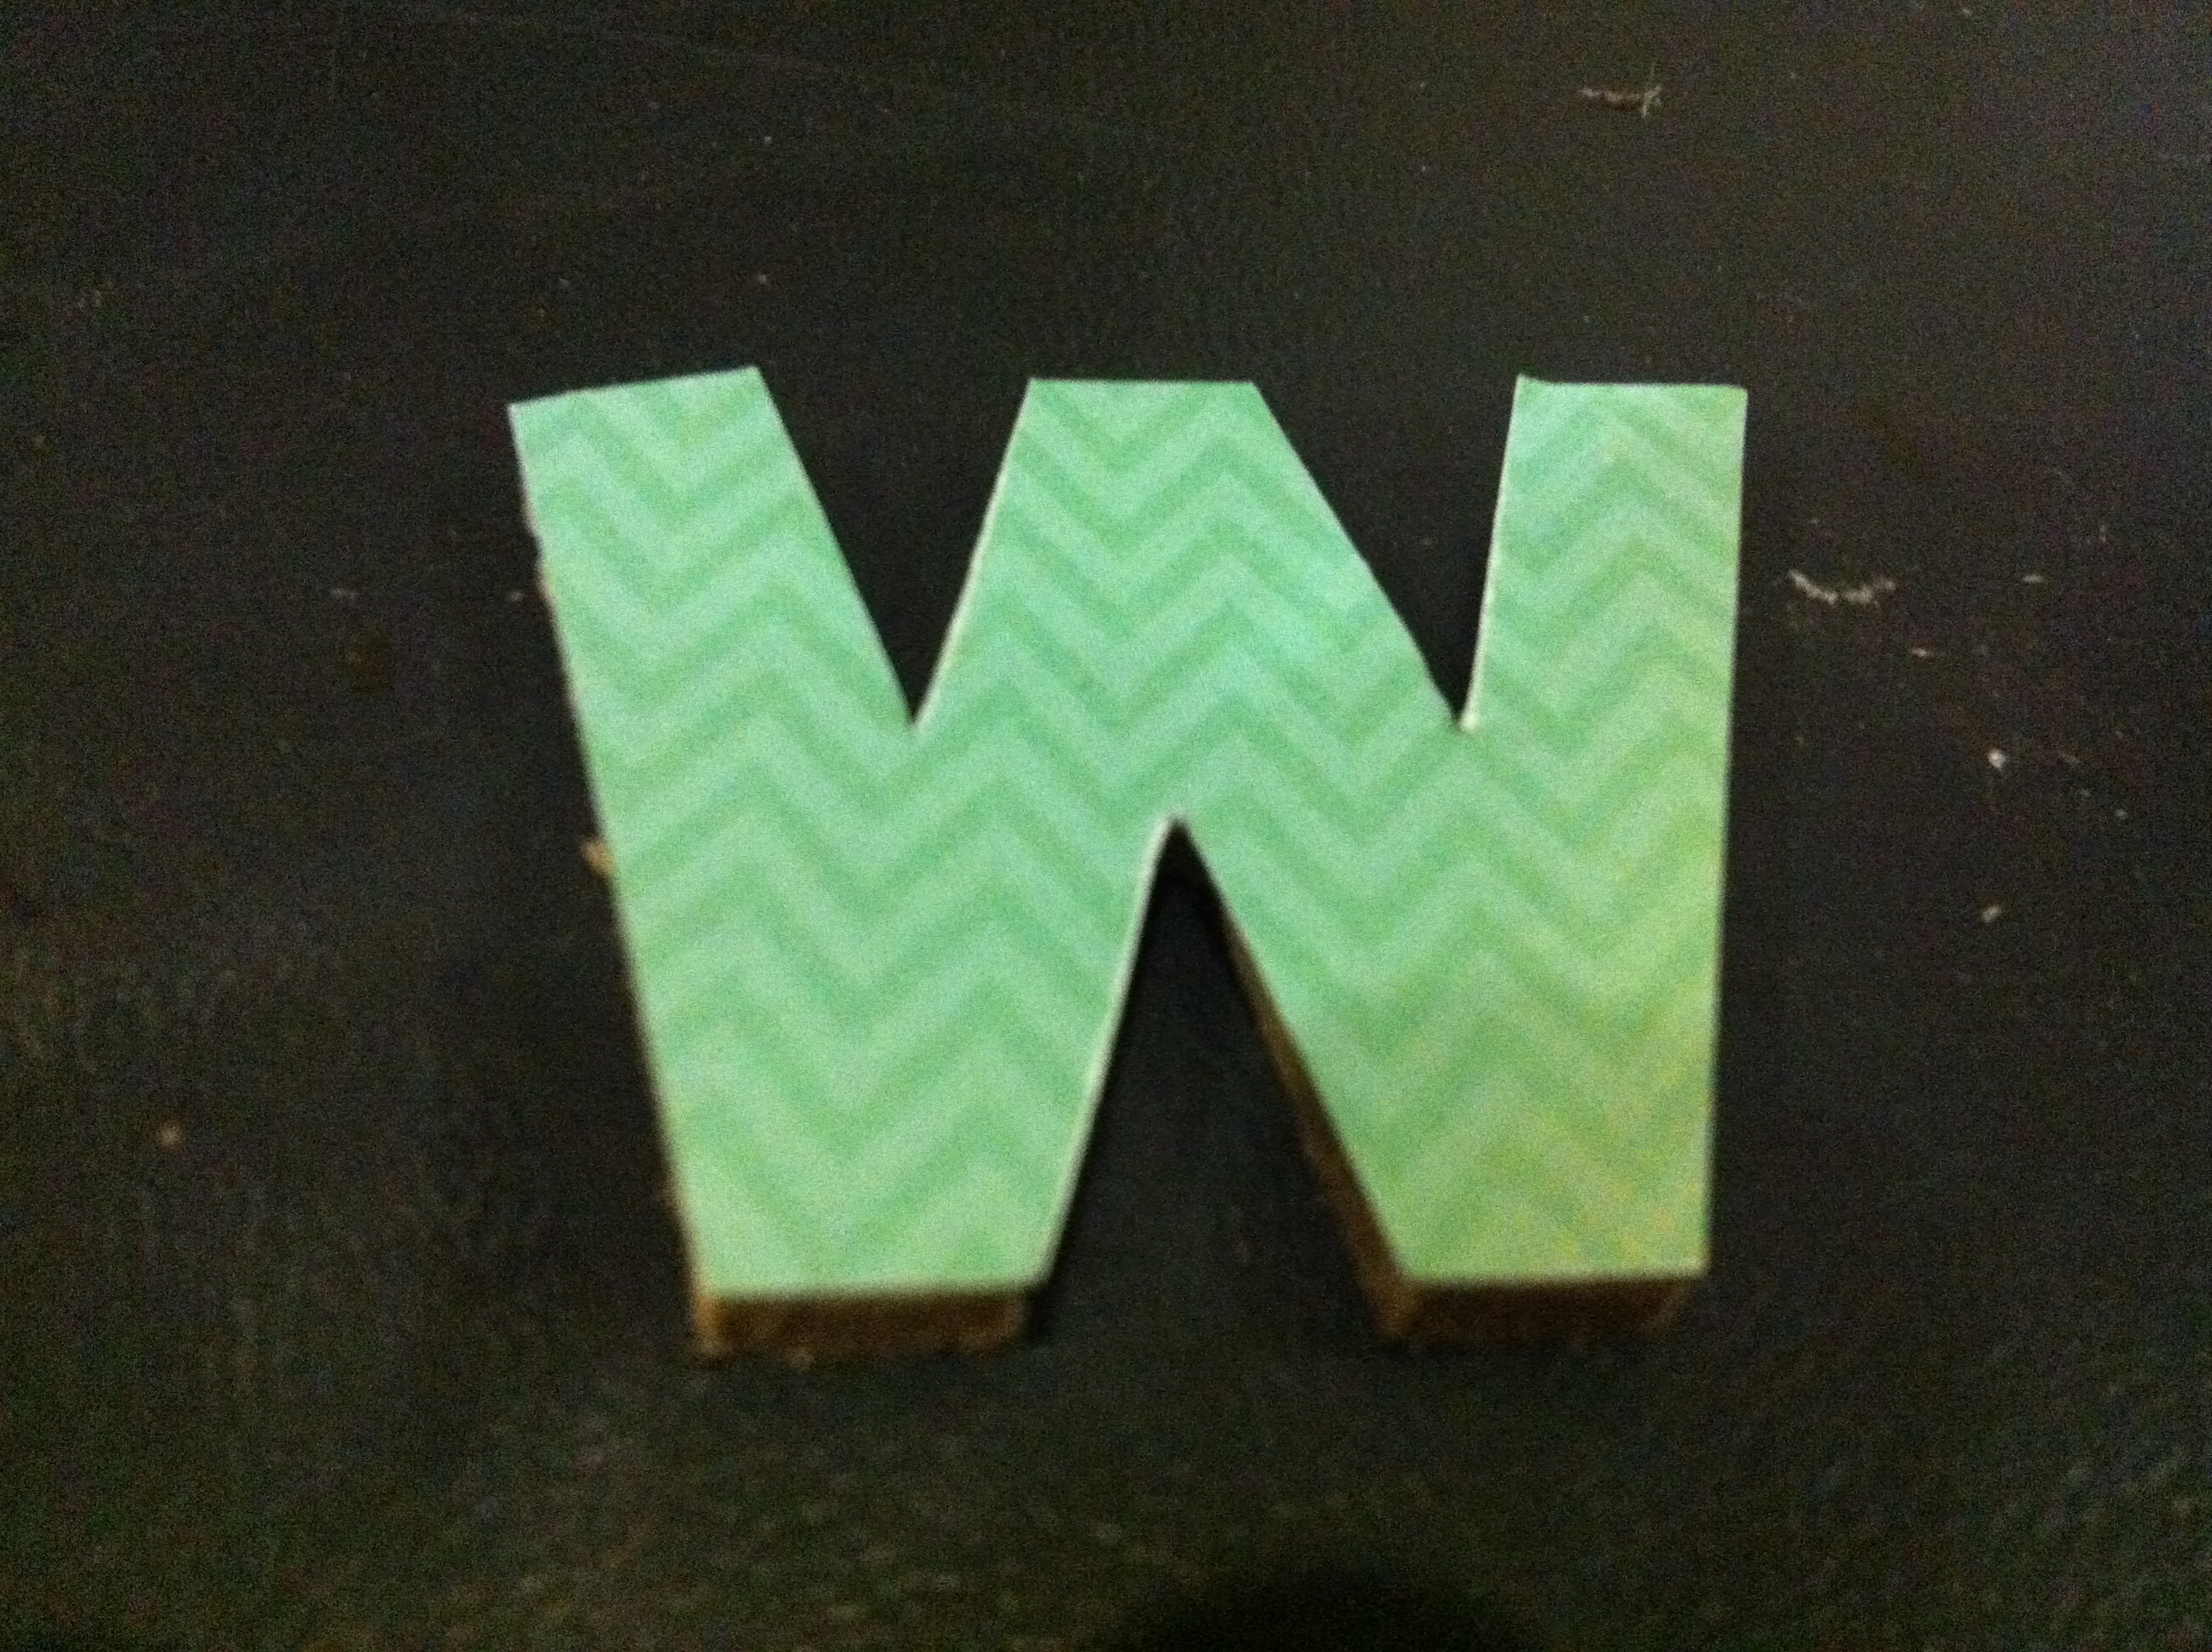
You can do the same or just paint them, though you will need to sand and use a primer (undercoat) first. Otherwise you can purchase readymade letters such as scrapbooking letters which are often self-affxing.
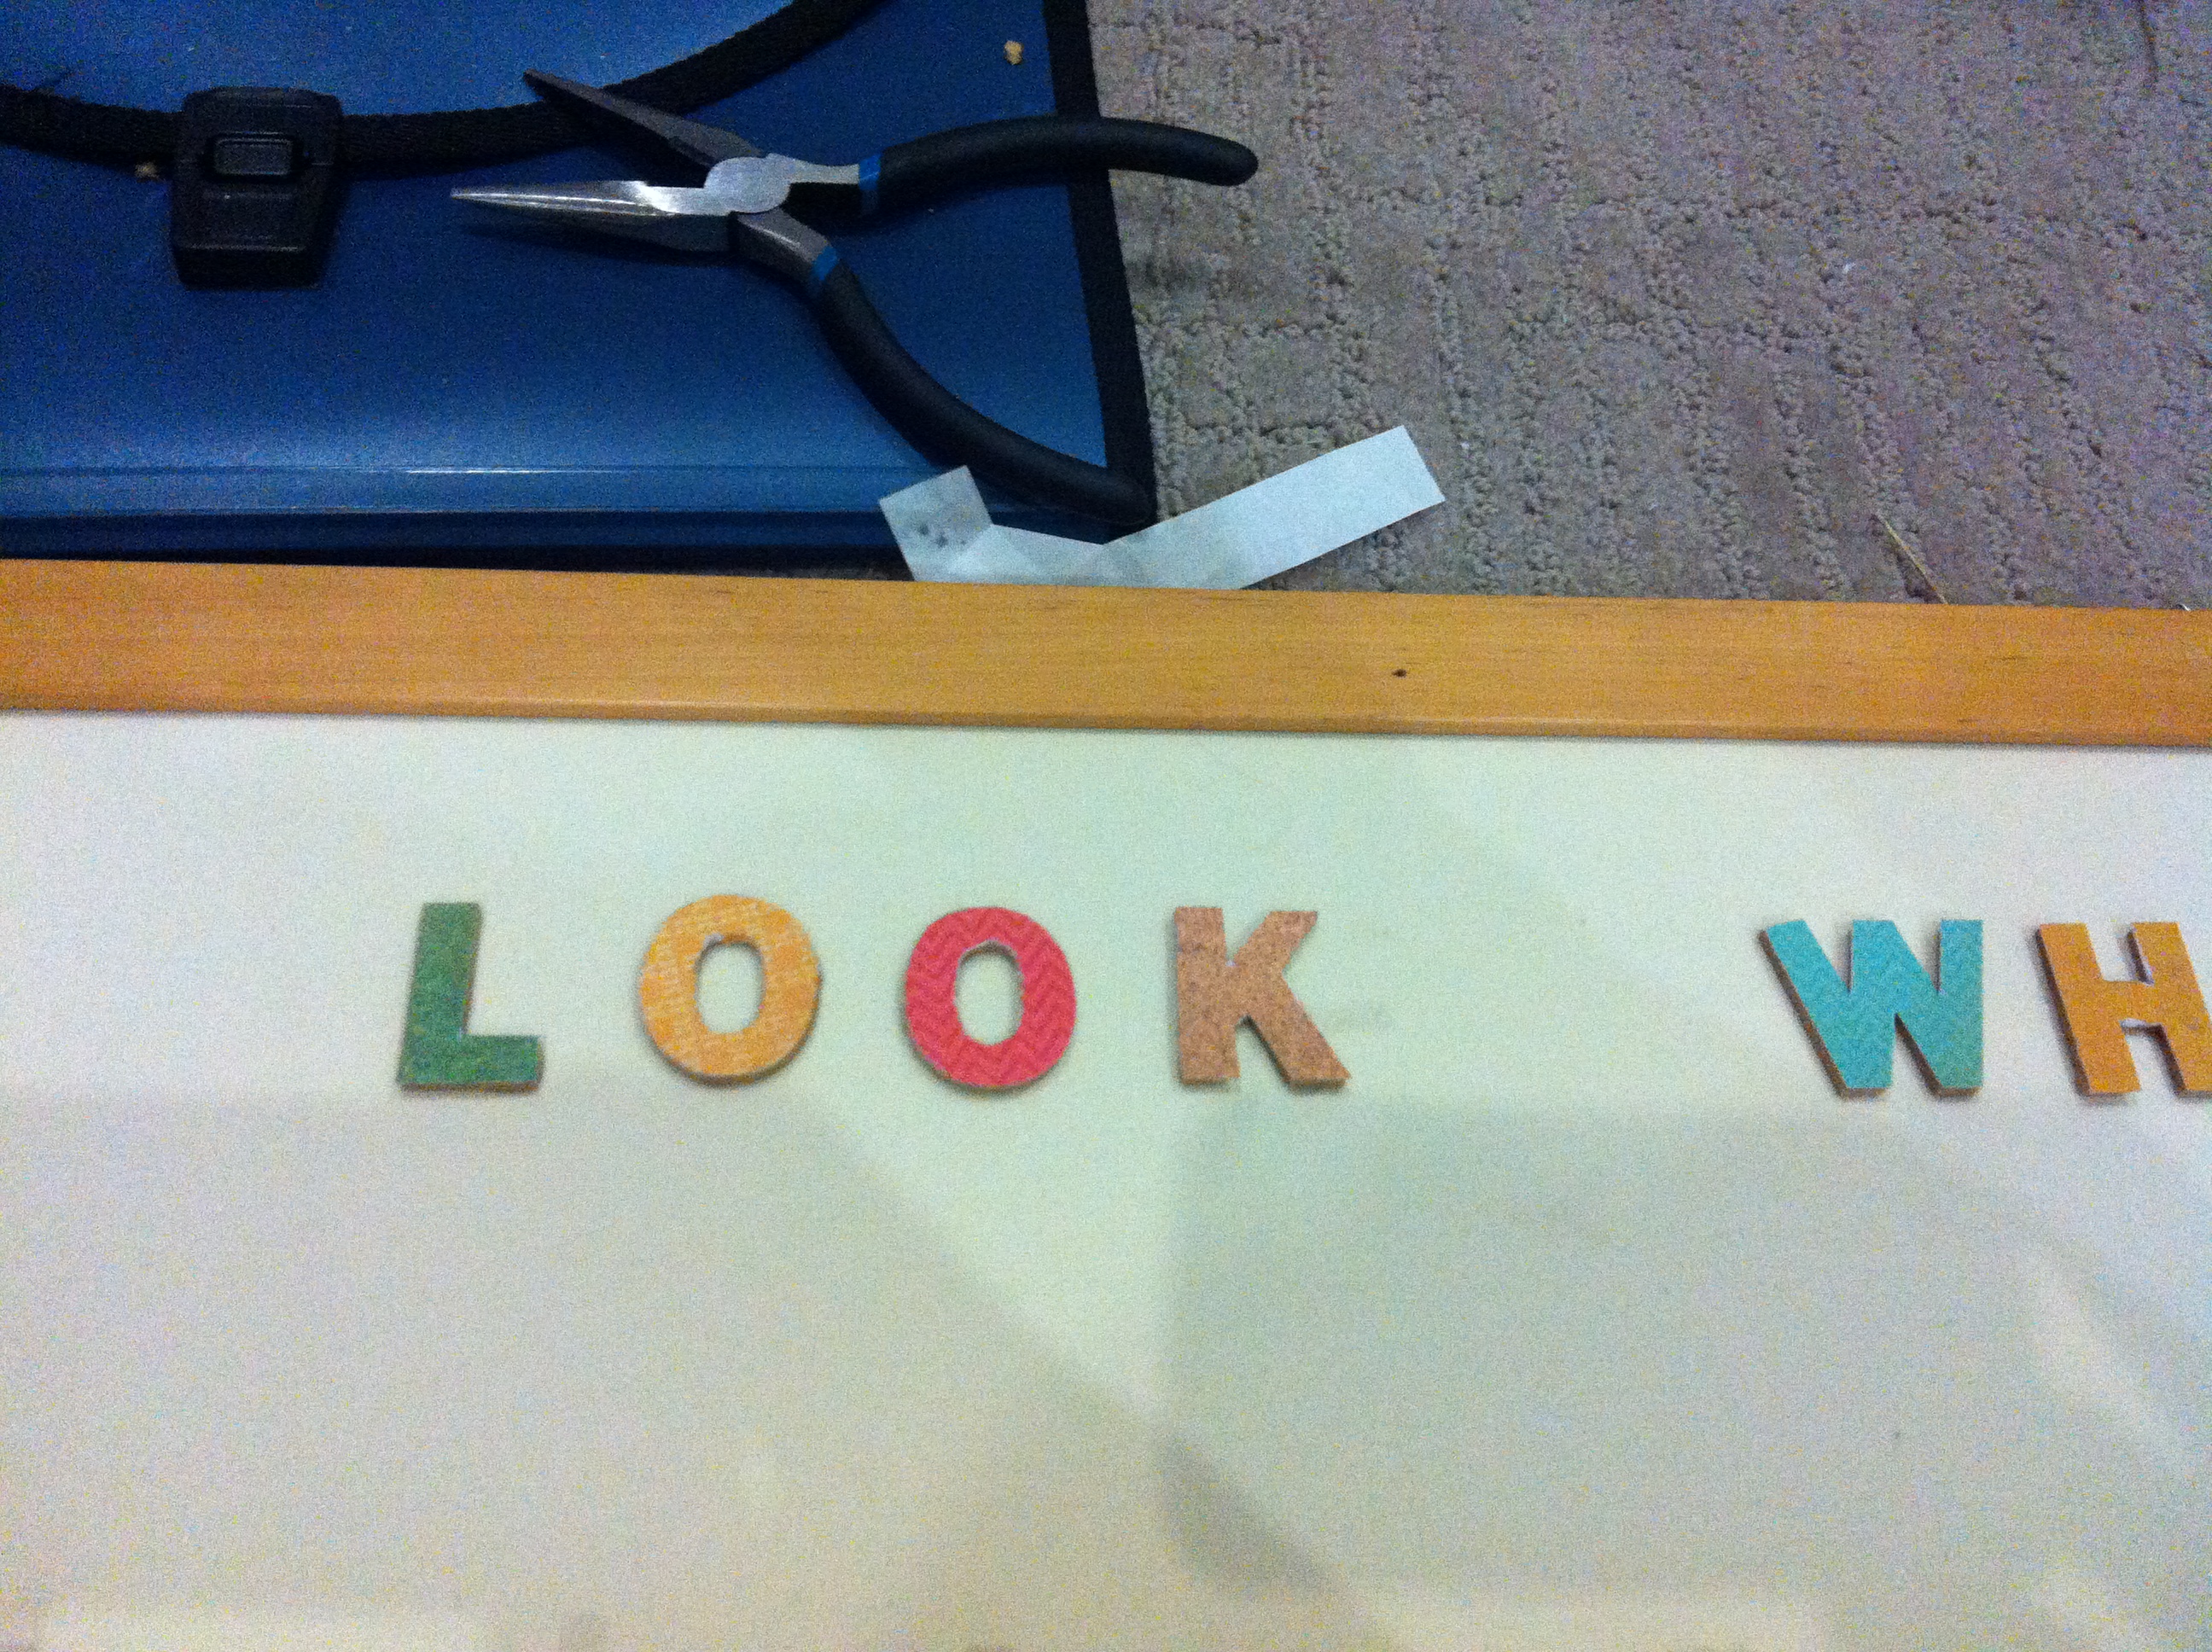
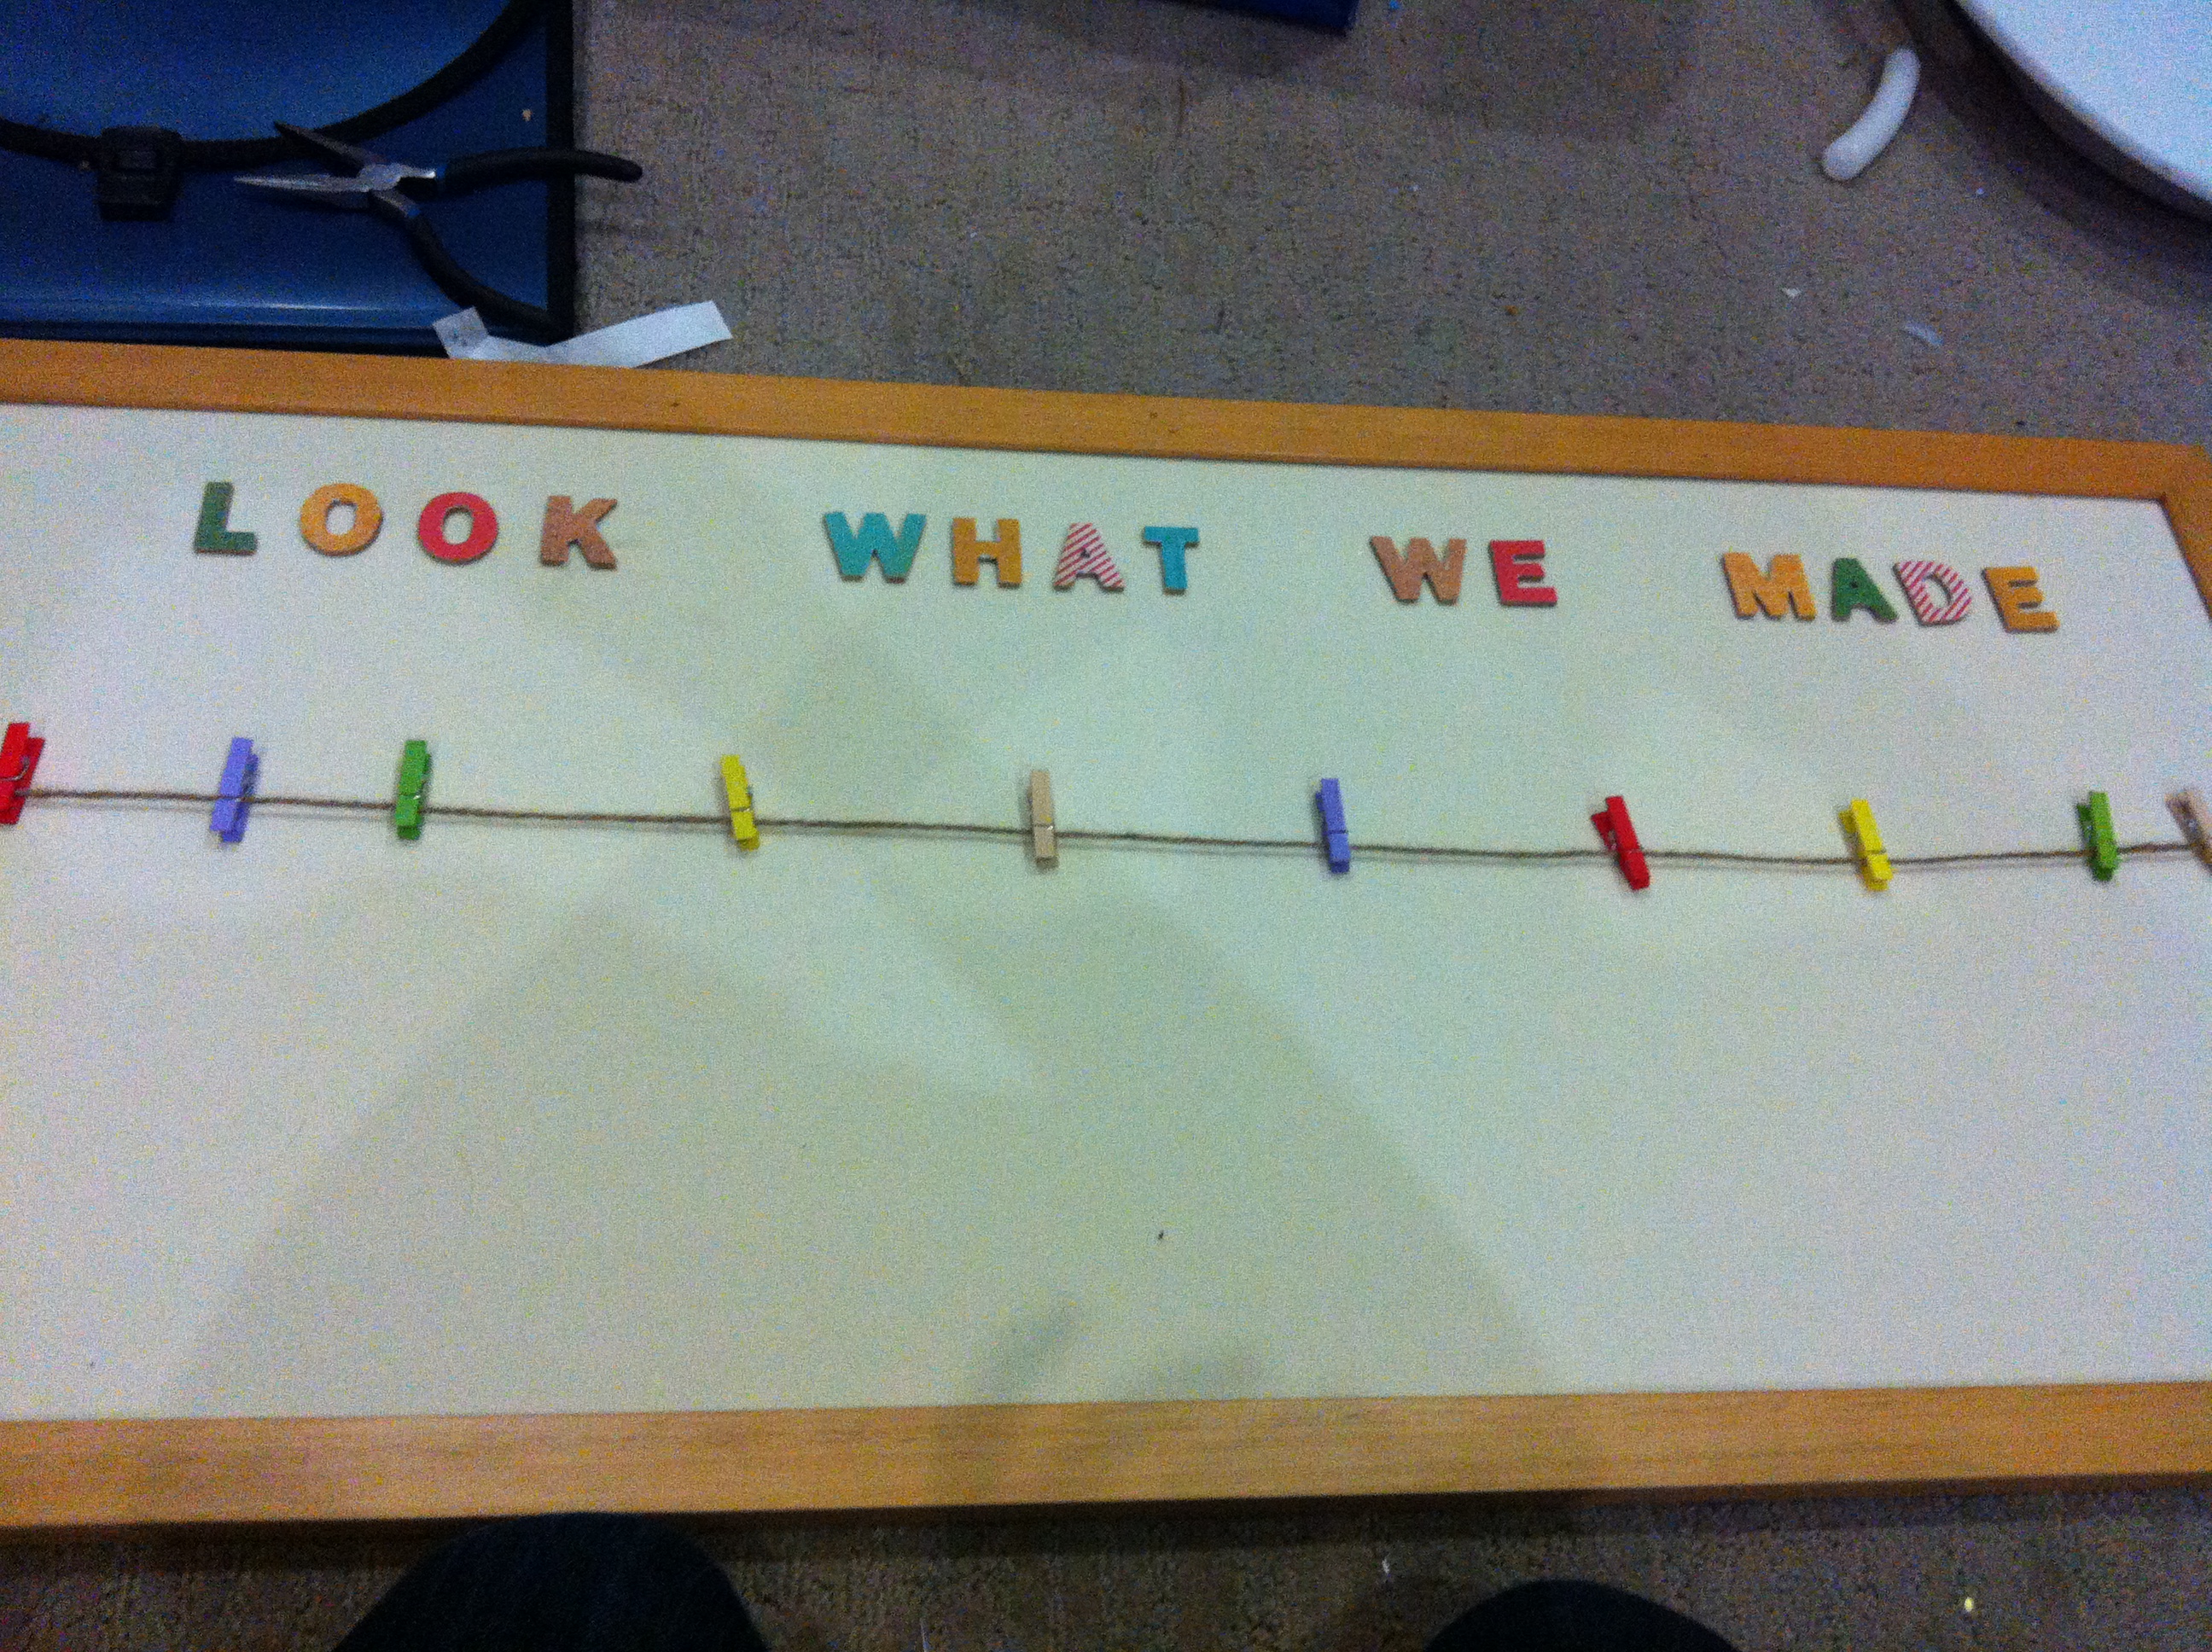
Once dry turn over and affix letters. I wrote: ‘Look what we made’ but you can write whatever you like.
Place the finished piece inside the frame and close frame ready to hang.
Use a staple gun to fix twine to each end of the wooden frame itself. Add your pegs along the twine and you’re ready to add artworks!
All you need to do now is find a suitable place to hang it and display the work of the budding artists in your house!
Originally posted 2016-02-15 02:55:48.