
When we moved into our new house recently we inherited a homemade cubby house that looked like this:

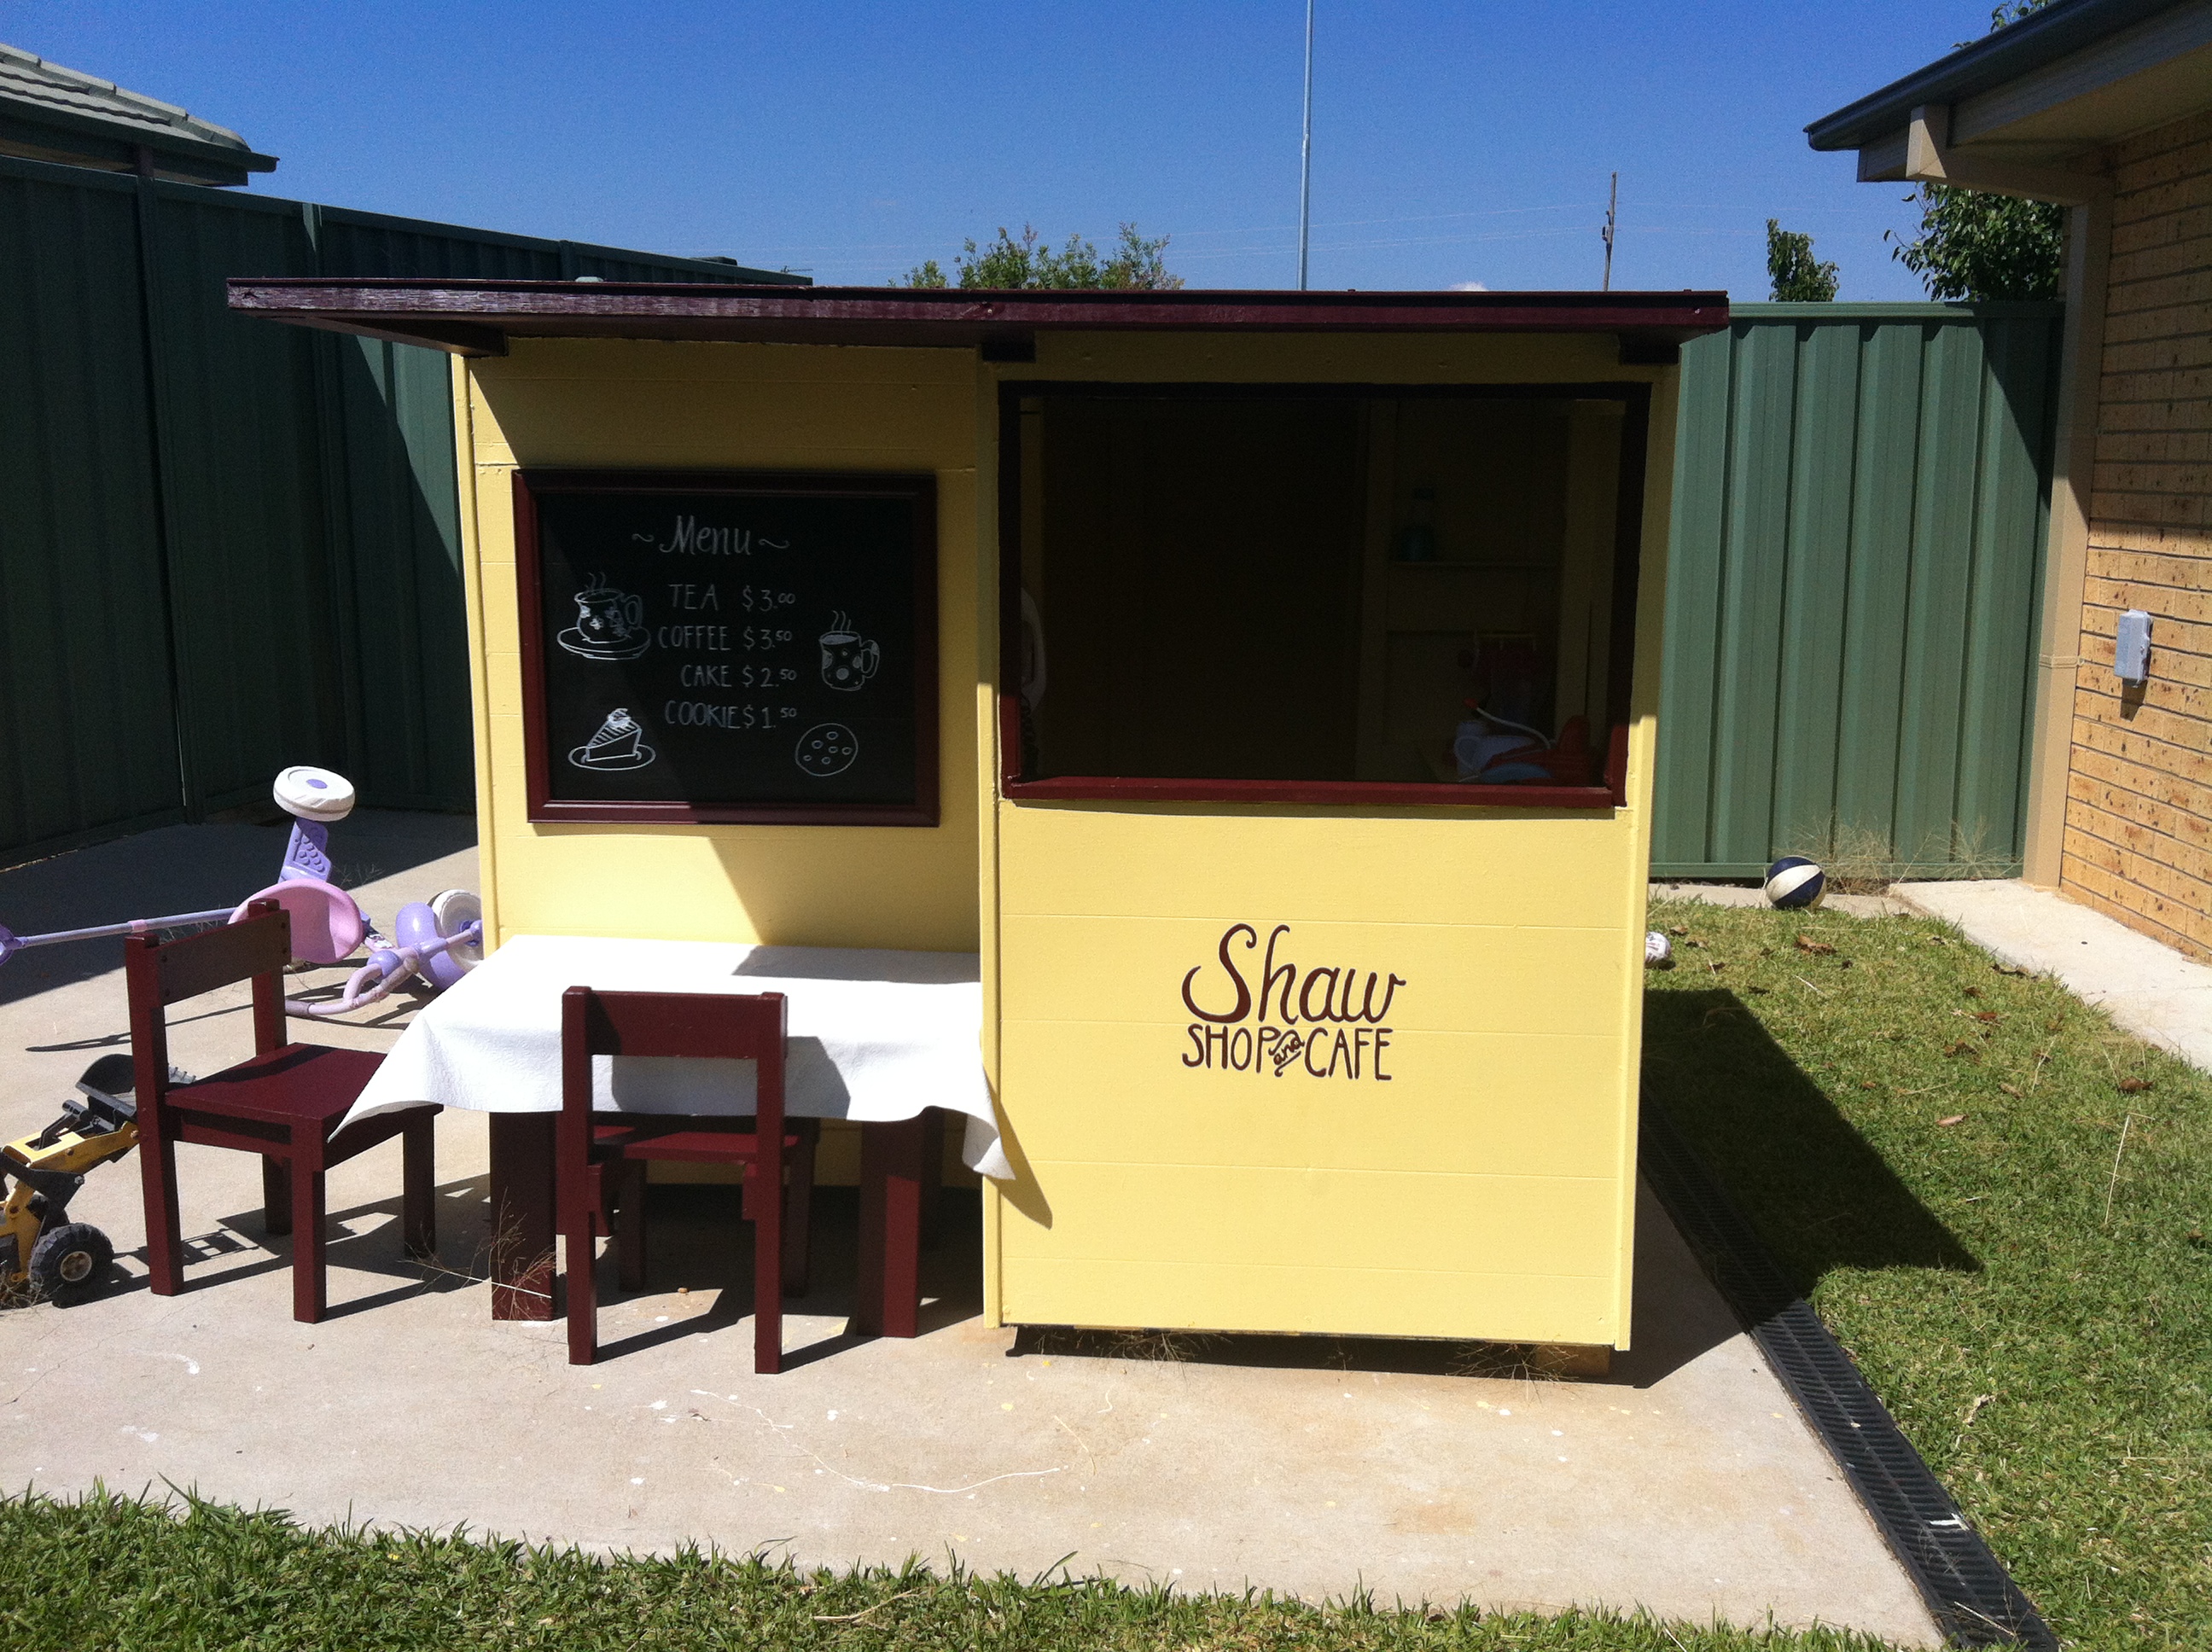
Of course, being a creative mum, I was soon imagining how to turn this into a real feature in our yard where our children would have hours of fun. And this is more what I had in mind:
So here’s how we did it:
First things first, hubby replaced the roof so that the cubby had a verandah. But that was just the beginning of a job that was done in incremental steps over a month.
On one trip to Bunnings, we purchased:
- 1L can primer
- 2L Indian Red for the roof and other details
- 4L yellow for the cubby’s exterior and interior walls (both of these colours are exterior matt acrylic)
- Small can blackboard paint
- Door handle (a soccer ball one which was hubby’s choice)
Because the walls were already painted I decided to just clean them with sugar soap and then sand them back lightly. I then applied 2-3 coats of the exterior yellow paint.
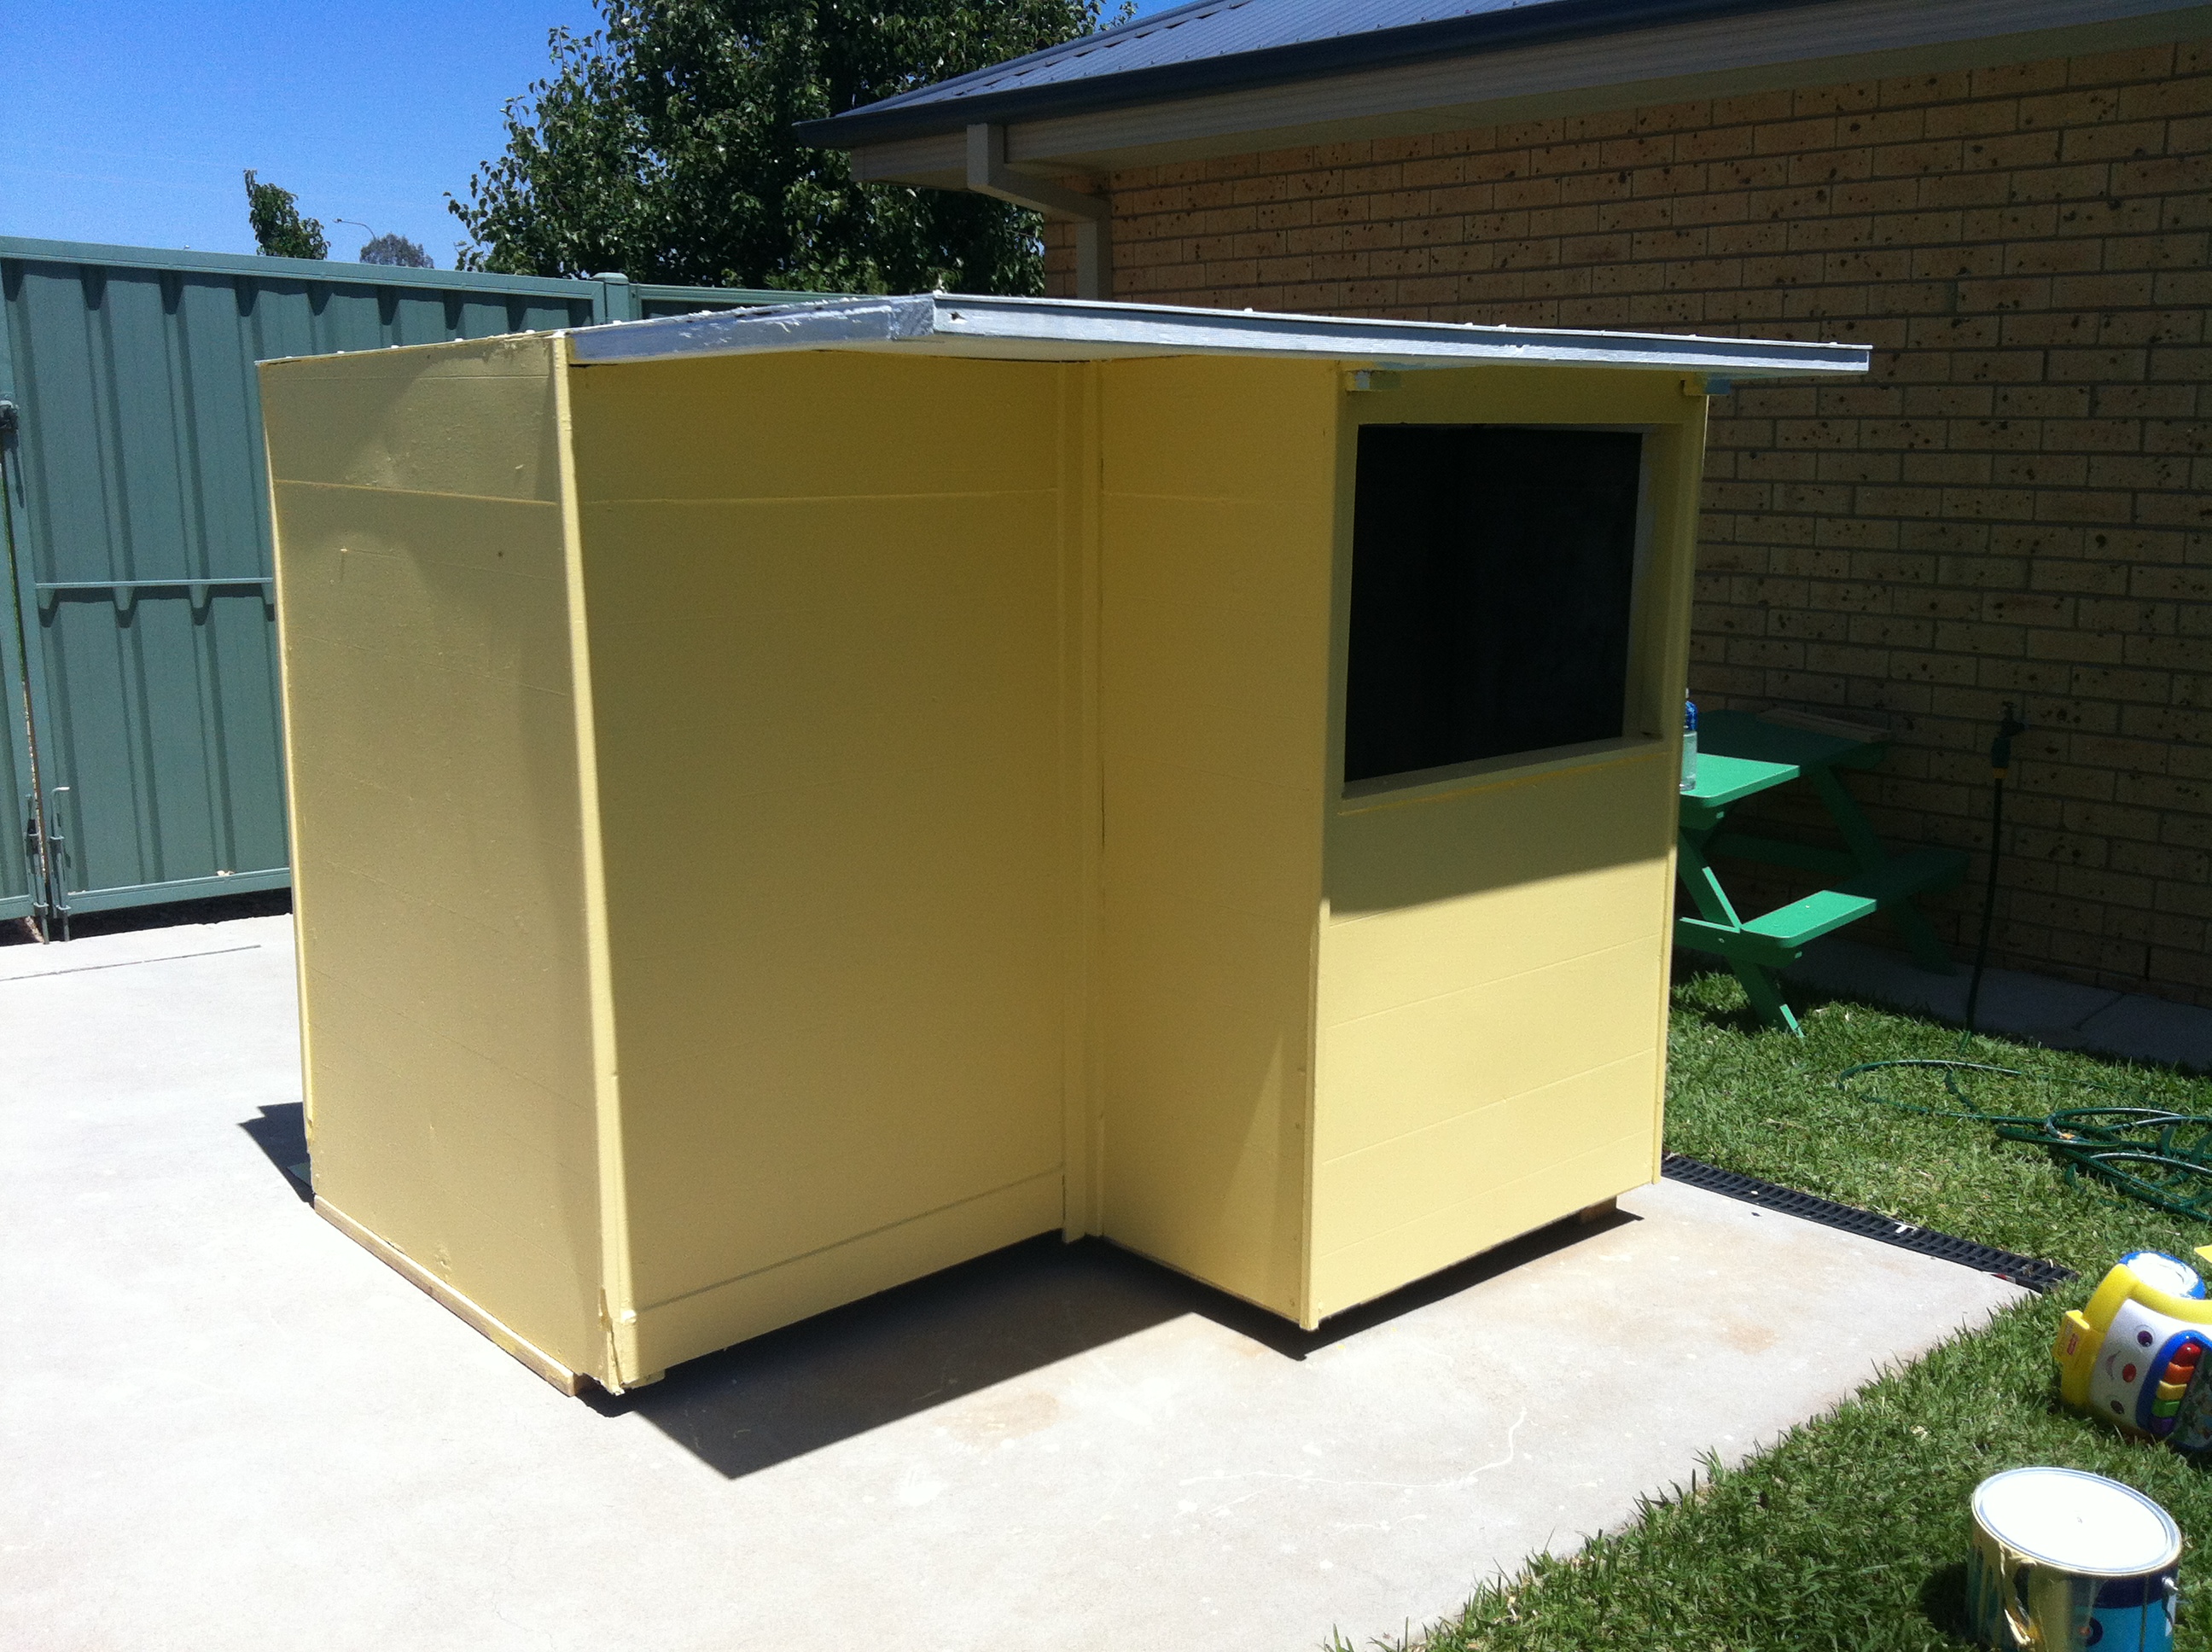
The new roof however, was primed as was the ceiling, and any other exposed wooden surfaces. I painted the door (at the rear of the cubby) and the window and window sill in Indian red too in order to add a nice contrast.

To get straight lines around the window sill I taped the area with masking tape. When you do this make sure that it’s is firmly stuck down because you don’t want any bleeding.
What’s a shop without details?
Menu board
On the exterior of our shop we used an old photo frame to create a menu board. The glass in this frame had broken so I couldn’t use it inside anyway. I simply removed all metal tabs from the underside with pliers and sanded the front and side edges. Then I gave it 2 coats of the Indian Red paint.
On the front wall of the shop I traced around the inside of the frame and then allowed another 2cm on all sides so that there wasn’t a gap when I adhered the frame. I painted two coats of chalkboard paint on this wall (lightly sanding the area first).


Once dry I used liquid nails to adhere the frame to create a border around the chalkboard rectangle. Then I used oil based chalk pens to create our menu items. I had these on hand already but they are expensive to buy for just one project. Simple chalk would work and then you can change the menu regularly.
Shop sign
We also added a name sign underneath the shop front window, drawing it in pencil first and then using the Indian Red paint again.

Table and chairs
This was a set we had been given that was just the perfect size to fit under our new verandah. I sanded this back too, using a small broom to sweep away the dust and then applied 2 coats of Indian Red paint.
I cut a tablecloth from leftover white table protector fabric I had used on another project (which I bought from Spotlight for about $12/m). I had intended to use my staple gun to adhere this but I was out of staples. I will do this in the future.
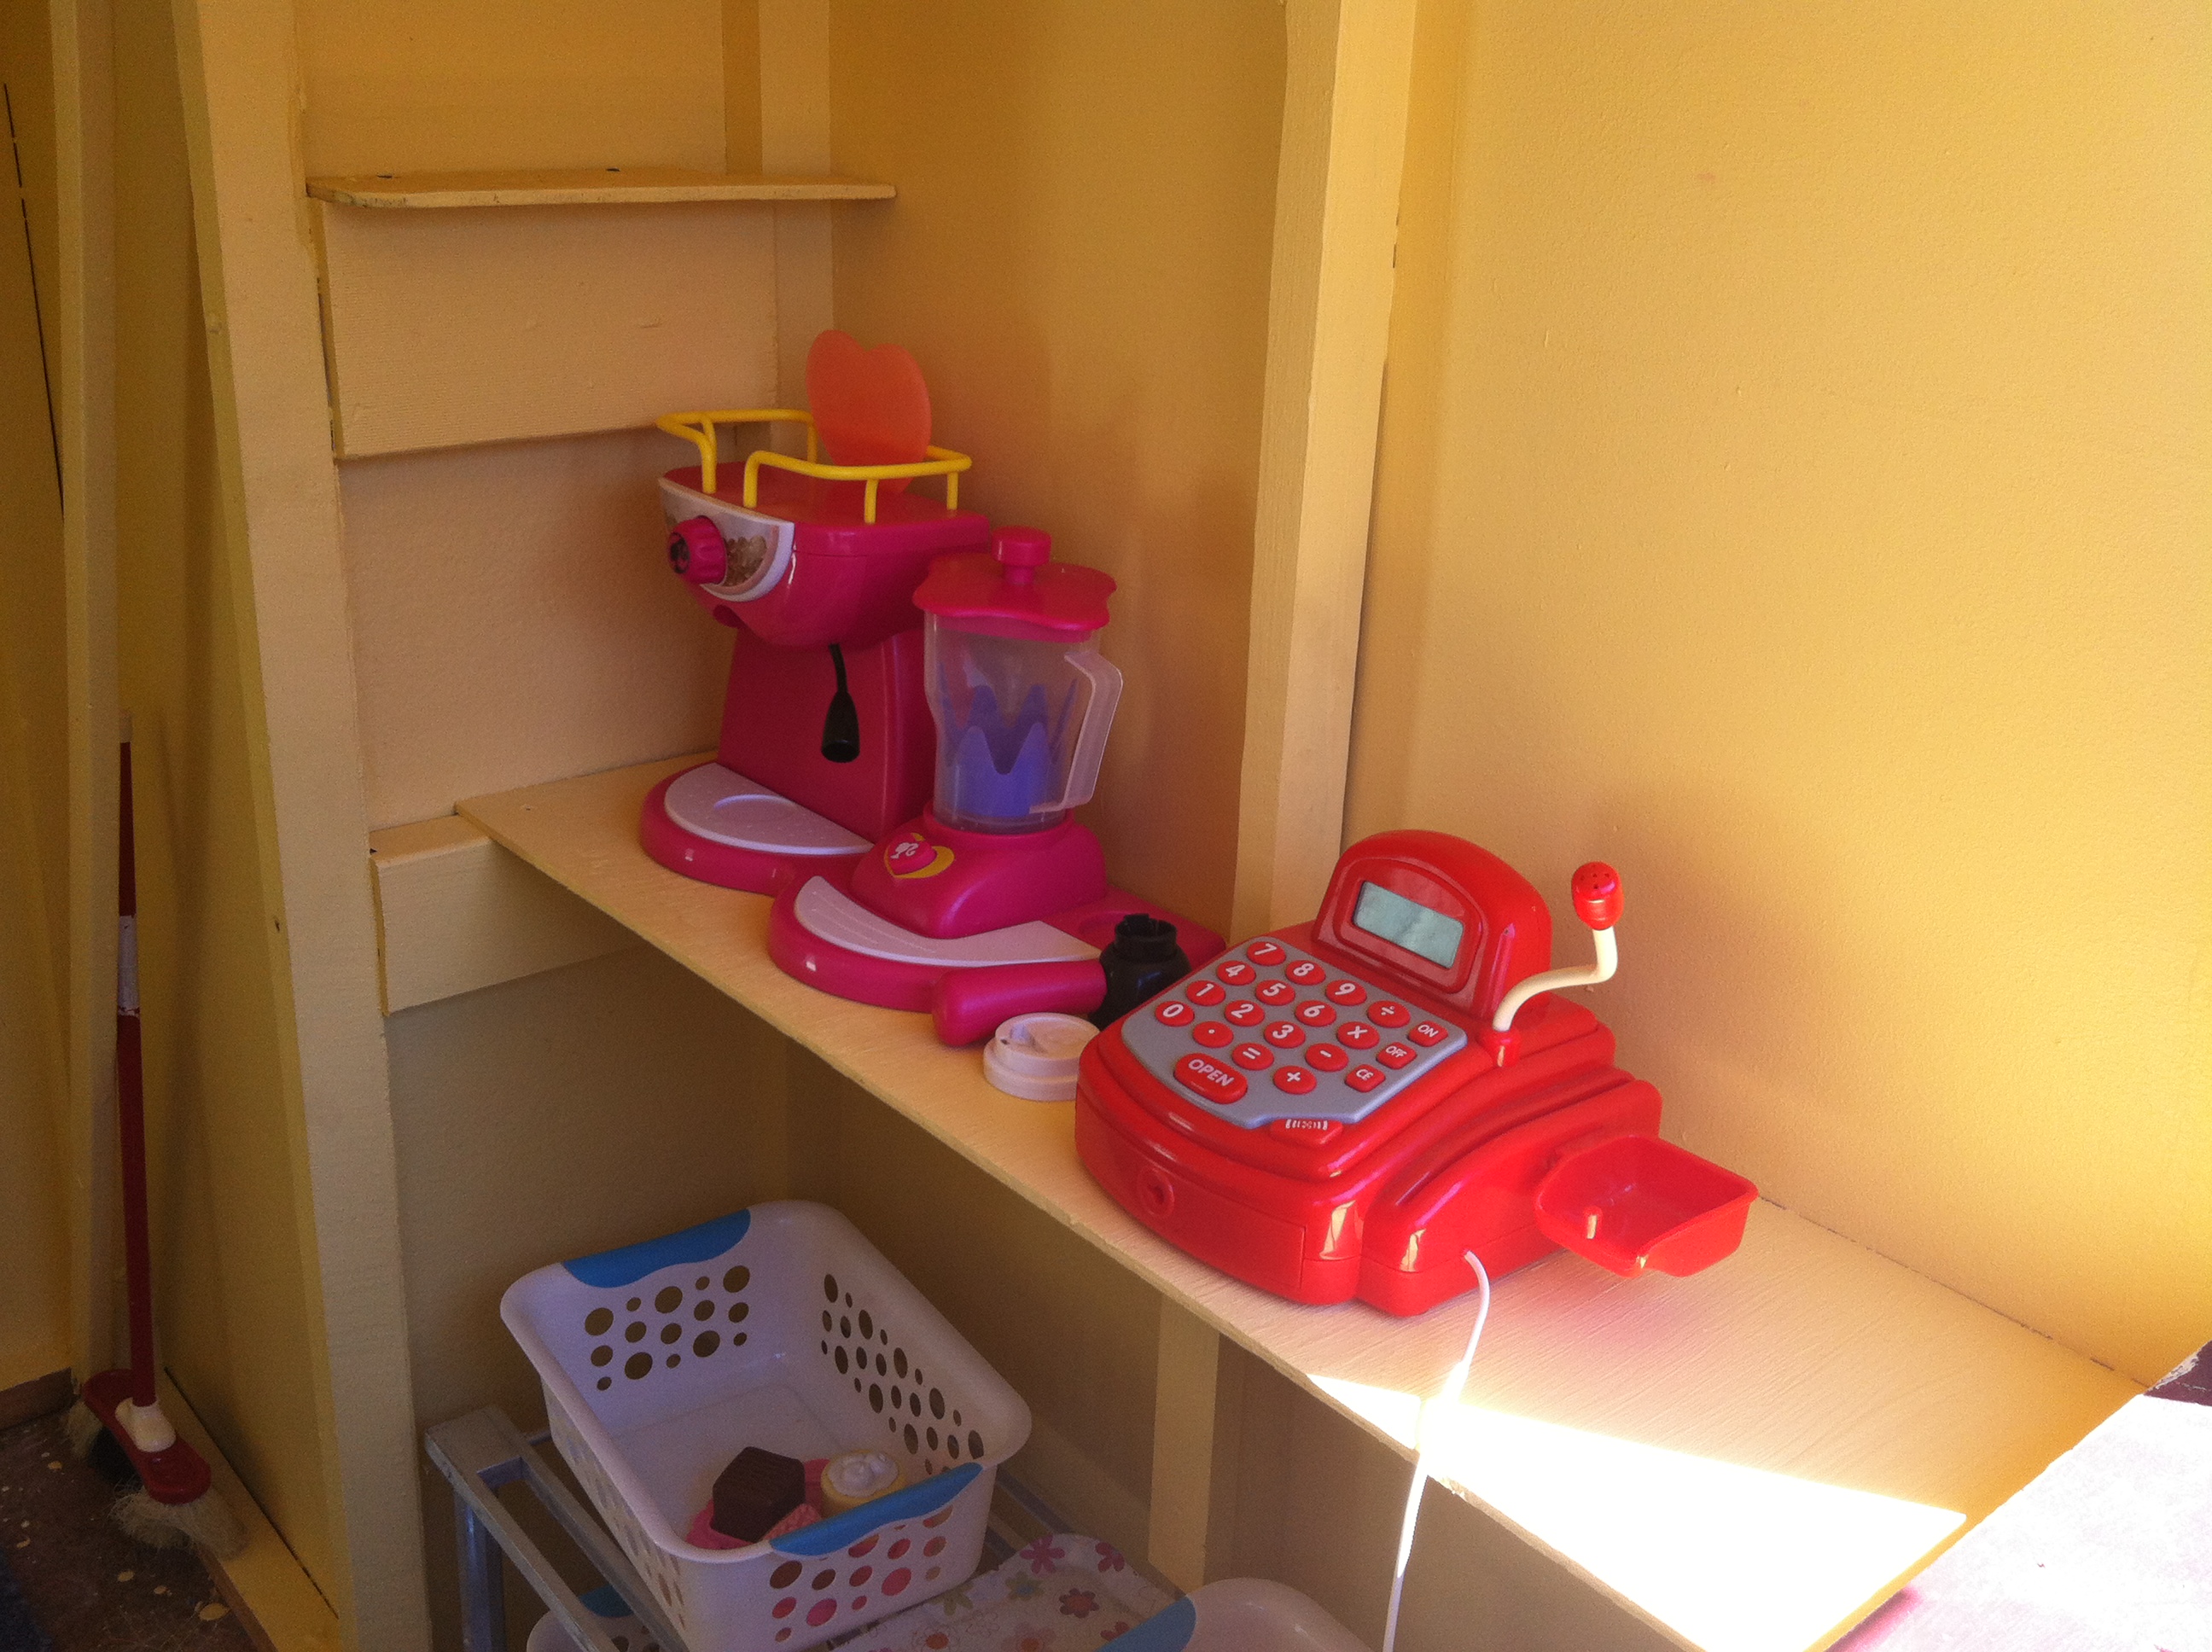
Inside:
Hubby erected a simple shelf where Miss 3 and Miss 5’s cash register and coffee machine now sit happily. He also hung an old telephone onto the wall for take away orders.
We had some off cuts of carpet from our old house which just about covered the entire cubby house floor. I tacked this down with nails which will stop it from moving now but should make it easy enough to remove if need be.
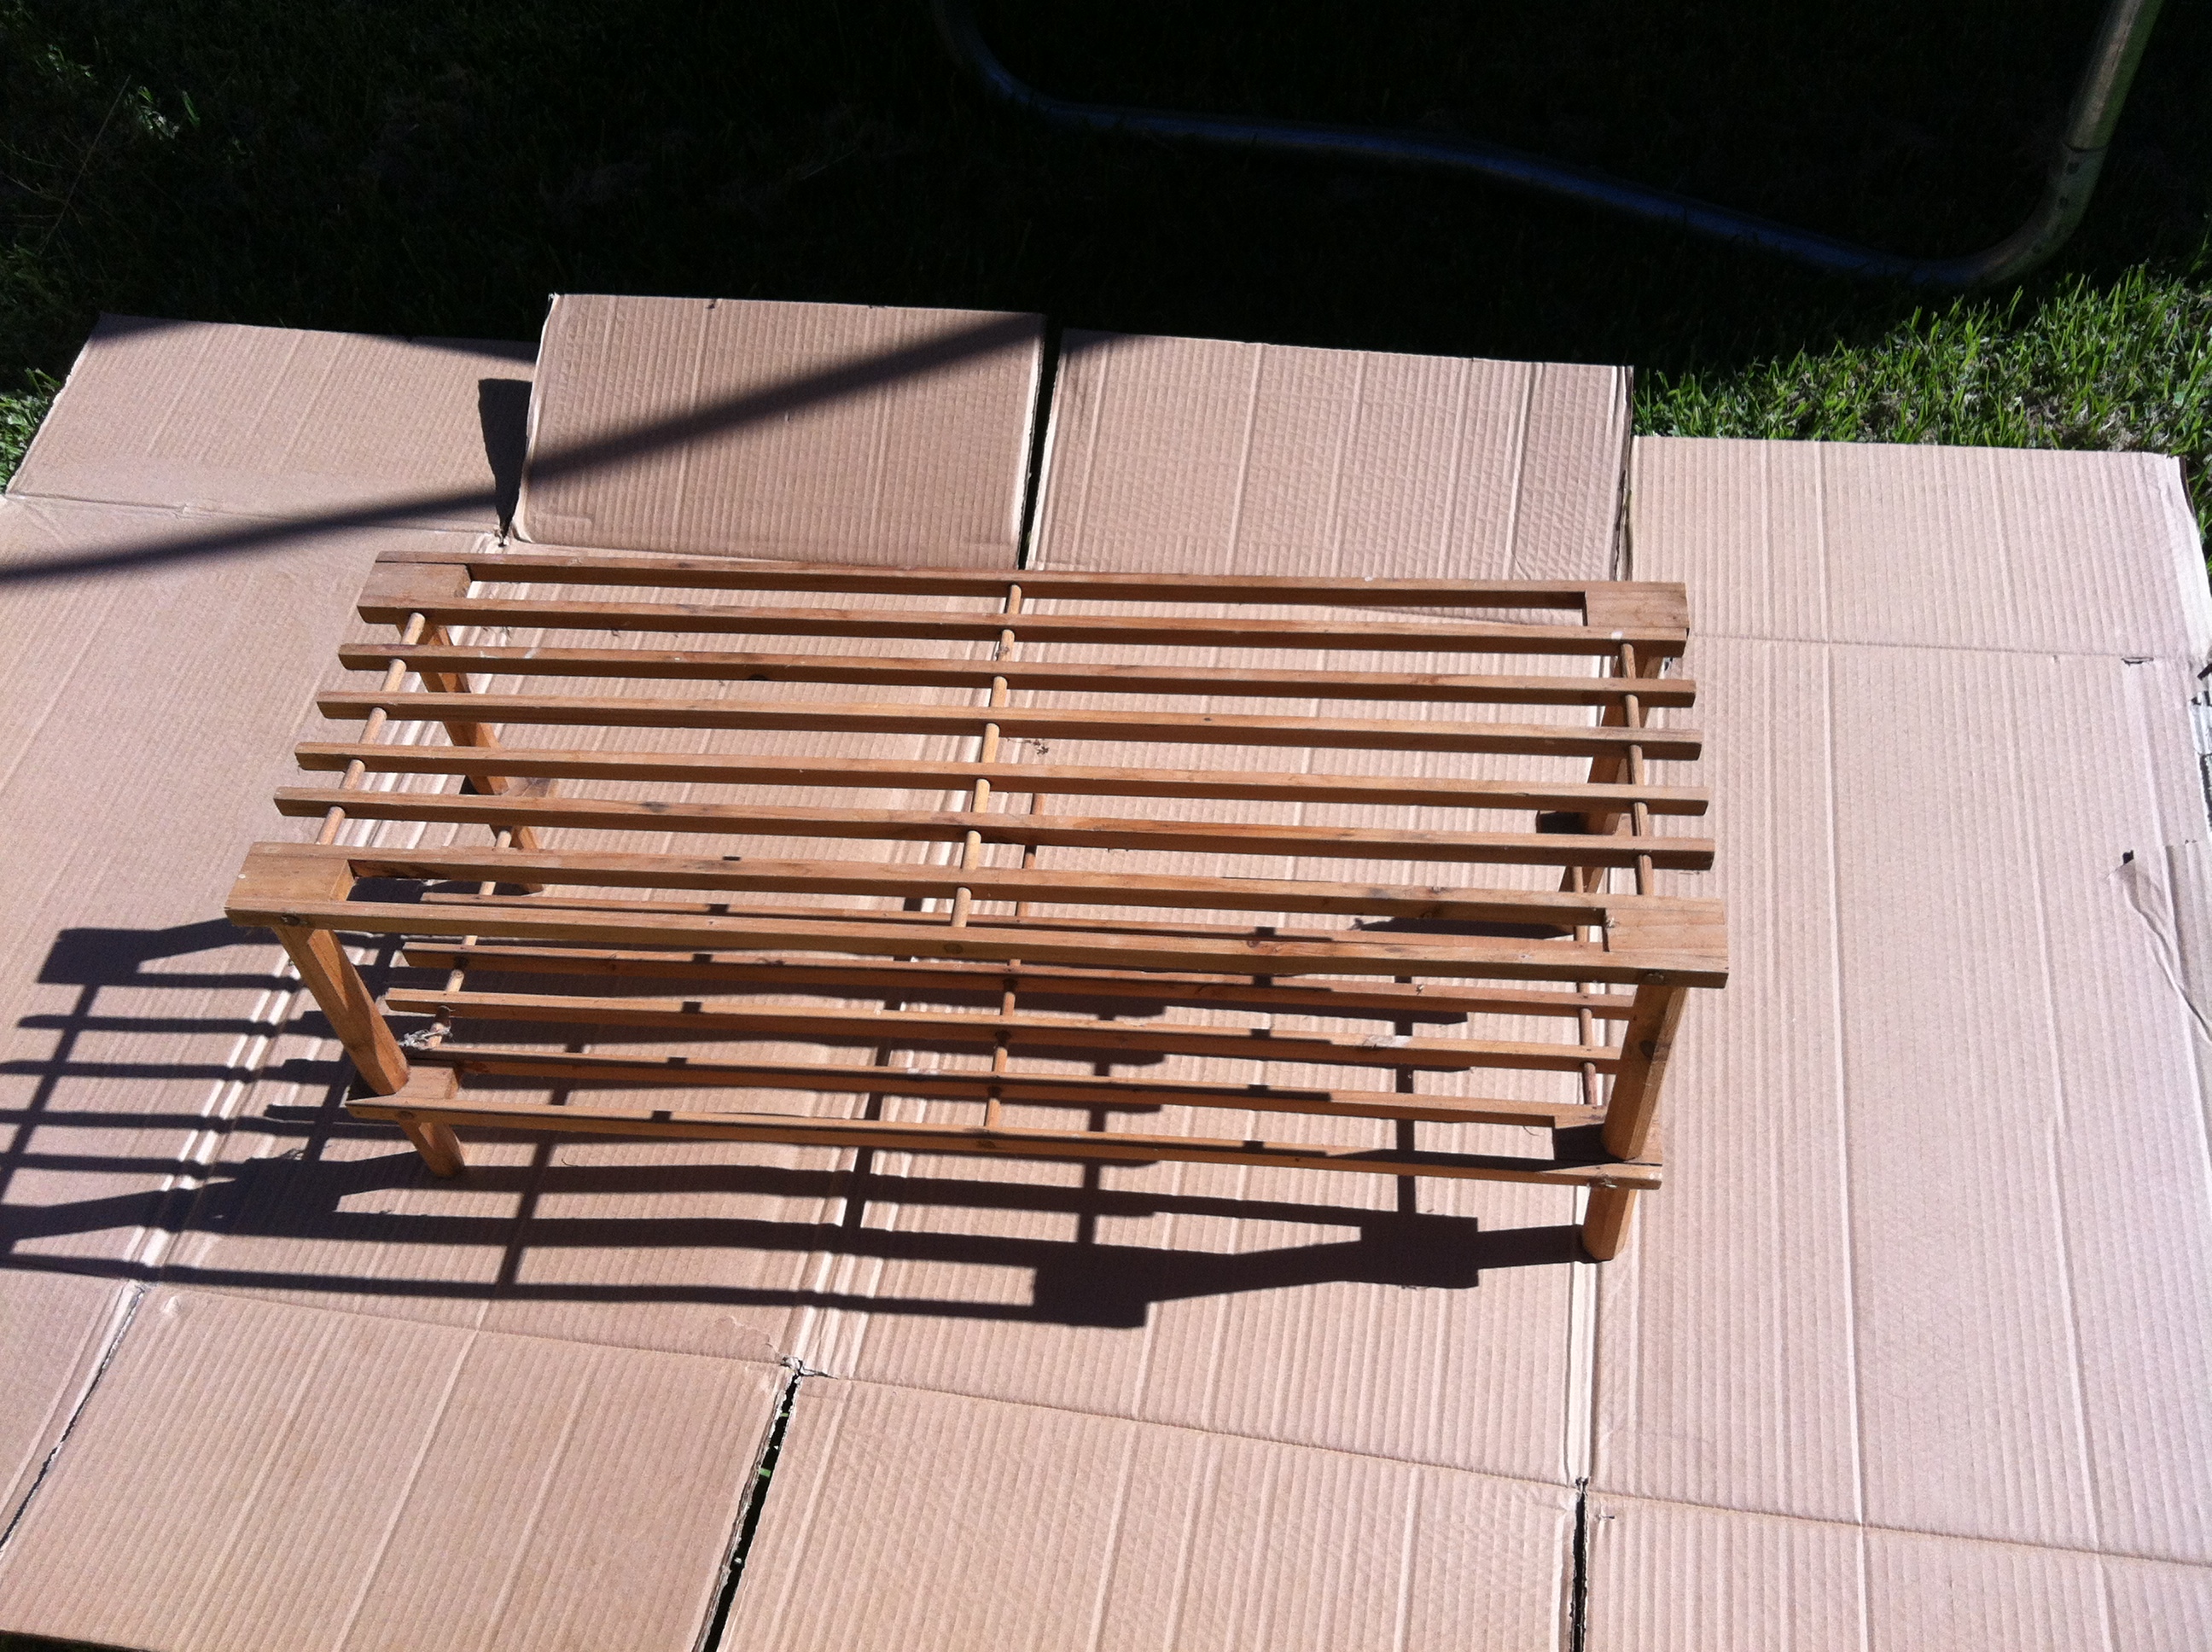
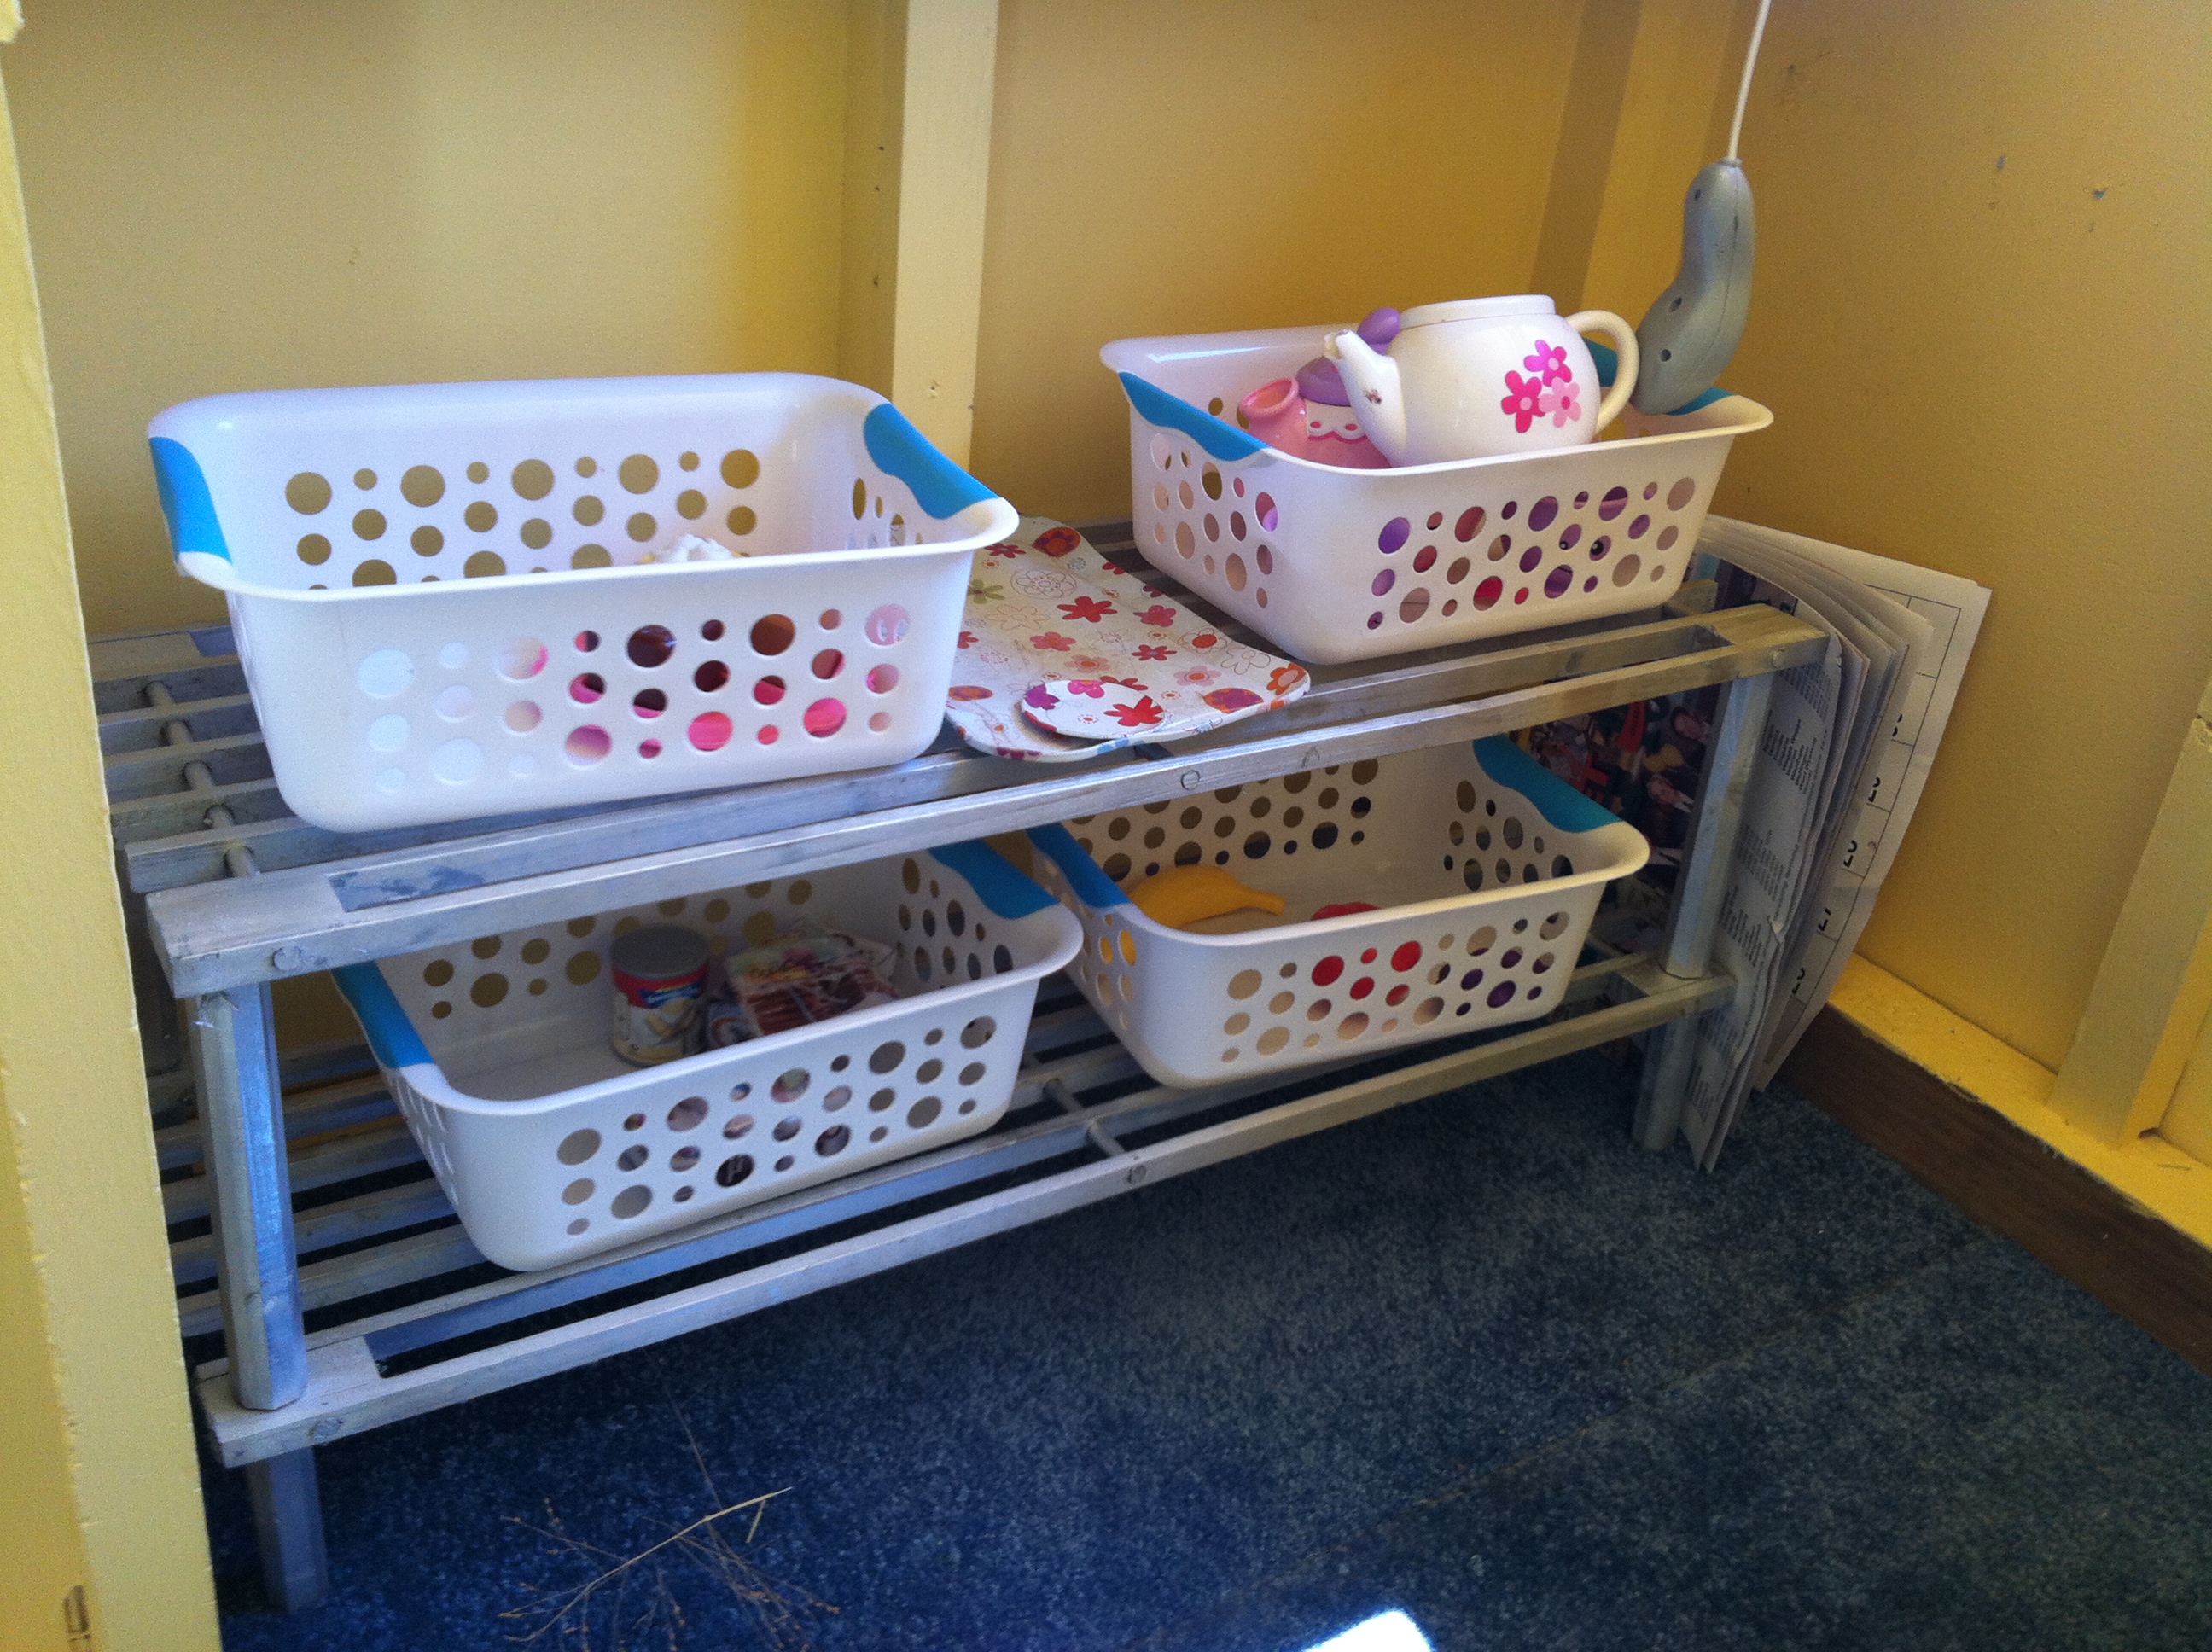
To make the shop shelves I used an old shoe rack, bought initially from The Reject Shop, and gave it two coats of silver spray paint. A few simple plastic baskets full of grocery items and tea sets and a couple of toy trolleys and the shop was all set.
I am still thinking of a few things to add like some bunting for the front verandah and some shopping bags for inside. To do this I’m just going to use paper bags and hole punch one corner. I’ll thread some cord through it and hang it from the shelf under the cash register. Miss 3 can just rip off a fresh bag each time she needs one.
I hope this might inspire you to tackle those jobs you might like to do, and in a thrifty way.
Originally posted 2015-05-14 12:00:07.
Emily! That is amazing, even I want to play inside, I can only imgine how much your children will love it! Wish you could make one for my house 🙂