
A recent holiday saw me 6 months pregnant and in need of a maternity rashie but rather than spending $80 for an item I’ll probably wear a handful of times at best I made my own and you can do it too. And my DIY Maternity Rashie cost me about $7!

What you’ll need:
- A maternity t-shirt that fits you well
- Butchers paper or brown paper
- Pen/pencil
- Scissors
- 1m (1.5m wide) nylon fabric
- 25cm 8-10mm elastic (optional)
What to do:
Roll out your paper and place your t-shirt on top, folded in half.
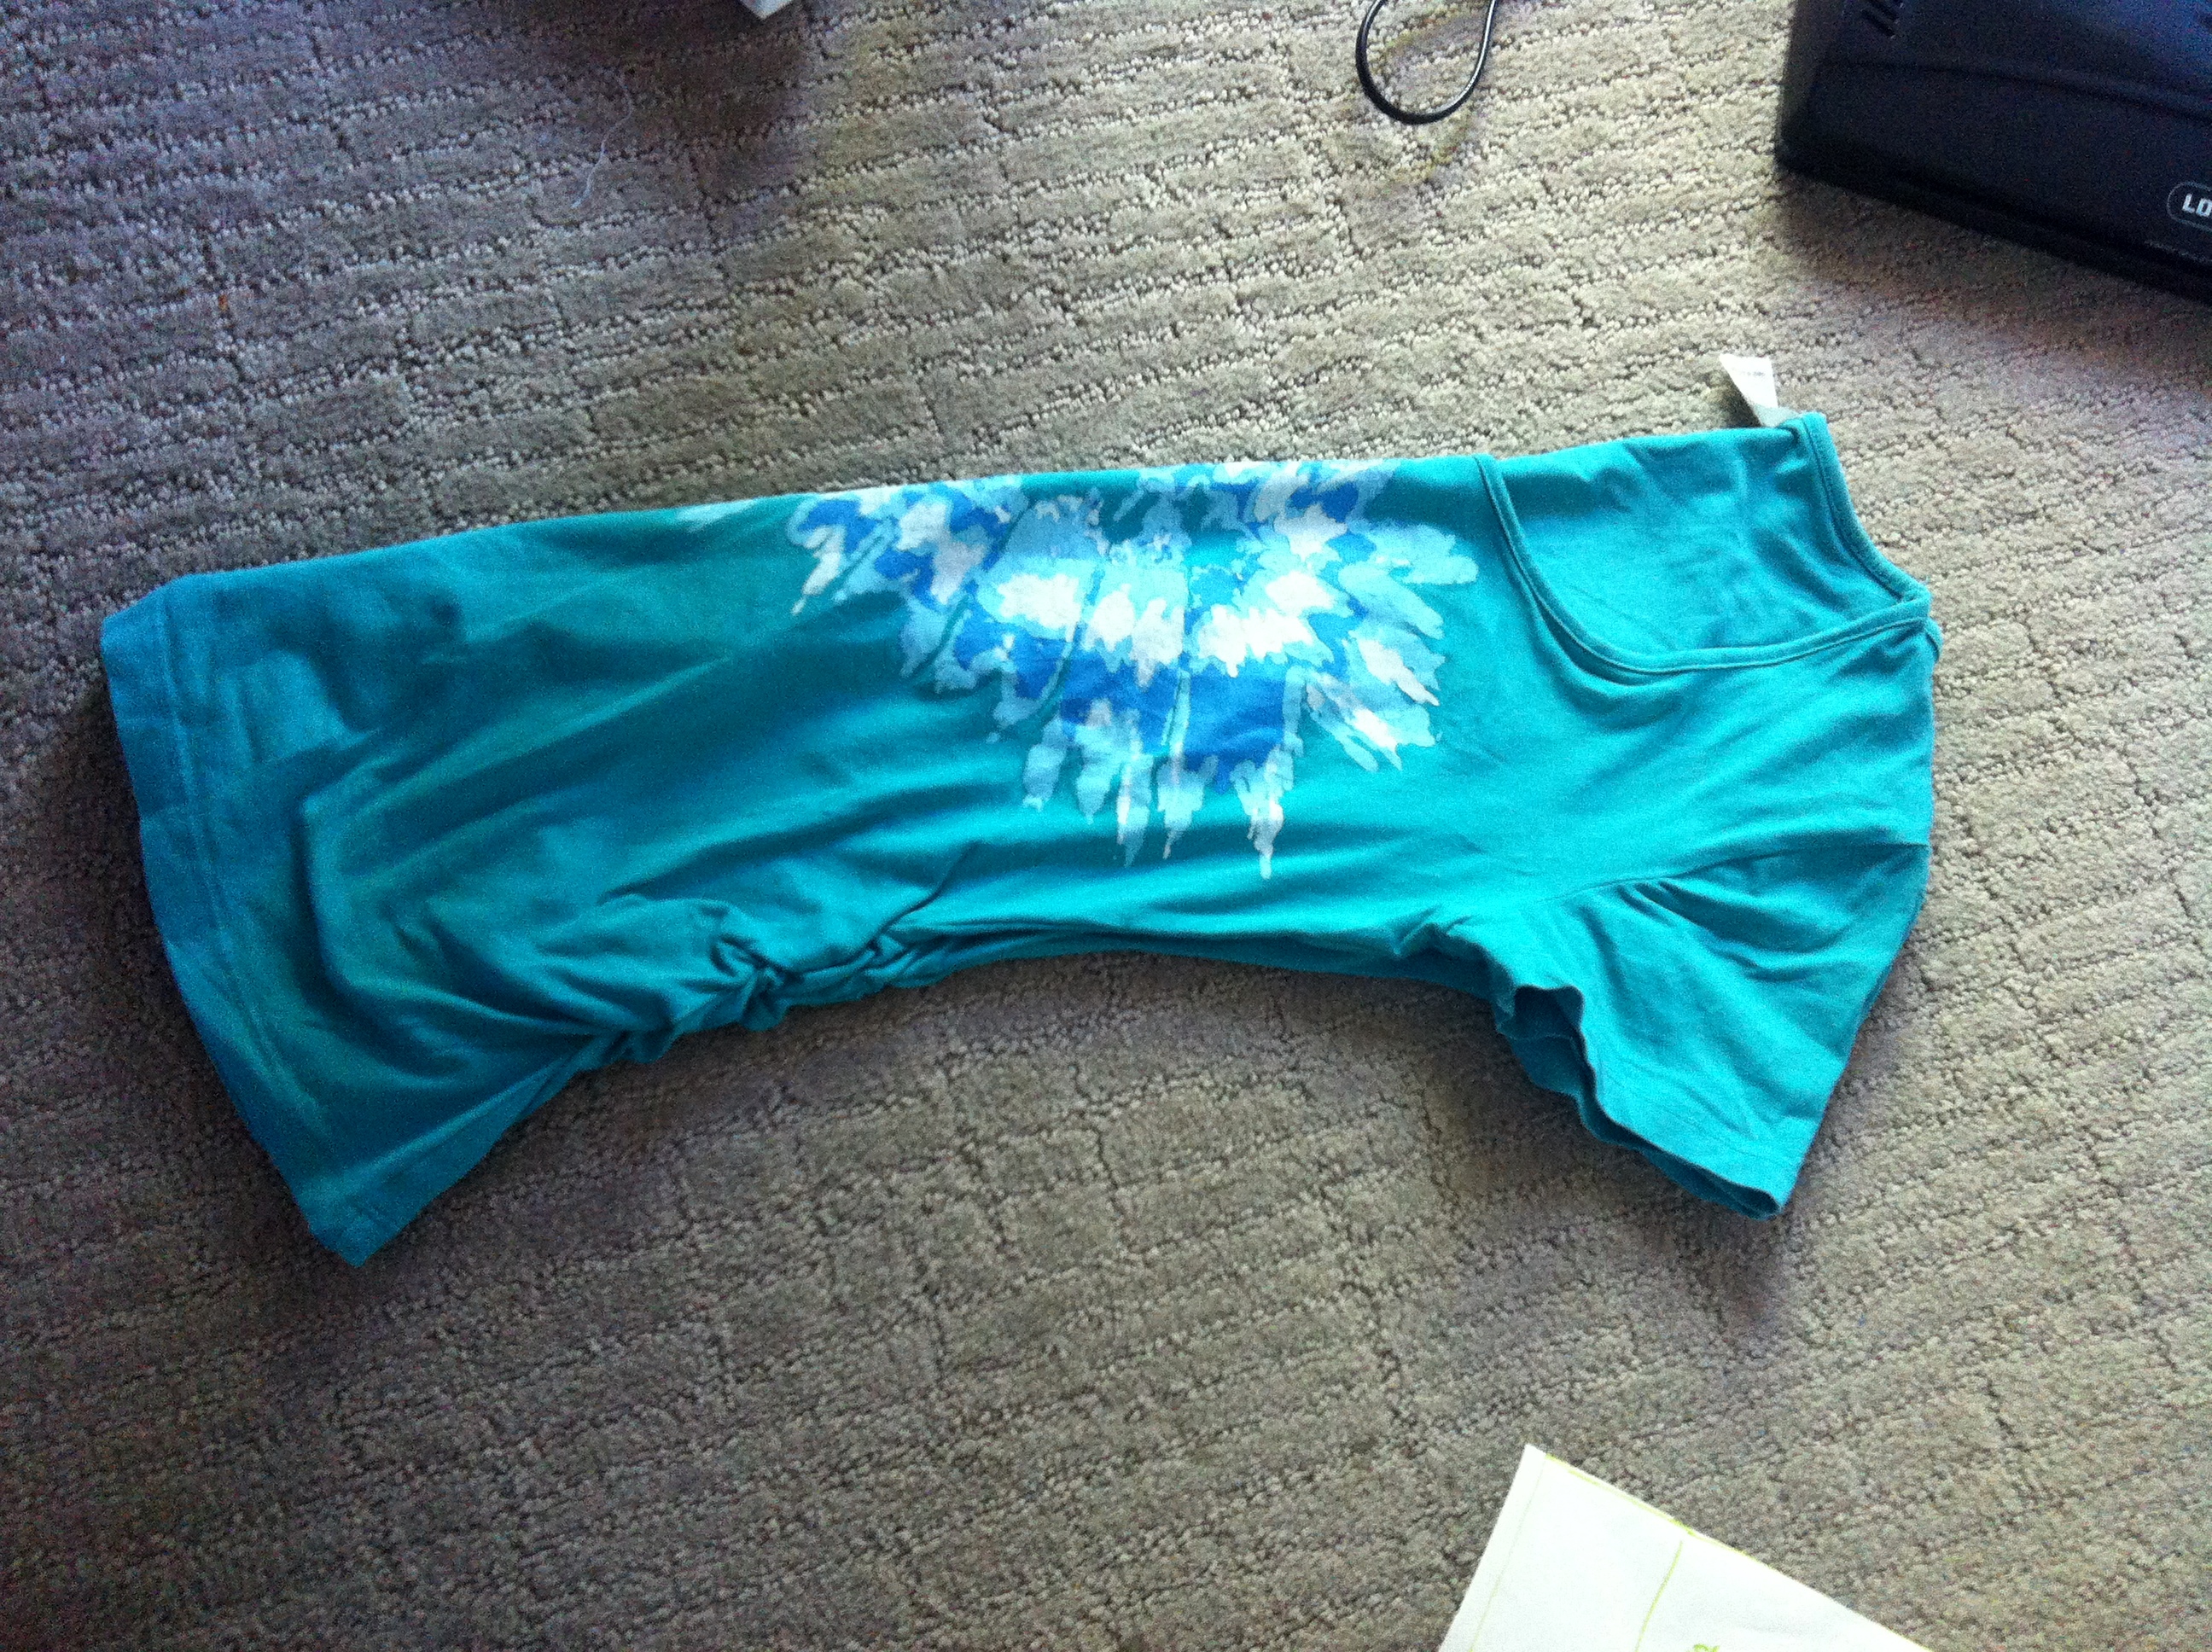
Trace around outside of shirt leaving a 1cm gap between shirt and pencil line for seam allowance. Do not include sleeves, instead trace along seam where sleeves joins shirt and mark both the back and front neckline on this piece.
Note: if your maternity shirt is the style where there is elastic on the inside of the side seams you will need to pull this down until shirt is no longer gathered to determine correct length. You will also need to make a note of how far down the seam the elastic starts, how long the elastic is, and where the elastic ends because you will be duplicating this in your rashie to mimic the fit.
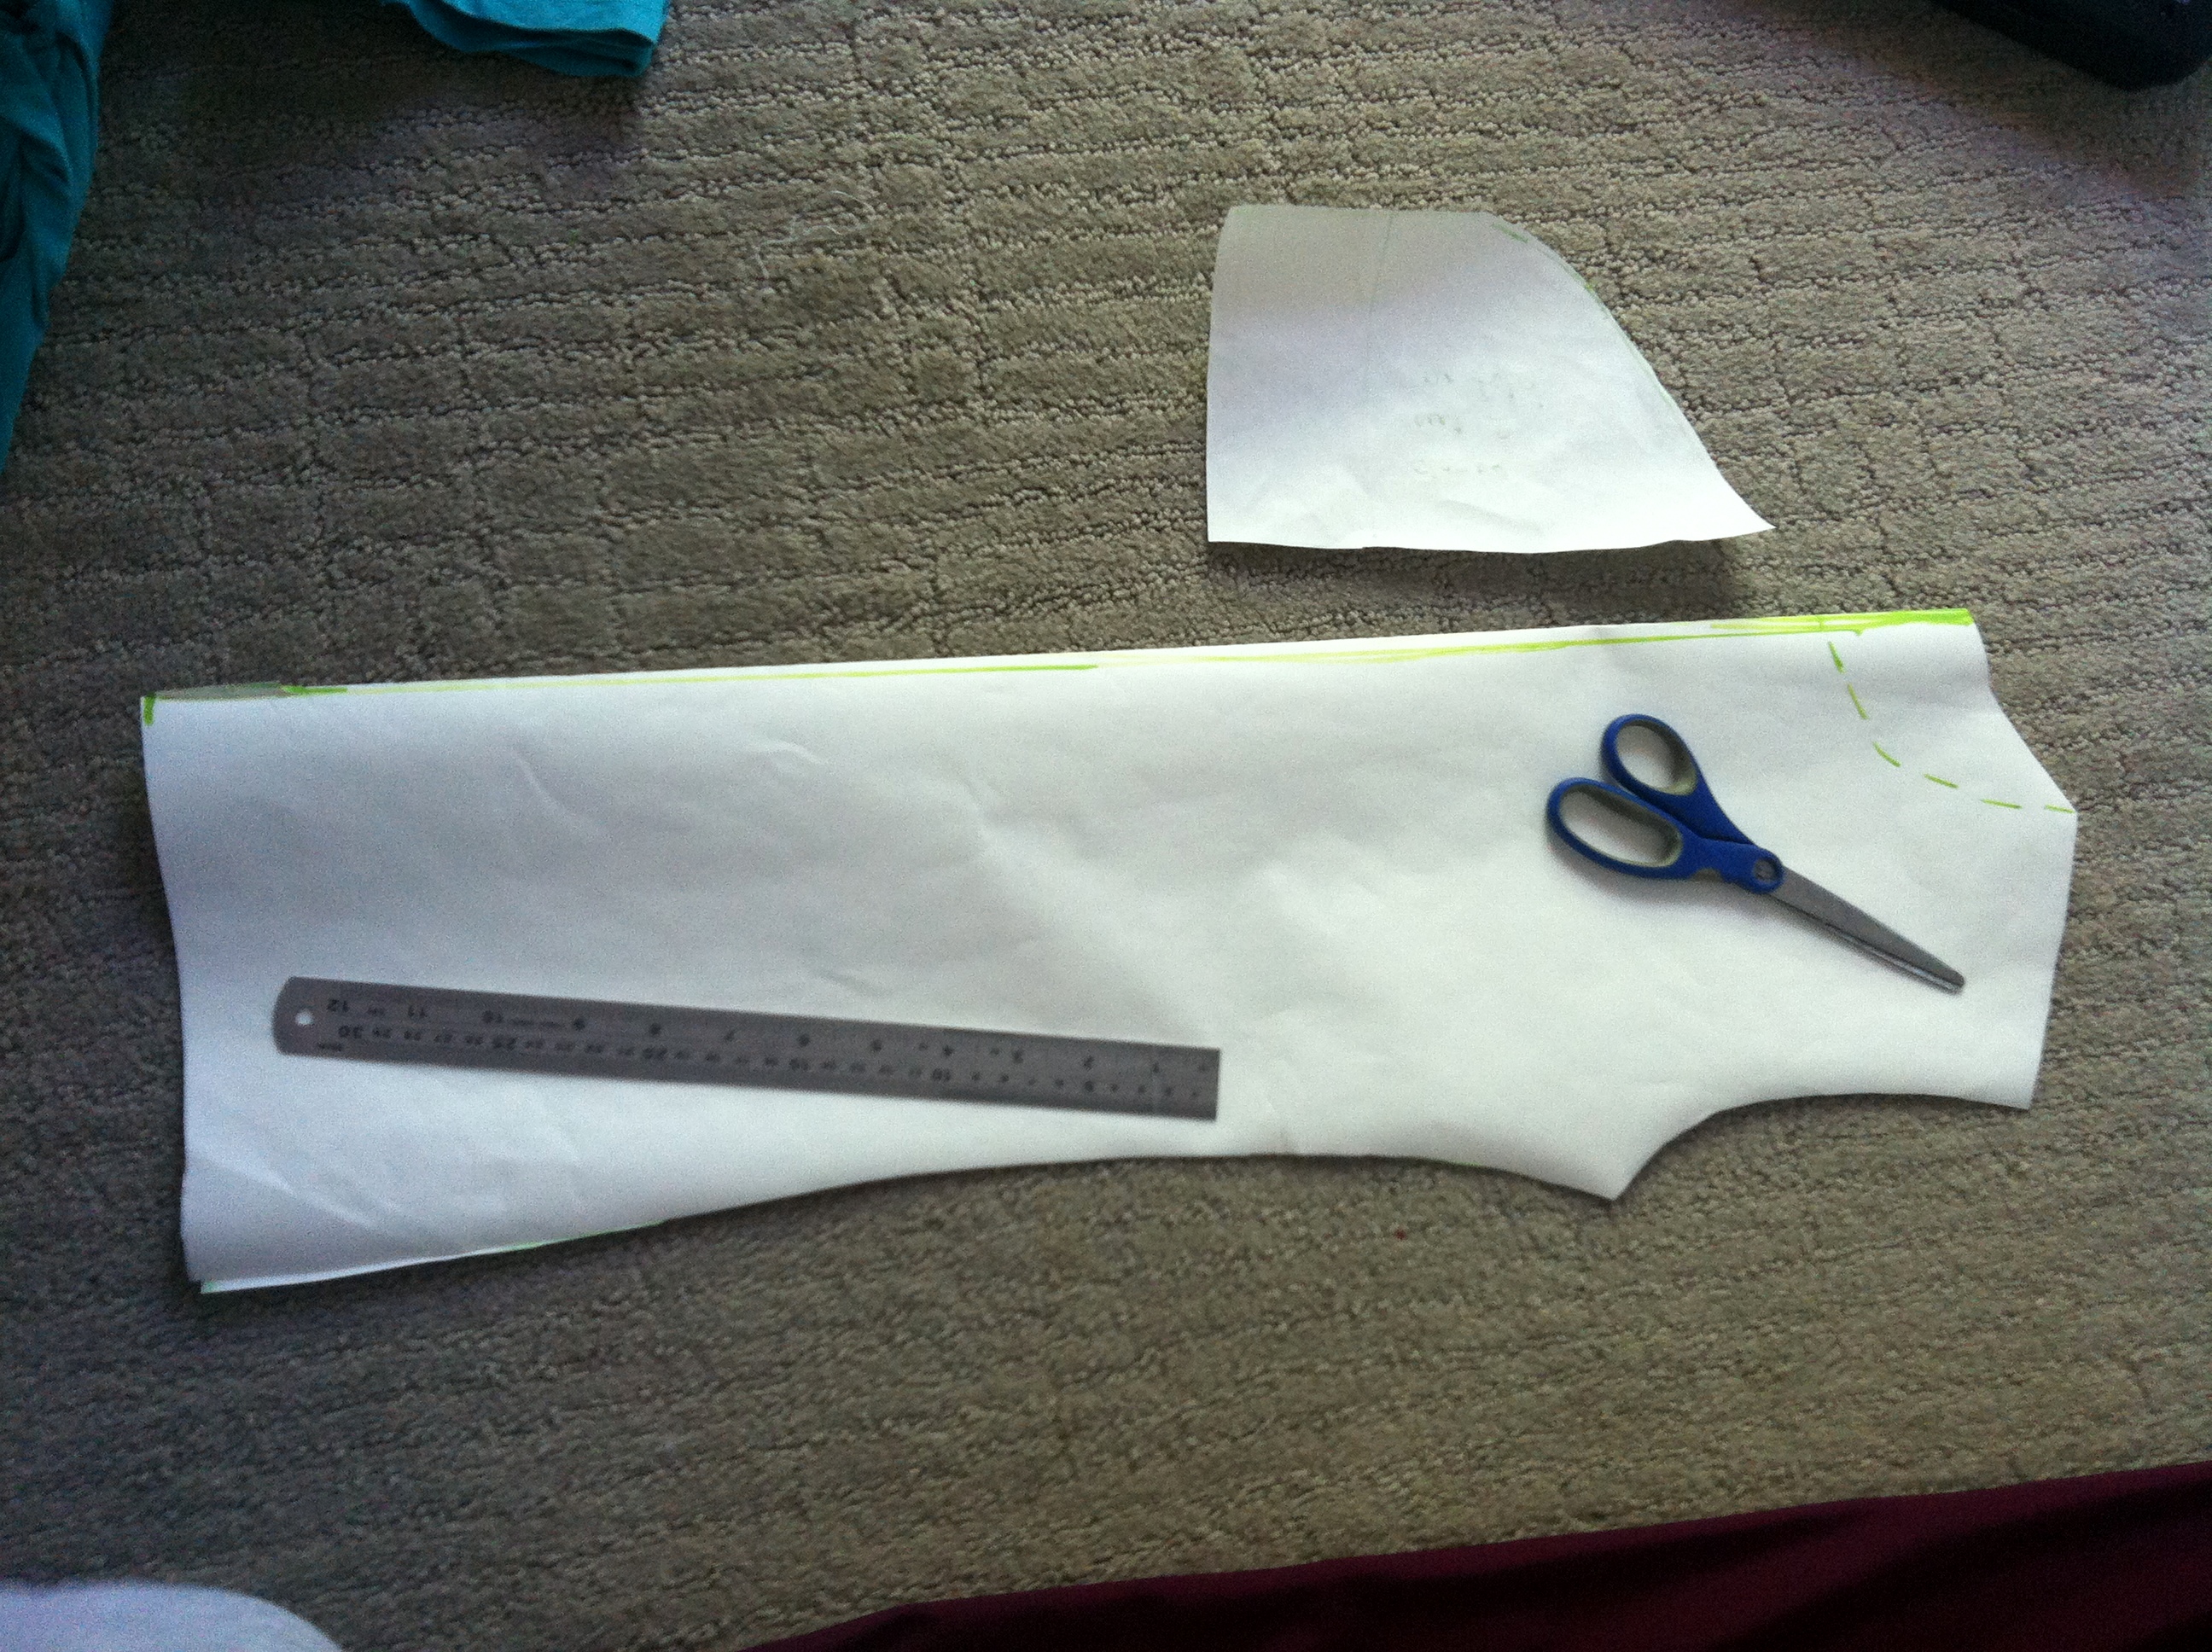
Move t-shirt to clear area of paper and trace around one sleeve. Once again allow for a 1cm seam allowance.
Cut out pattern pieces. I cut two half shirt pieces and taped them together.
Fold fabric in half and pin shirt piece on top.
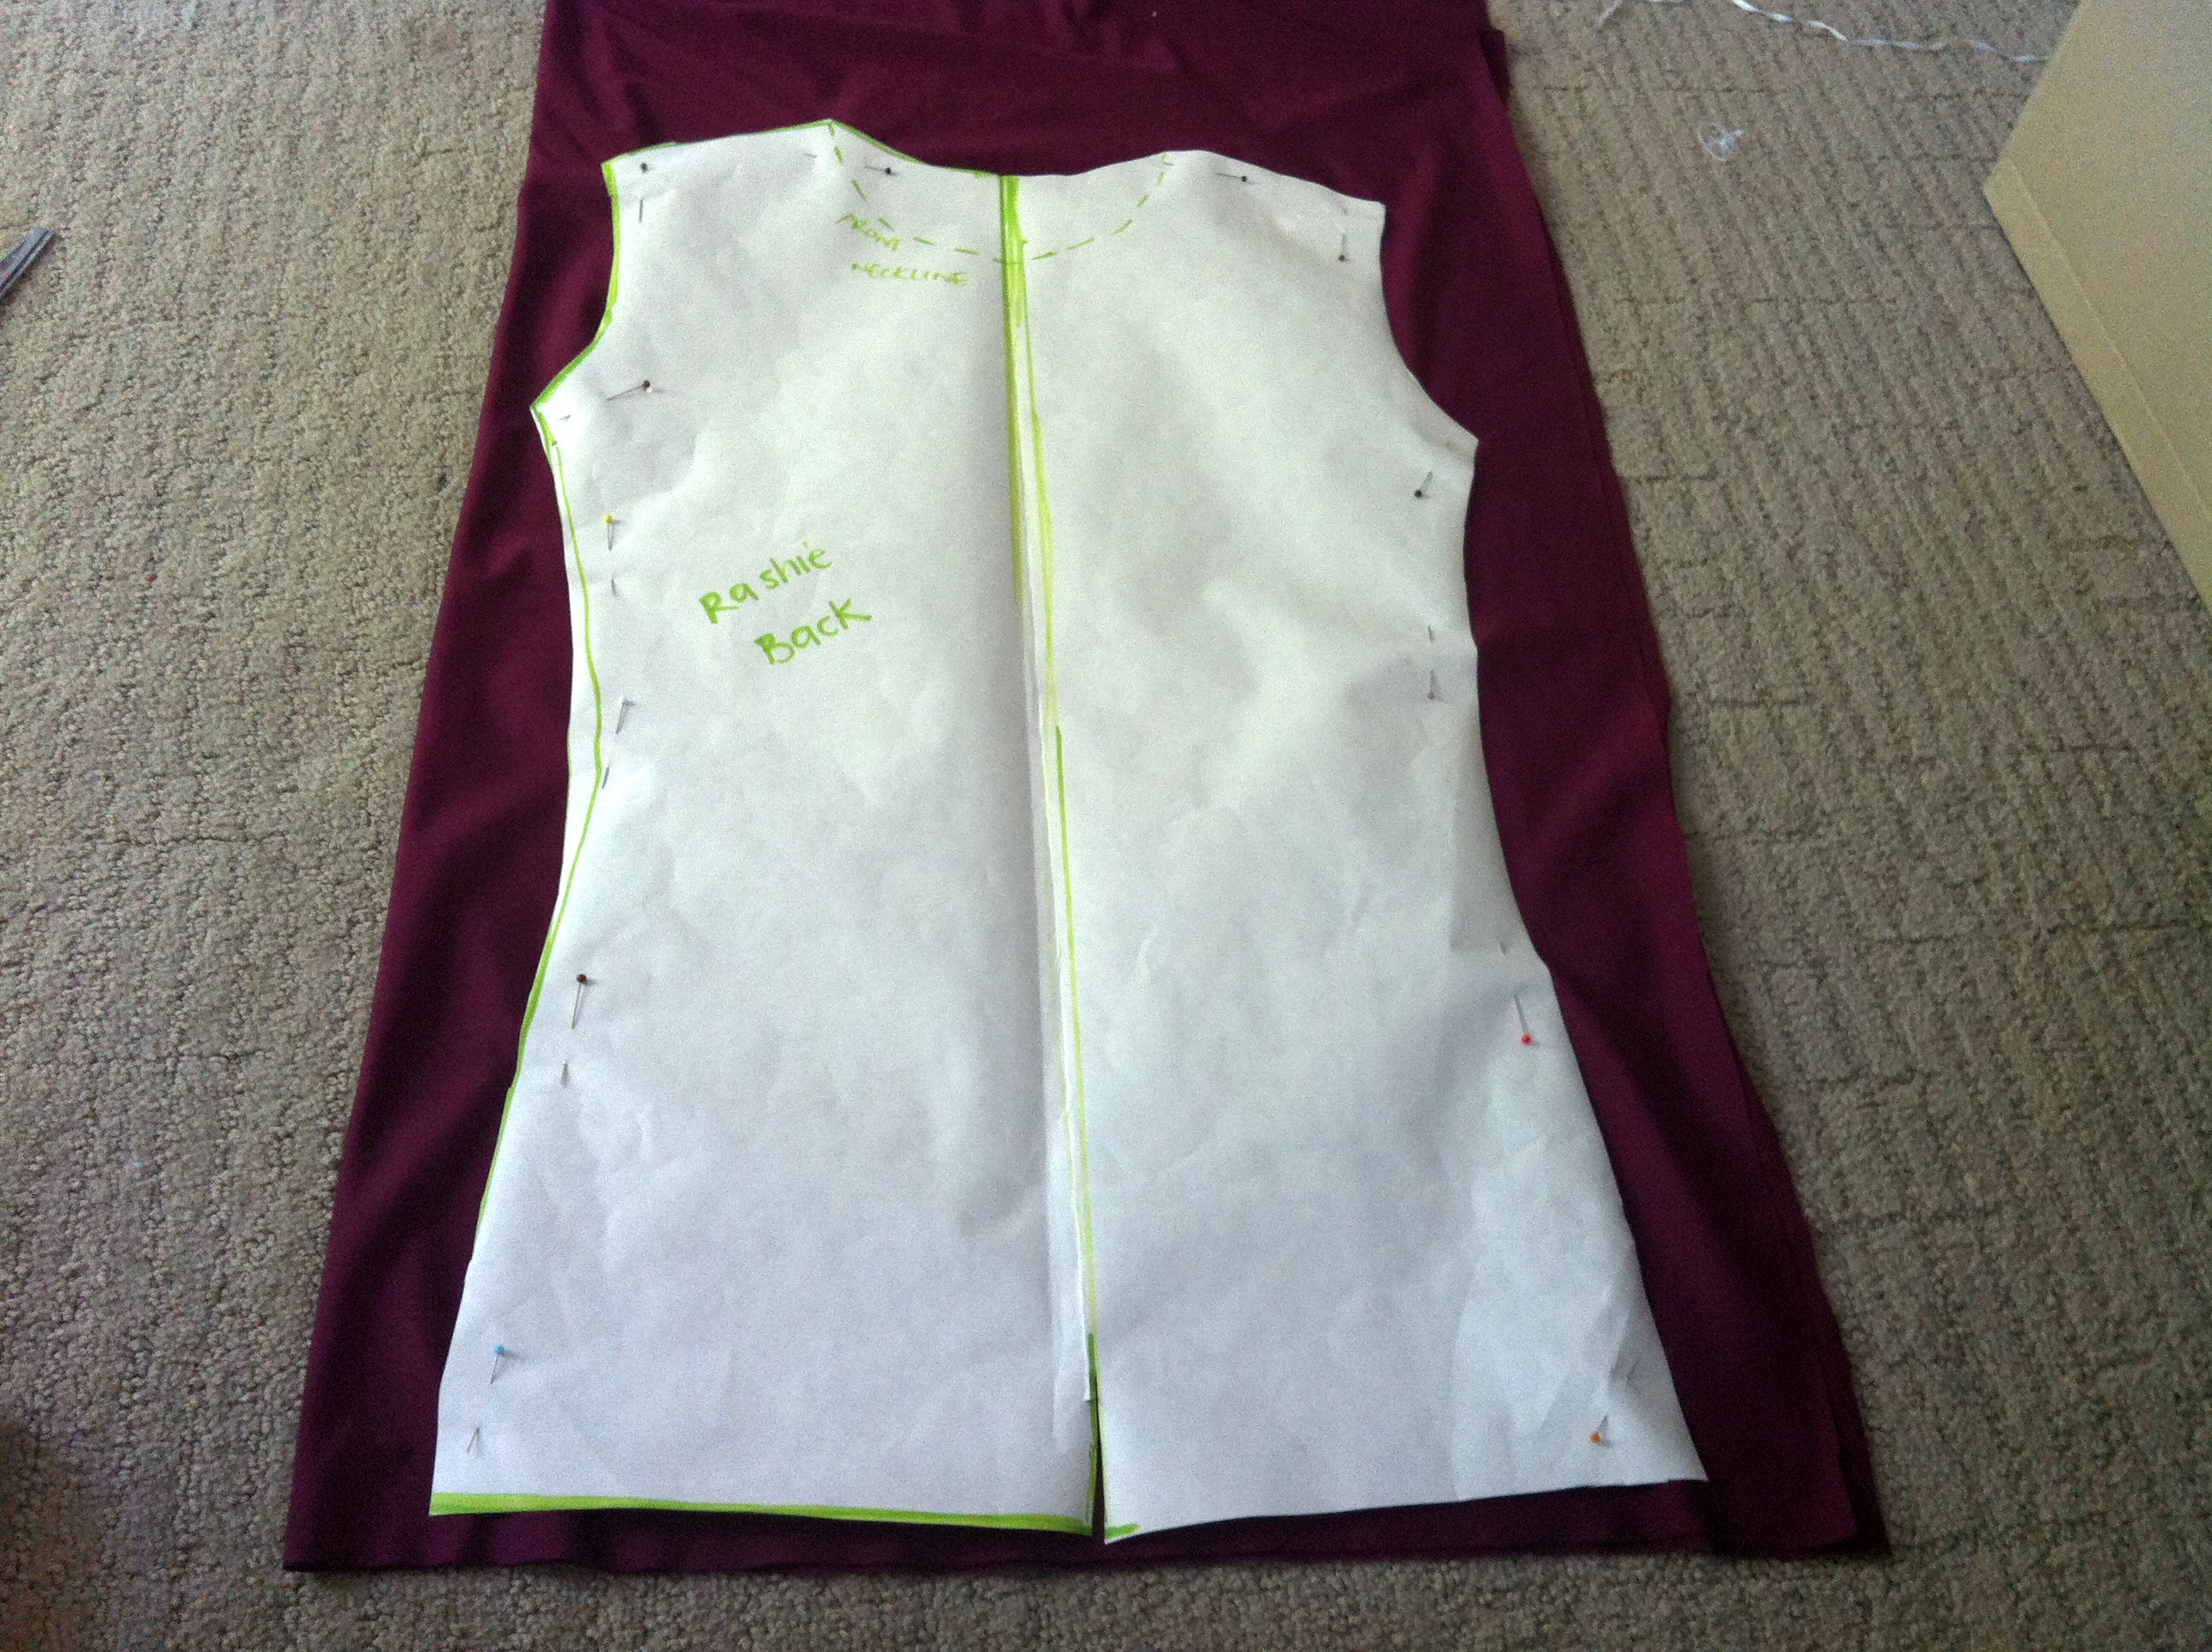
Cut two shirt pieces using the back neckline. Unpin.
Pin pattern piece onto one of your fabric pattern pieces and cut front neckline.
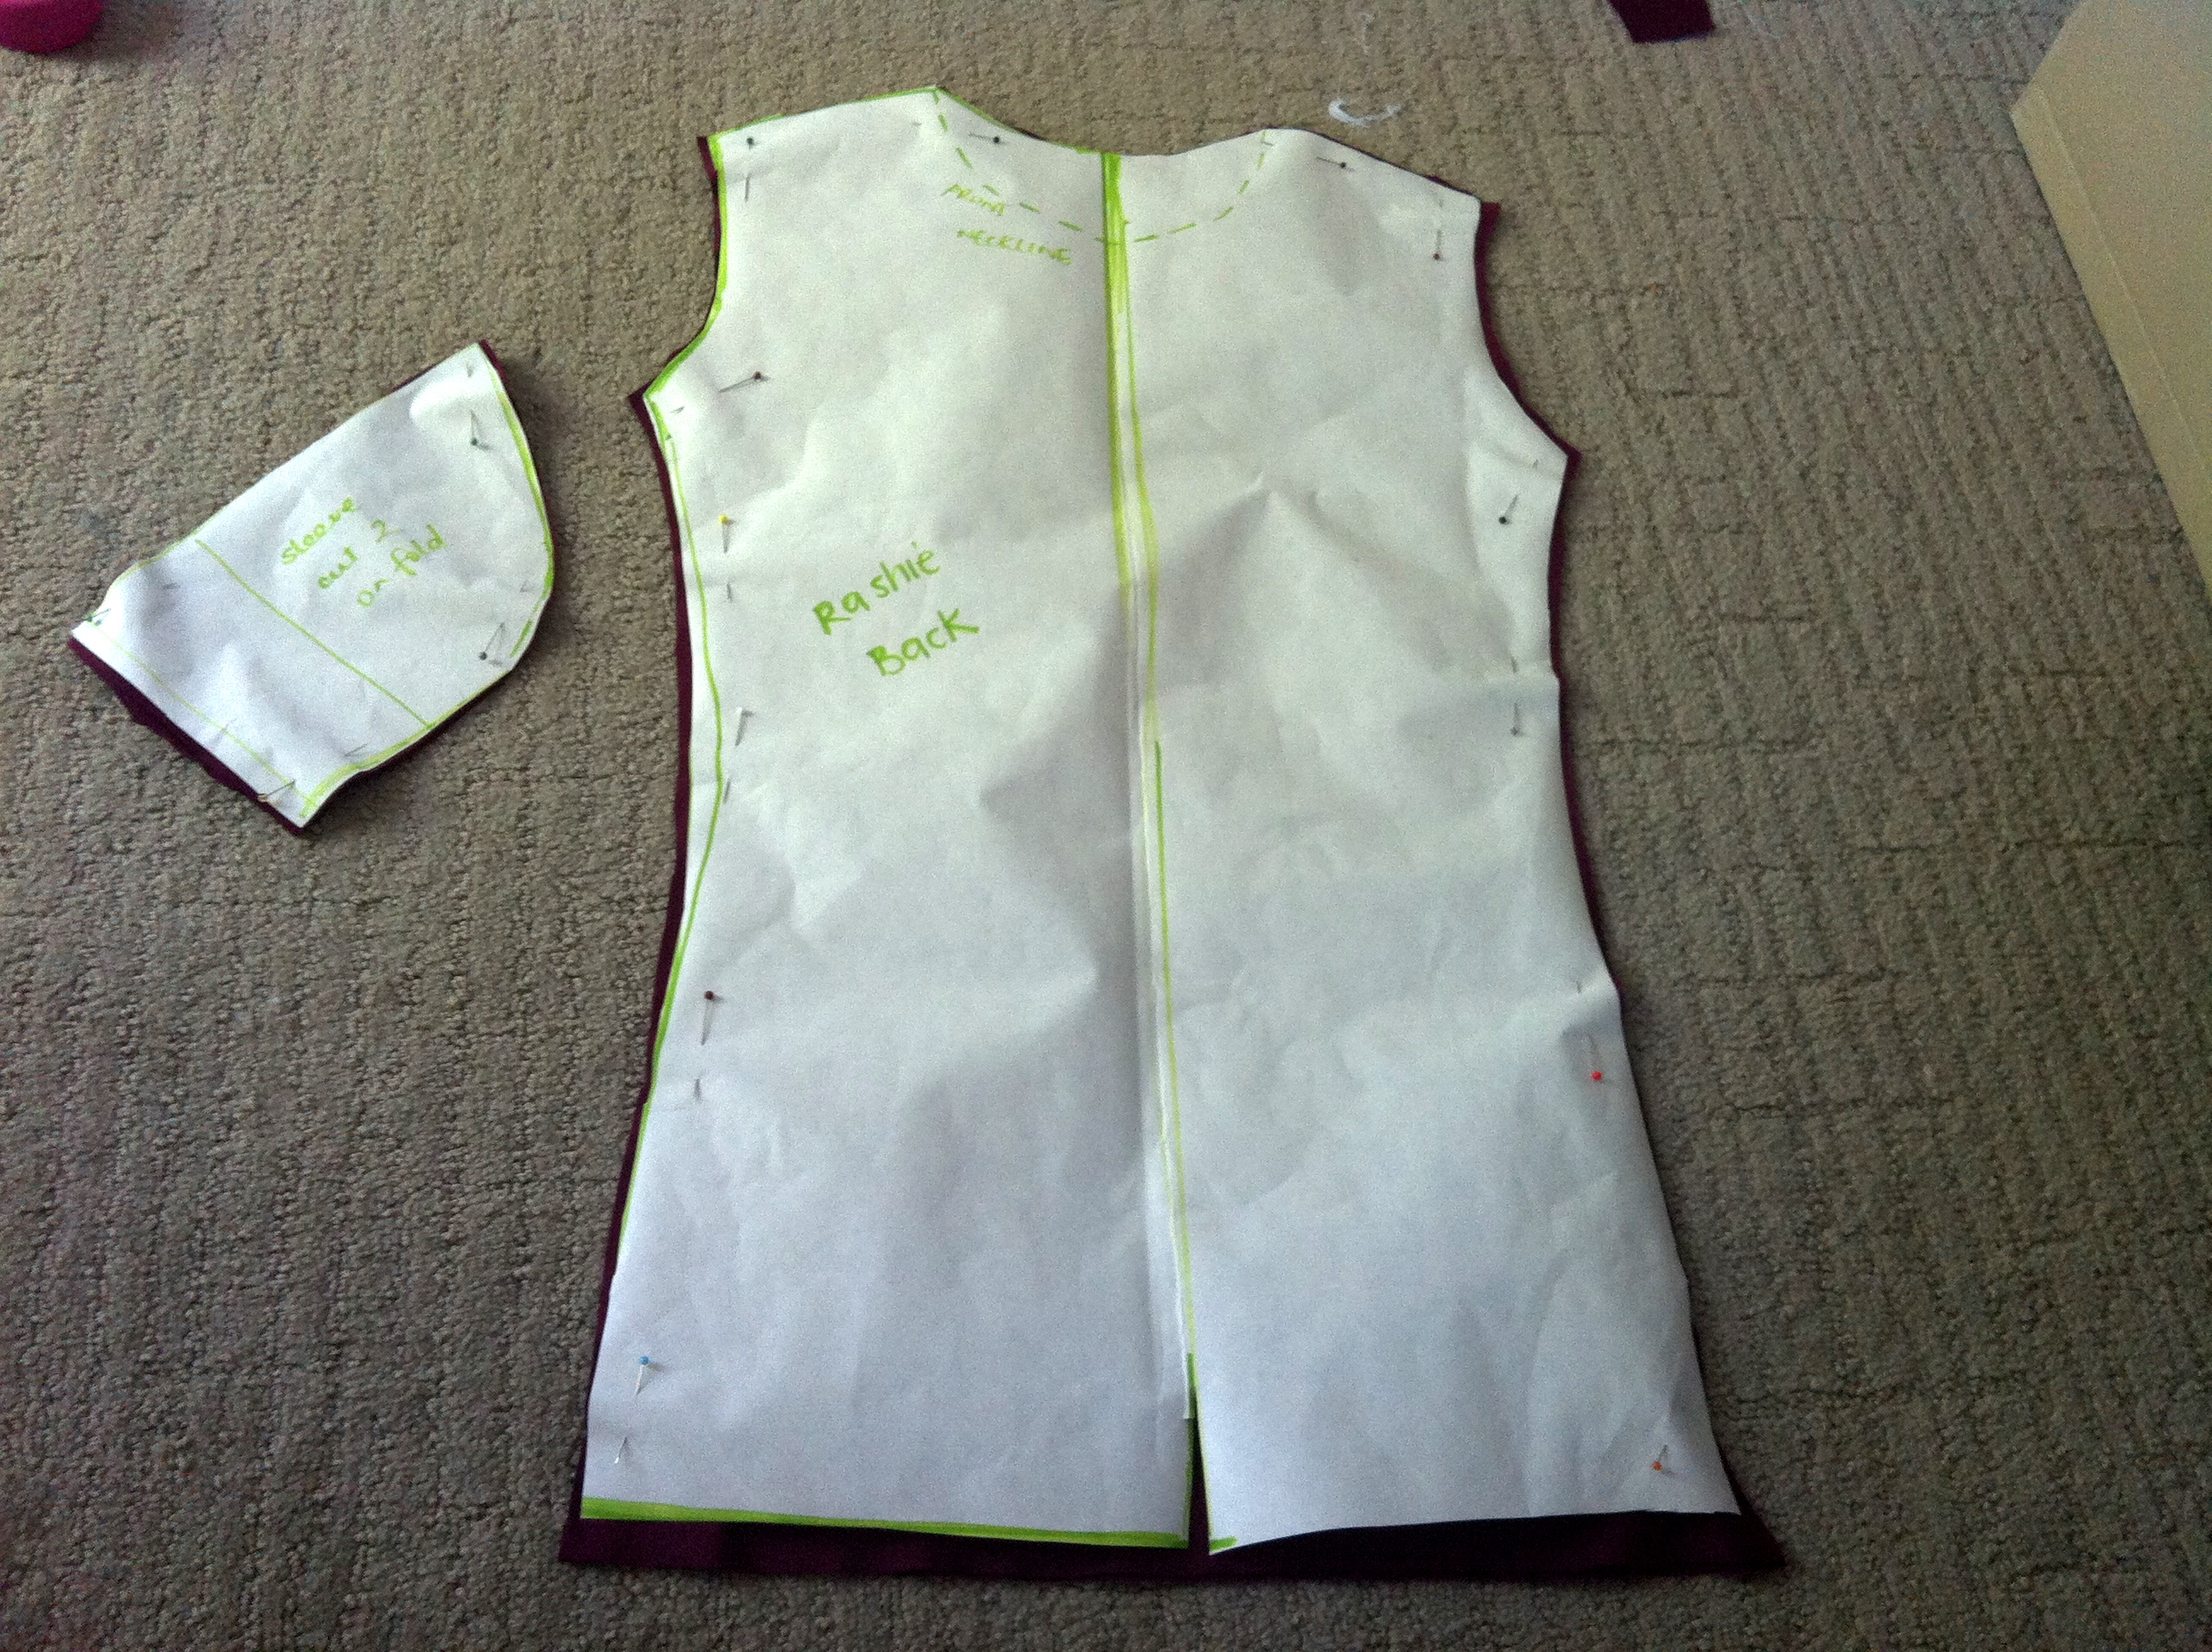
Line up sleeve fold line with fold in fabric and cut two sleeves.
Pin shirt pieces right sides together at shoulders. Sew.
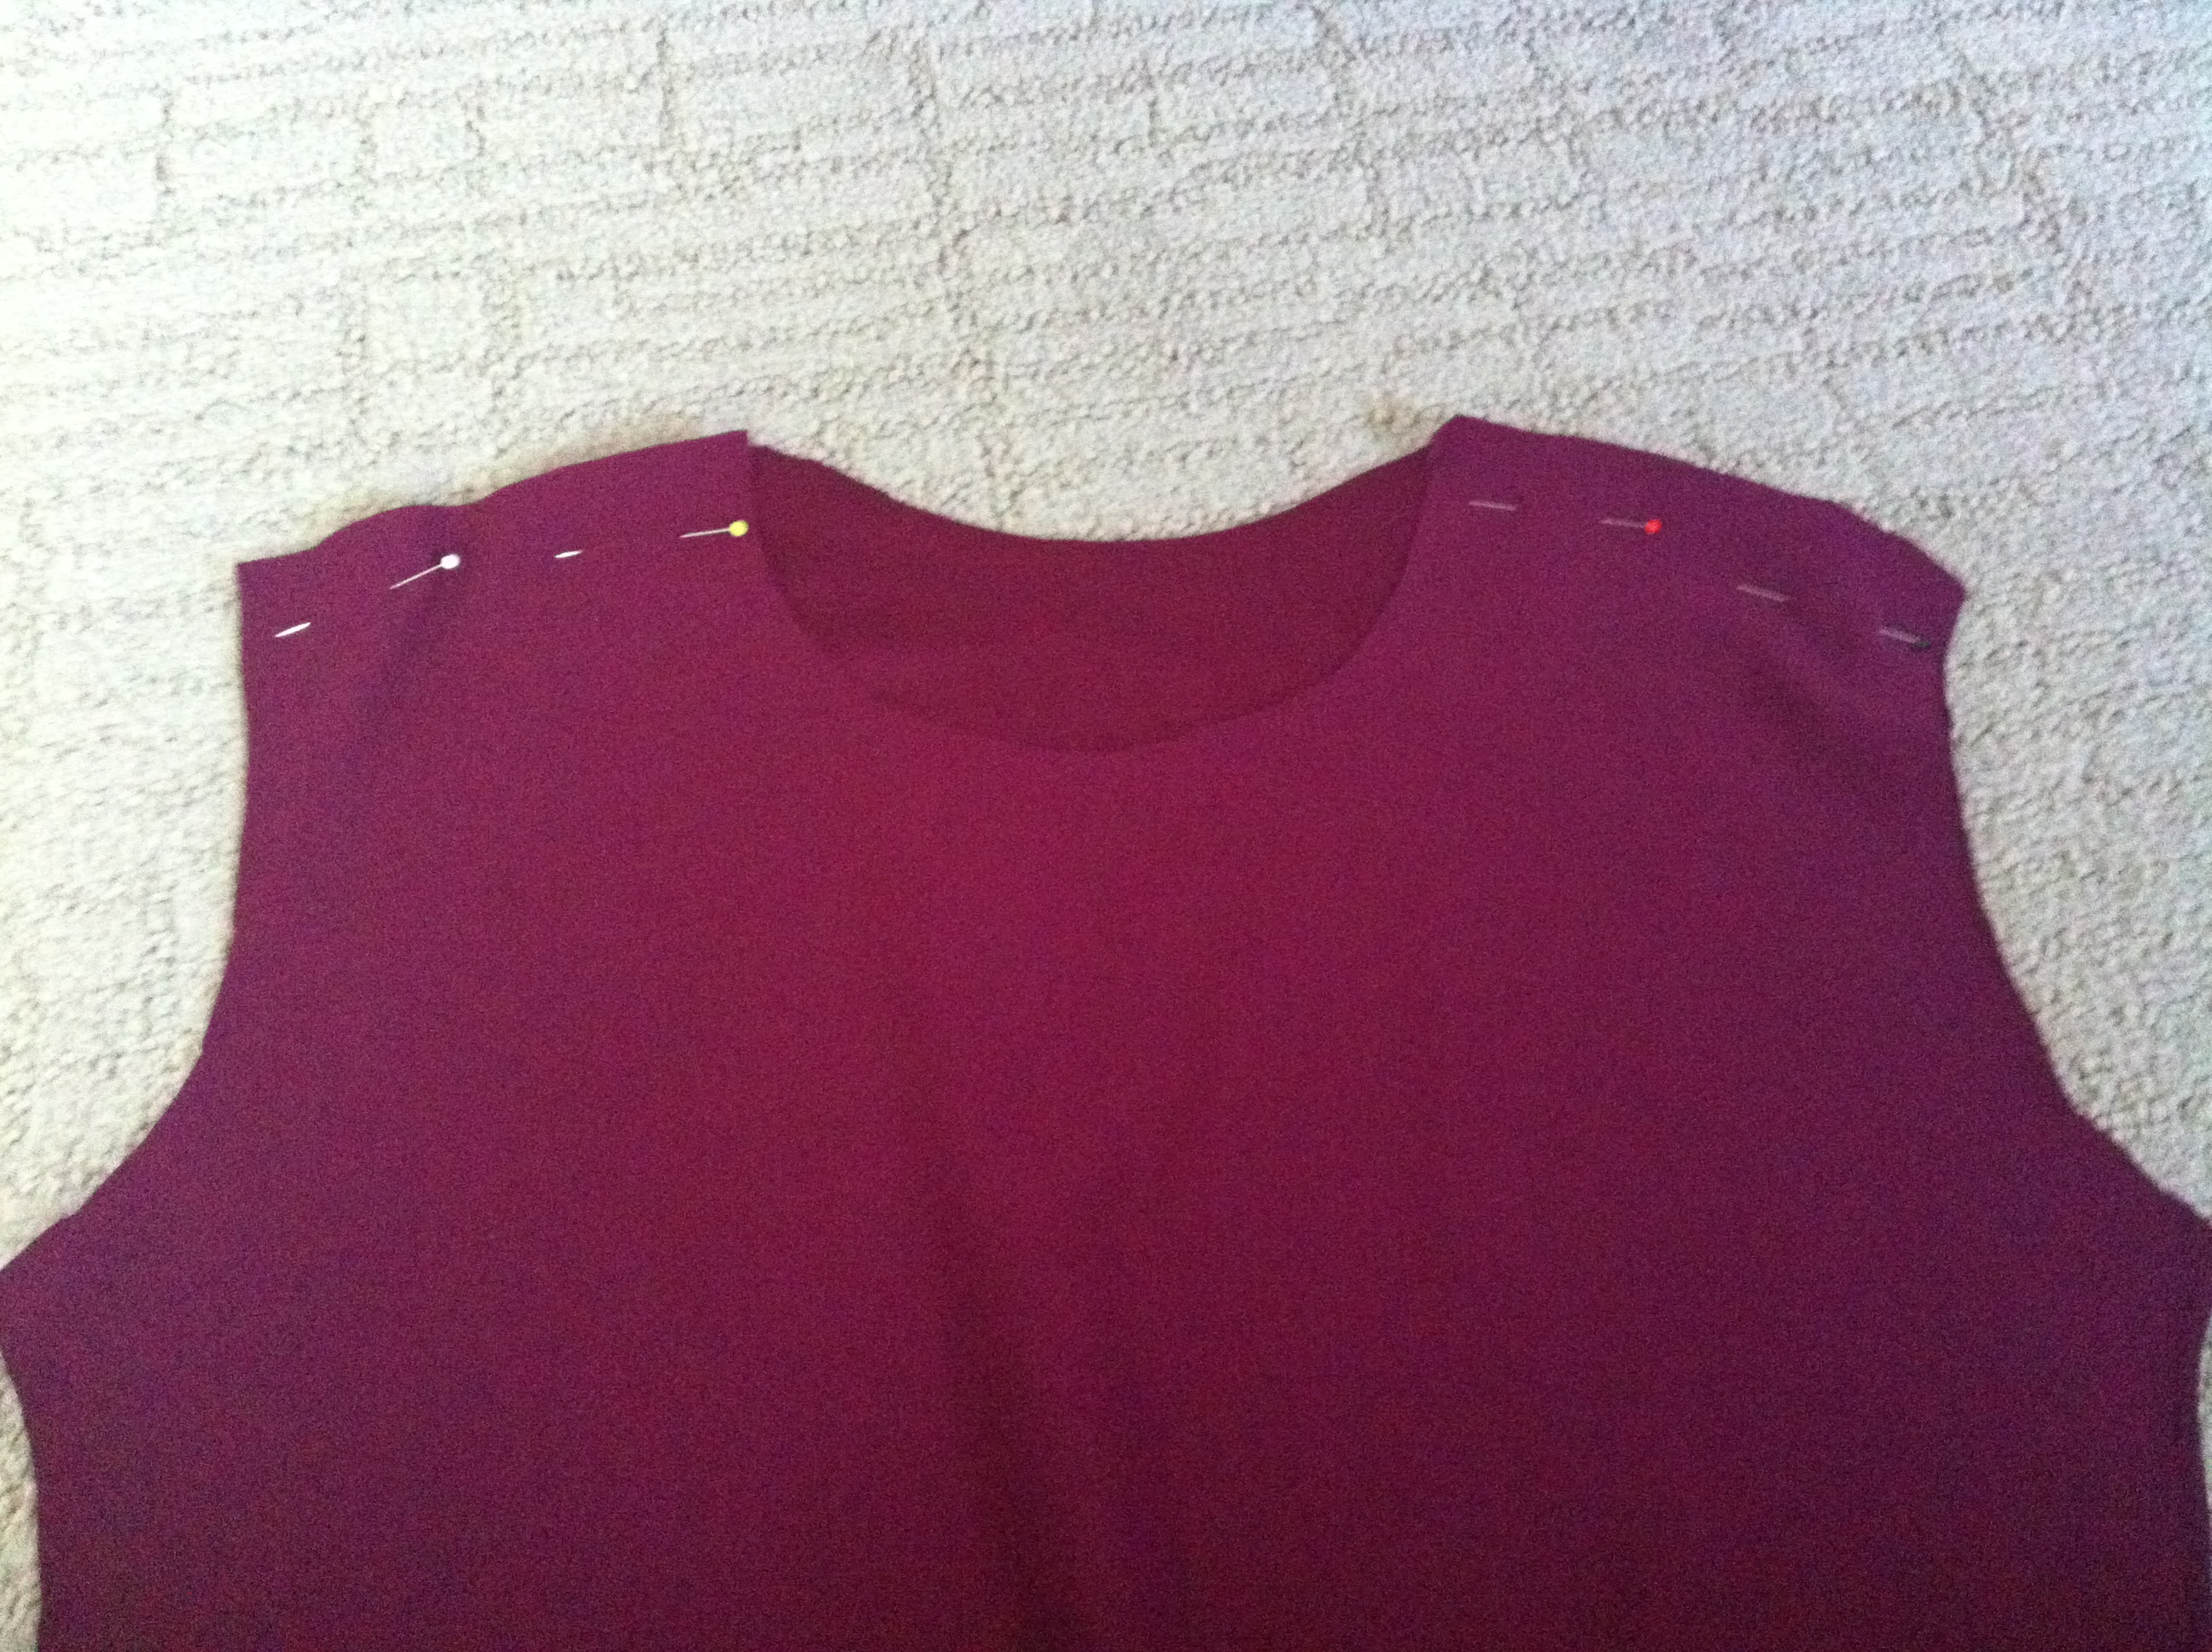
Pin sleeves to arm. Sew.

Pin sleeve seam and side seams. In one sewing motion start at the end of the sleeve and sew to hem.
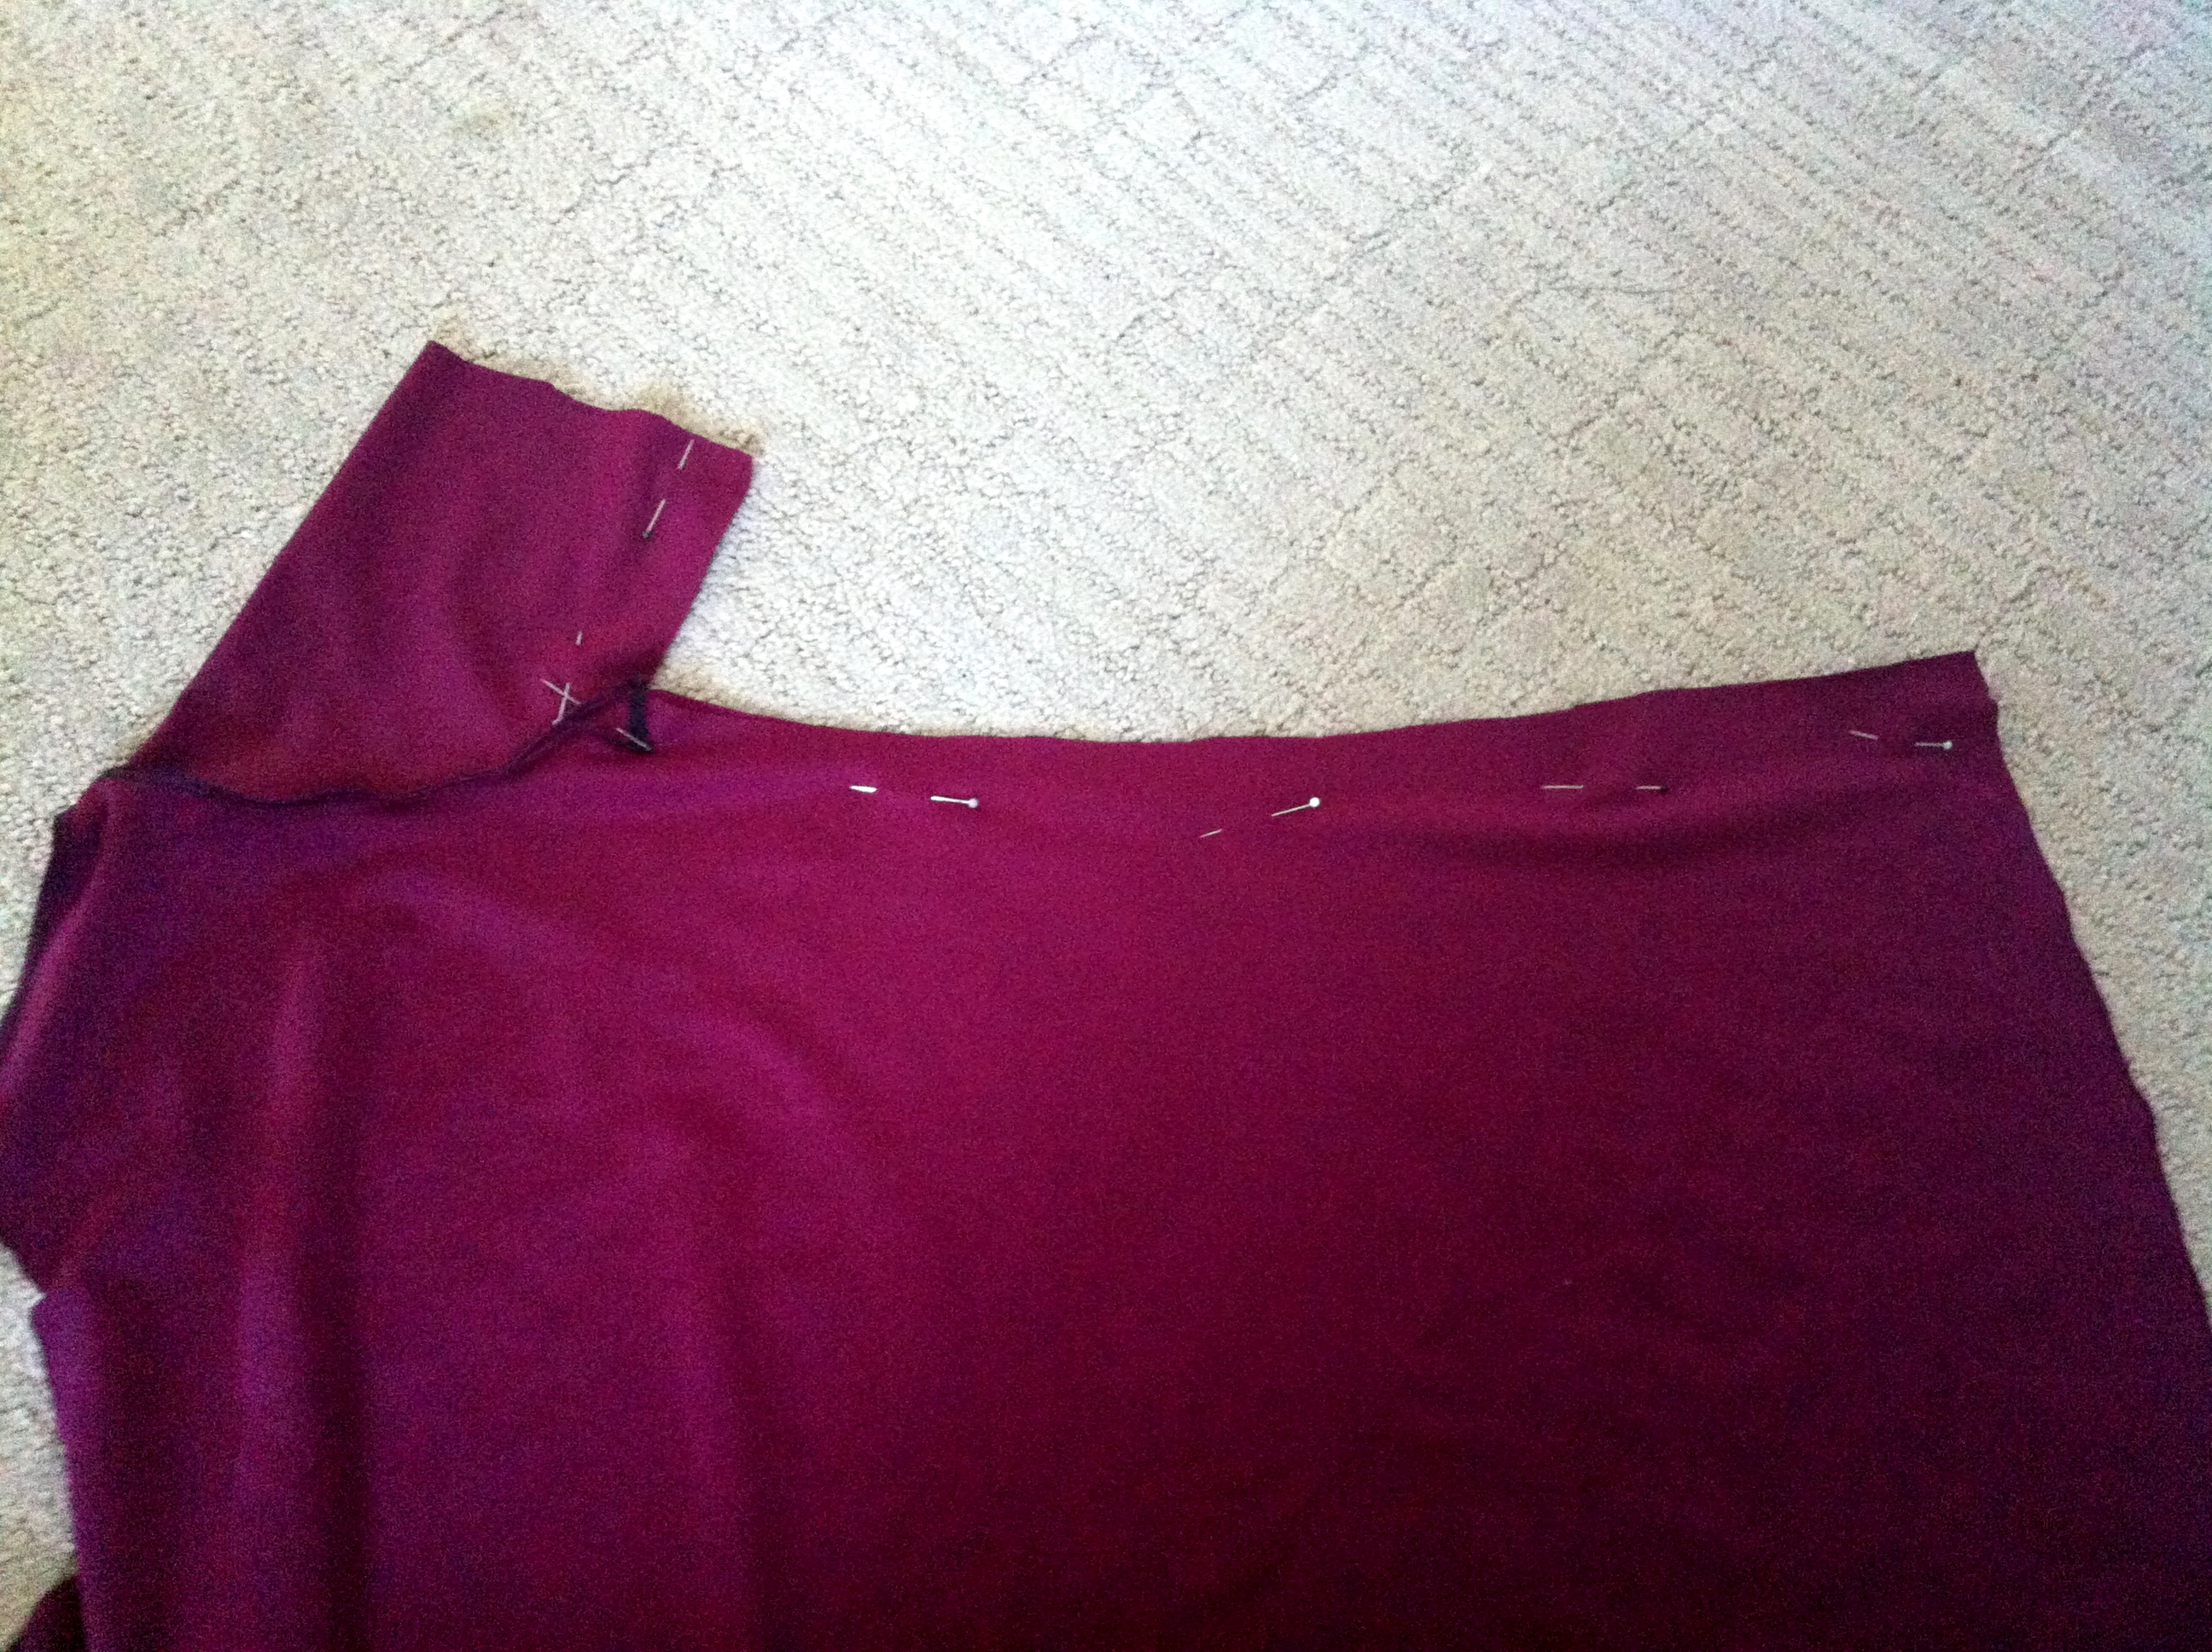
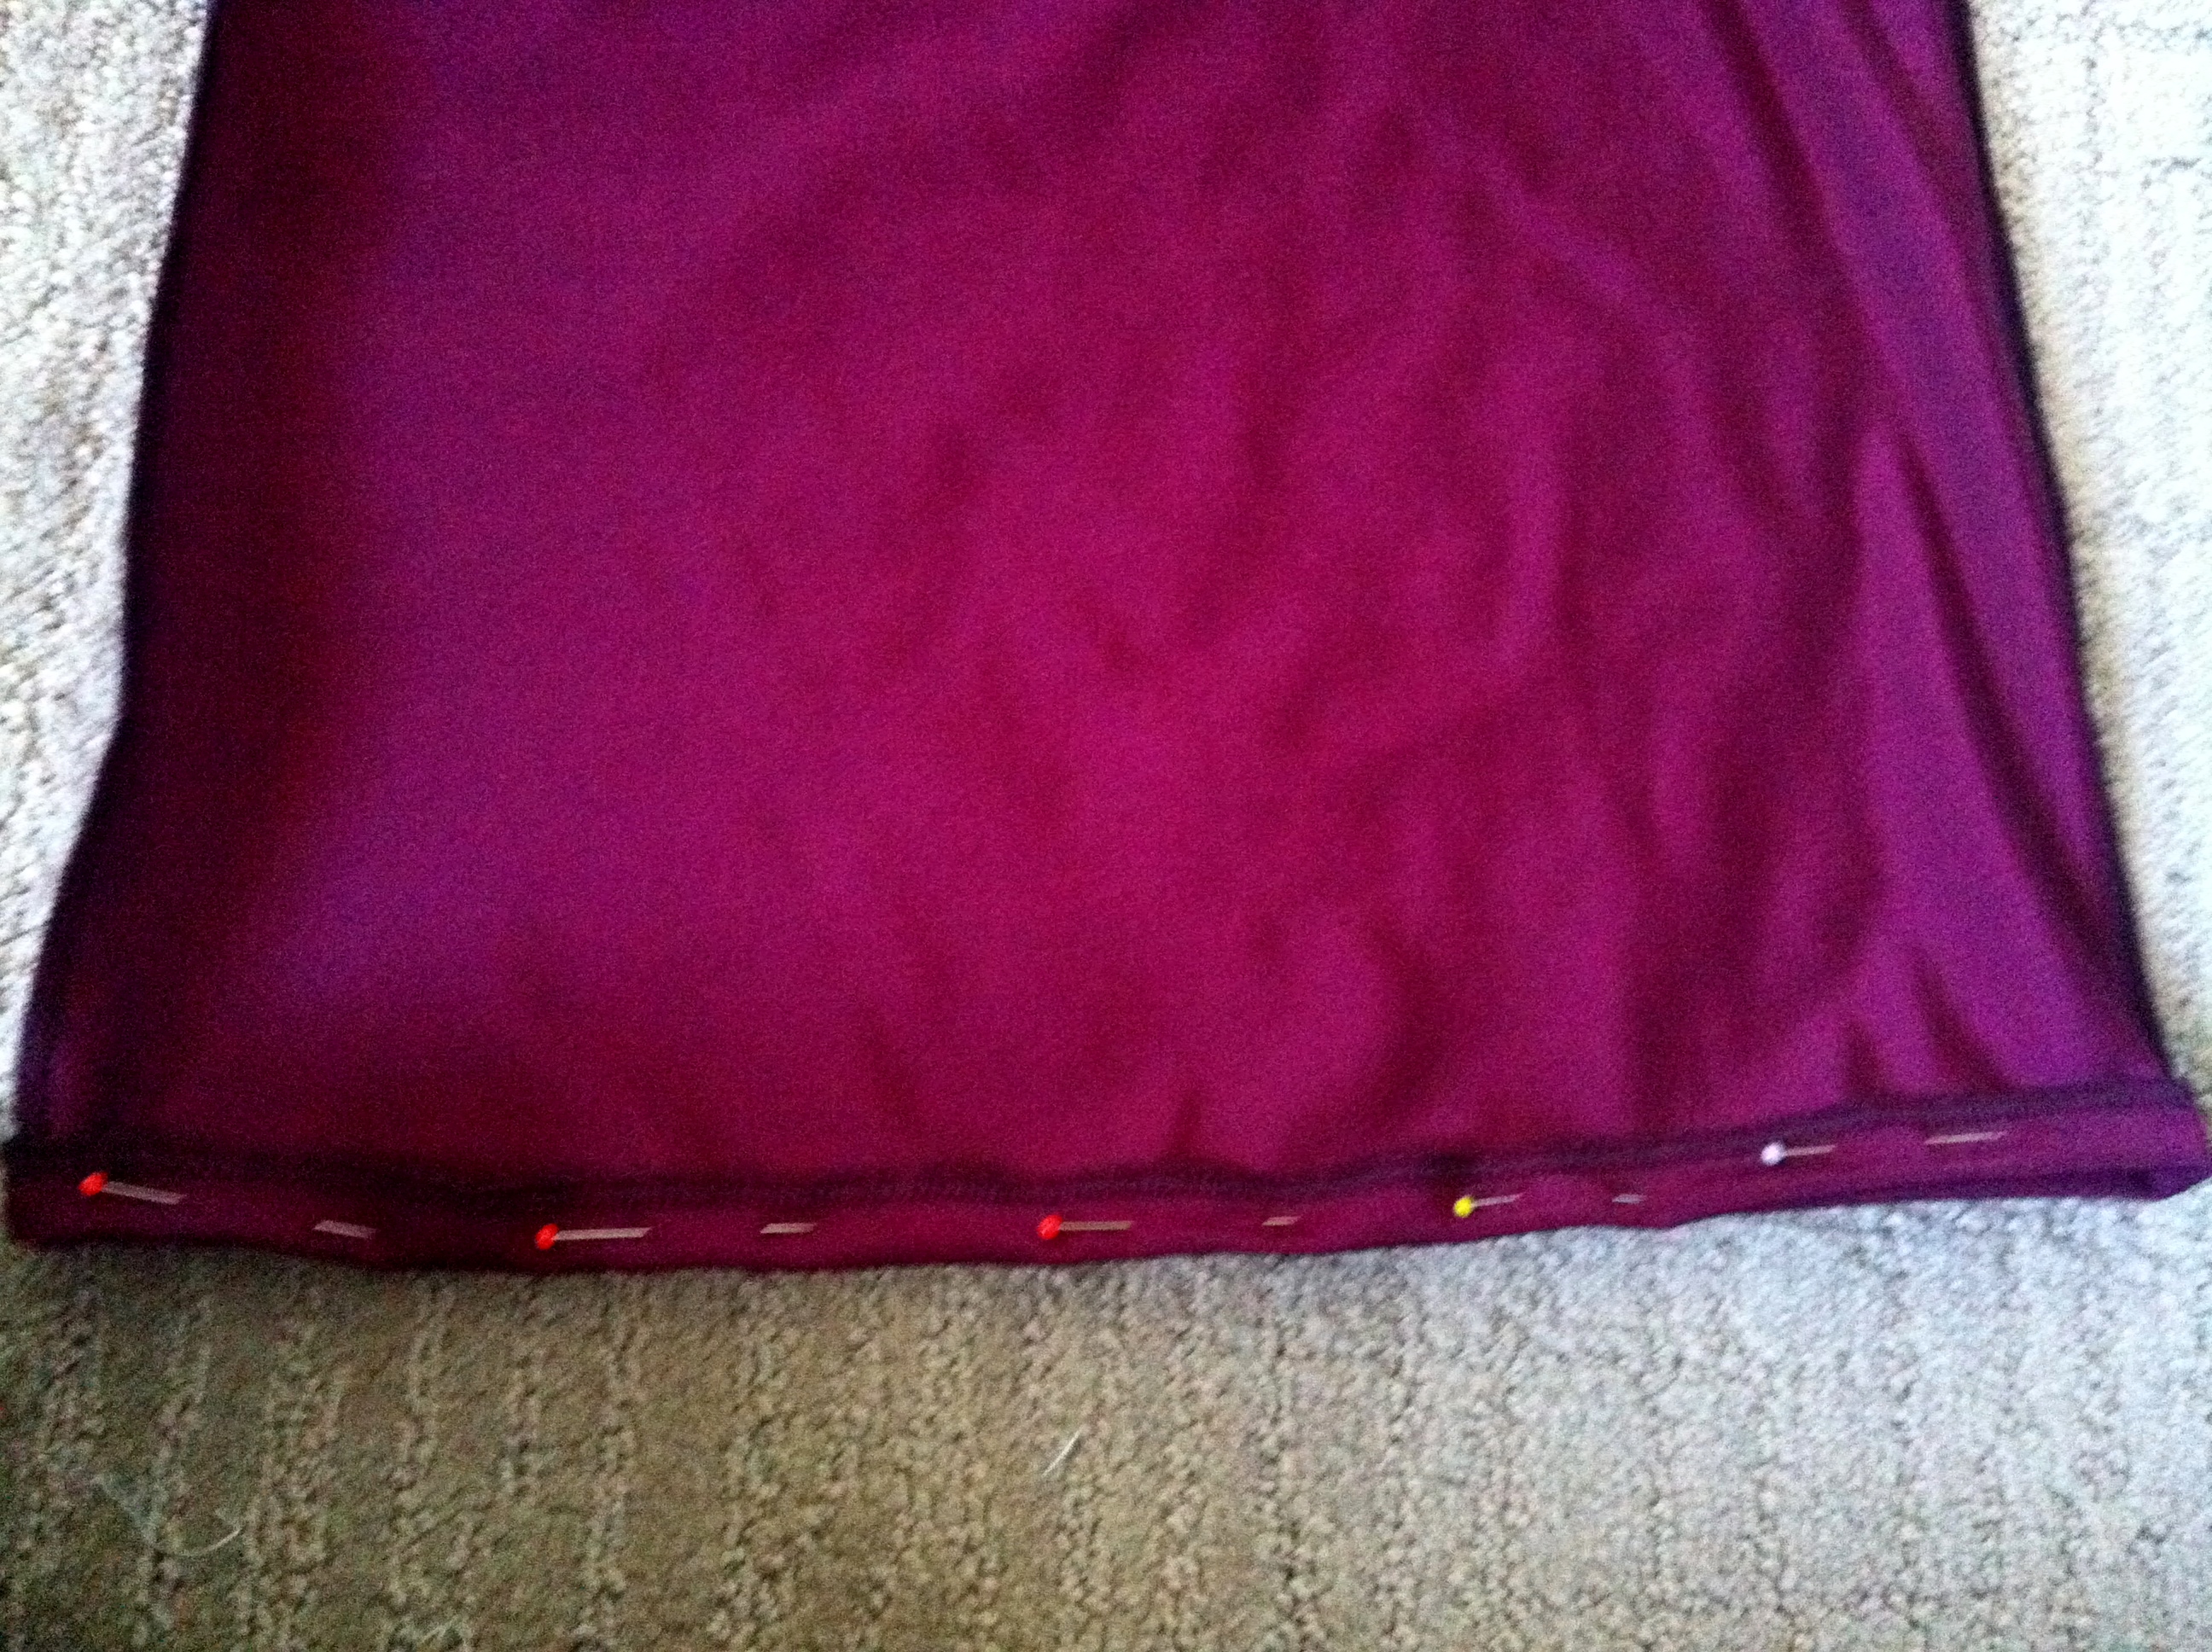
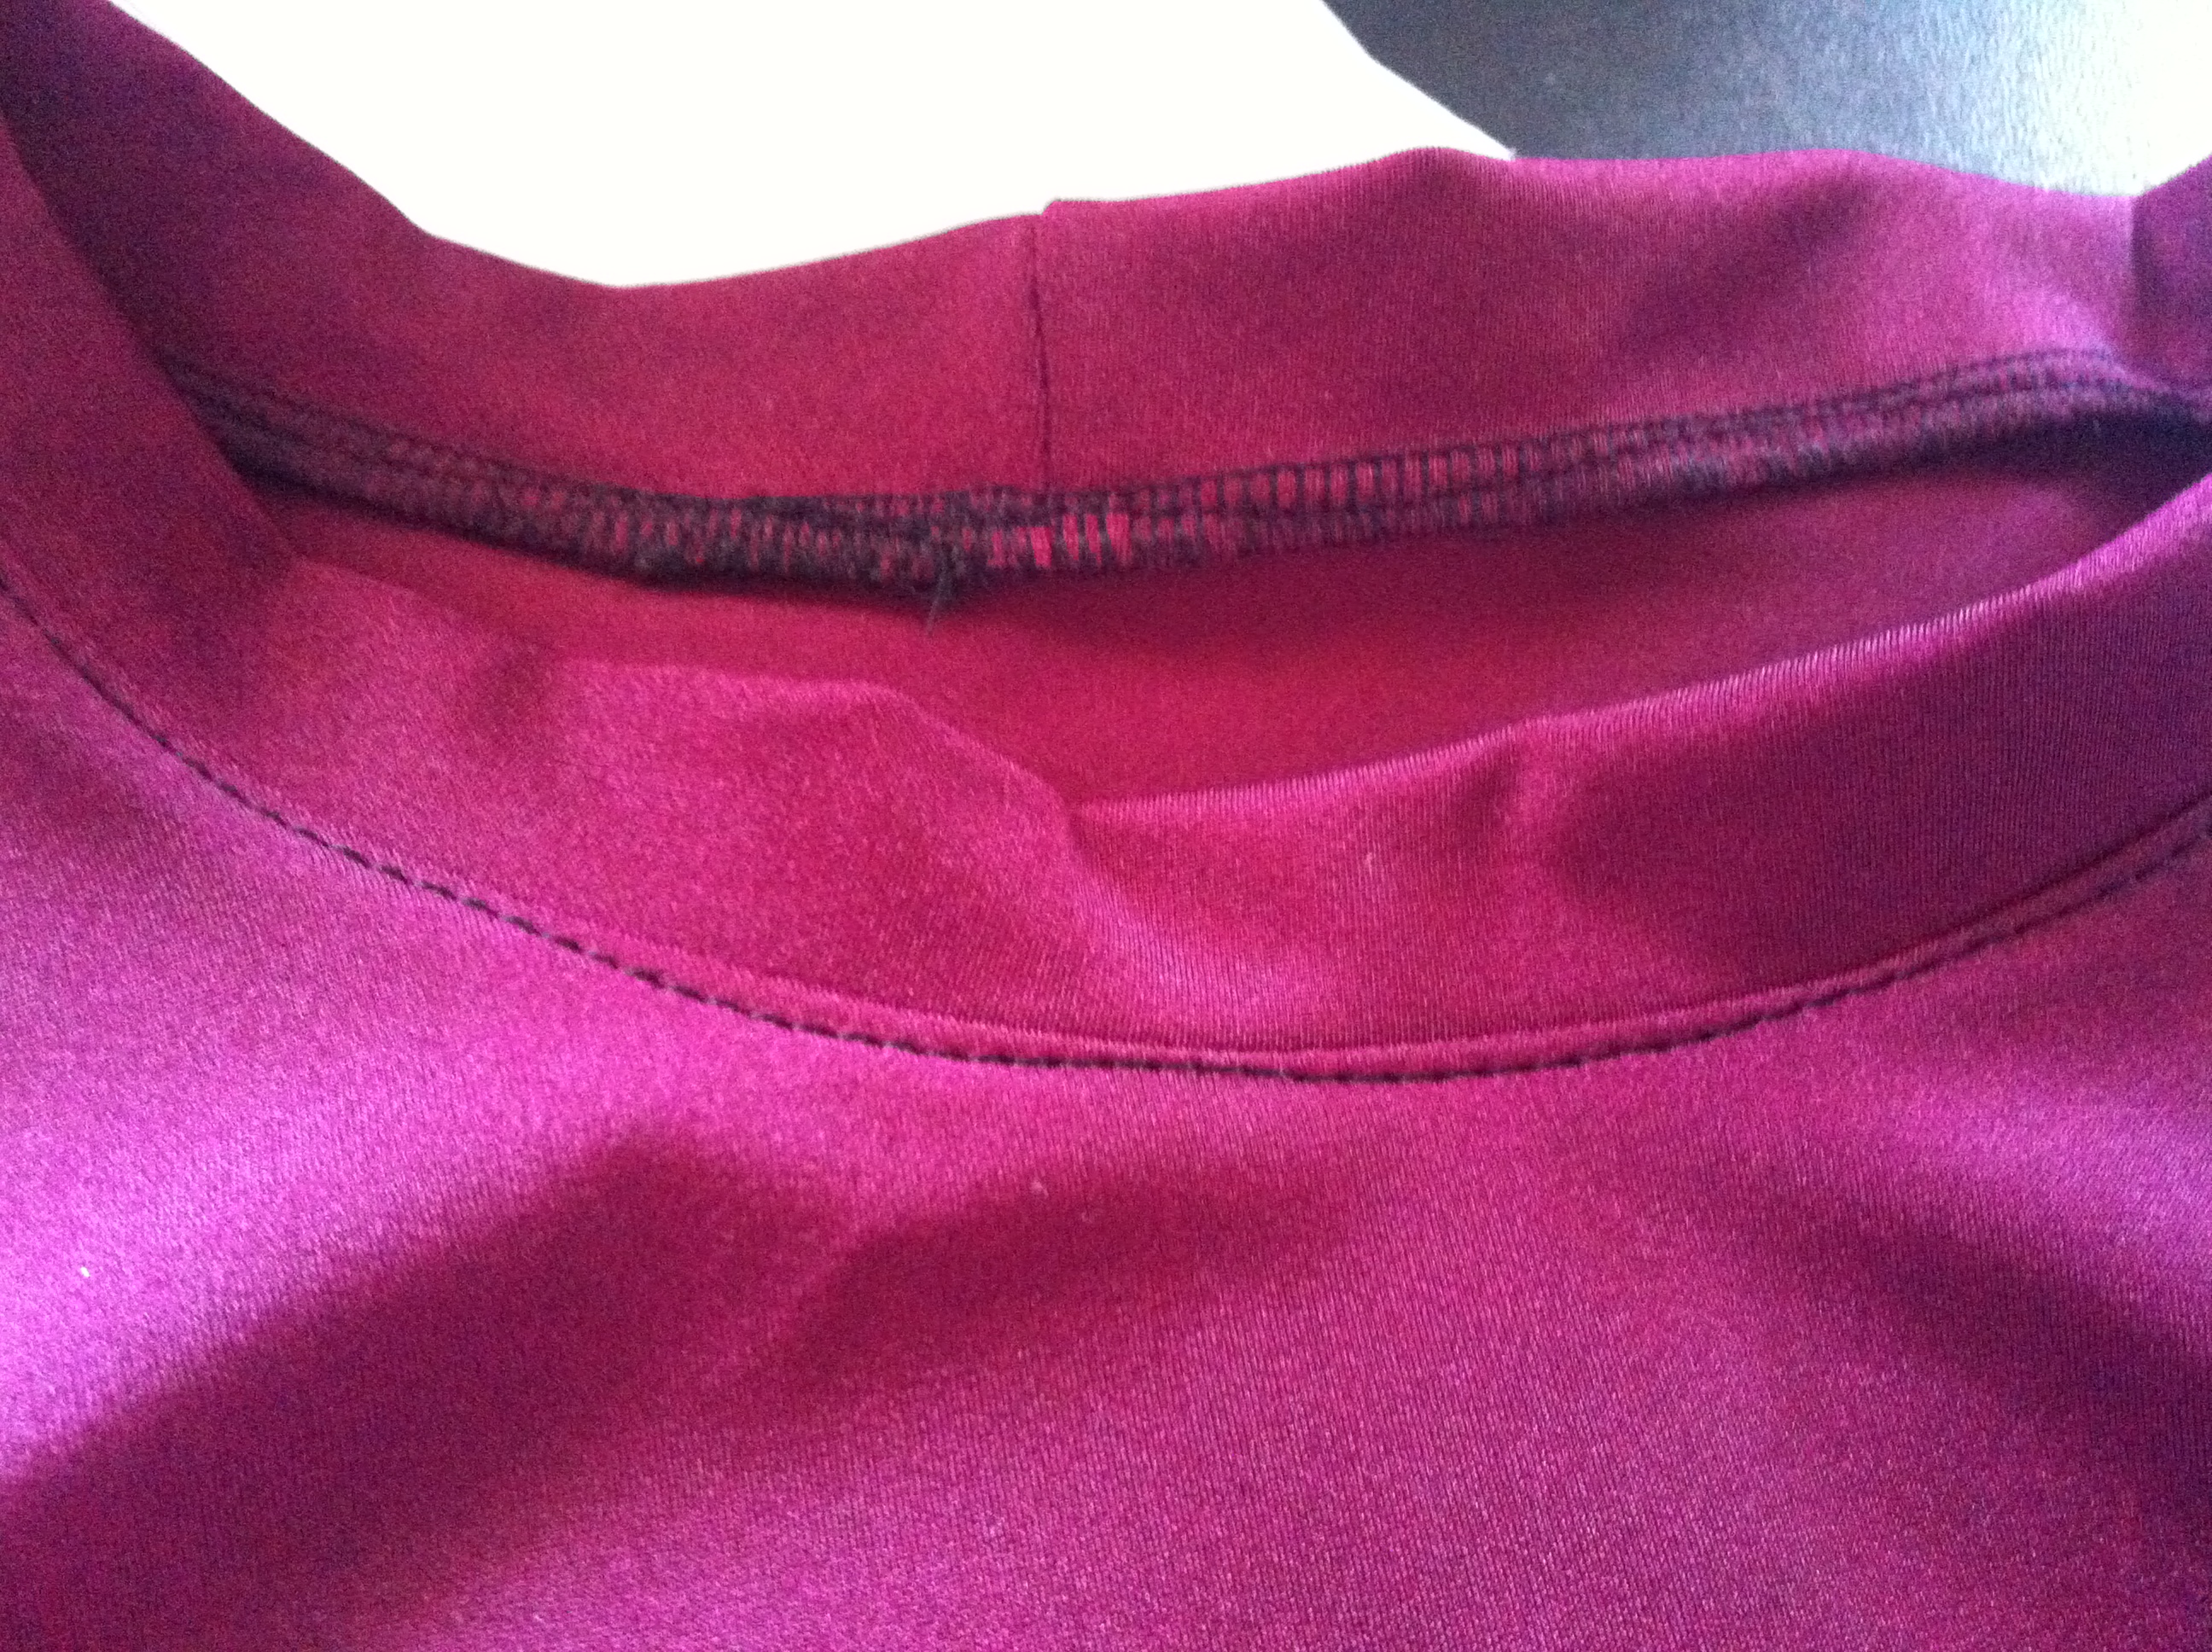
Pin under hem and sleeves. Sew.
Cut a strip of fabric 2inch wide and the length of your neckline plus 1cm for a seam allowance. With wrong sides facing, sew short edges together.
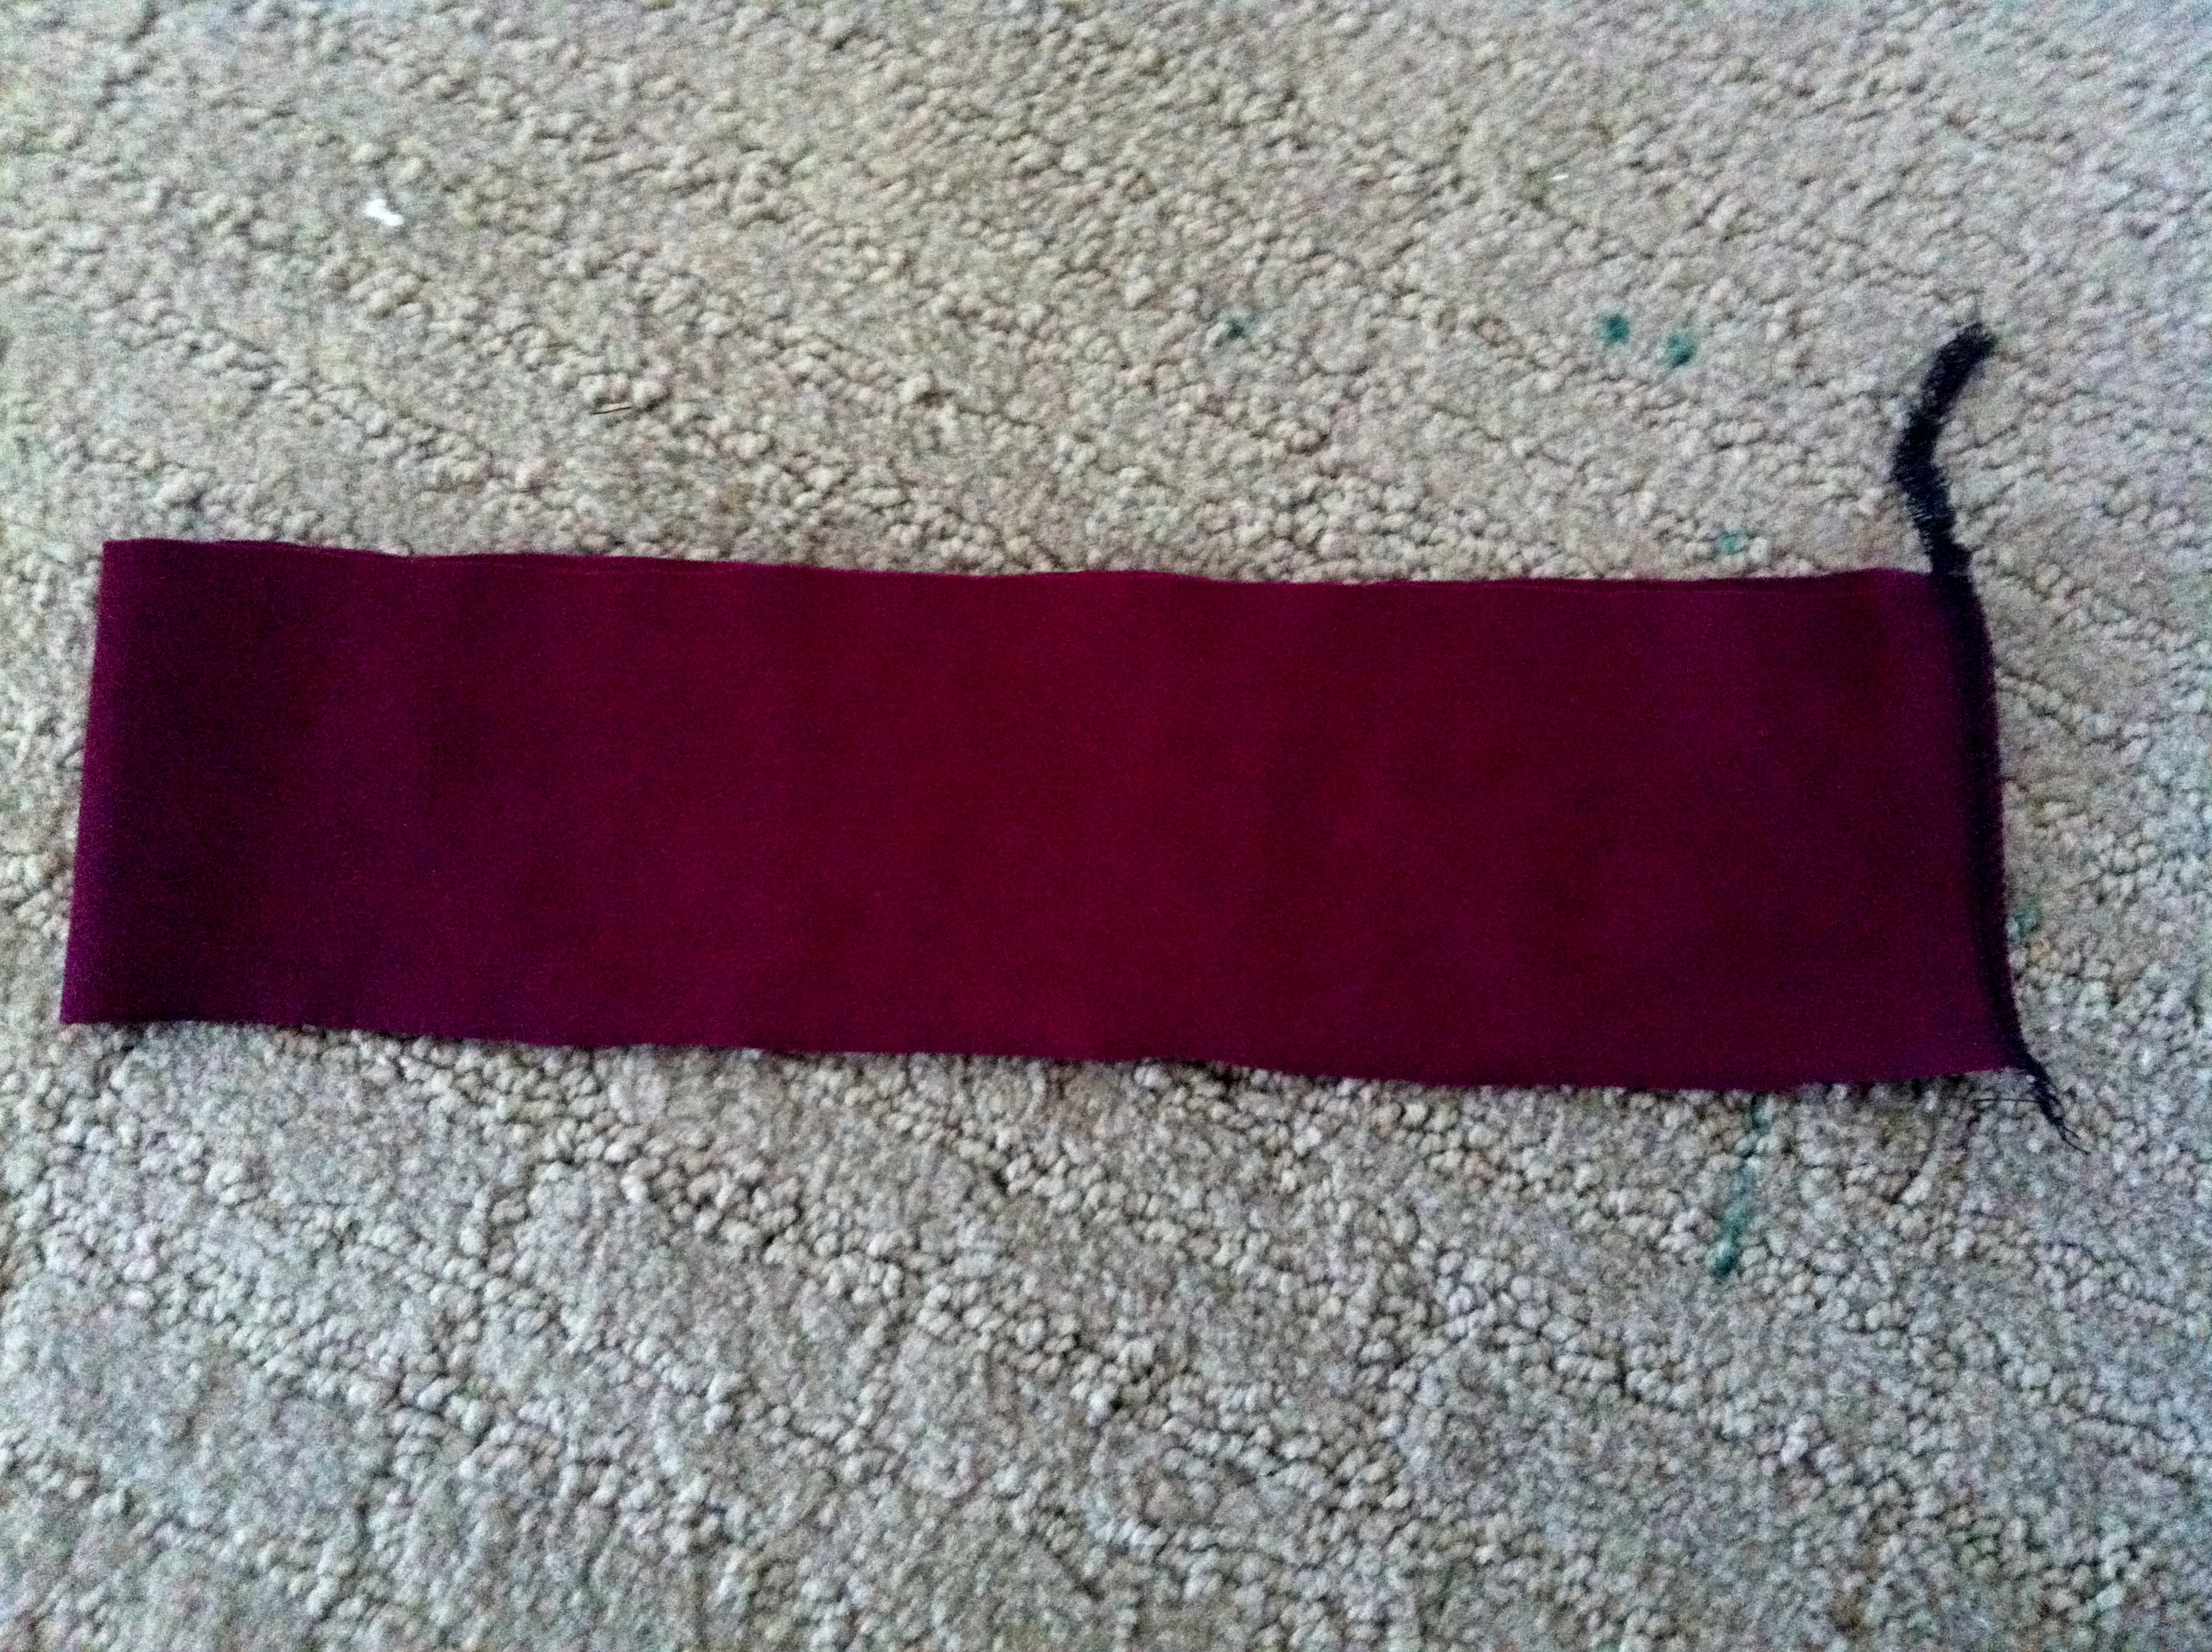
Fold in half lengthways and pin to neckline. Sew in place.
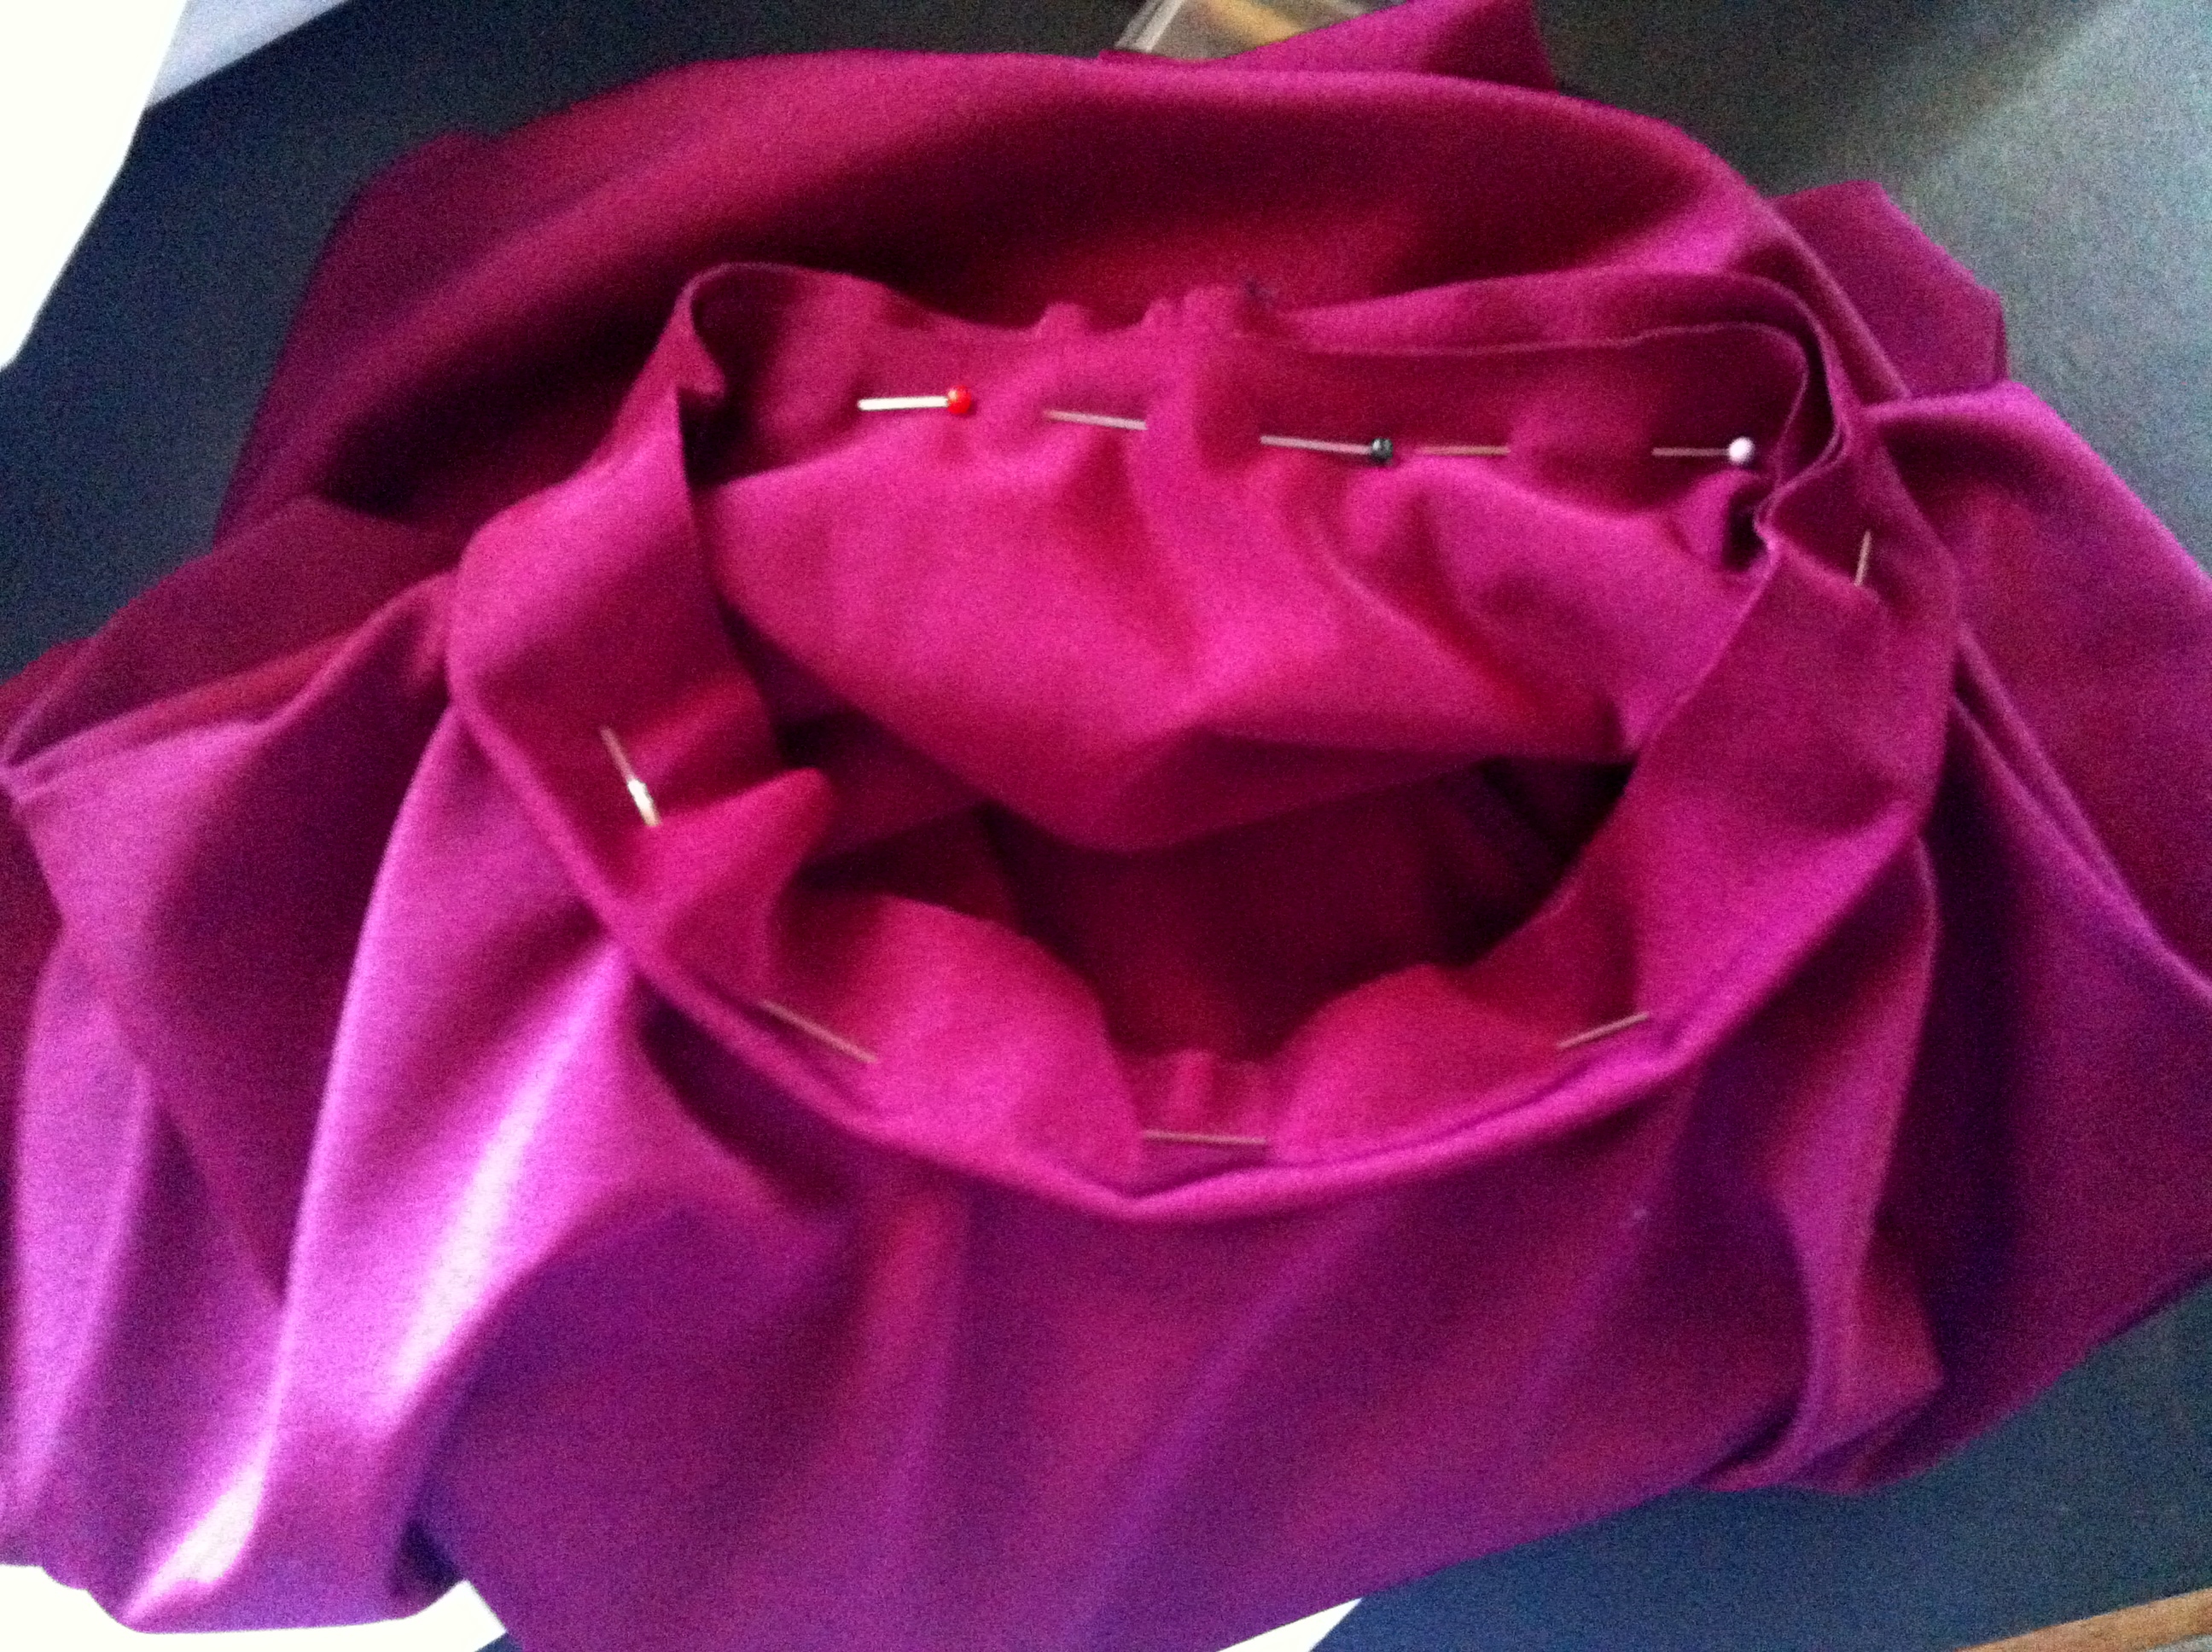
I also sewed on the right side of neckline.
Using the measurements from you original shirt, cut your elastic to length and pin top and bottom to the inside seams.
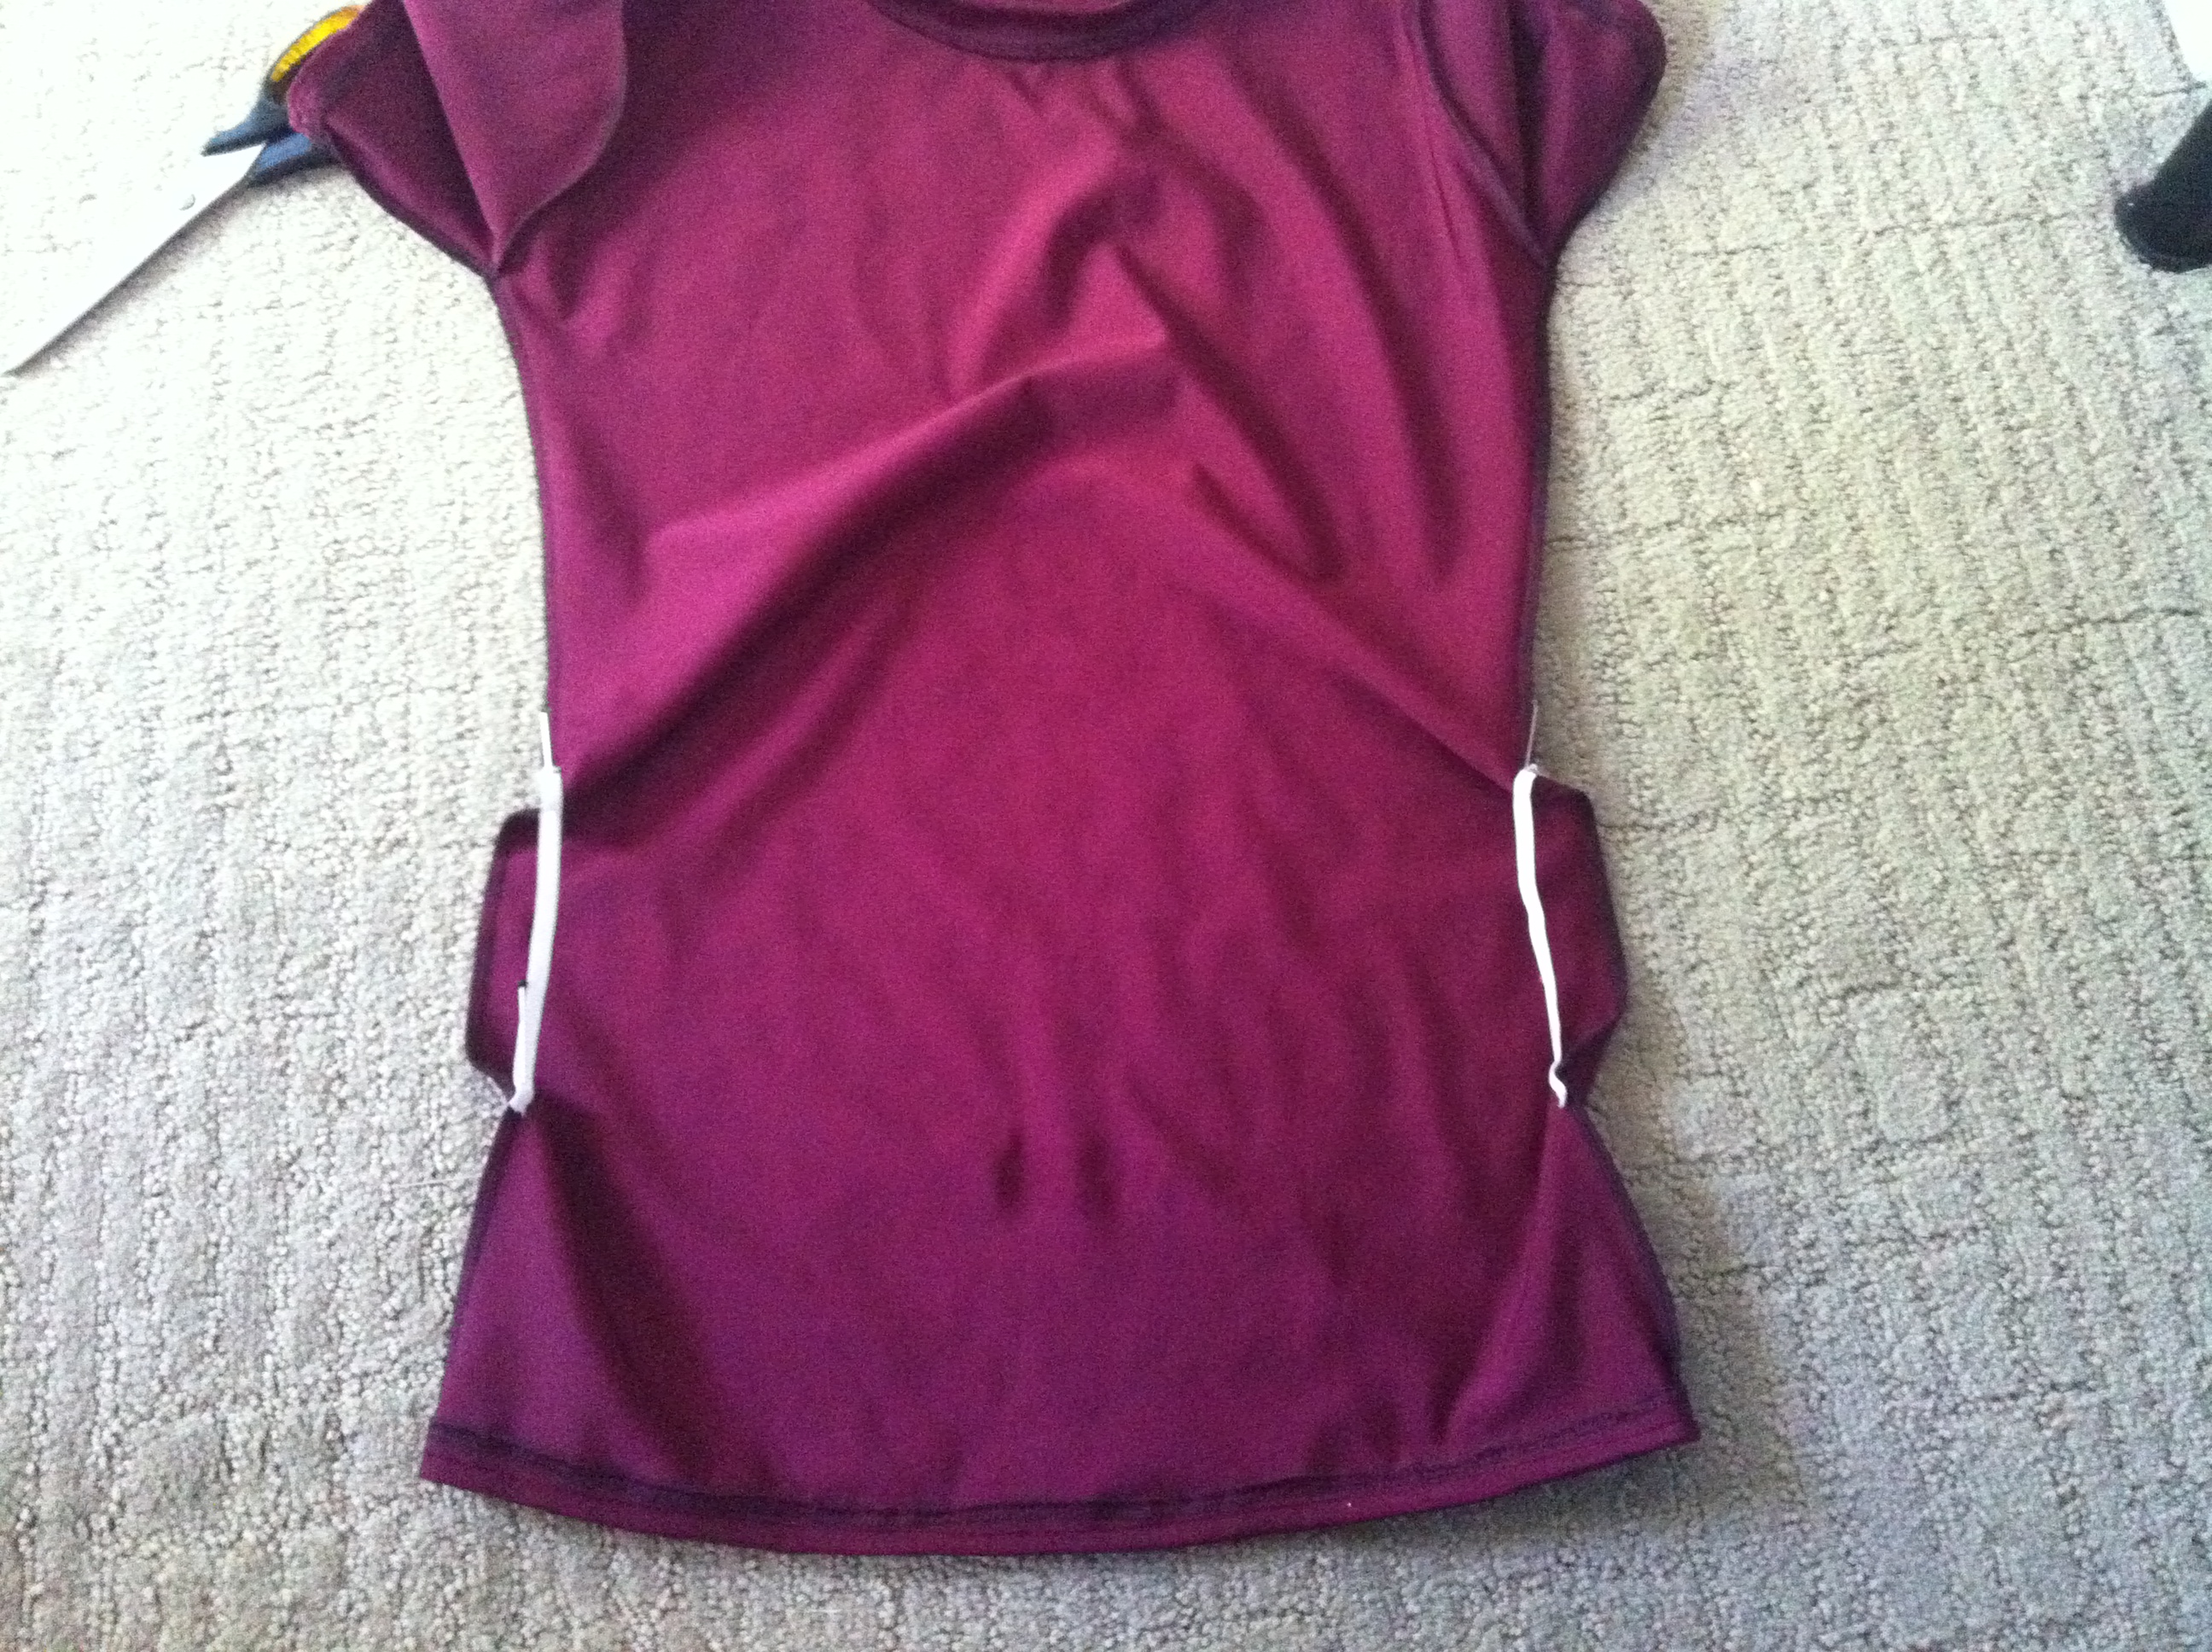
Sew in place, gently stretching elastic as you do so. This will create the natural gather.

Turn inside out and you’re ready to hit the beach!
Originally posted 2016-02-18 02:59:02.