
I stumbled across this Christmas activity online a few years ago and each year we have a lot of fun remaking a handprint wreath and comparing it to last year’s. This is a fun craft activity for all involved and a nice twist on the usual Christmas wreath.
Handprint wreath
You will need:
- Green paper
- Red paper or a red ribbon
- Large sheet of white paper
- glue
- scissors
- pencil
What to do:
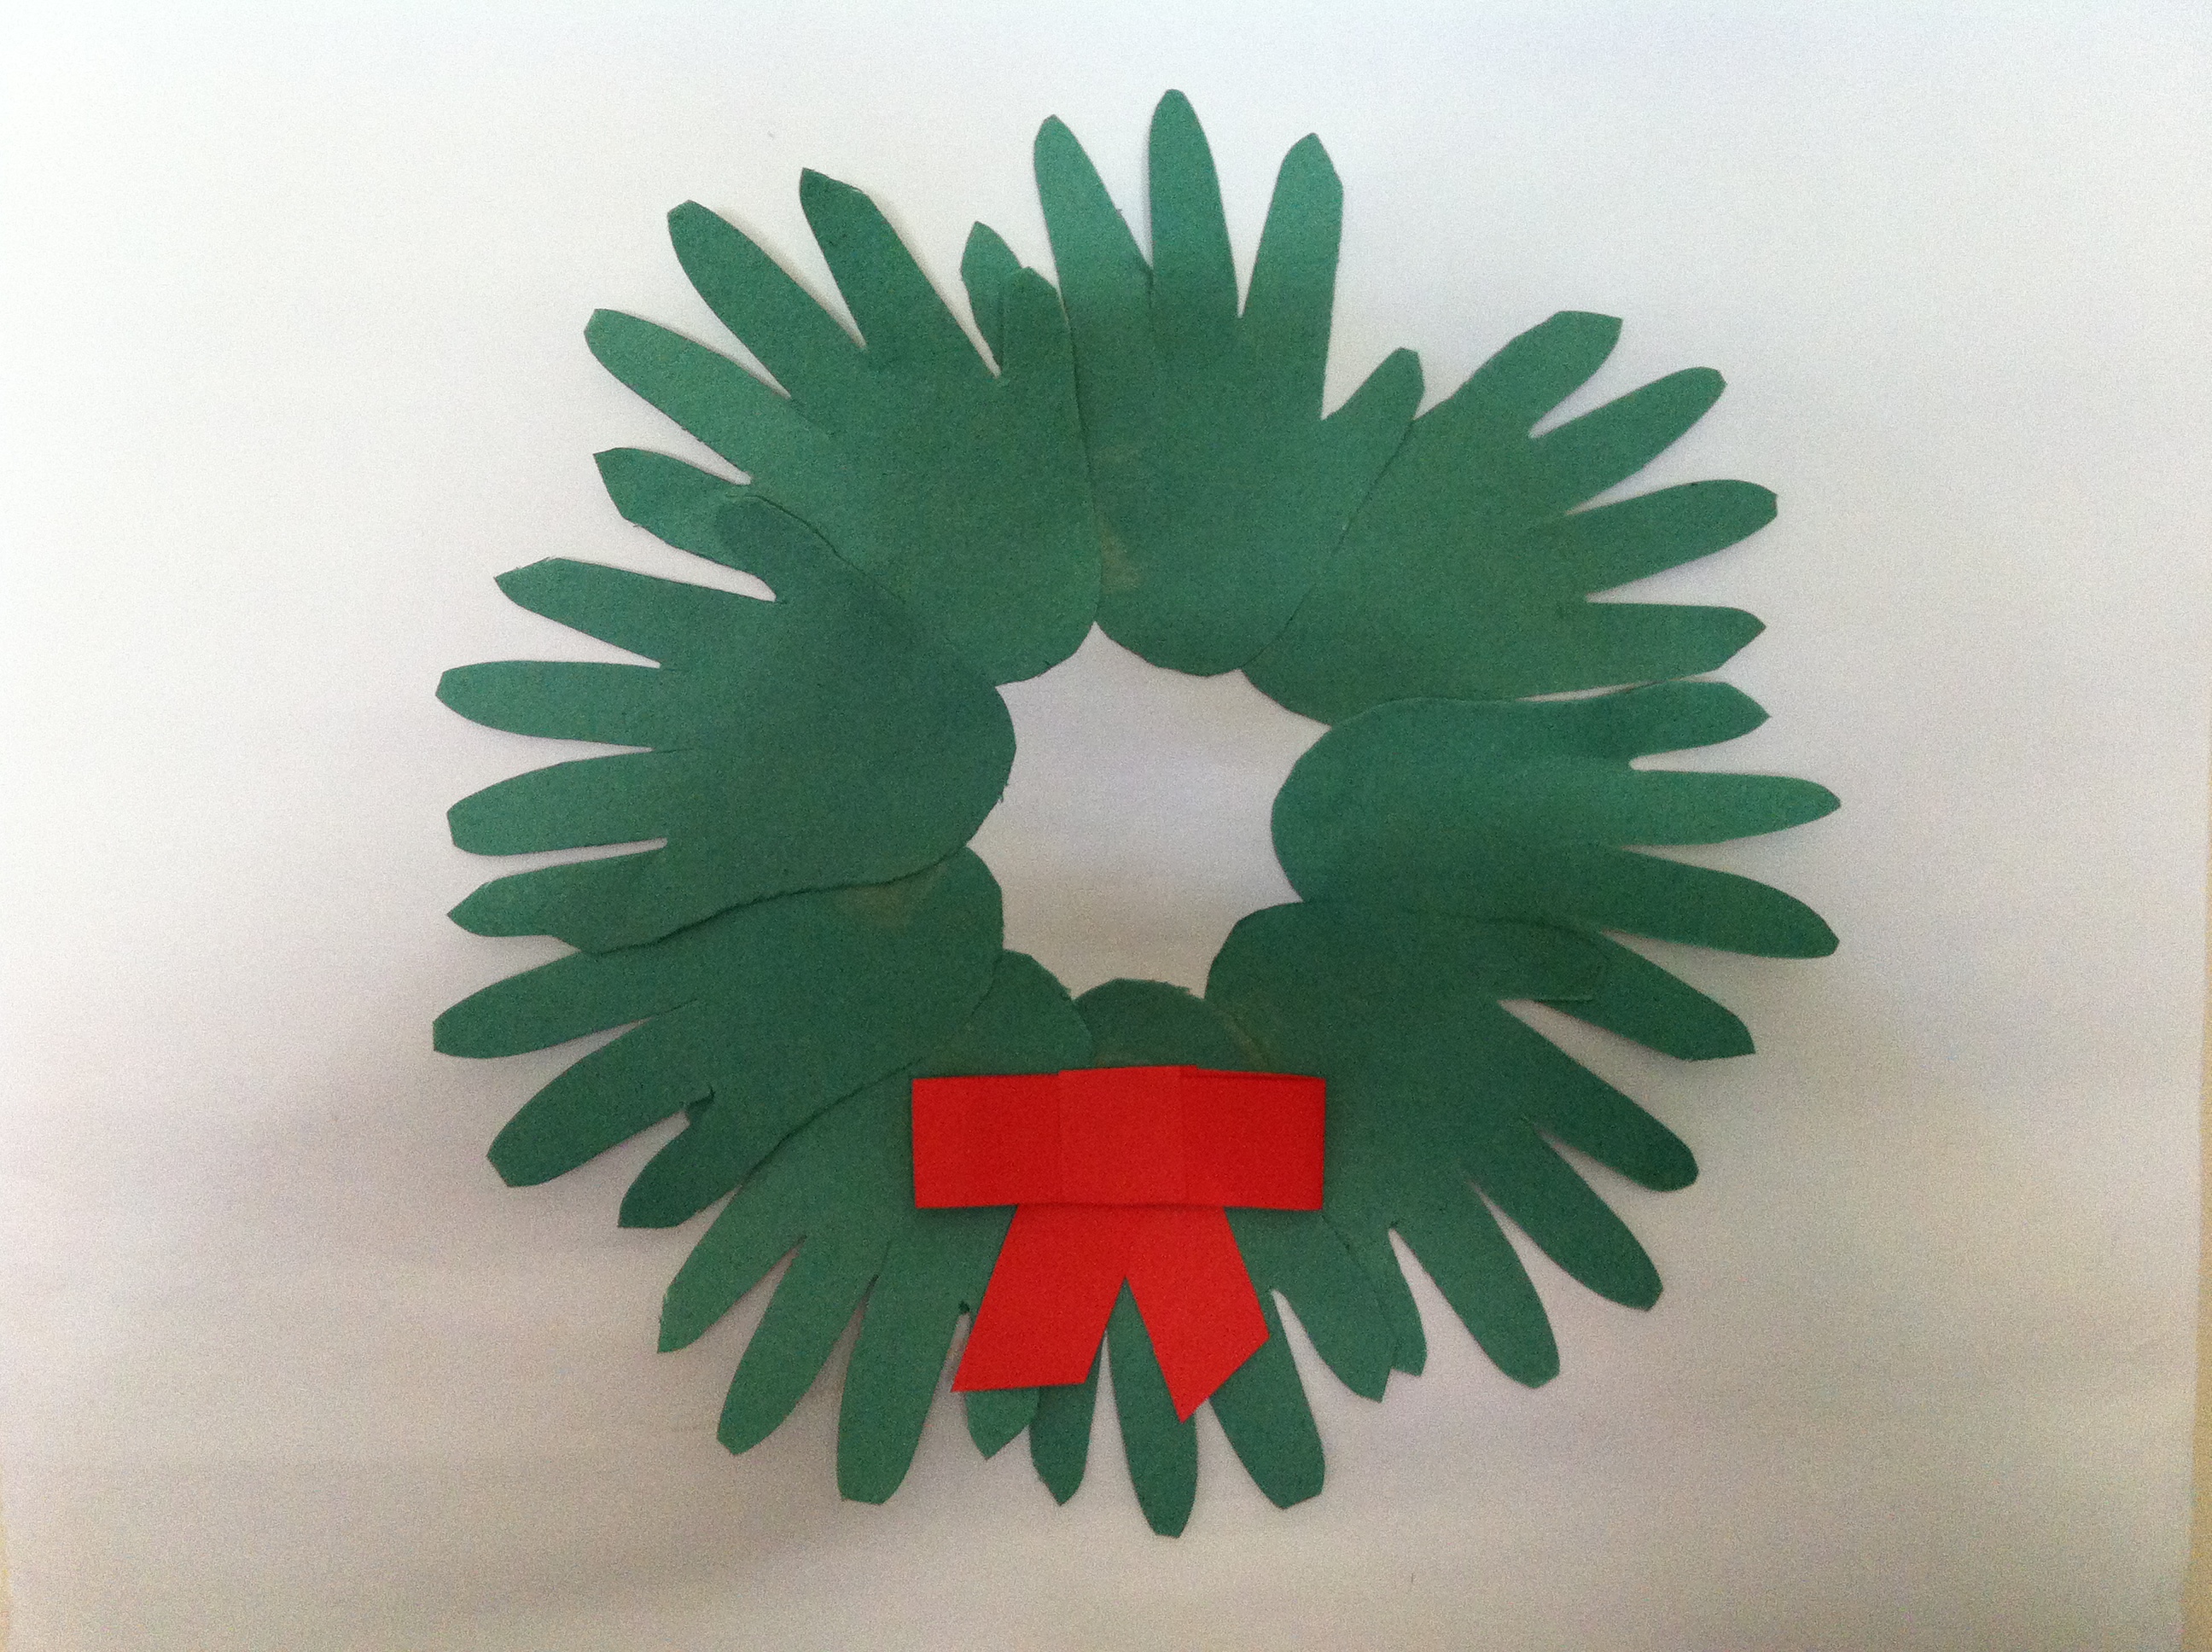
Trace around your child’s hand on the green paper. Fold the paper so that you can cut more than one handprint at one time. Cut at least 12 handprints. Draw a circle as a rough guide on your white sheet of paper and arrange the green hands so that the fingers are on the outside of the circle, the palms overlapping around the inside. When you’re happy with the arrangement, glue in place. Using a strip of red paper, or some red ribbon, tie a bow and glue to the bottom of the wreath. Write your child’s name and the year on the bottom of the white paper and display!
Paint option: if you don’t have any green paper why not use green paint and get your children to put their hands in the green paint and then make their handprint directly onto the paper? They might need a bit of help but the end product will be just as effective!
Originally posted 2013-12-02 02:50:22.