
If you are like me, you know what it’s like to be overrun by toys. Toys like Lego are generally a nightmare because the pieces are easily lost even if you are very careful when packing them up.
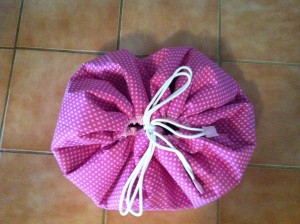
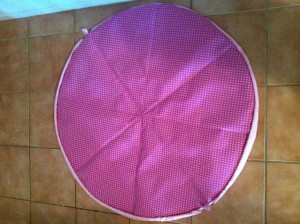
The best thing in this situation, in my opinion, is to invest in, or make, a toy bag that doubles as a play mat. It reduces the mess to begin with as the pieces stay on the mat and it’s easy to pack up: simply pull the drawstring.
What you’ll need:
- 2 100x100cm squares of fabric in coordinating colours or the same fabric
- 30cm (by 100) fabric for cord casing
- 3m thick cord
- Fusible interfacing 200x100cm
- 100x100cm square cotton quilting batting
- Sewing machine
- String and a pencil
What to do:
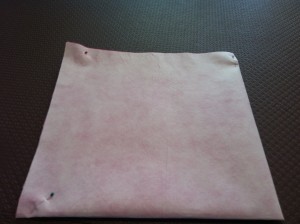
Iron fusible interfacing onto wrong side of two fabric squares.
Trim any excess fabric.
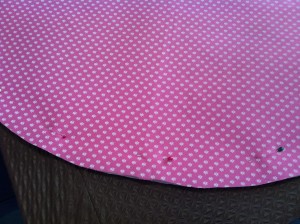
Fold both squares into quarters.
Using your string and pencil, pin string to middle corner and draw curve to create circle shape on one square.
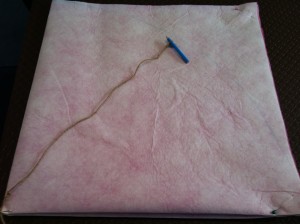
Use this as a guide for the second square so that they are both the same size. 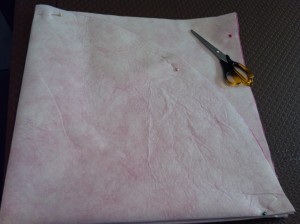
Repeat for quilting batting but trim edge by 1cm.
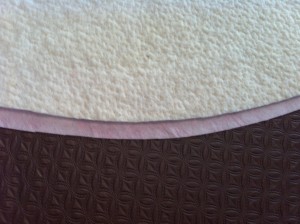
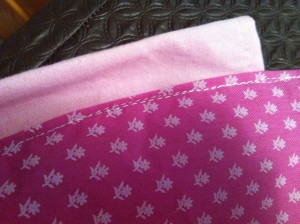
Place wrong sides of fabric together with the batting in between.
Sew through three layers to prevent separation when playing or washing.

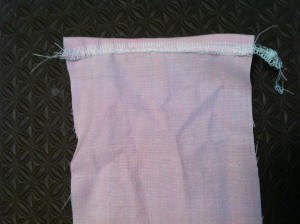
Cut your 30cm of fabric for the cord casing into three 10cm wide strips. Pin and sew along short edges to create one long strip. Fold over short edges onto wrong side and sew.
Fold in half length ways and pin wrong sides together.

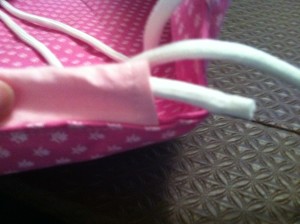
Pin casing in between circles, lining up the sewn edge with the edges of the circles.
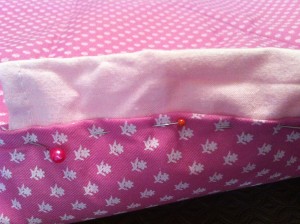
You should have a gap between the two ends of the cord casing.
Sew.
Turn out to the right side and sew along edges.
Mark the halfway point of your cord. Using a large safety pin or nappy pin, thread the cord though the cord casing.
Sew cord ends together.
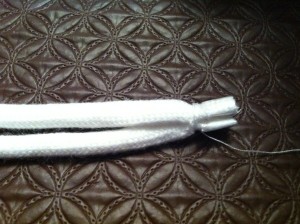
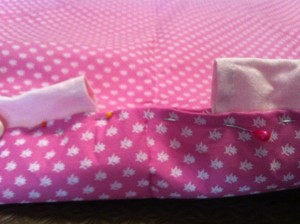
To prevent the cord being lost in the casing cut a small rectangle approximately 3x4cm. Pin wrong sides together and sew along three edges. Turn out.
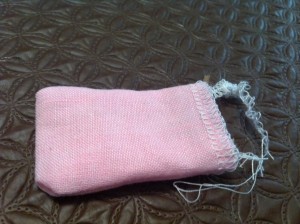
Slip over ends. Sew along all four edges to ensure securely attached.
Repeat this process at you half way point as well so that you have two tags to pull the bag closed.
Enjoy!
Originally posted 2014-01-28 02:27:29.