
In this article, you will learn how to make a pretty ‘house-wifey’ apron. I was inspired to make this,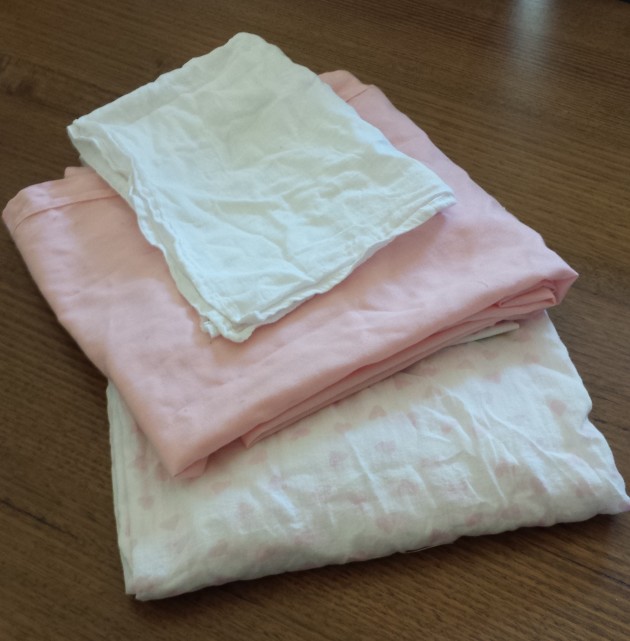
while I was wearing some of my pretty spring skirts around the house. I wanted to protect them while in the kitchen, and also not down grade my outfit with my husband’s brown barbequing apron. Not to mention it’s been a fun little project!
The first thing you will need to do is choose 3 fabrics; for pocket, trim/ties, and bulk of apron. I chose to be a bit thrifty when making mine and used two of the many muslin wraps (for babies) we had been given, a plain white fabric and white with pink hearts. I also chose to use a pink flat cot sheet we had no use for.
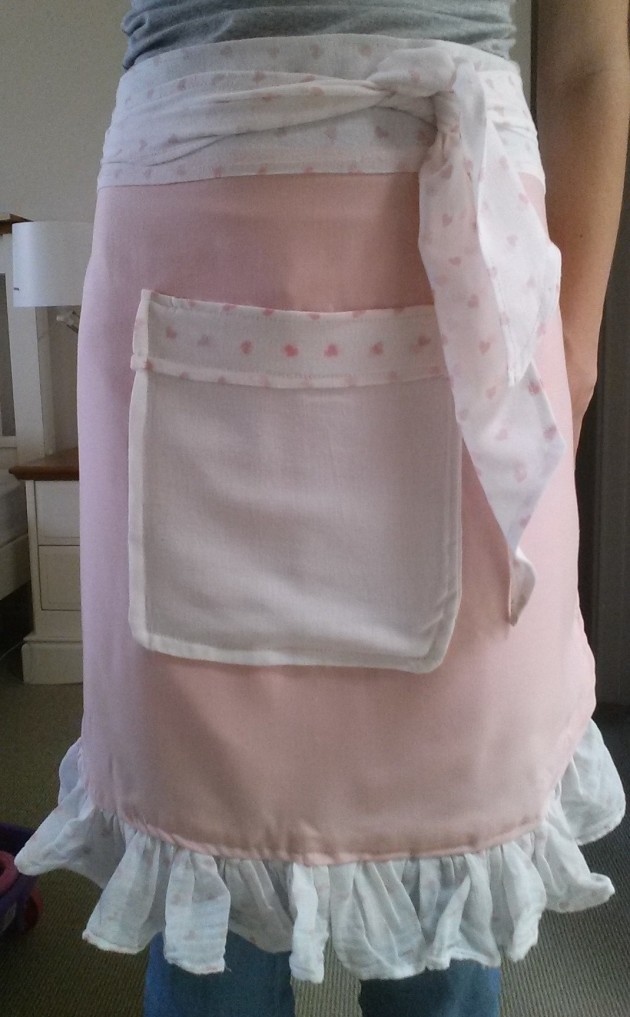
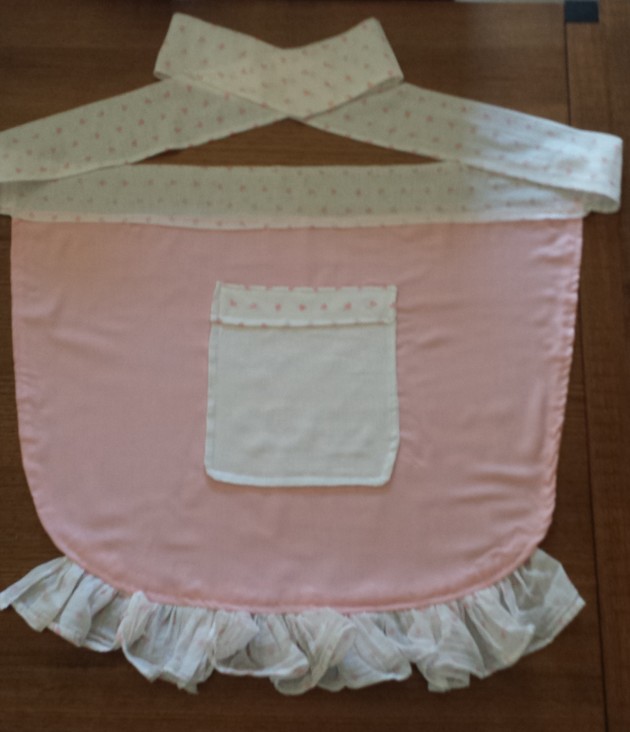
This what you will be making:
You will need:
- Fabric; pink, white and patterned (or your desired colours)
- white and pink thread (i.e. matching threads)
- Sewing machine
- Scissors
- Pins
- Measuring Tape
The Procedure:
1. First things first: Iron your fabric.
2. Cut your fabric:
(I will explain following instructions according to my colour choices)
Apron:
Cut your pink fabric. You will need to cut 2 pieces, semi circles, the exact same size. You can do this by folding your fabric in half or just by placing two pieces on top of each other and then measure and cut both at the same time.
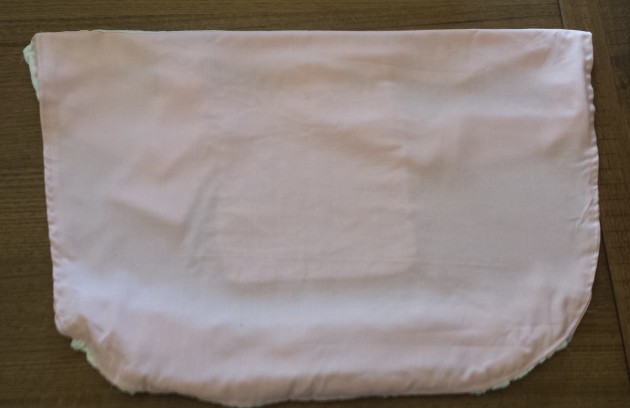
The width (with seam allowance) is about 77cm. The height taken from the centre, down the middle (the longest part) is 51cm. You will need to draw in your curved bottom corners in chalk first, before cutting. What you can do is fold it in half, left to right, and draw the curve just once, then cut it, that way it will be exactly symmetrical.
We will also be doing a pocket, frill at the bottom and a band across top with long ties. You can cut these now too.
Pocket:
For the pocket you will need two pieces of your white fabric cut the same size (for the outside and lining), they will be 26cm wide by 29cm long (including seam allowance). The trim across the top will also require two pieces the same, for a neat finish. 26cm wide by 7cm long (including seam allowance).

Ties:
If you look at the picture above, my ties are quite long because they go around my back and tie at the front. This is optional, I just thought it looked nice. If you look closely you will see the band across and the ties are 3 separate pieces I joined together (because my fabric wasn’t long enough) If you need to do this, it is better to do 3 pieces oppose to two. So that you have a nice seam-free look across the front of the band and you can attach the ties at approximately your left and right hip so that they are not obviously visible.
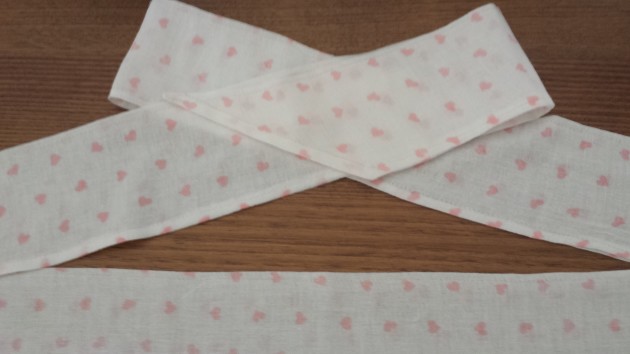
The length of the band and ties all joined together is 256cm. The width is 24cm (including seam allowance), the width is such because you will be doubling it over (in half long ways) and sewing a hem for a neat edge. The finish project will be about 10cm in width.
Frill:
Now the frill is surprisingly long. Your frill will need to be hemmed. I chose to use the edge of my muslin wrap which was already hemmed. Which made things easier. I recommend turning it over twice, ironing it in place and sewing it across.
The width will need to be about 180cm long. You can join pieces together if necessary just like I did. It is very hard to see any joining seams because of the frills. If you choose to join pieces try doing it symmetrically. Say three pieces (avoiding any hems straight down the middle). Have one piece in the middle and add the others to each side.
The length already hemmed is 12cm or without hem is 14cm (including seam allowance).
3. Sewing: You will need white and pink threads to match your fabric choices. We will start with the frill.
Pocket:
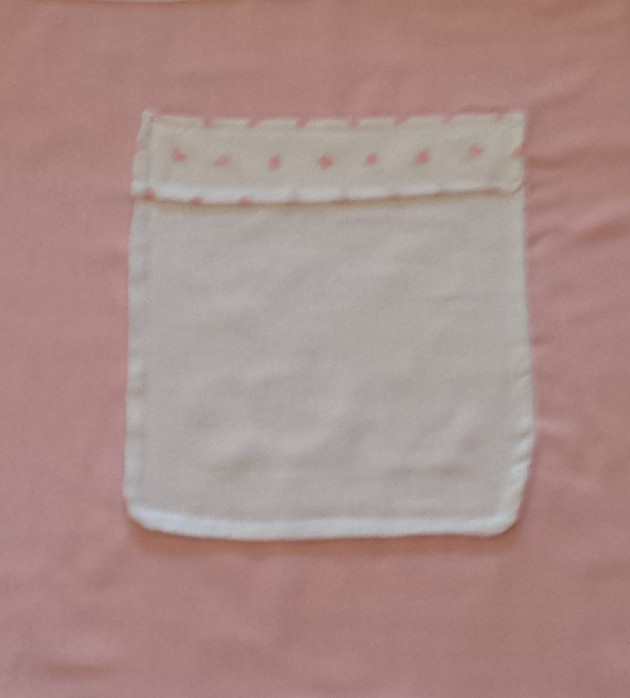
Starting with the 2 pieces of white fabric, put right sides together and sew around perimeter, 1cm from edge. On the fourth side, don’t close it in, leave a 5cm gap. Turn it around the right way, fold raw edge inside, and iron in place. Sew across.
Pocket Trim: Take 2 pieces of patterned fabric, right sides together, sew around the perimeter as before leaving a gap. Turn around the right way, tuck in raw edge, and iron in place. Place trim on top of pocket, in desired position. It would be wise to hide the sewn 5cm gap of white fabric under here. Attach trim to white pocket, by sewing across the width, along top and bottom of trim. Leave the left and right side for now.
Now place the pocket on the apron i.e the piece of cut pink fabric that you will be using for the front of apron. Place it on the pink fabric right side up. Now neatly sew the pocket onto the apron. Sewing three sides, left, base and right. 1cm from edge. Sewing across the left and right side of trim now.
Frill:
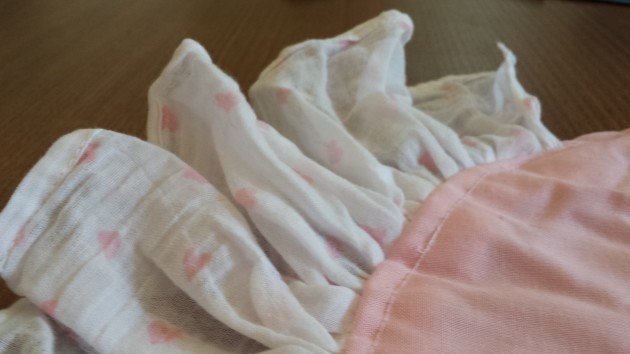
Once you have cut and hemmed your fabric as mentioned above, and added more pieces to create length. You will now be sewing parallel to the raw edge. This will be hidden under your seam later. To create the frill, you will need to sew two parallel lines, using a medium-to-wide stitch, parallel to raw edge. Trying to stay about within 1.5cm proximity to your raw edge. I have allowed 2cm of sewing room from the raw edge.
Once you have sewn the lines. Allow yourself 10cm of thread at each end. This next part can be tricky (and frustrating if it doesn’t work the first time). You gently pull on your loose thread and each end and procced to create a gathering effect of the fabric. Keep doing this until you have an even gather all the way across your fabric. Fabric may break and come loose, so keep re-sewing your lines if necessary. Measure it against your cut pink fabric and add more fabric to make it longer if need be.
Once you are happy with the gather, hem the fabric at each end (the start and finish) so you have no raw edges (aside from the top of course which will be hidden soon).
Attaching Frill to Apron:
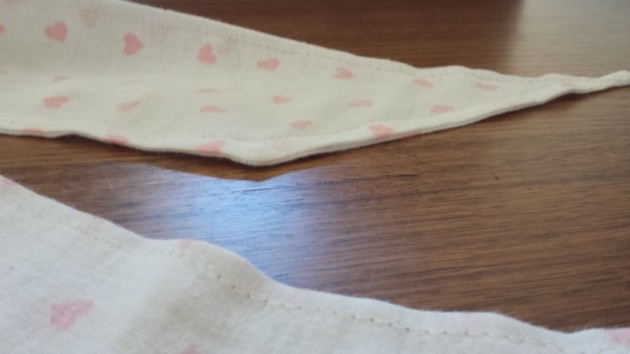
Position the frill, about where you would like it on the apron, against the pink cut fabric. You will be sewing it to the pink fabric. Putting right sides of the fabric together (effectively sewing all your seams on the “inside-out” side). Do this firstly with the front piece of the pink fabric, and then the back piece (the lining).
Once you have done that. Continue the seam, joining the two pieces of pink fabric together. Sewing the left and right sides. Leave the top open still, as this will be sewn to the band shortly.
Turn the apron around the right way.
Sewing about 1cm from edge. Sew one line, follwing the curve of the semi-circle to create a nice finished look, and hold everything in place.
Sewing Ties:
Take the fabric, designated for the ties and band and fold it in half (inside out) and sew around the perimeter. Leaving open a gap the width of apron, this is where the band will attach to apron. Don’t close it in.
If you would like to you can create a triangular, pointed finished at each end of your tie, by first cutting it accordingly. Turn it around the right way and sew a neat line, 1cm in from edge, to finish it off nicely. Sew around all edges, leaving the section which will be band – this will be sewn later.
Attaching Band:
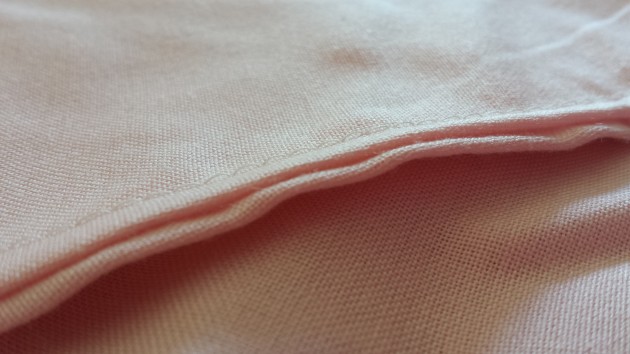
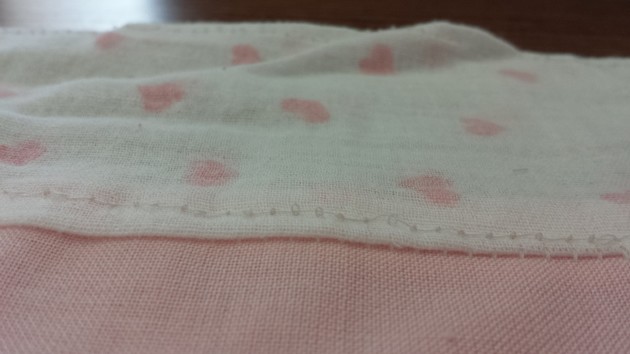
Right sides together. Place ‘back’ of band onto the back of apron (lining). Sew (inside out) the back piece of fabric to the back piece of band. Now, fold the front of band under once, to create a hem and iron in place. Pin to the front of the apron, right side facing up. Then you will sew the hem line aswell as attaching the band to the front of apron. See image below.
Finally, time to try it on!
Originally posted 2014-03-06 02:44:16.