My girls love the Disney Princesses but I must admit that I did not want to spend over $20 each on a costume for them. In the end I made two costumes, for less than the price of one store bought one and my girls are more than happy with them!
So here are instructions for making a Rapunzel or Cinderella dress.
You will need:
- A t-shirt or singlet in your daughter’s size
- Satin fabric (I bought 1/2m for a size 2 dress and 1m for a size 4)
- 30cm sheer blue or white fabric (Cinderella)
- 20cm blue headband elastic (Cinderella)
- 1m Pink satin ribbon (Rapunzel)
- 1.2 m White lace (Rapunzel)
- A roll of twine (Rapunzel)
- Two hair elastics (Rapunzel)
What to do
Cinderella option:
Put pale blue t-shirt or singlet on your daughter and find her natural waist. Mark on shirt.
Measure distance from your daughter’s natural waist to her ankle.
Remove shirt and cut around natural waist mark.
If you are using a t-shirt please skip next step and move on to step 8.
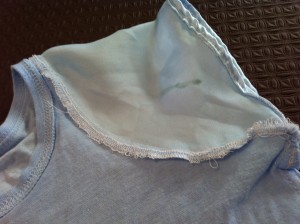
If you are using a singlet: Trace around arm hole and create a pattern for the sleeve like this:
I traced the singlet armhole in red and then extended the top to allow room to gather and create a small puff to the sleeves.
Hem bottom edge.
Pin to arm hole and sew in place. Repeat for other arm.
Lay satin fabric down and mark along 1m edge the measurement from step 2. Cut.
Sew short edges together and overlock or zigzag sew seam.
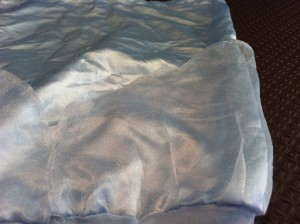
Cut 2 elongated curved shapes from the sheer material. The straight edge needs to be half the width of your satin fabric. Hem along curved edges.
Pin curved detail to one long edge of your satin skirt. Sew together close to edges.
Gather to fit t-shirt edge. Pin and sew. Overlock or zigzag sew edges.
Hem the bottom edge.
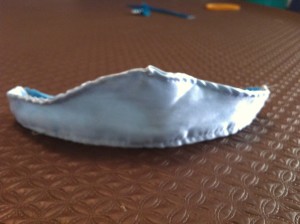
Using your satin off cuts cut out two crown shapes like this:
Pin right sides together. Sew around top and bottom edges and turn out.
Measure your daughter’s head and cut elastic to desired length.
Slide elastic through both side edges and pin in place.
Sew to secure.
Rapunzel option:
Put purple t-shirt or singlet on your daughter and find her natural waist. Mark on shirt.
Measure distance from your daughter’s natural waist to her mid calf.
Remove shirt and cut around natural waist mark.
If you are using a t-shirt cut four strips of ribbon per sleeve and sew on. Then skip to step 7.
If you are using a singlet: Trace around arm hole and create a pattern for the sleeve like this:
I traced the singlet armhole in red and then extended the top to allow room to gather and create a small puff to the sleeves.
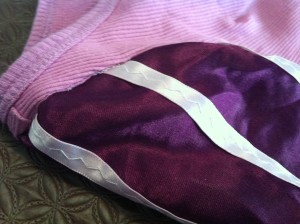
Cut three or four strips of pink ribbon and sew on to sleeve. Hem bottom edge ensuring you catch the ribbon ends.
Pin to arm hole and sew in place. Repeat for other arm.
Lay satin fabric down and mark along 1m edge the measurement from step 2. Cut.
Sew short edges together and overlock or zigzag sew seam.
Gather to fit t-shirt edge. Pin and sew. Overlock or zigzag sew edges.
Hem the bottom edge.
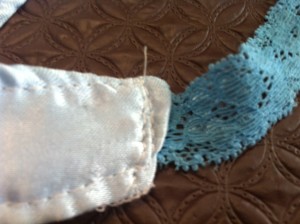
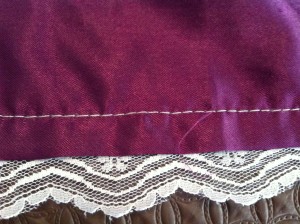
Pin lace along bottom edge and sew in place.
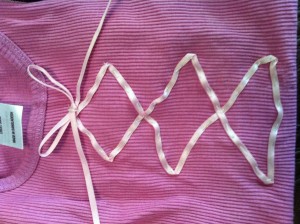
Pin pink satin ribbon onto bodice to create faux lacing and hand sew in place.
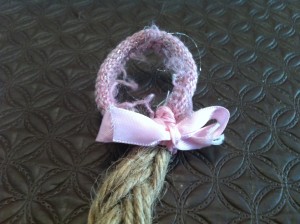
Cut a thick quantity of twine and sew along top edge. Plait the rest and use a hair elastic to secure. Cover with a bow made from the pink satin ribbon.
Sew the other hair elastic to the top edge, this forms the clip so that you can tie your daughter’s hair into a ponytail. Cover stitches with another pink bow.
Tip: if you don’t want to fiddle around with ribbon in the Rapunzel option you could just use some pink fabric paint for the details.
Originally posted 2014-02-24 22:30:12.


![IMG_2626[1]](https://australiancatholicmums.com/wp-content/uploads/2014/01/IMG_26261-300x224.jpg)
