If your Family Rosary is anything like ours, chaos reigns supreme. Whilst our school aged children are capable of kneeling and leading a decade each, our younger too are much more active and, frankly disruptive.
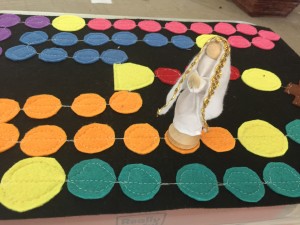
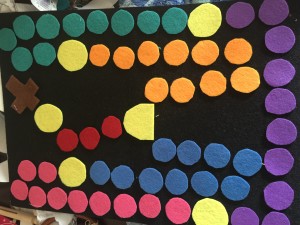
In a bid to encourage our always active Master 3 into sitting still and contributing more to our Family Prayer time I made a Rosary Mat that he can use to keep track of each decade and, hopefully, contemplate with Our Lady.
This is a fiddly sew so if you find it daunting you can just use craft glue instead!
What you’ll need:
- 1 sheet stiffened felt (this is available at Spotlight and is usually bigger than regular felt sheets)
- Felt in assorted colours including white
- Thread
- Sewing machine
- Gold trim/ribbon/or fabric paint
- Pipe cleaner
- Craft glue
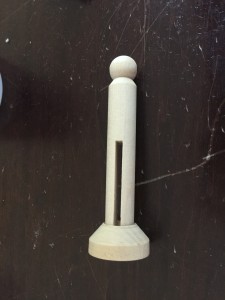
- Old fashioned wooden peg (I purchase these from a local craft store. They’re called dolly pegs and come in packs of 6 with stands included).
What to do:
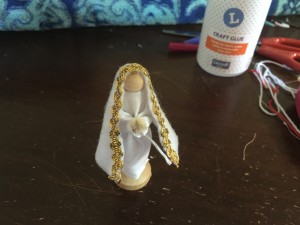
Our Lady
Glue peg into stand.
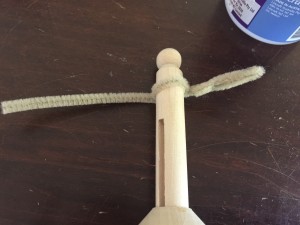
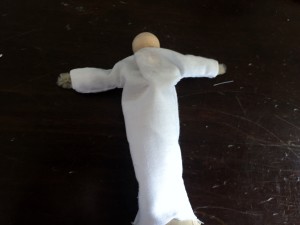
Fold pipe cleaner around body to create arms and affix with glue. I fold back about halfway for the arms which also ensures the sharp edges are turn away from little hands.
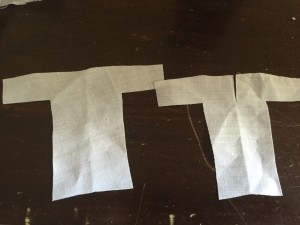
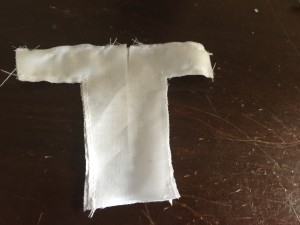
Lay the peg doll down and make a rough outline of a dress, then cut two of these from felt. On the back piece cut a 1inch line down the middle from neckline. This helps get the dress on the doll once it’s sewn up.
Sew from neckline to sleeve hem and from the lower sleeve hem to the hem of the dress.
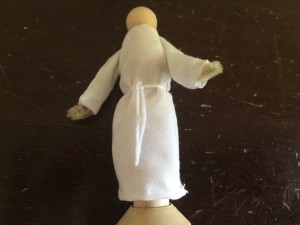
Slip onto doll and when happy with the placement hand sew the back closed.
Tie and glue some embroidery thread around the waist for an added detail (optional).
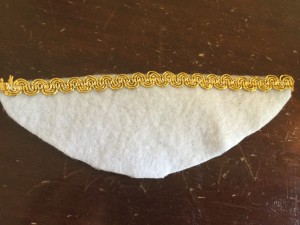
In order to make a veil cut a piece of white felt in the following shape:
And sew/glue gold trim along the straight edge.
Glue in place and Our Lady is complete.
Rosary Mat
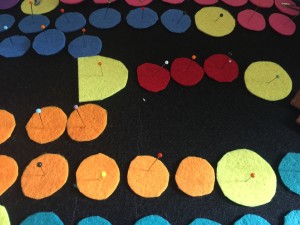
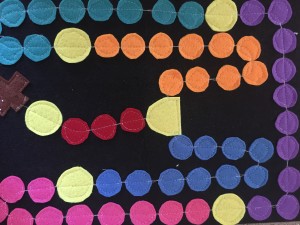
Trace around the peg doll stand. This will be the pattern for the beads. Cut 53 felt circles this size and 5 slightly bigger. I also cut a cross shape and a joining shape (which often has Our Lady pictured on it) which you can see here:
Pin in place.
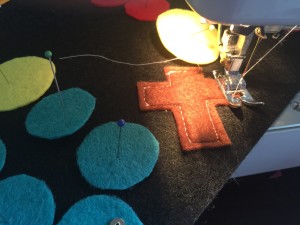
I started by sewing around the cross.
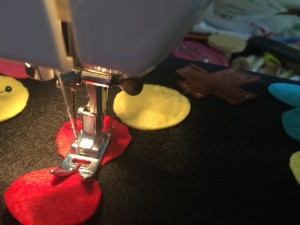
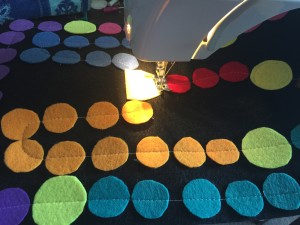
After that I found it tricky to feed through the sewing machine on account of the pins. Instead I sewed through the middle of each piece, removing pins as I did so, until they were all held in place by stitches.
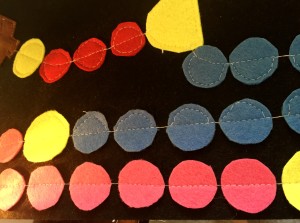
Then I began the task of sewing around all of the edges, sewing half a bead at a time before moving onto the next so that the whole thing was sewn in a continuous motion until I arrived back at the start.
It was a bit fiddly and my stitches are not perfect by any means but hopefully this will continue to prove a good introduction to the Rosary for Master 3 and Master 1.
Originally posted 2017-04-24 03:12:57.

