We had a minor dilemma earlier this year when Master 9’s Rosary pouch broke. Of course, he is still just inside that phase of thinking that Mum and Dad can fix everything. Well, I couldn’t fix the pouch. But I could make him a new one. And the project turned out to be a quick and easy one – perfect for the beginner sewer! I used felt for this project but leather/suede will also work because they don’t fray but you’ll need a more heavy duty needle for them.
What you’ll need:
- Pattern (you’ll find it at the bottom of this post)
- Felt
- Needle
- Embroidery thread
- Fabric scissors
- Fabric chalk
What to do:
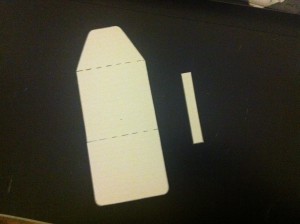
Print out the template. Cut out.
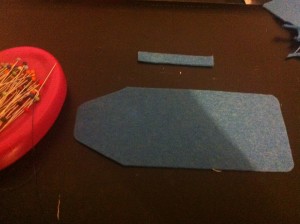
Pin onto the felt and cut out two pieces.
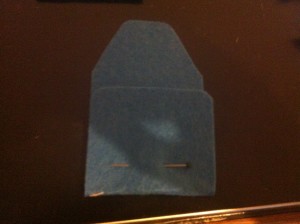
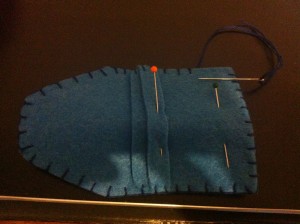
Use fabric chalk to mark the dotted lines on the large piece of felt. Fold large piece at lower dotted line and pin in place.
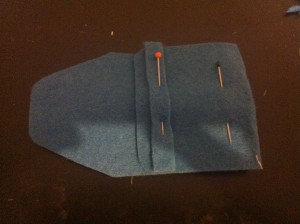
Pin smaller rectangular piece in place as shown below.
Using a blanket stitch start on the lower edge and sew around all edges until you return to where you started.
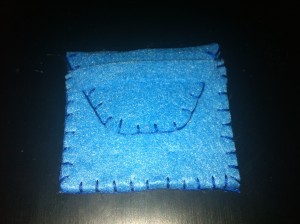
Fold the top piece at the higher dotted line and slide under the horizontal rectangular piece.
Voila! All finished!
Alternative options: You can personalise the front of your Rosary pouches using hand embroidery if desired. And you can use a sewing machine instead of hand sewing like I did below.
Originally posted 2018-05-02 15:00:47.

