
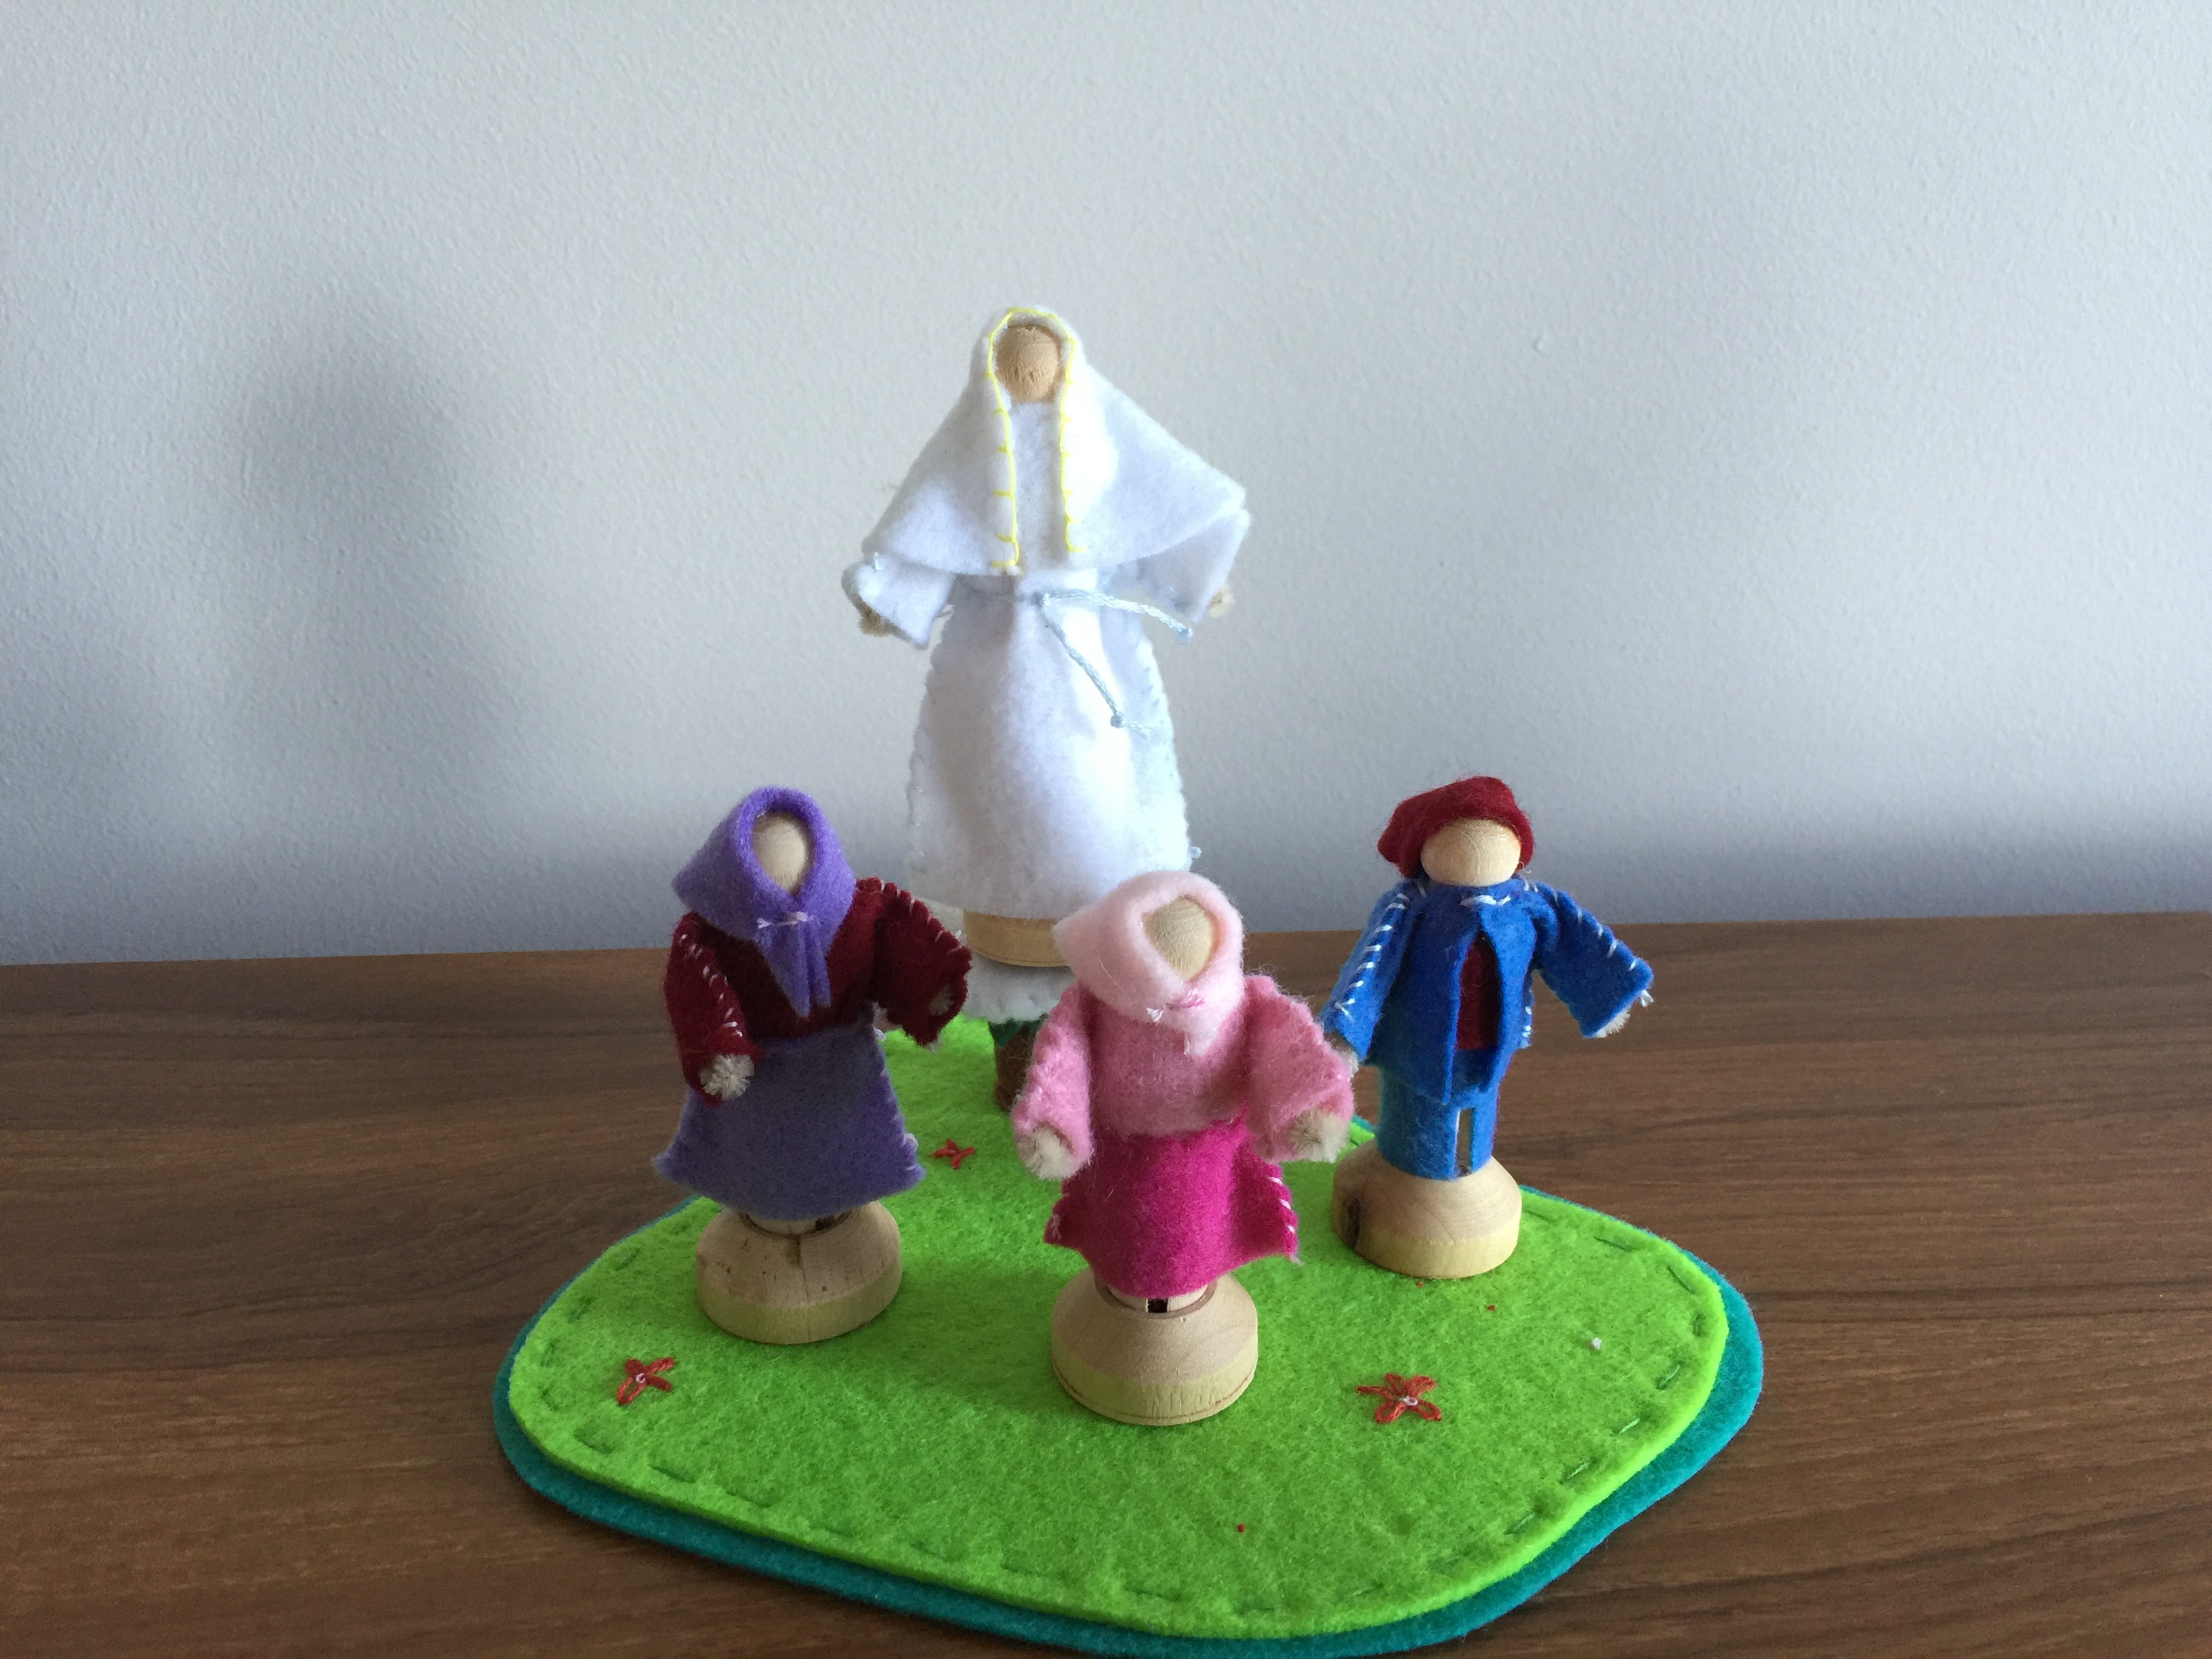
This is a cute, and relatively easy to make, craft that will help your children reflect upon the story of Fatima.
What you’ll need:
- 4 dolly pegs with stands (I buy mine in a pack of 6 from a local craft store)
- Craft glue
- Felt – green, white, brown are the main colours here but you’ll need other colours for the children’s clothing
- Scissors
- Needle and thread
- Pattern (at the bottom of this post)
What to do:
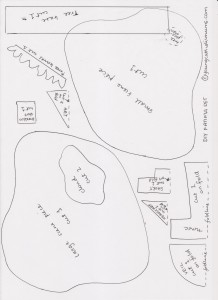
Print out the pattern – it fits perfectly on an A4 page!
SCENE
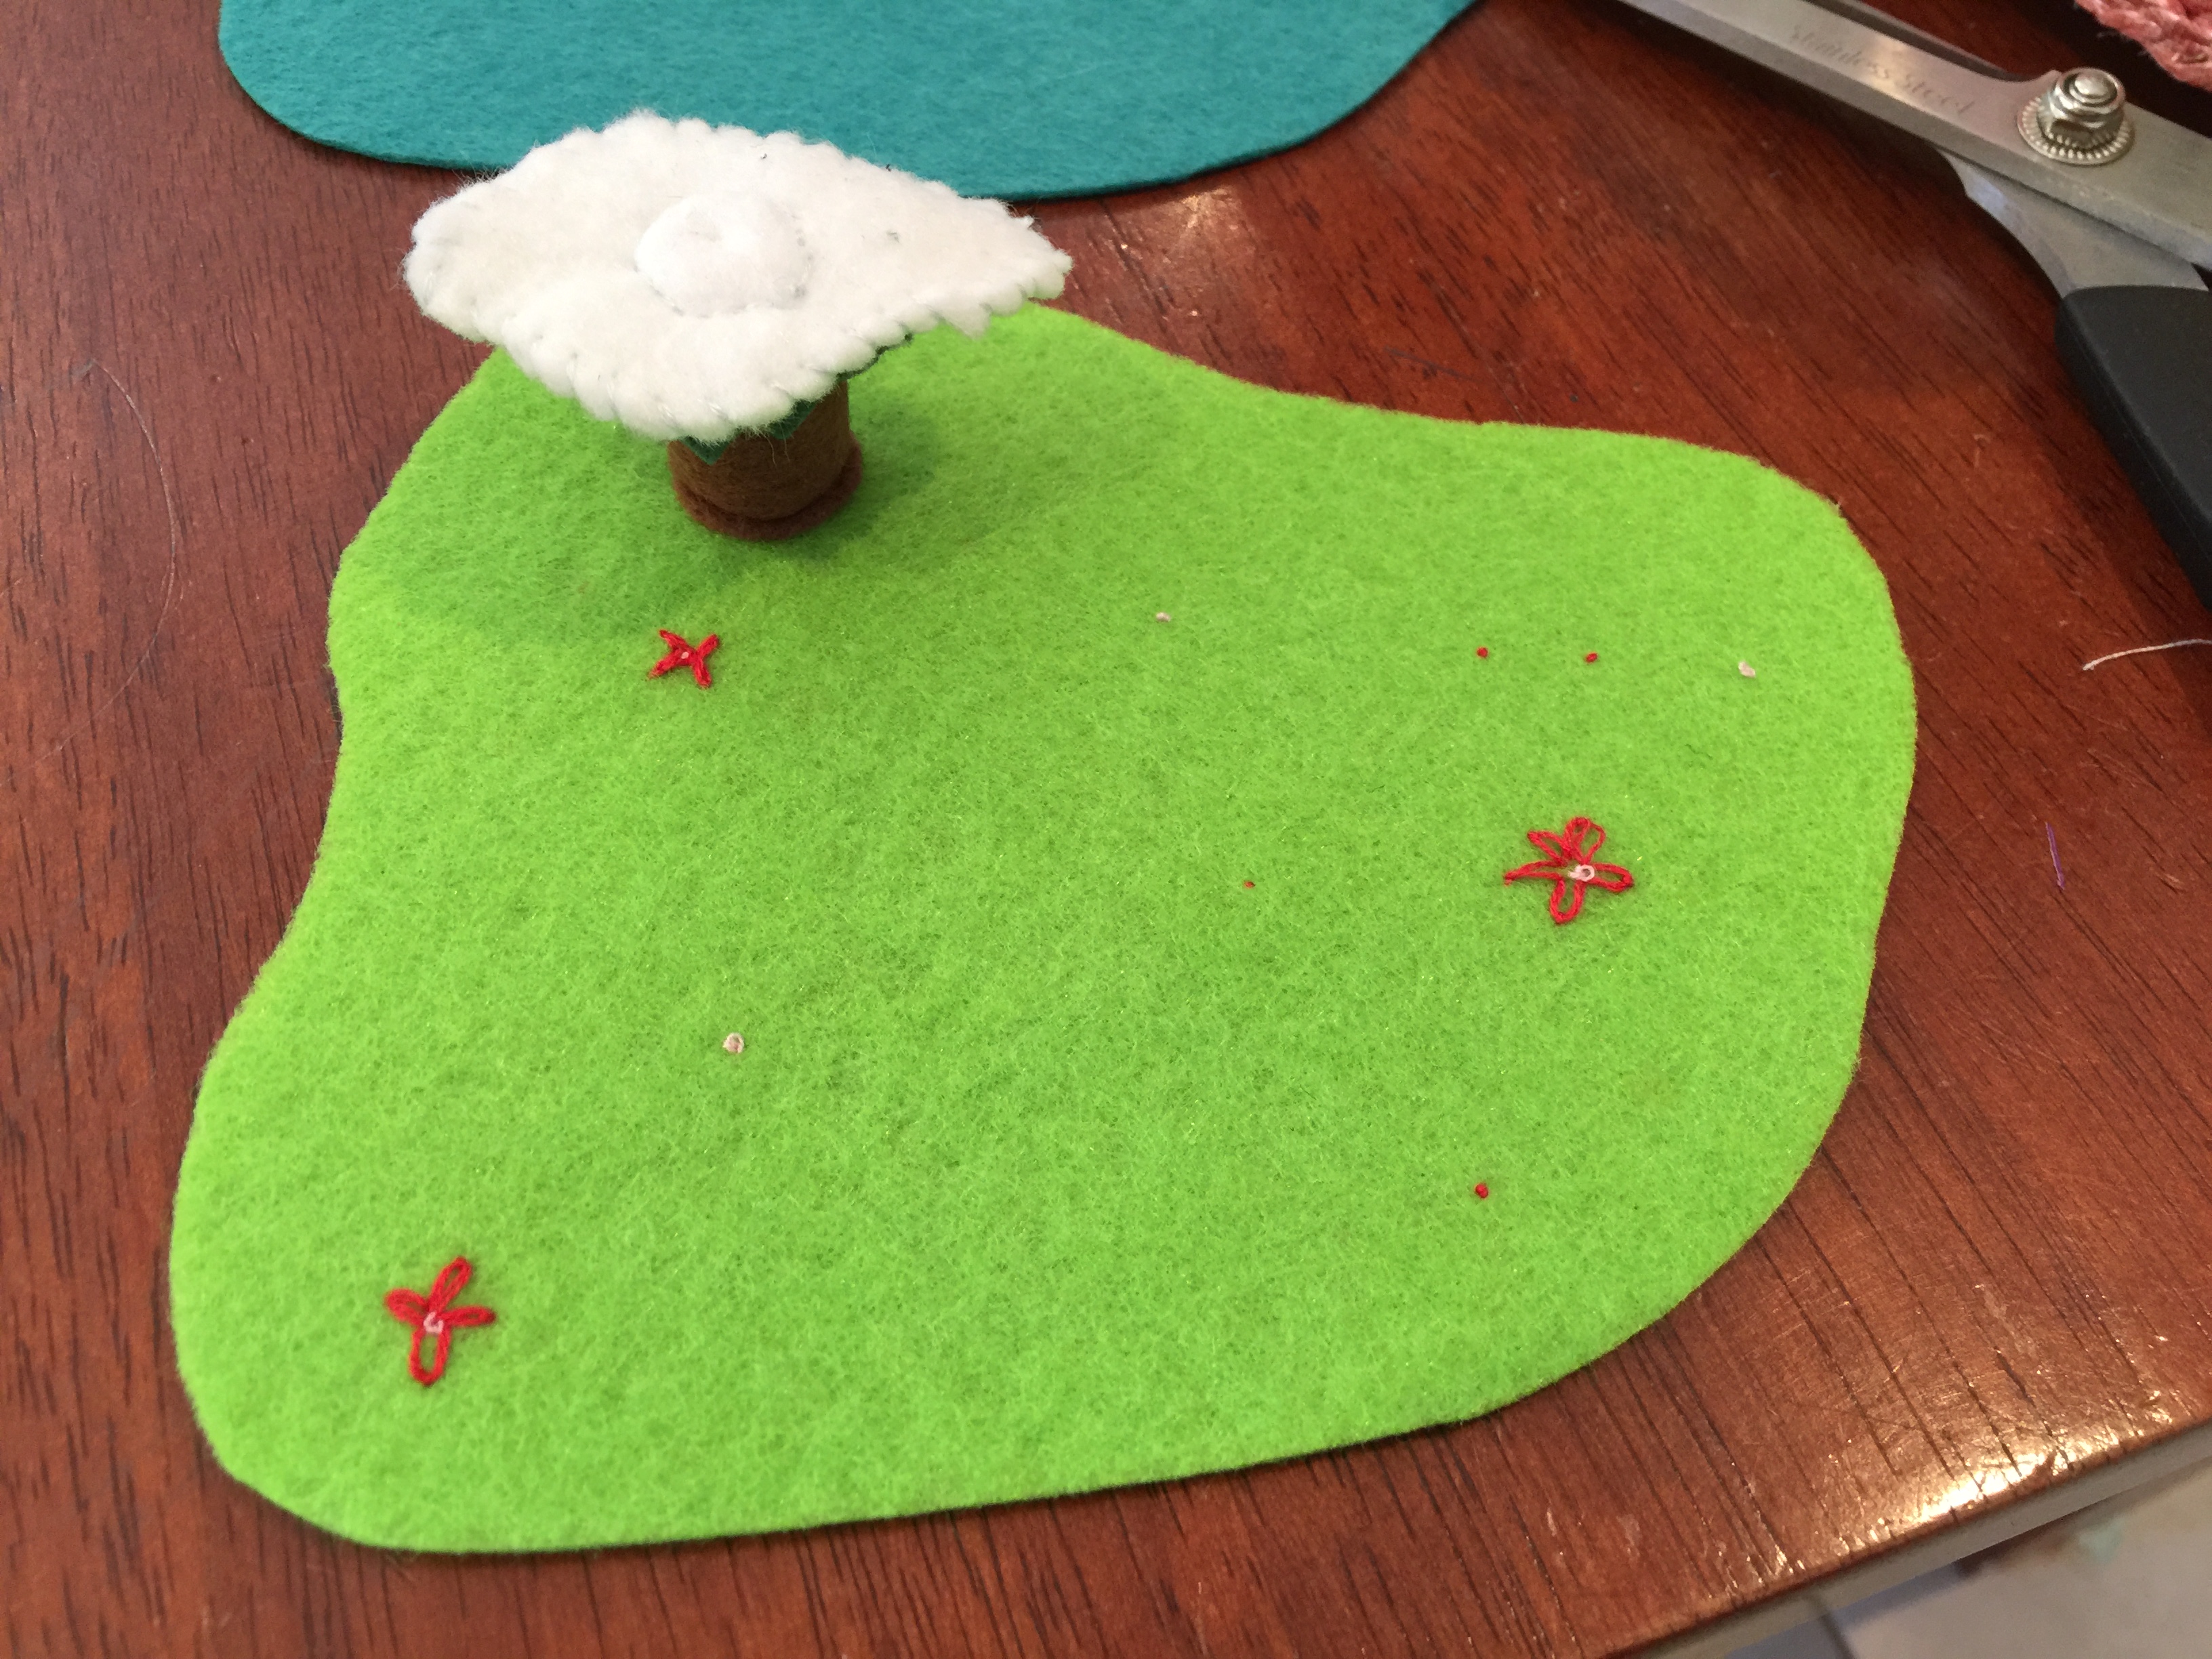
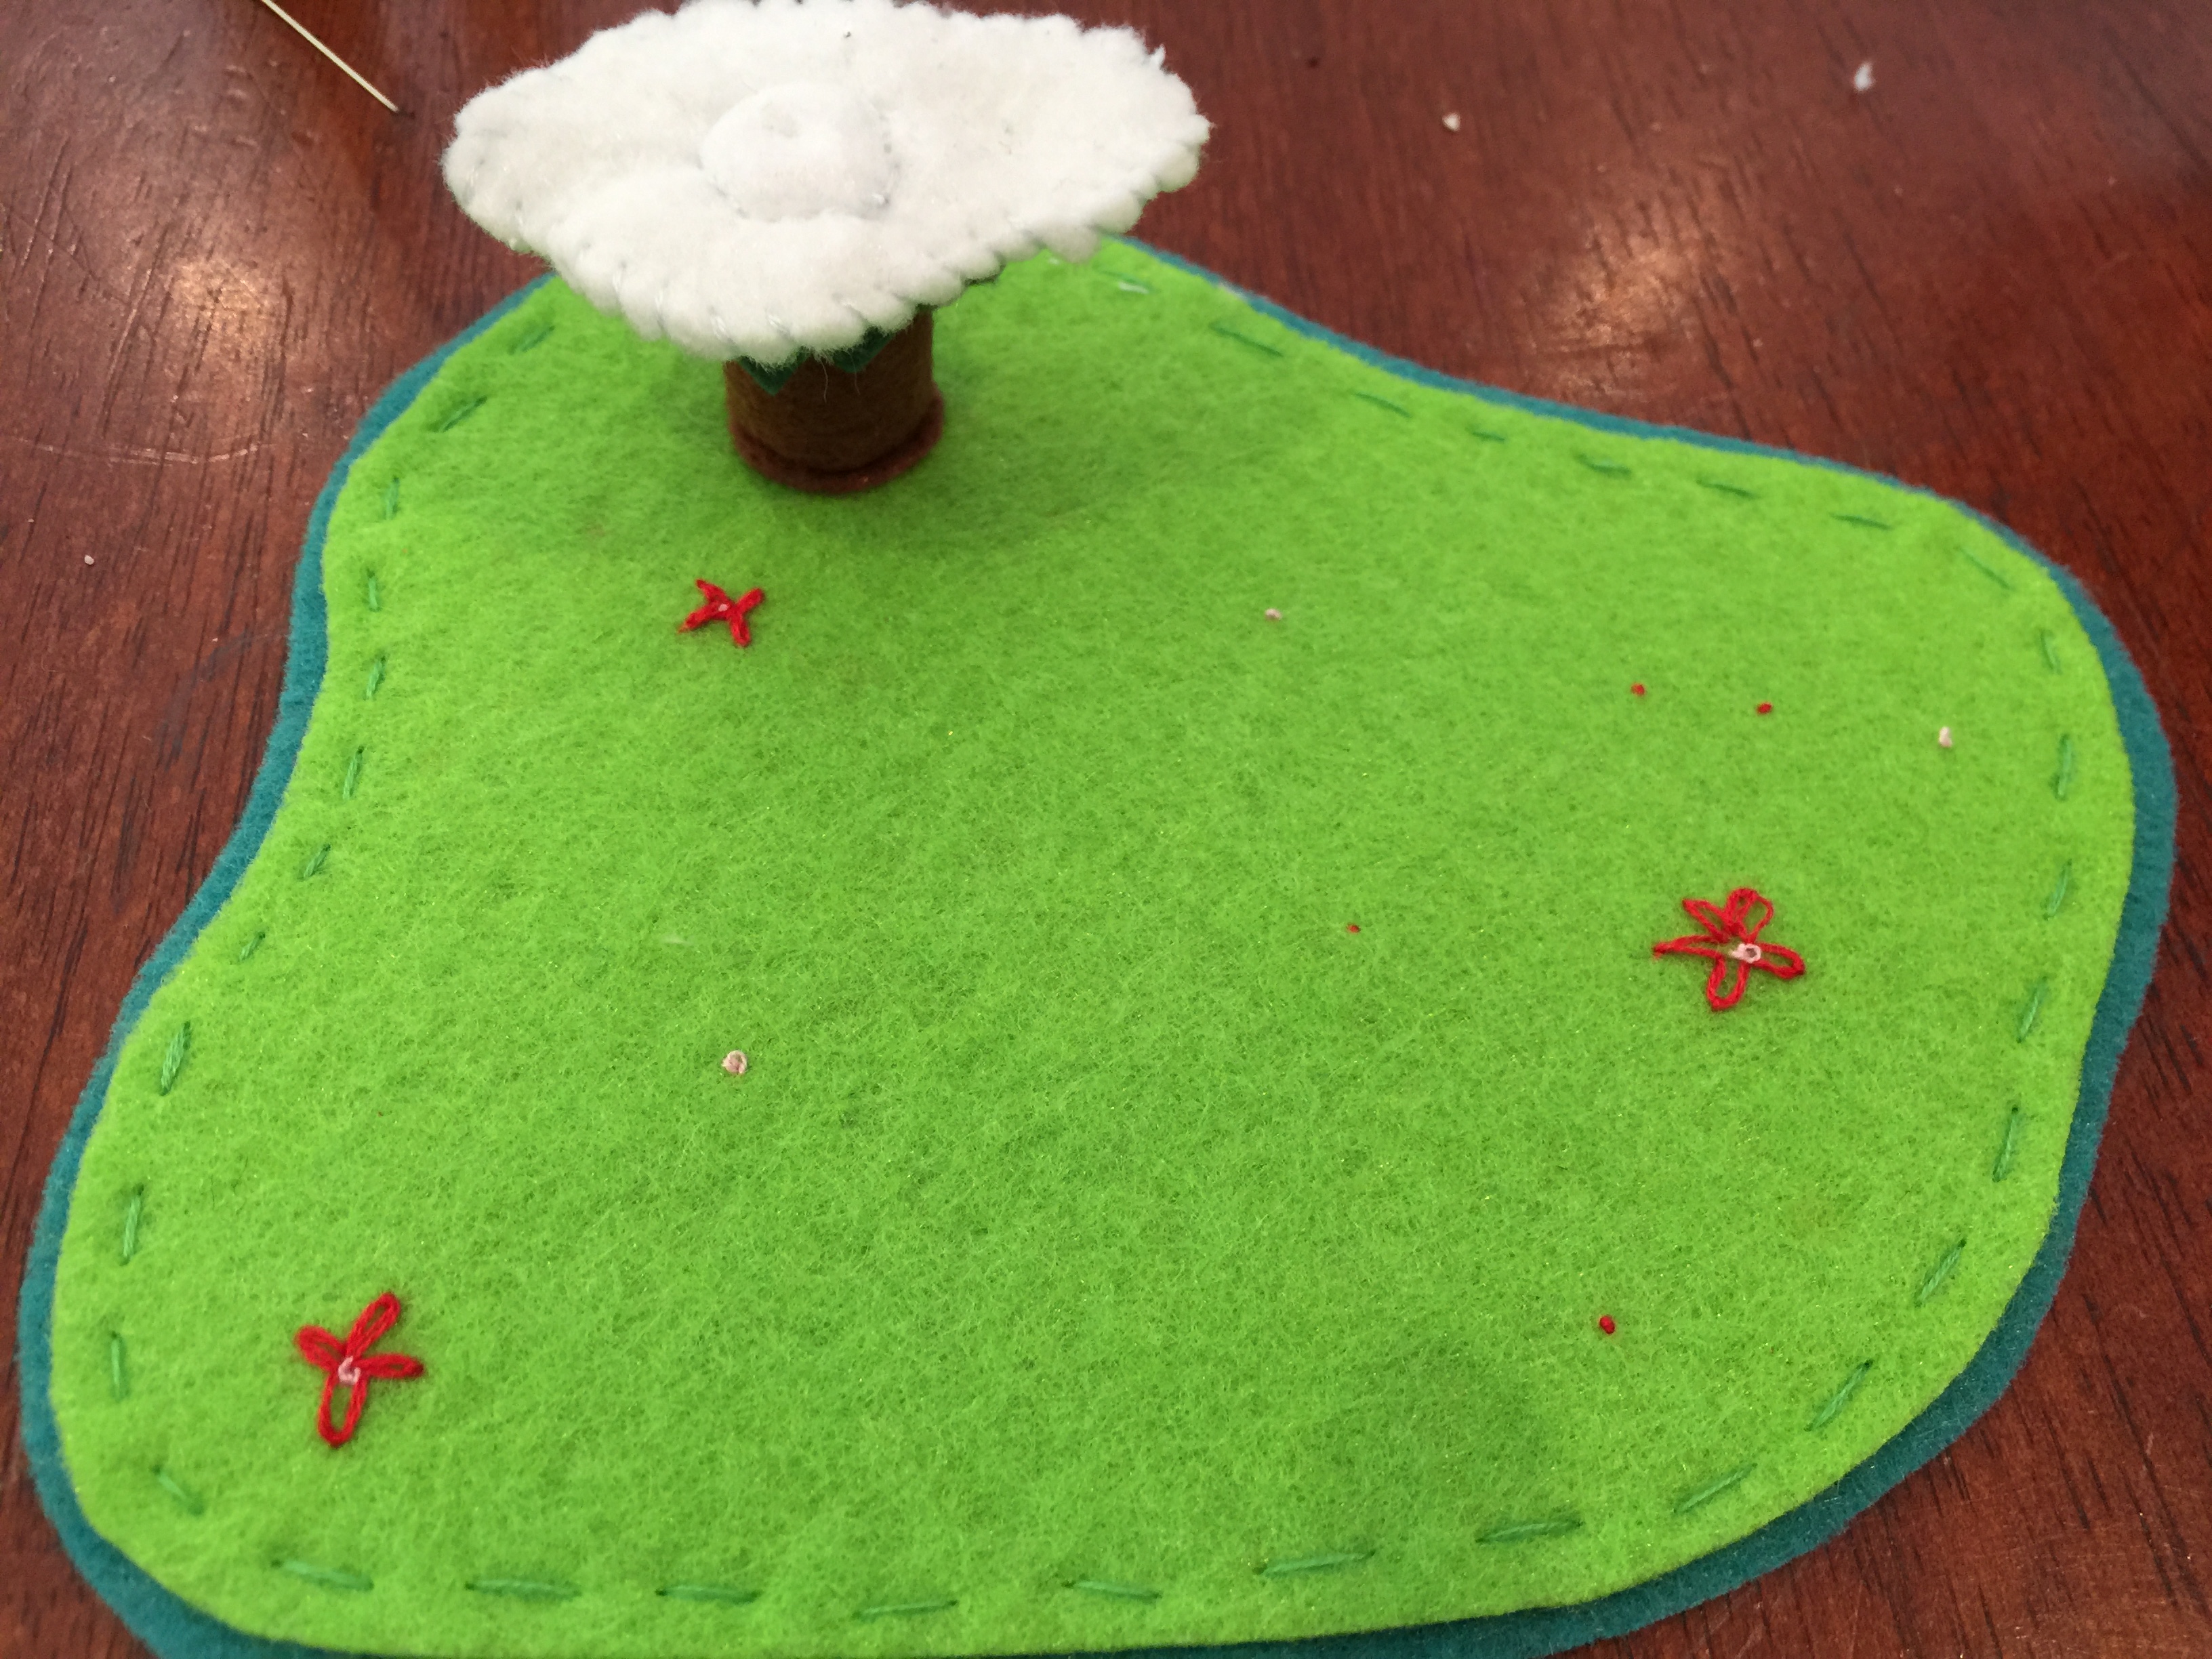
Cut 1 of each of the scene pieces out of felt. Set aside.
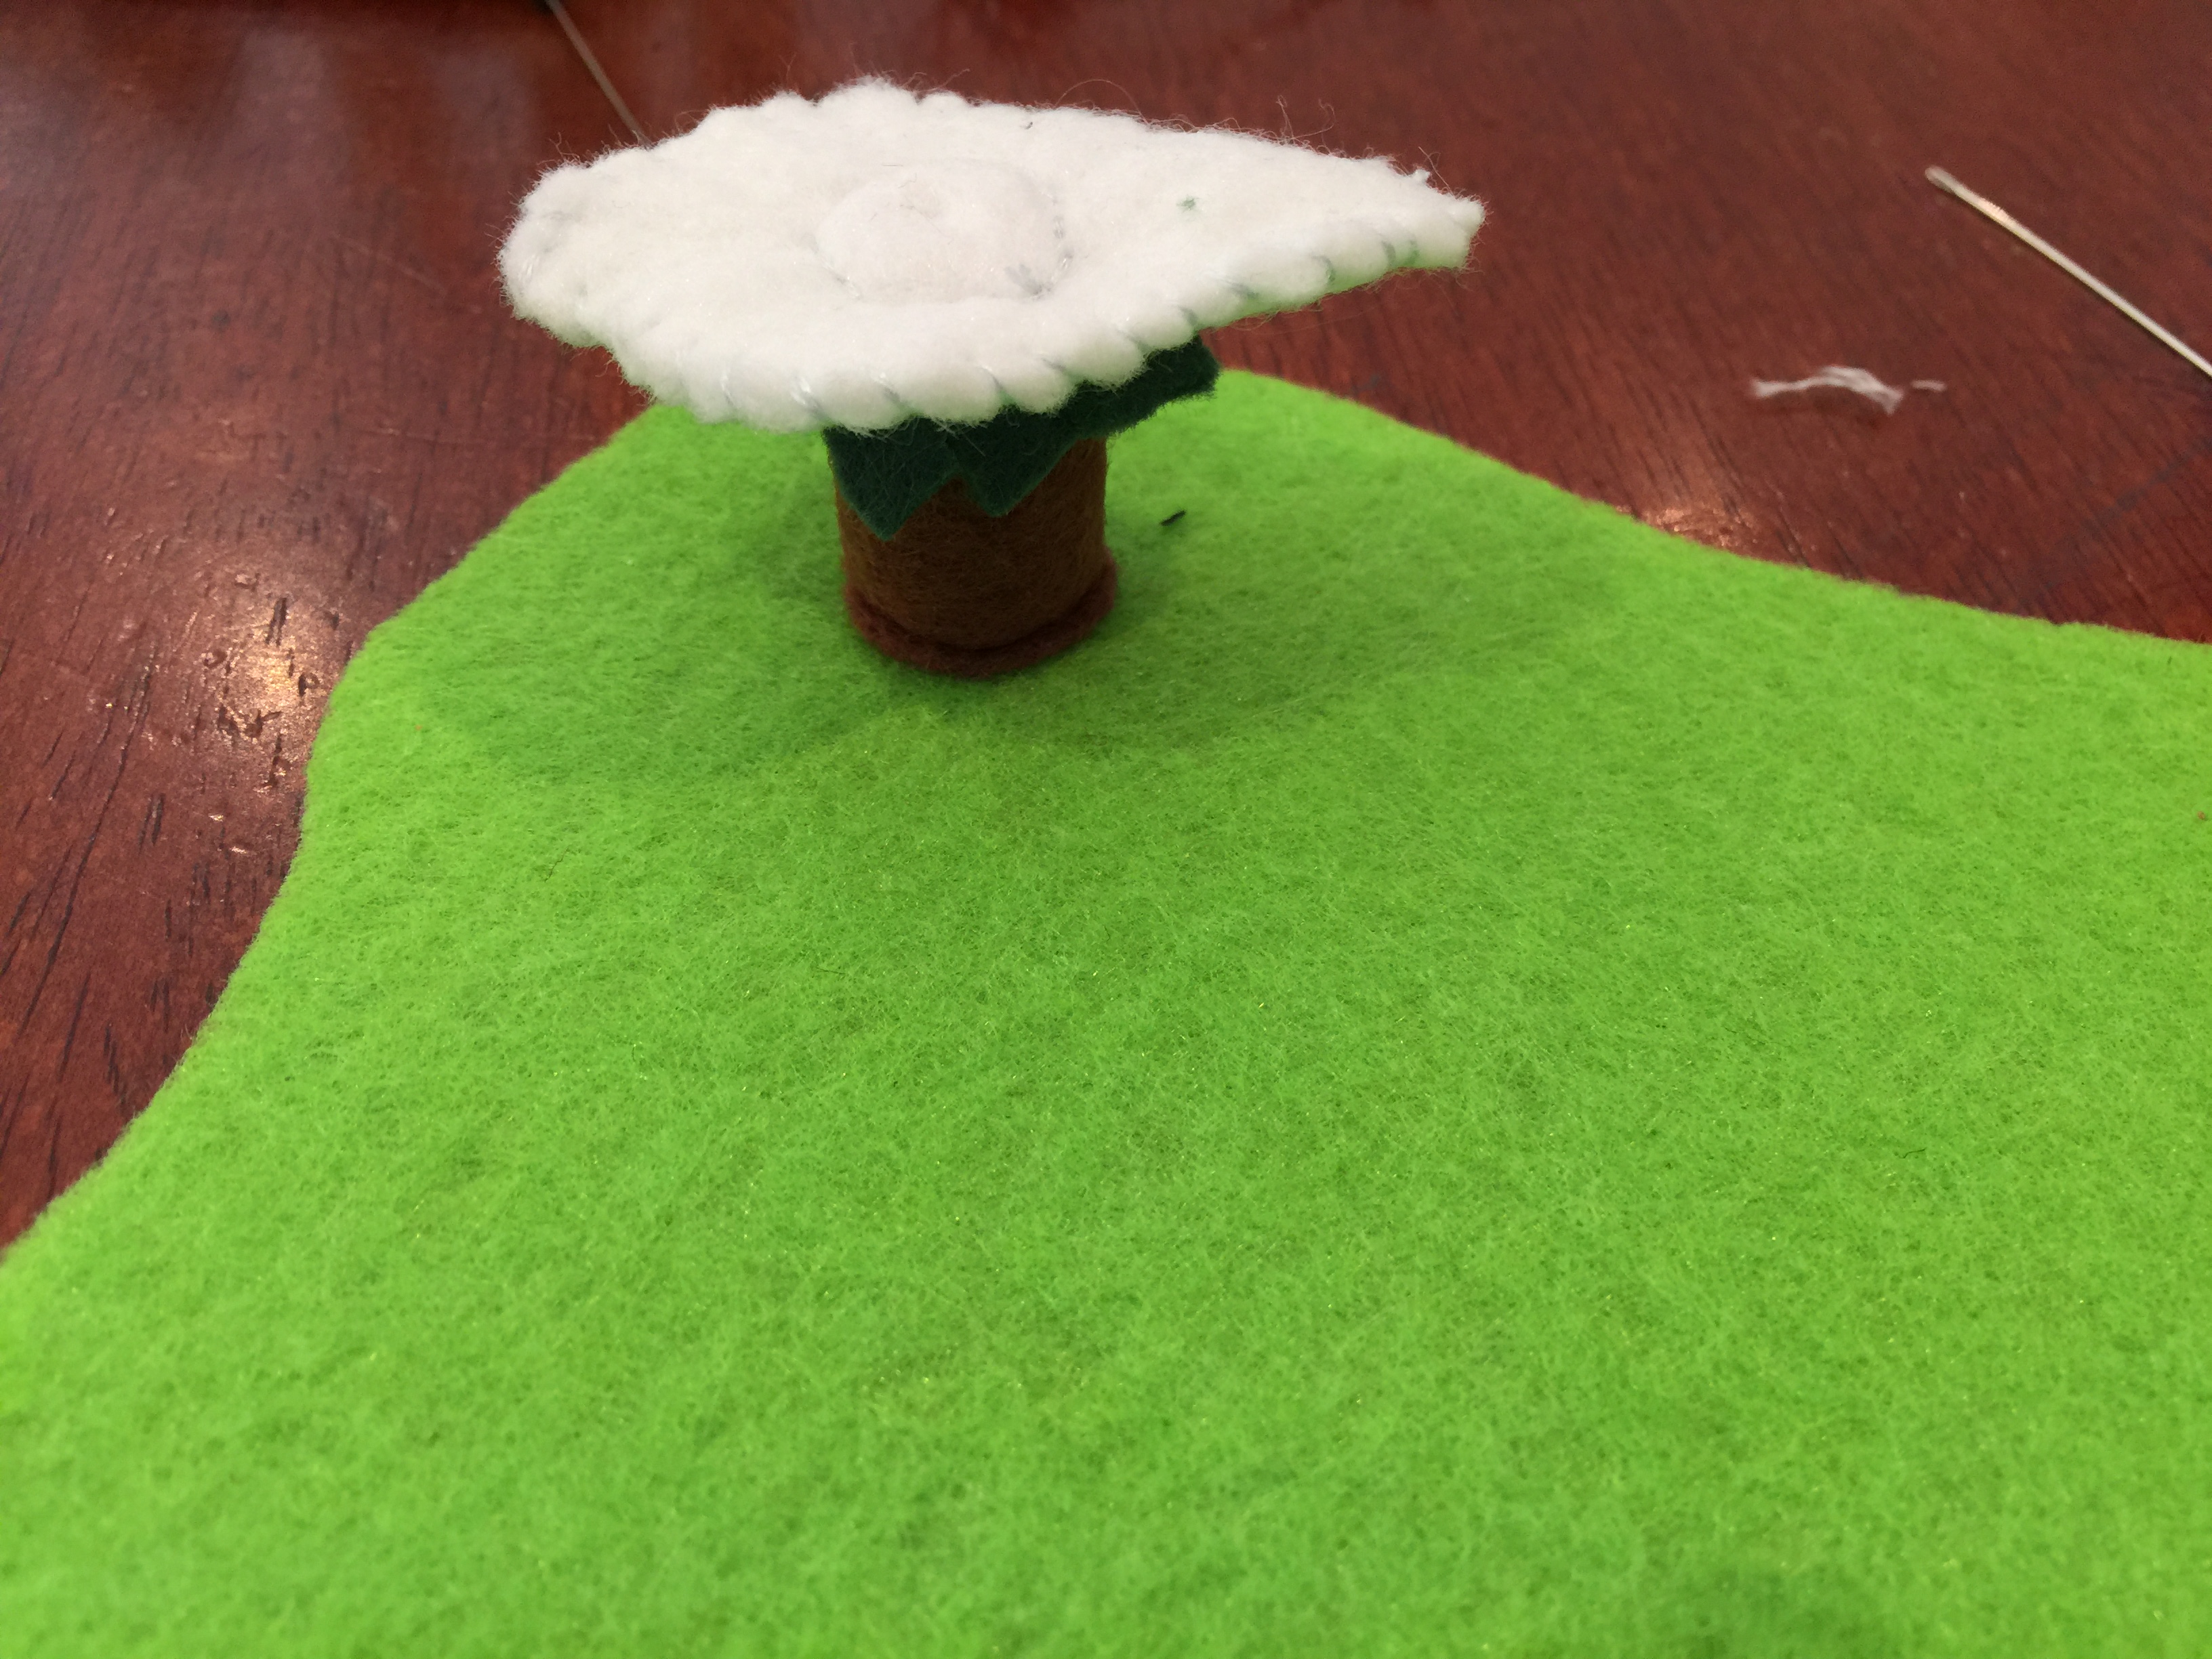
Cut 1 tree piece from brown felt. Roll into a reasonably tight log and sew closed.
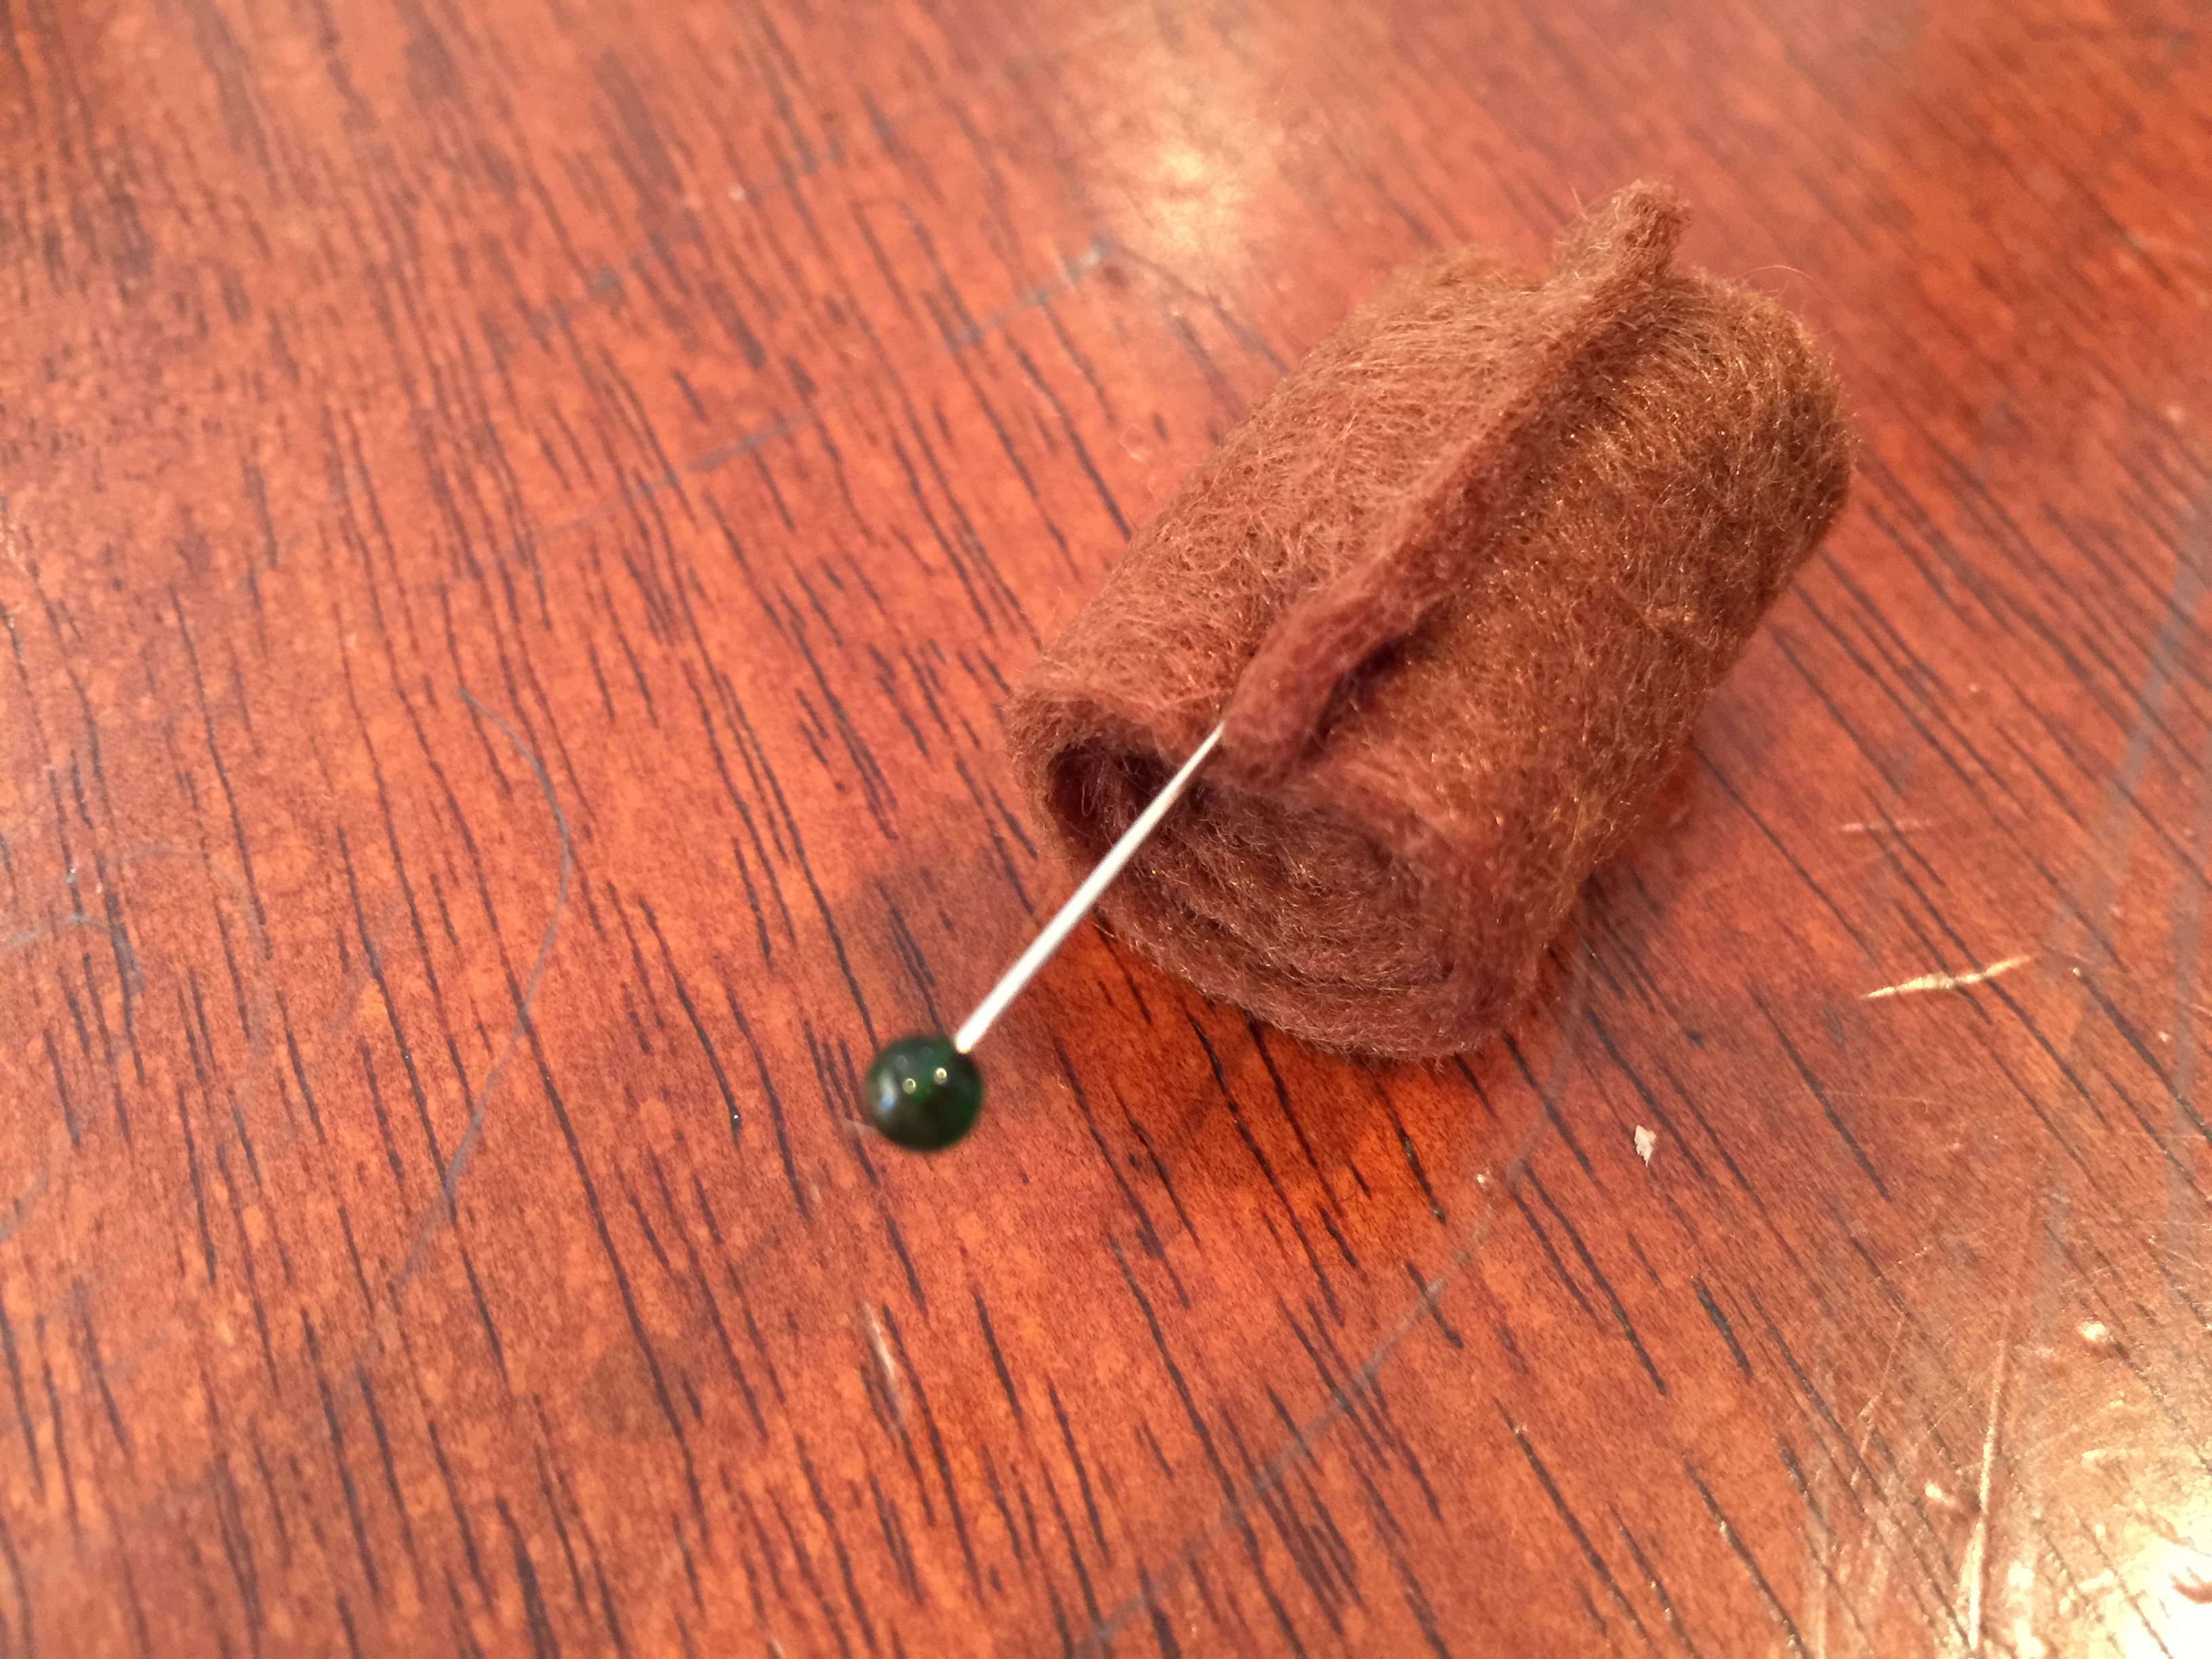
Hand sew onto the smaller of the two green felt pieces.
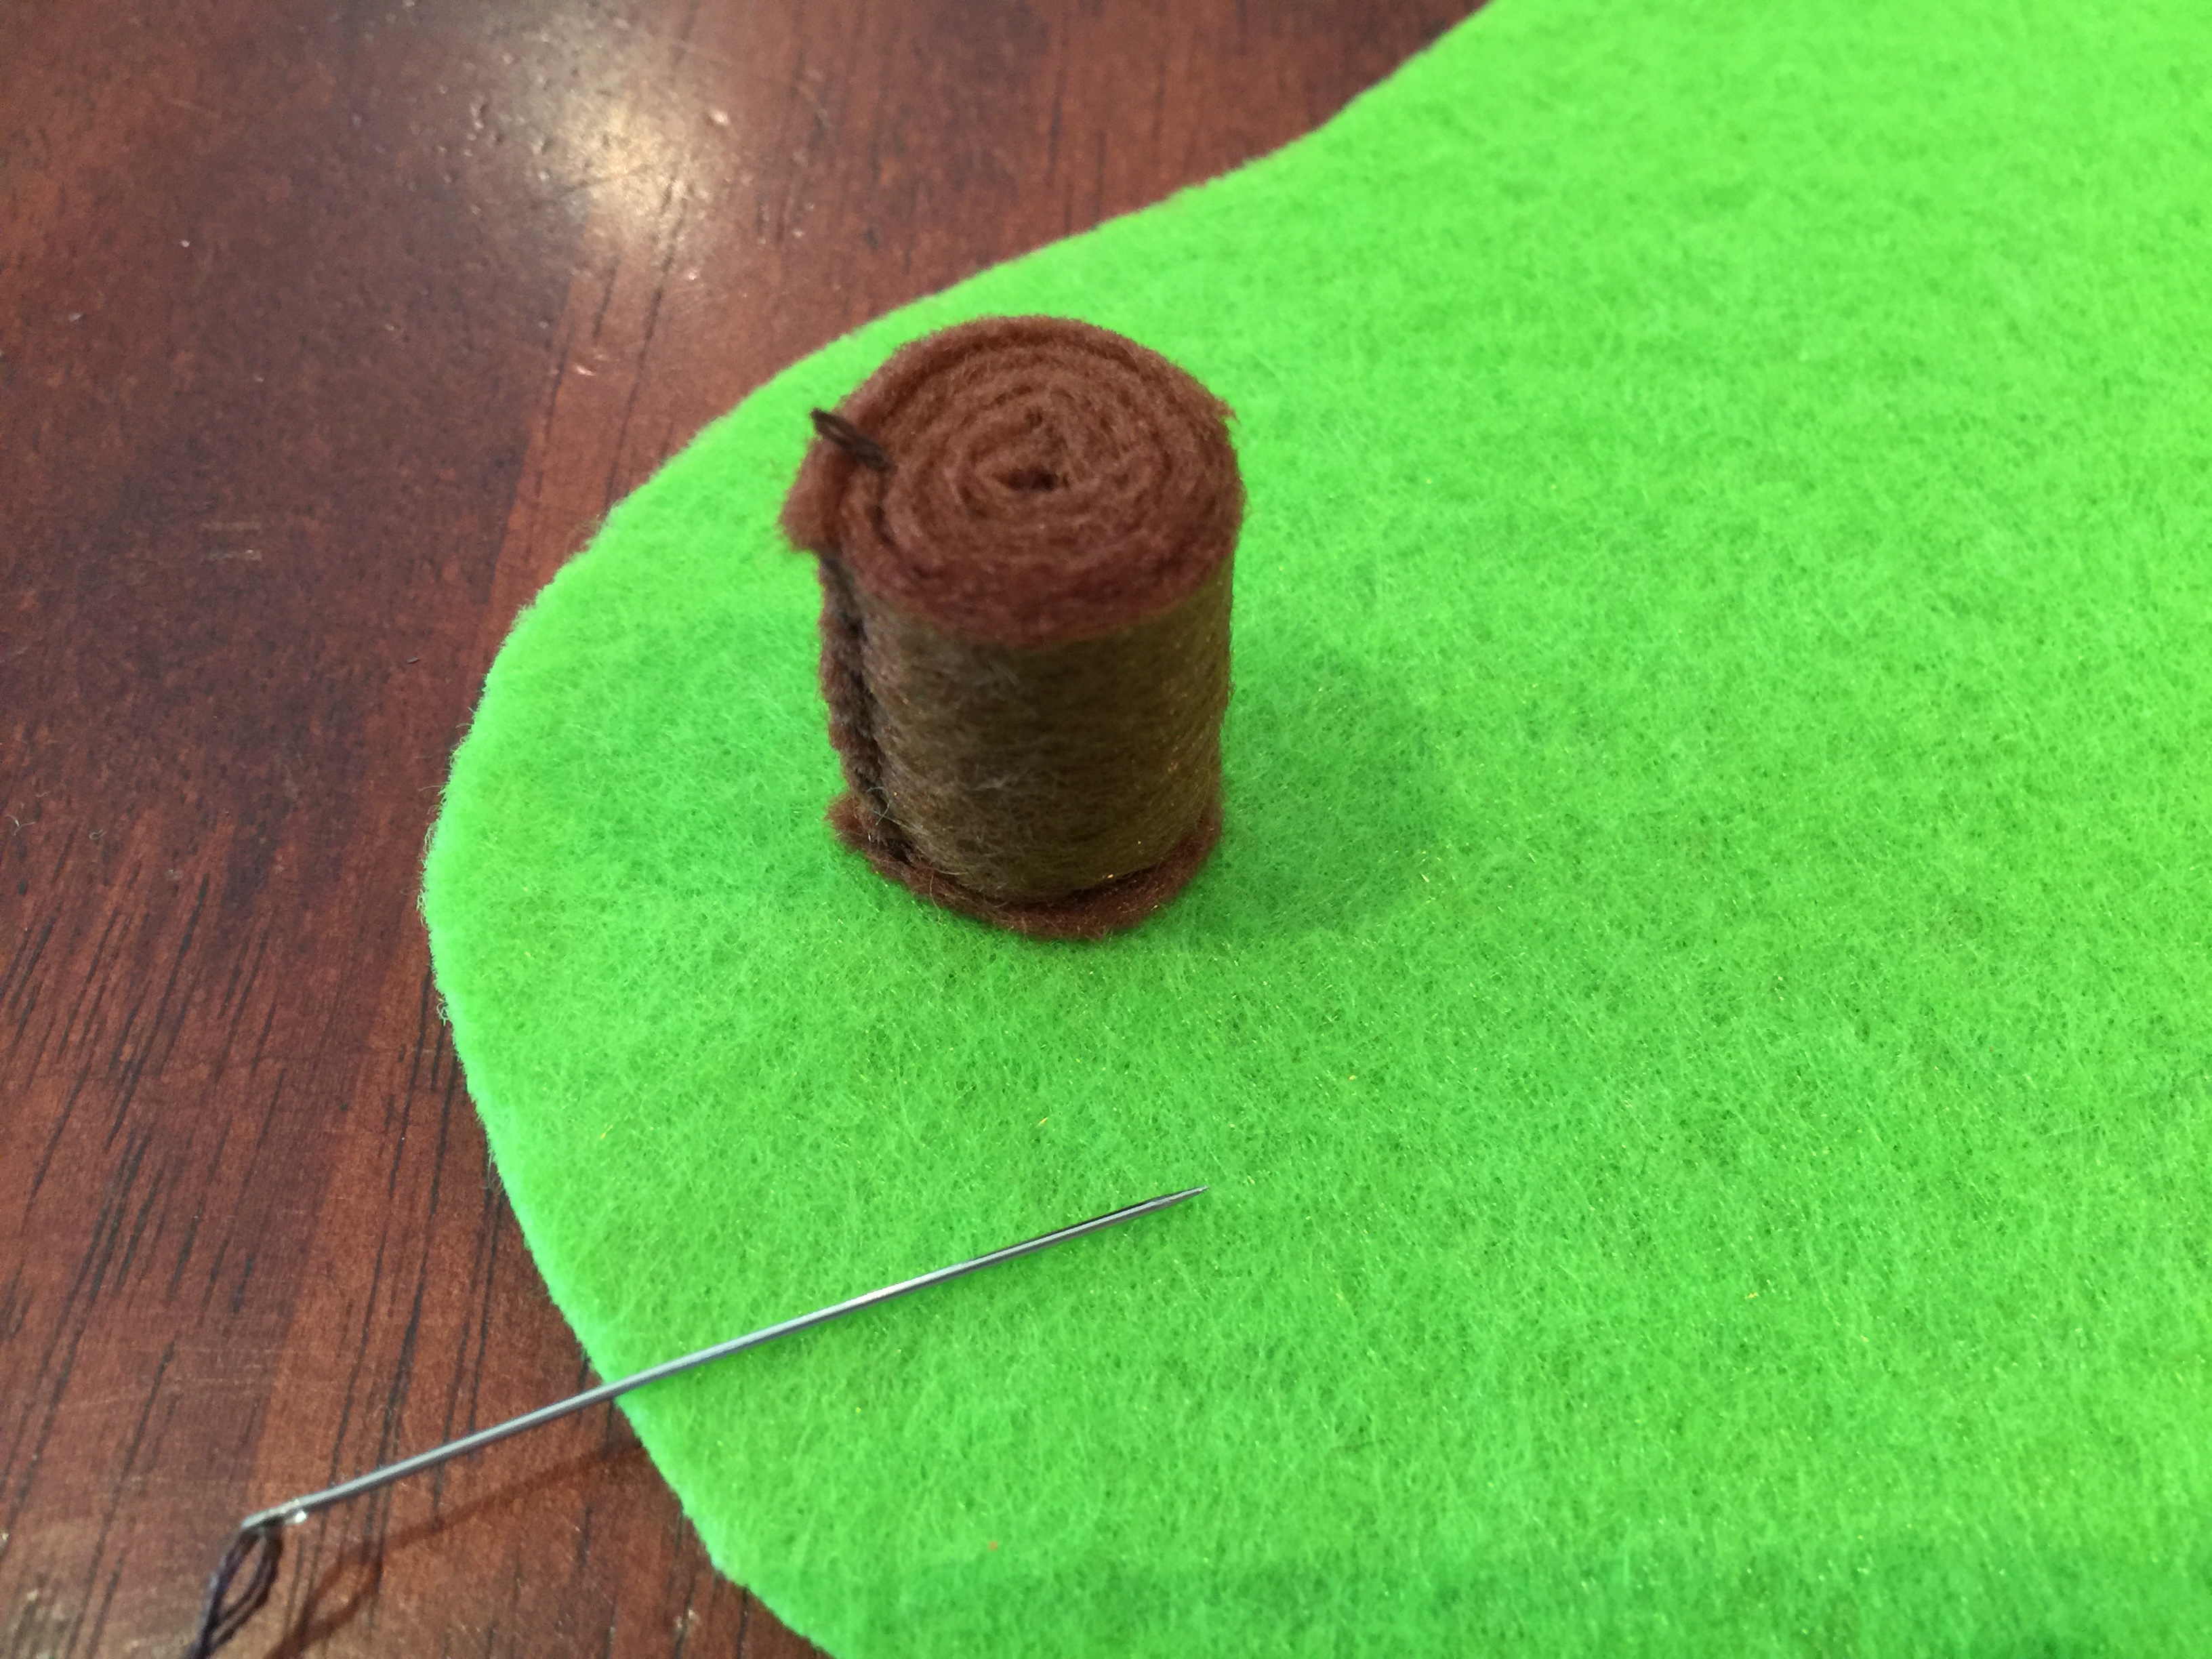
Cut 1 length of leaves from green felt and sew around top of tree.
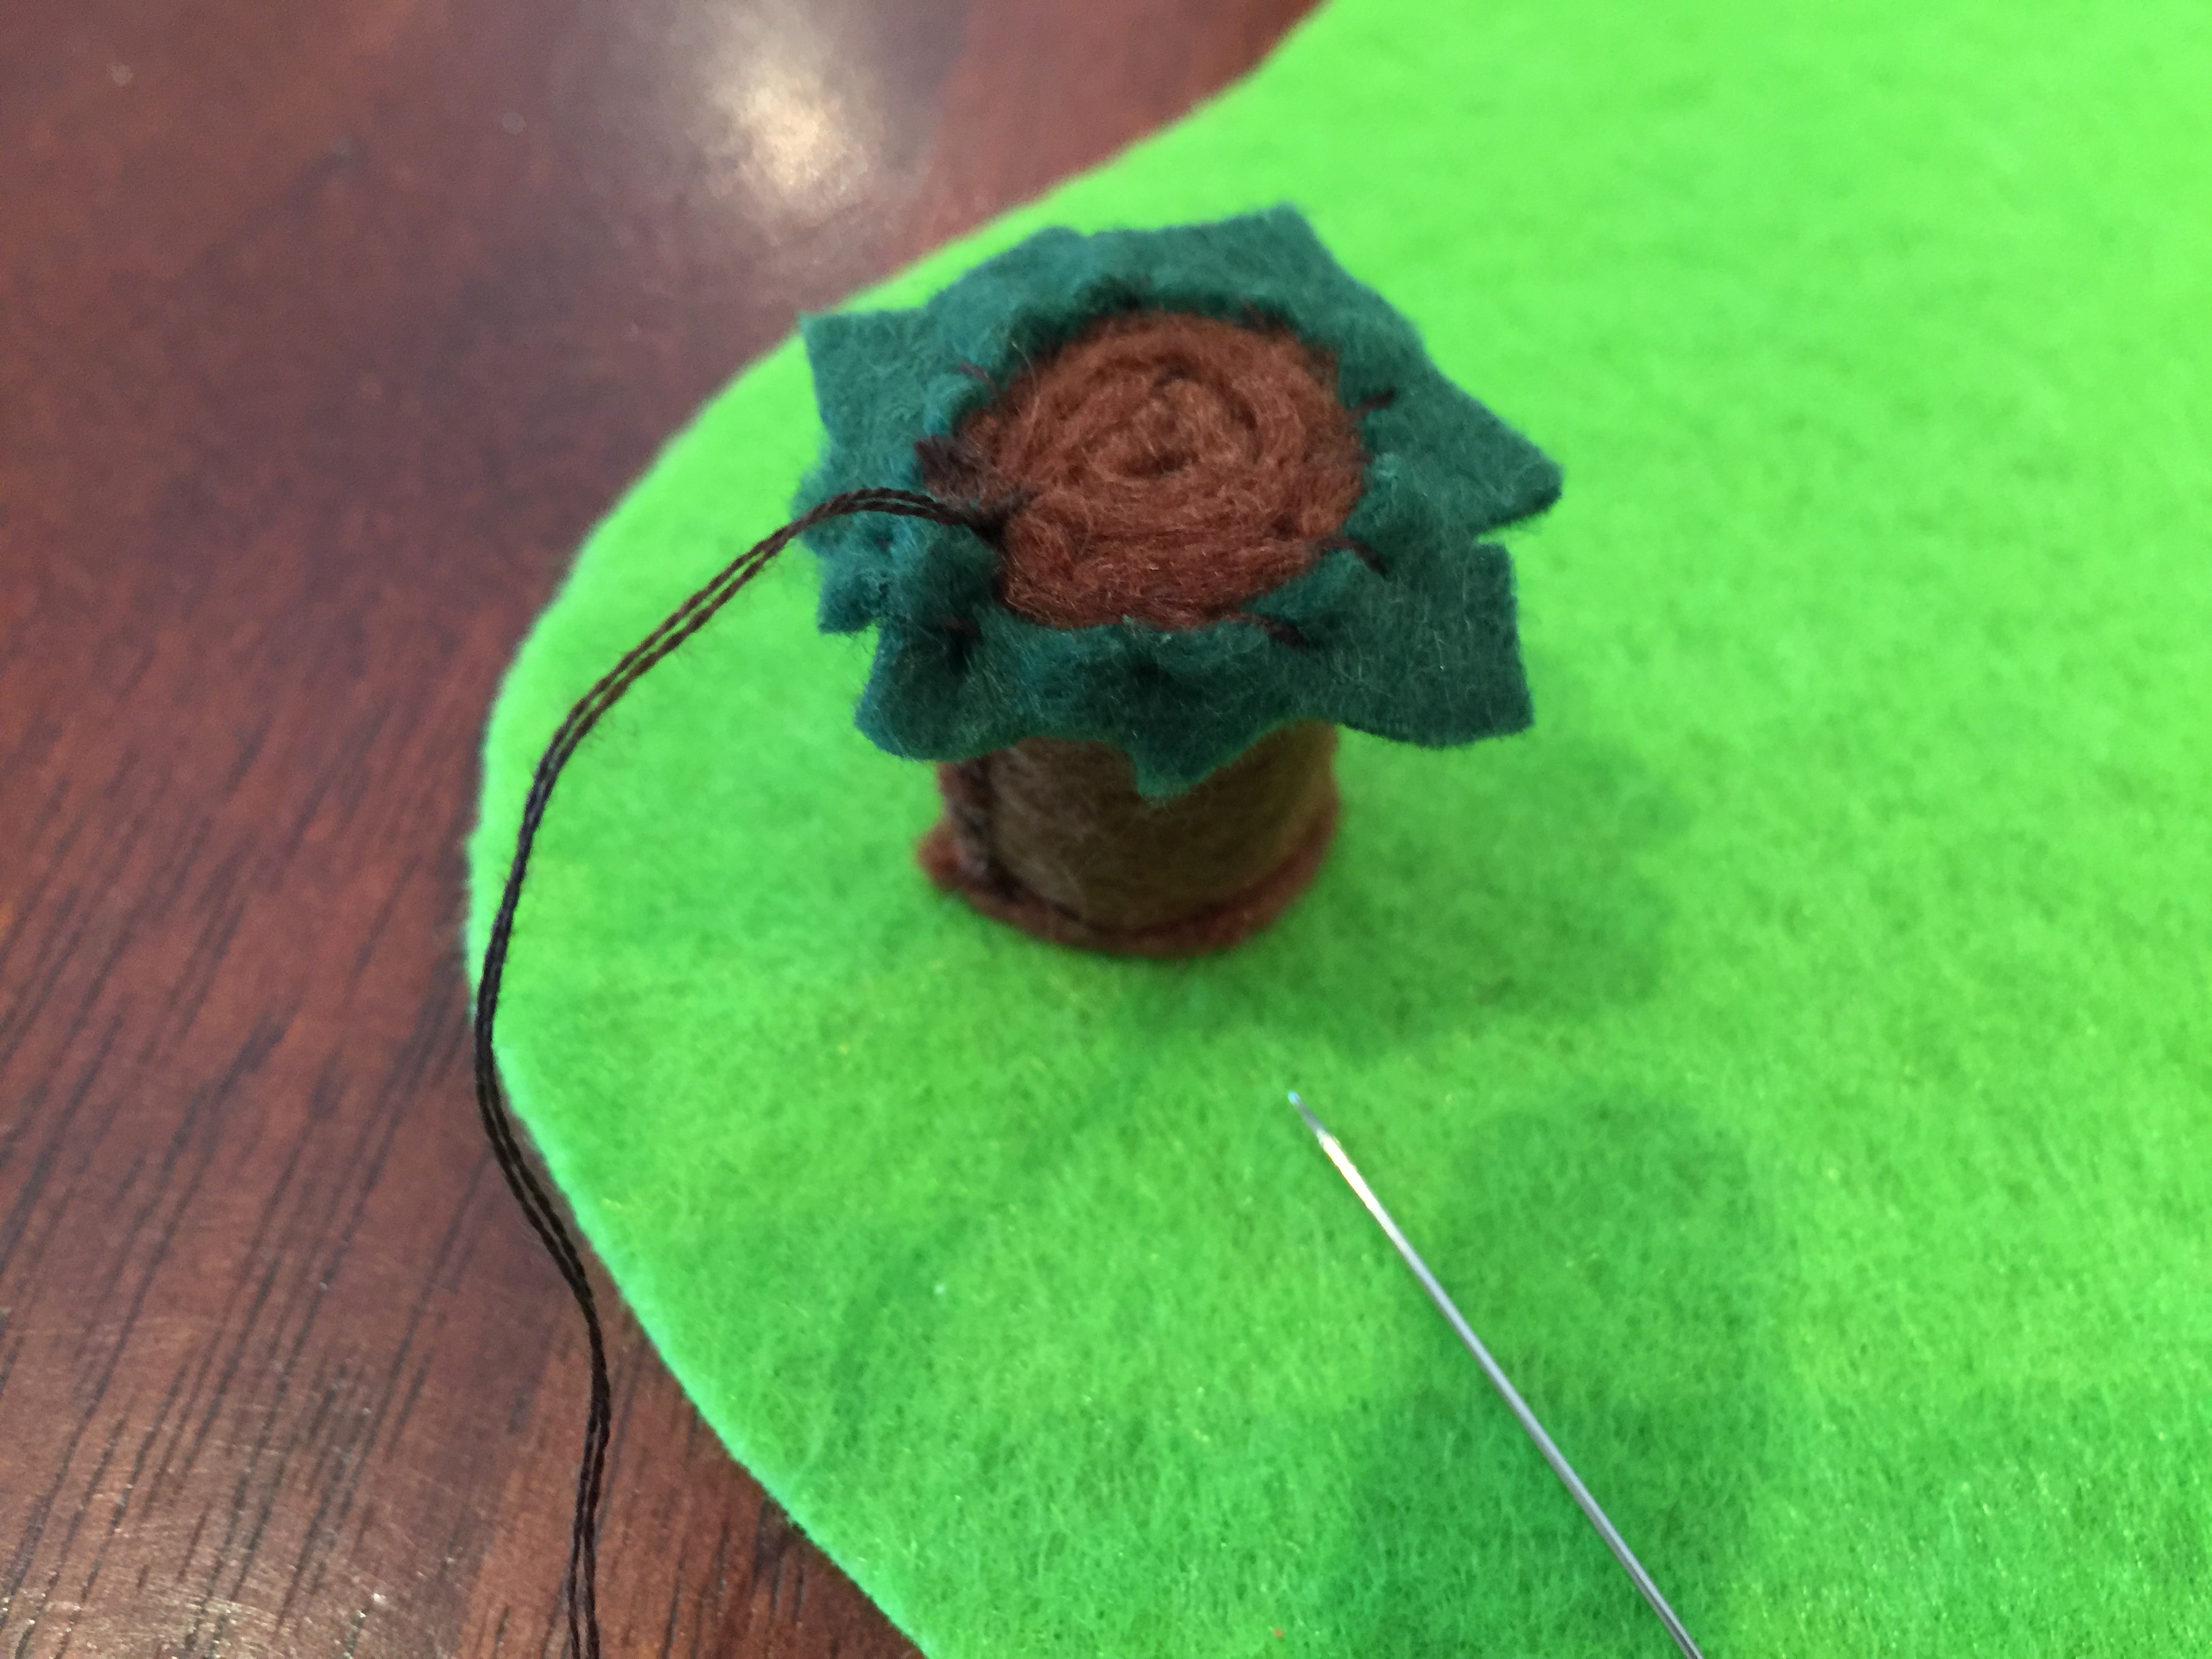
Cut 2 cloud pieces and sew together.
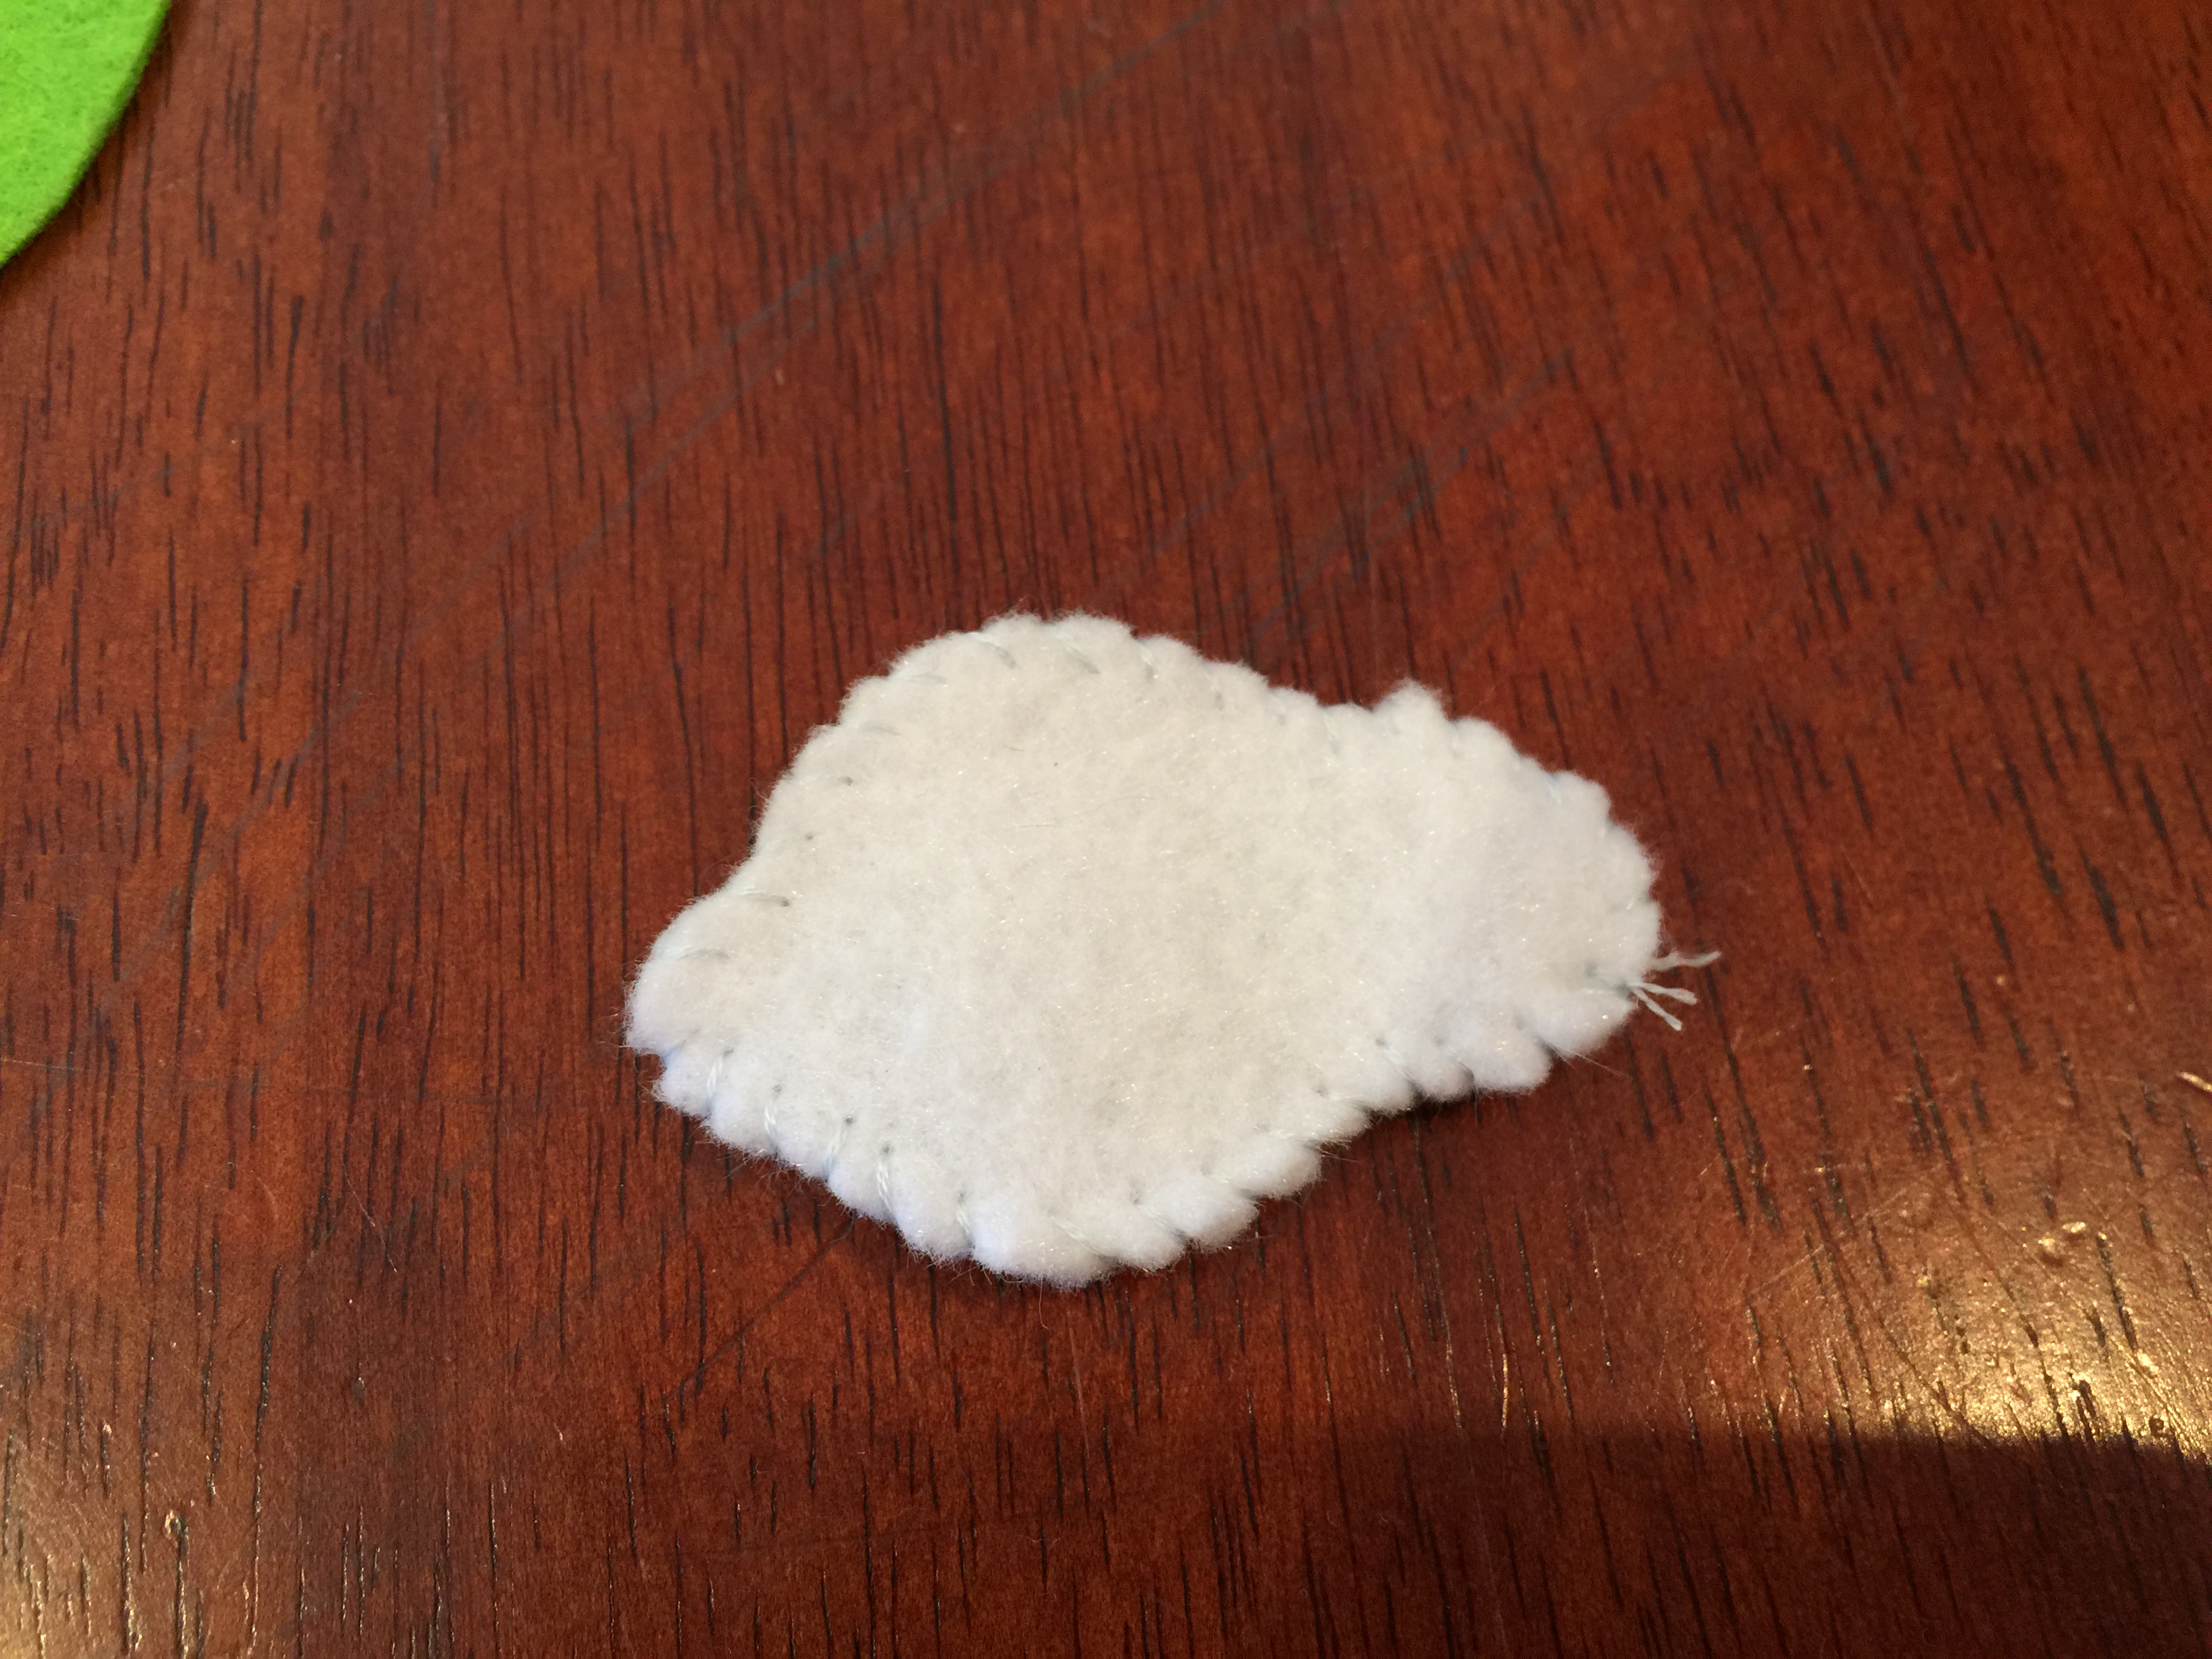
Attach to the top of the tree, making sure you get through all layers to reach the log.
Add any additional embroidery detail to the top green felt piece (optional).
Use a running stitch to join the two green layers of felt.
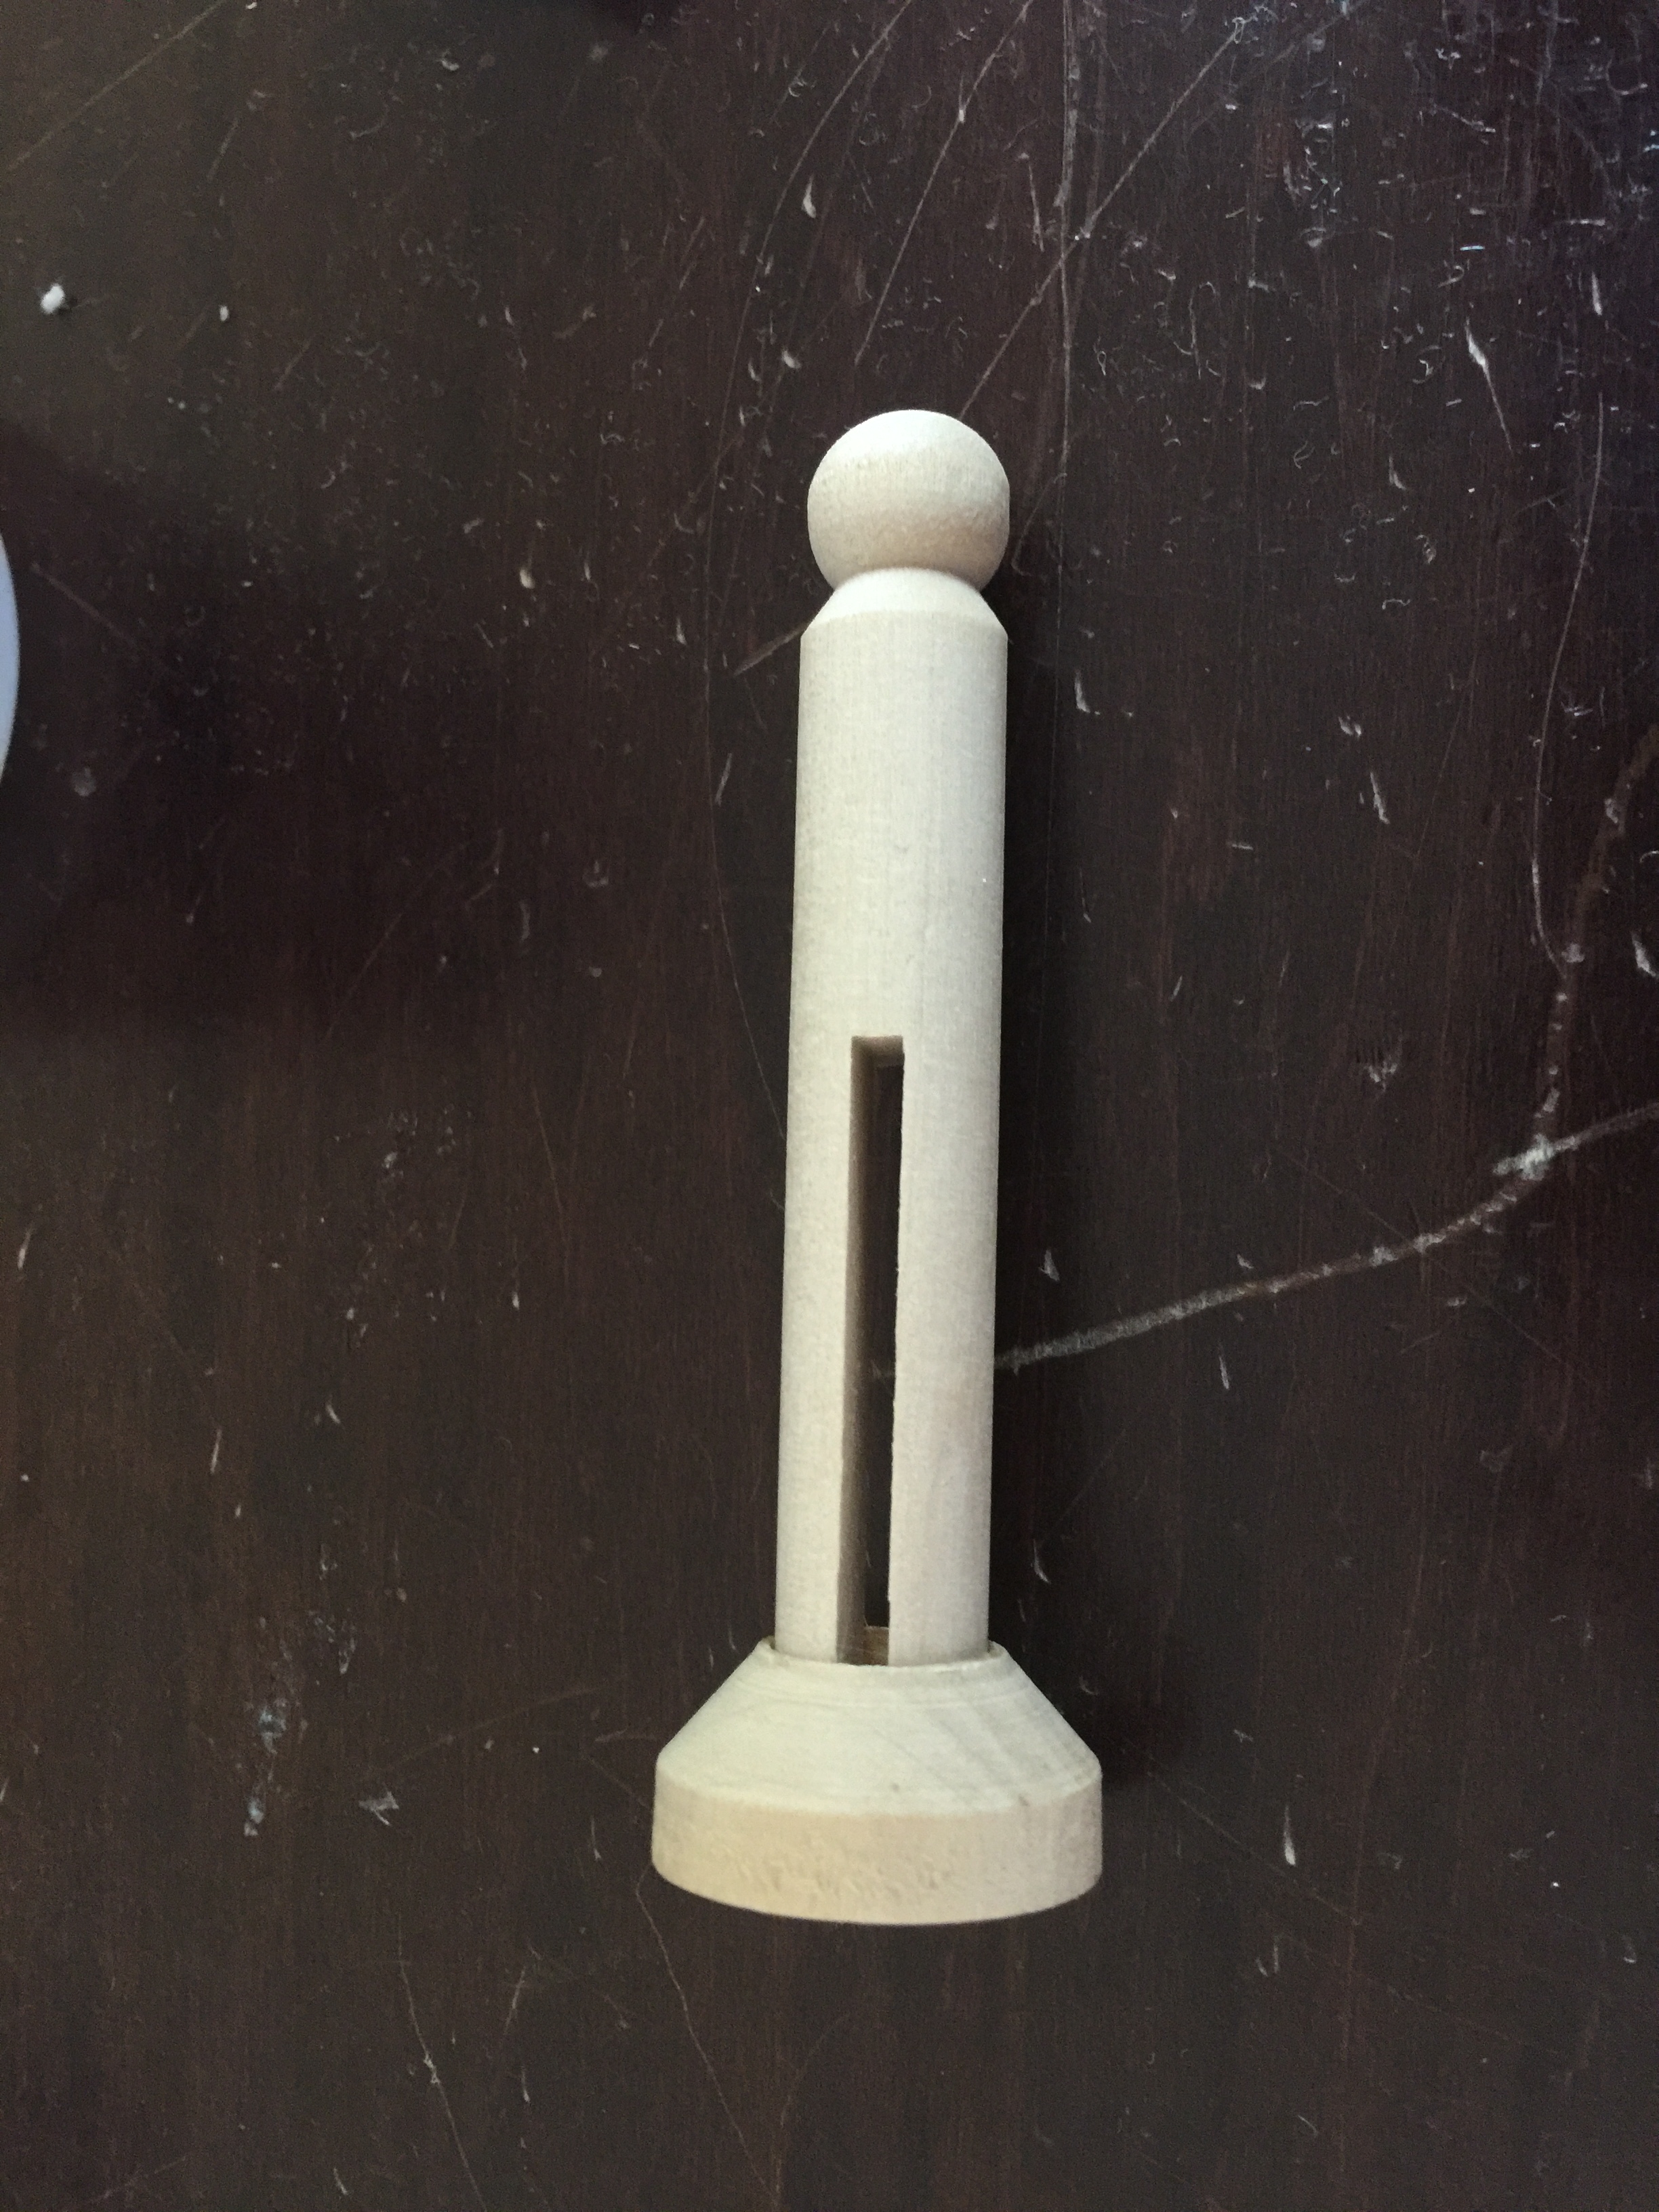
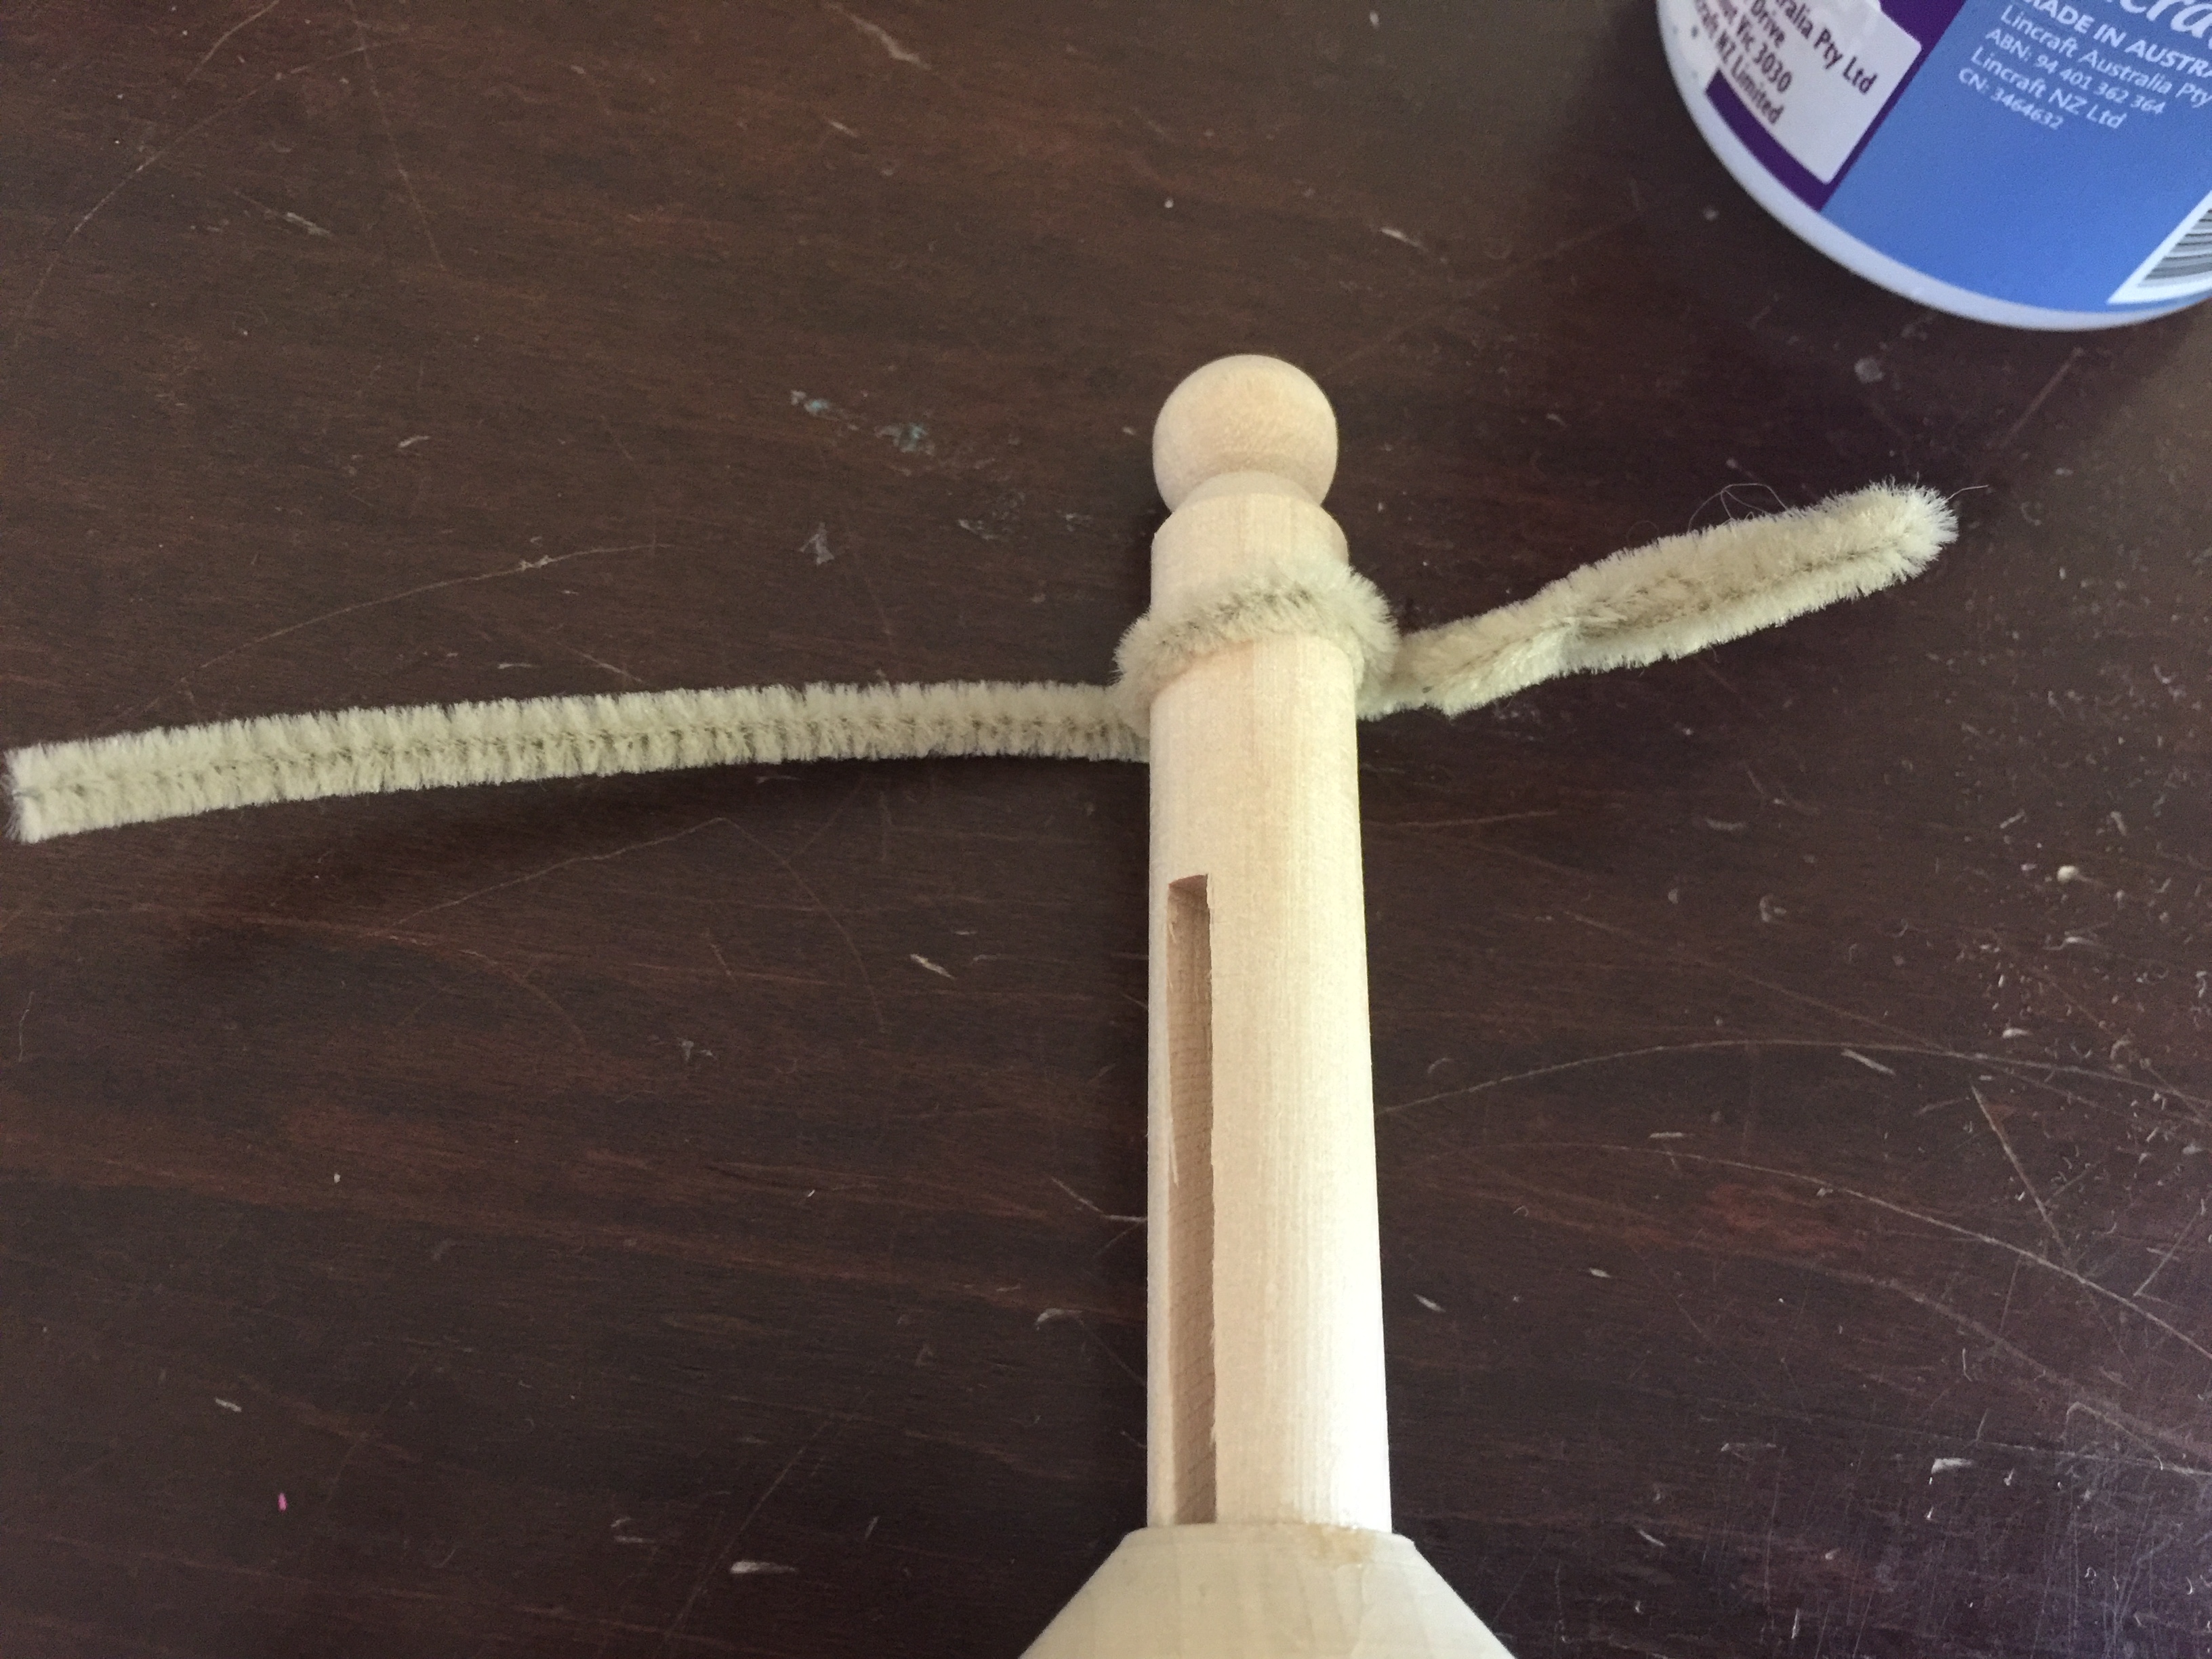
PEG DOLLS
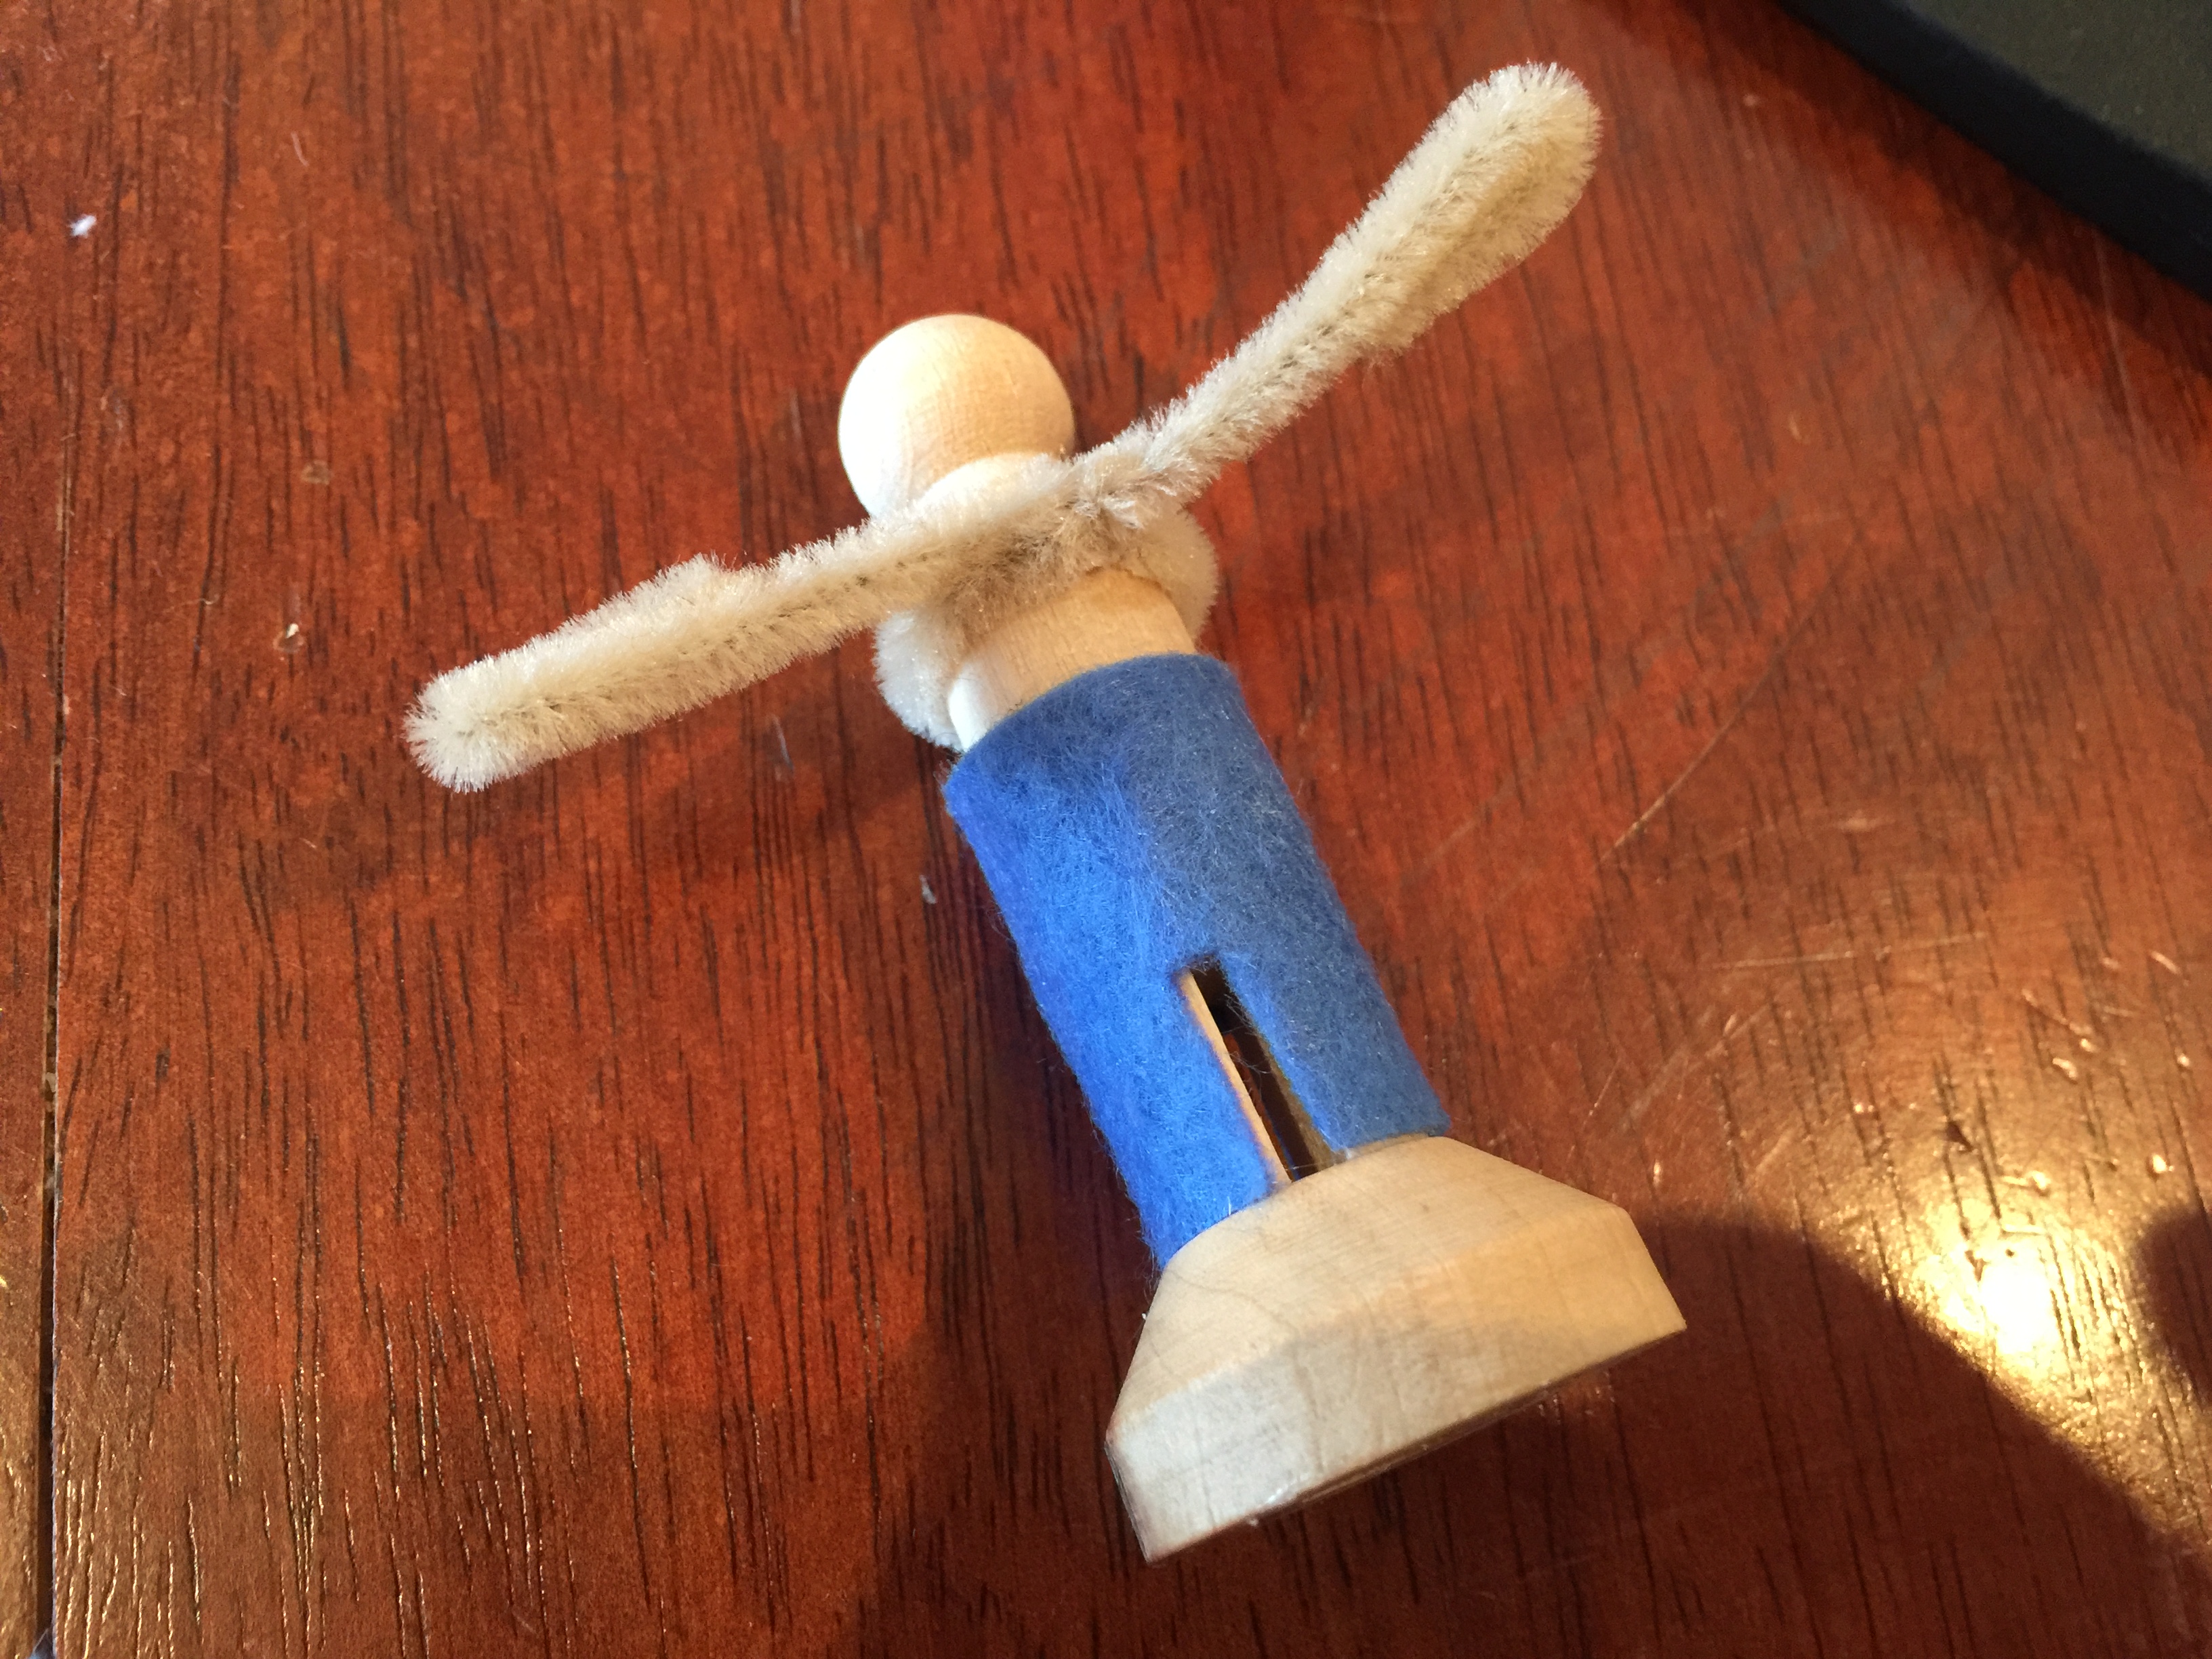
Glue peg doll into stand and leave to dry.
Attach pipe cleaner arms and glue in place. Make sure you bend back any cut edges towards the peg.
NB. I had my husband trim three pegs by about an inch so that they would end up shorter than the peg doll of Our Lady.
OUR LADY
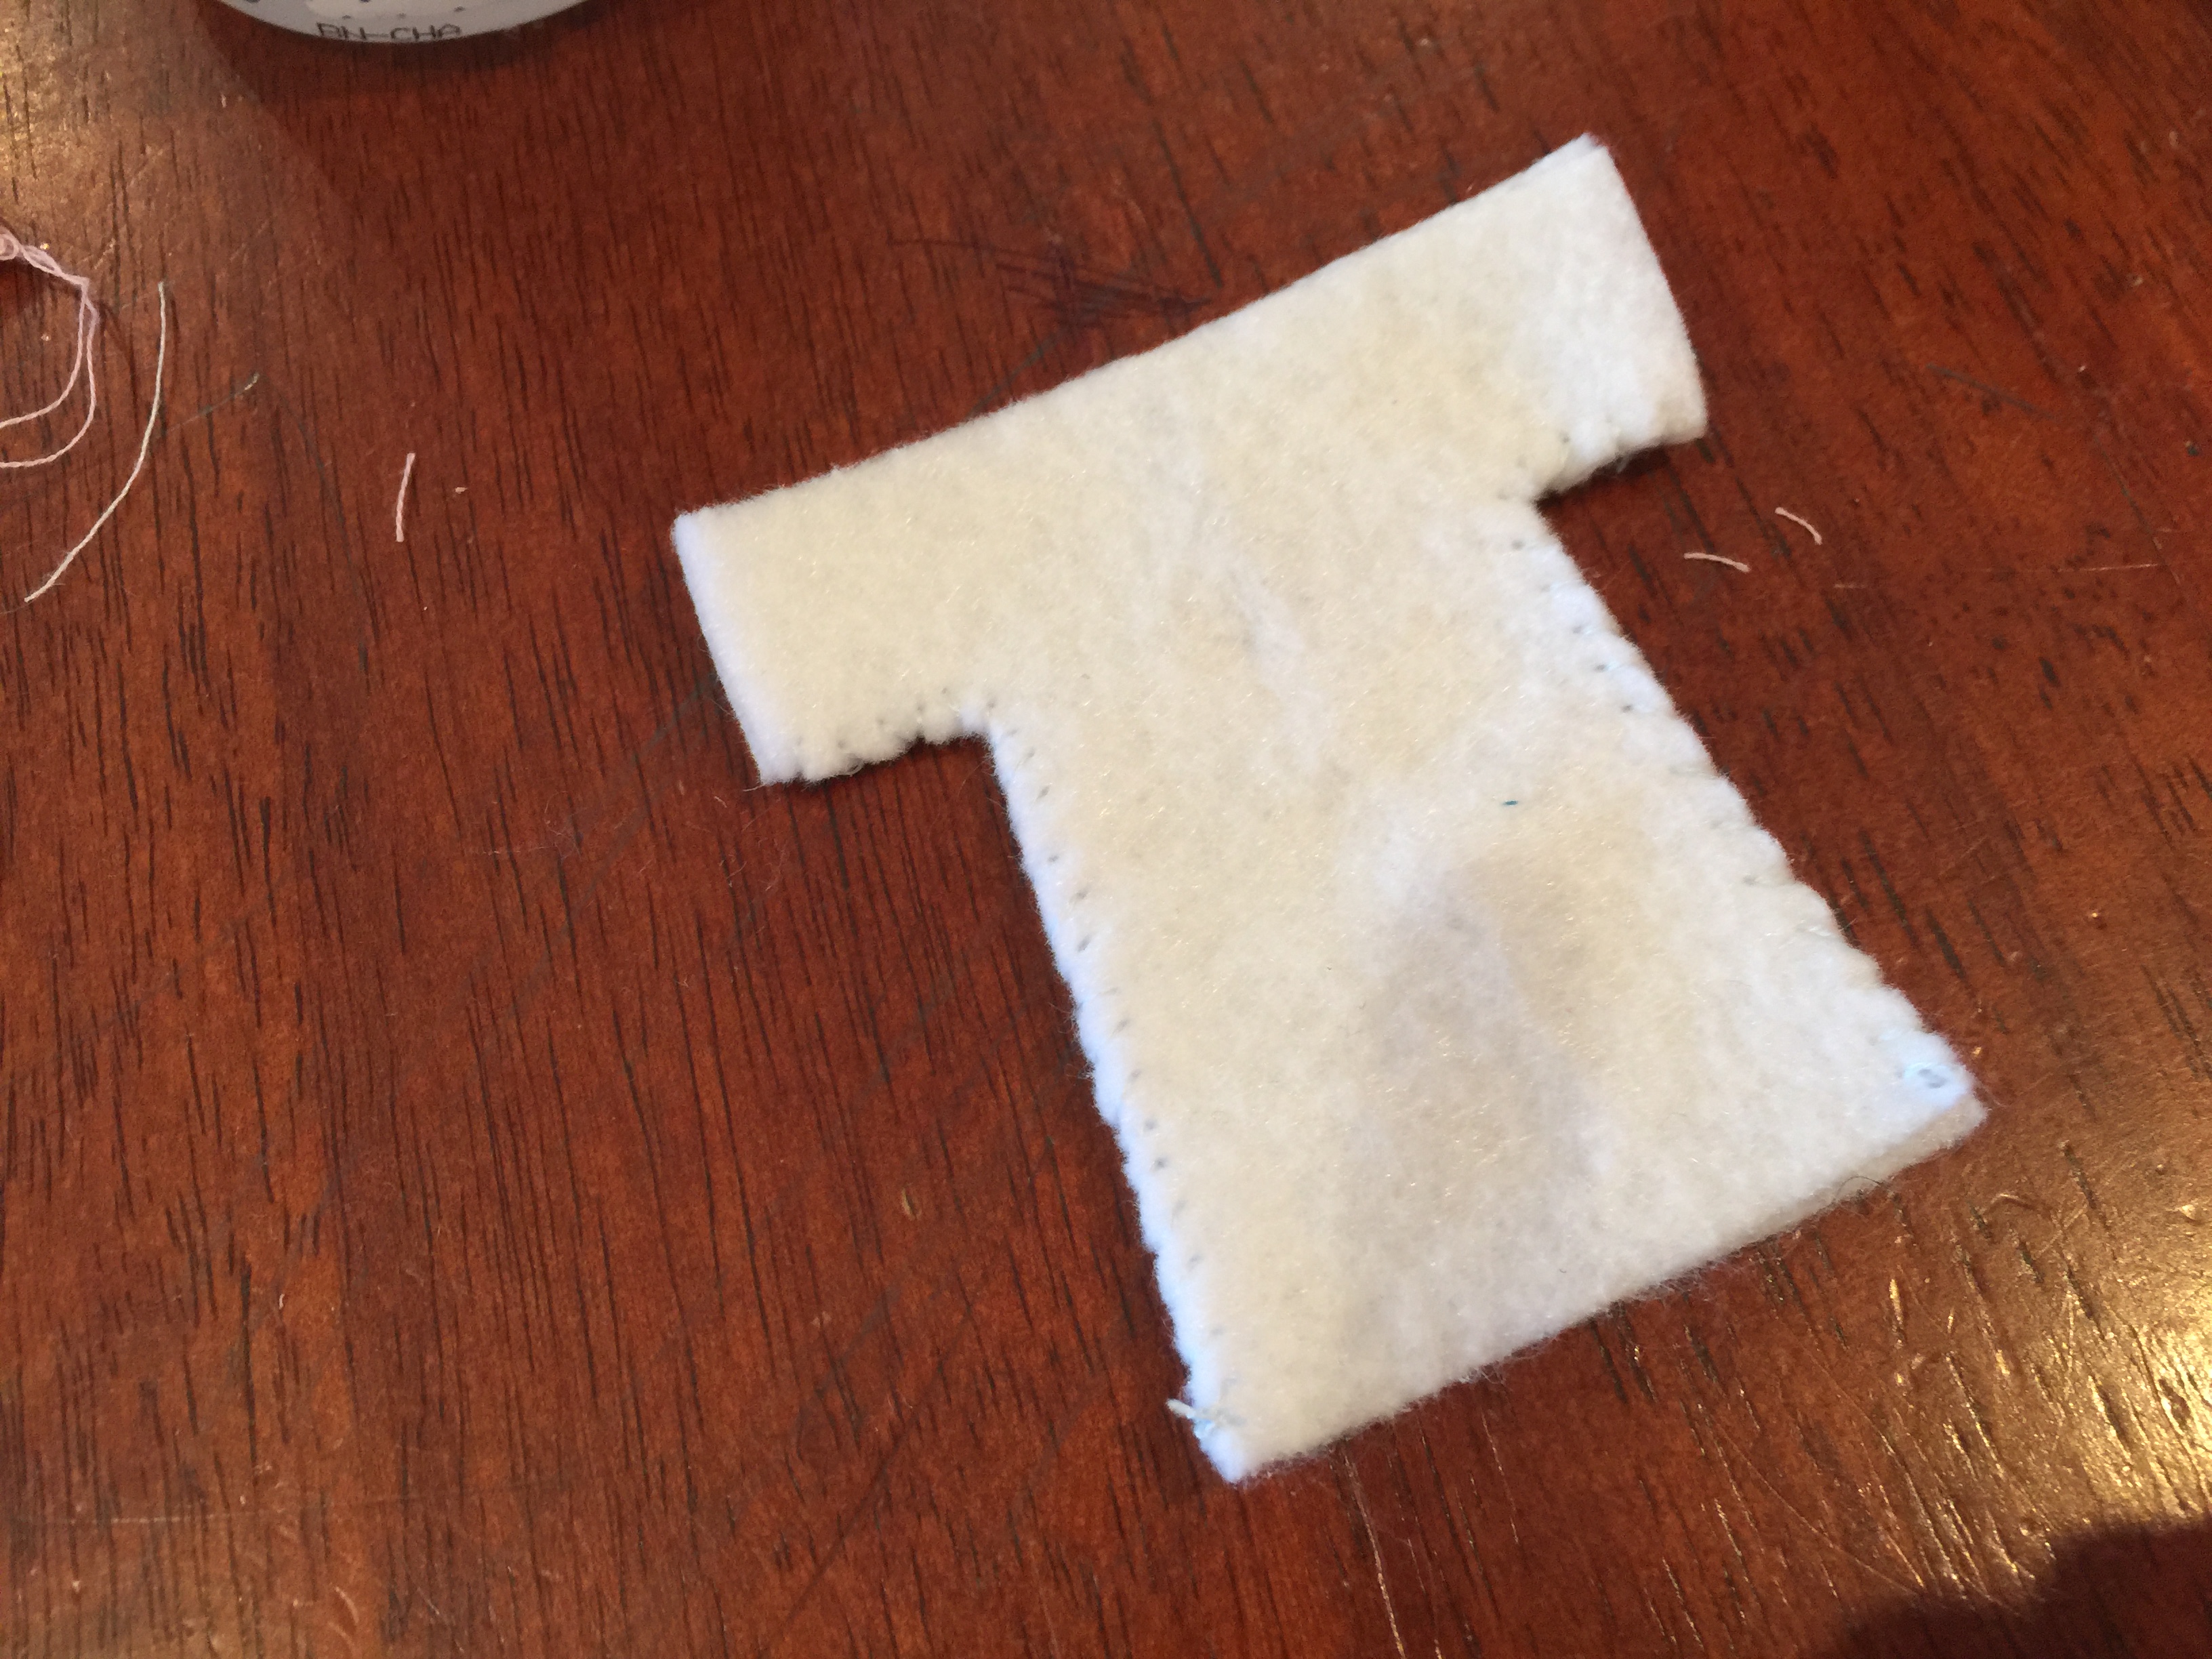
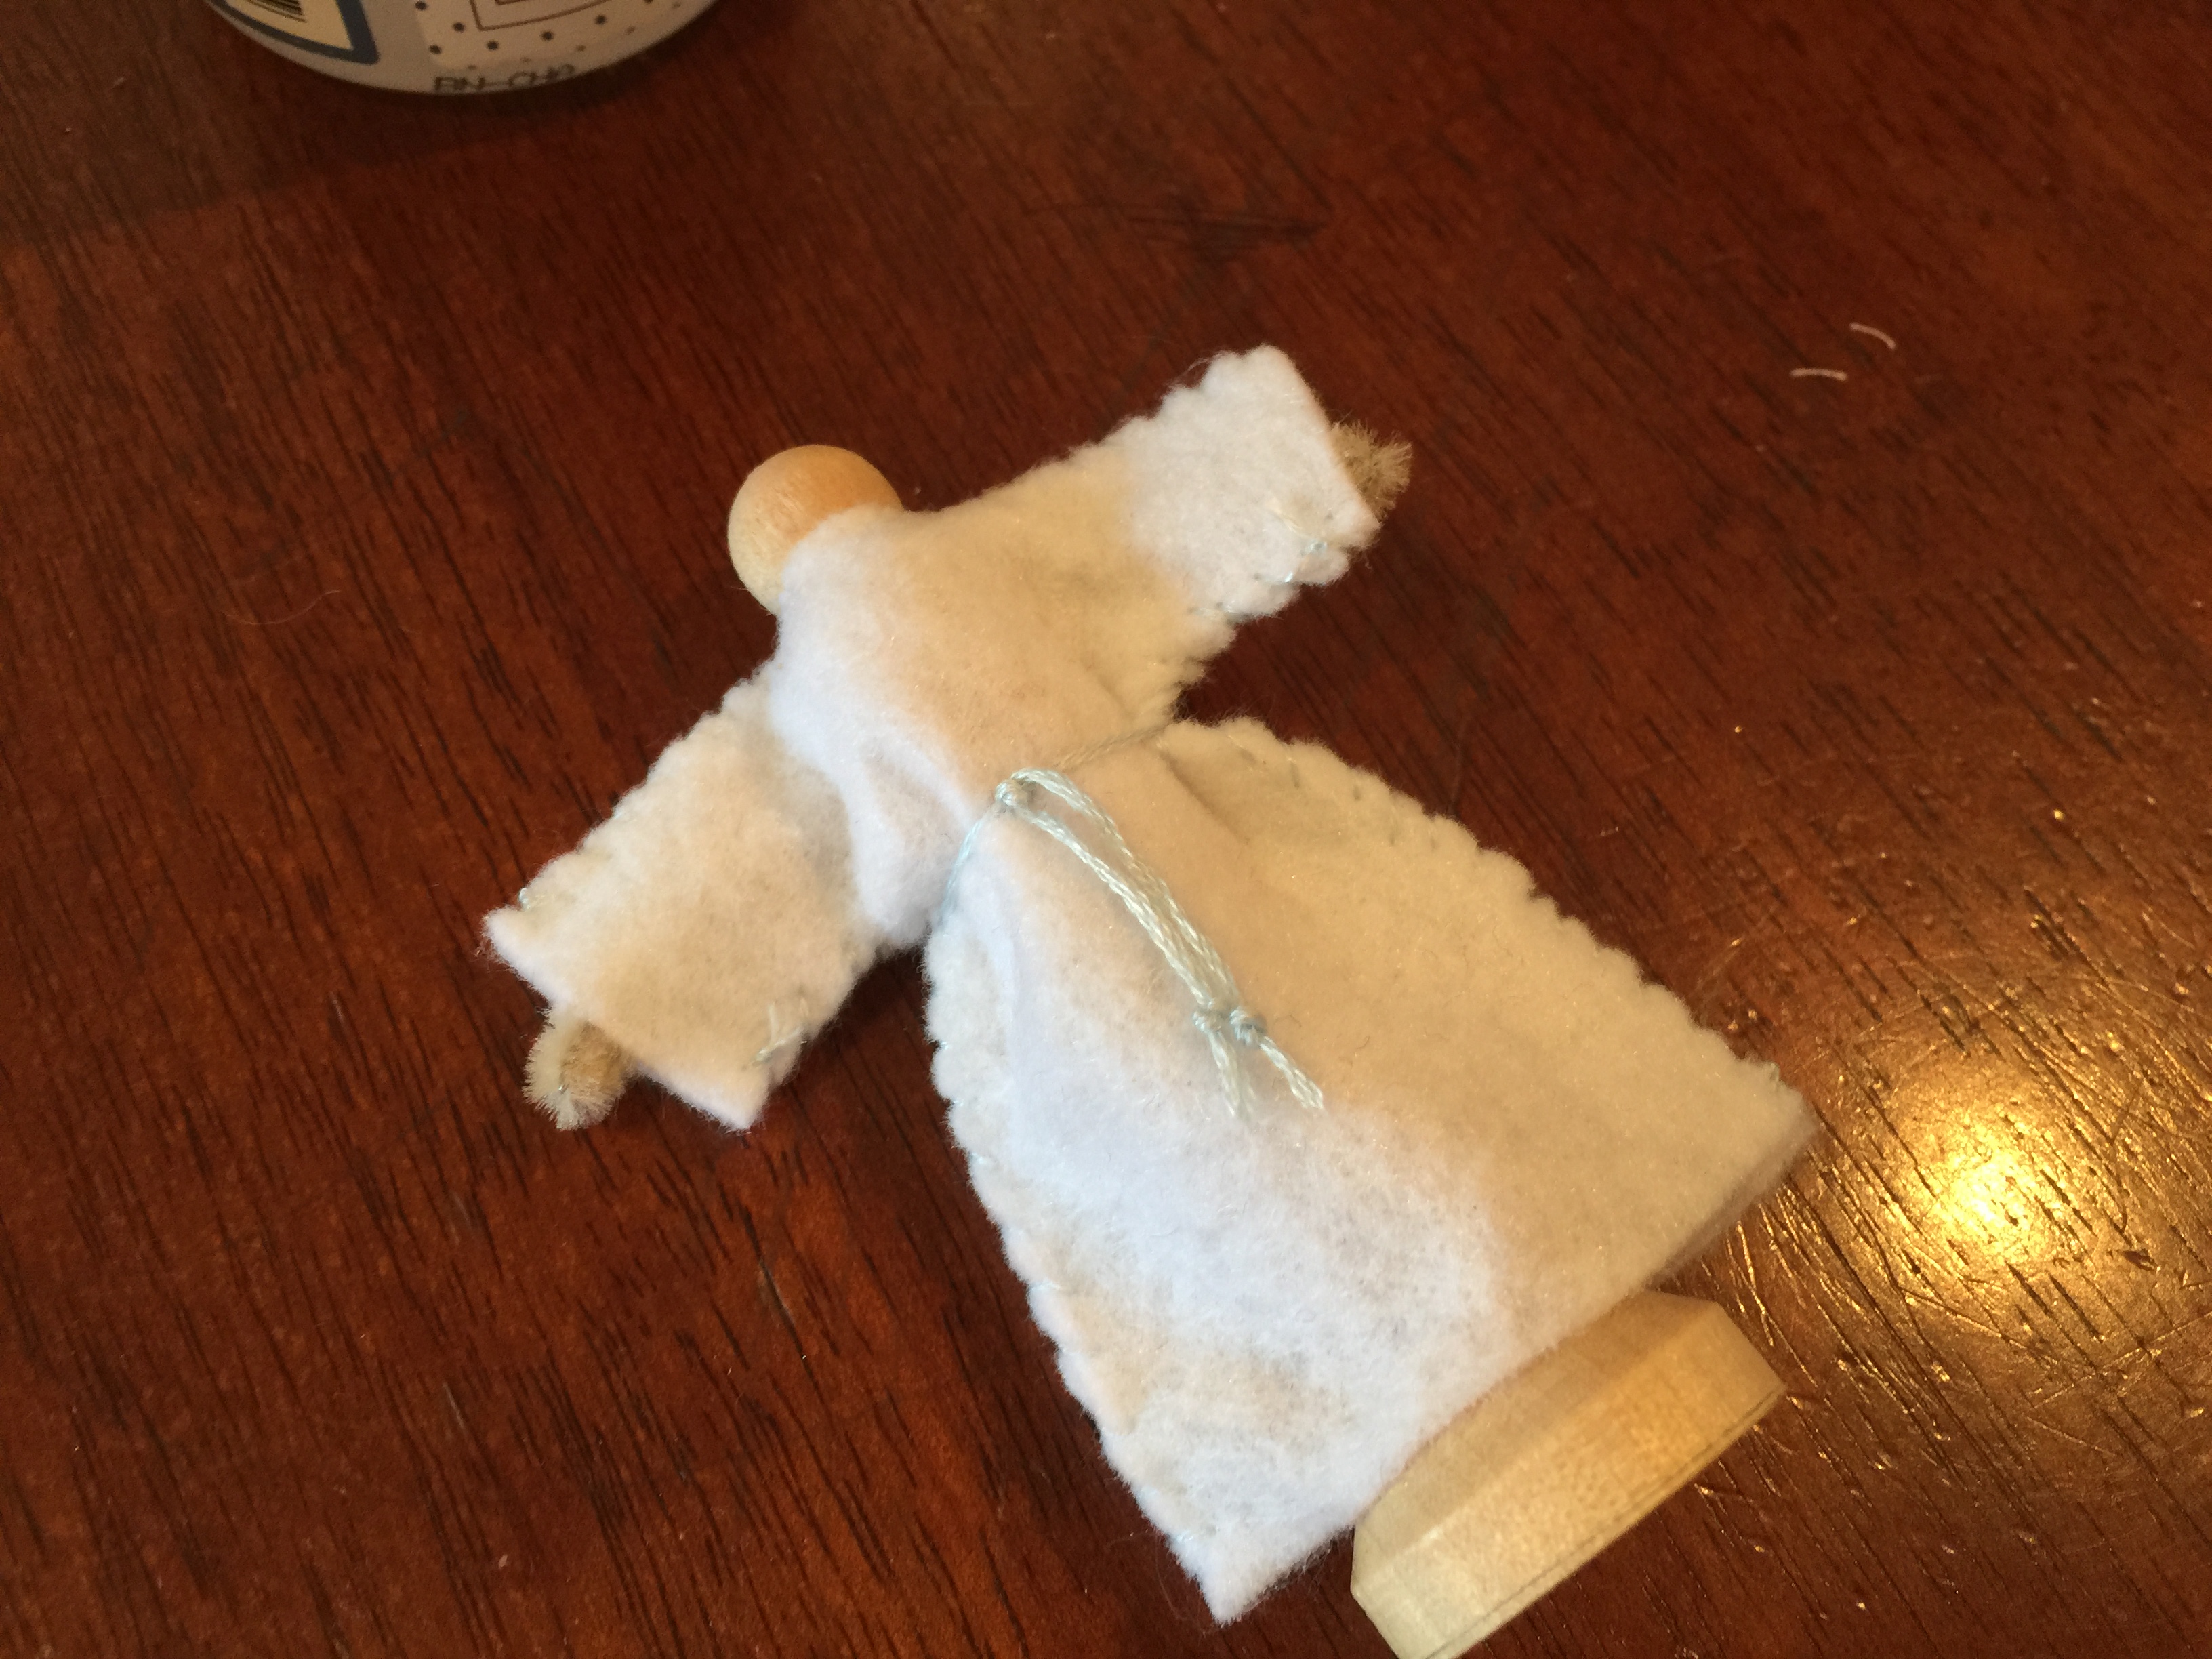
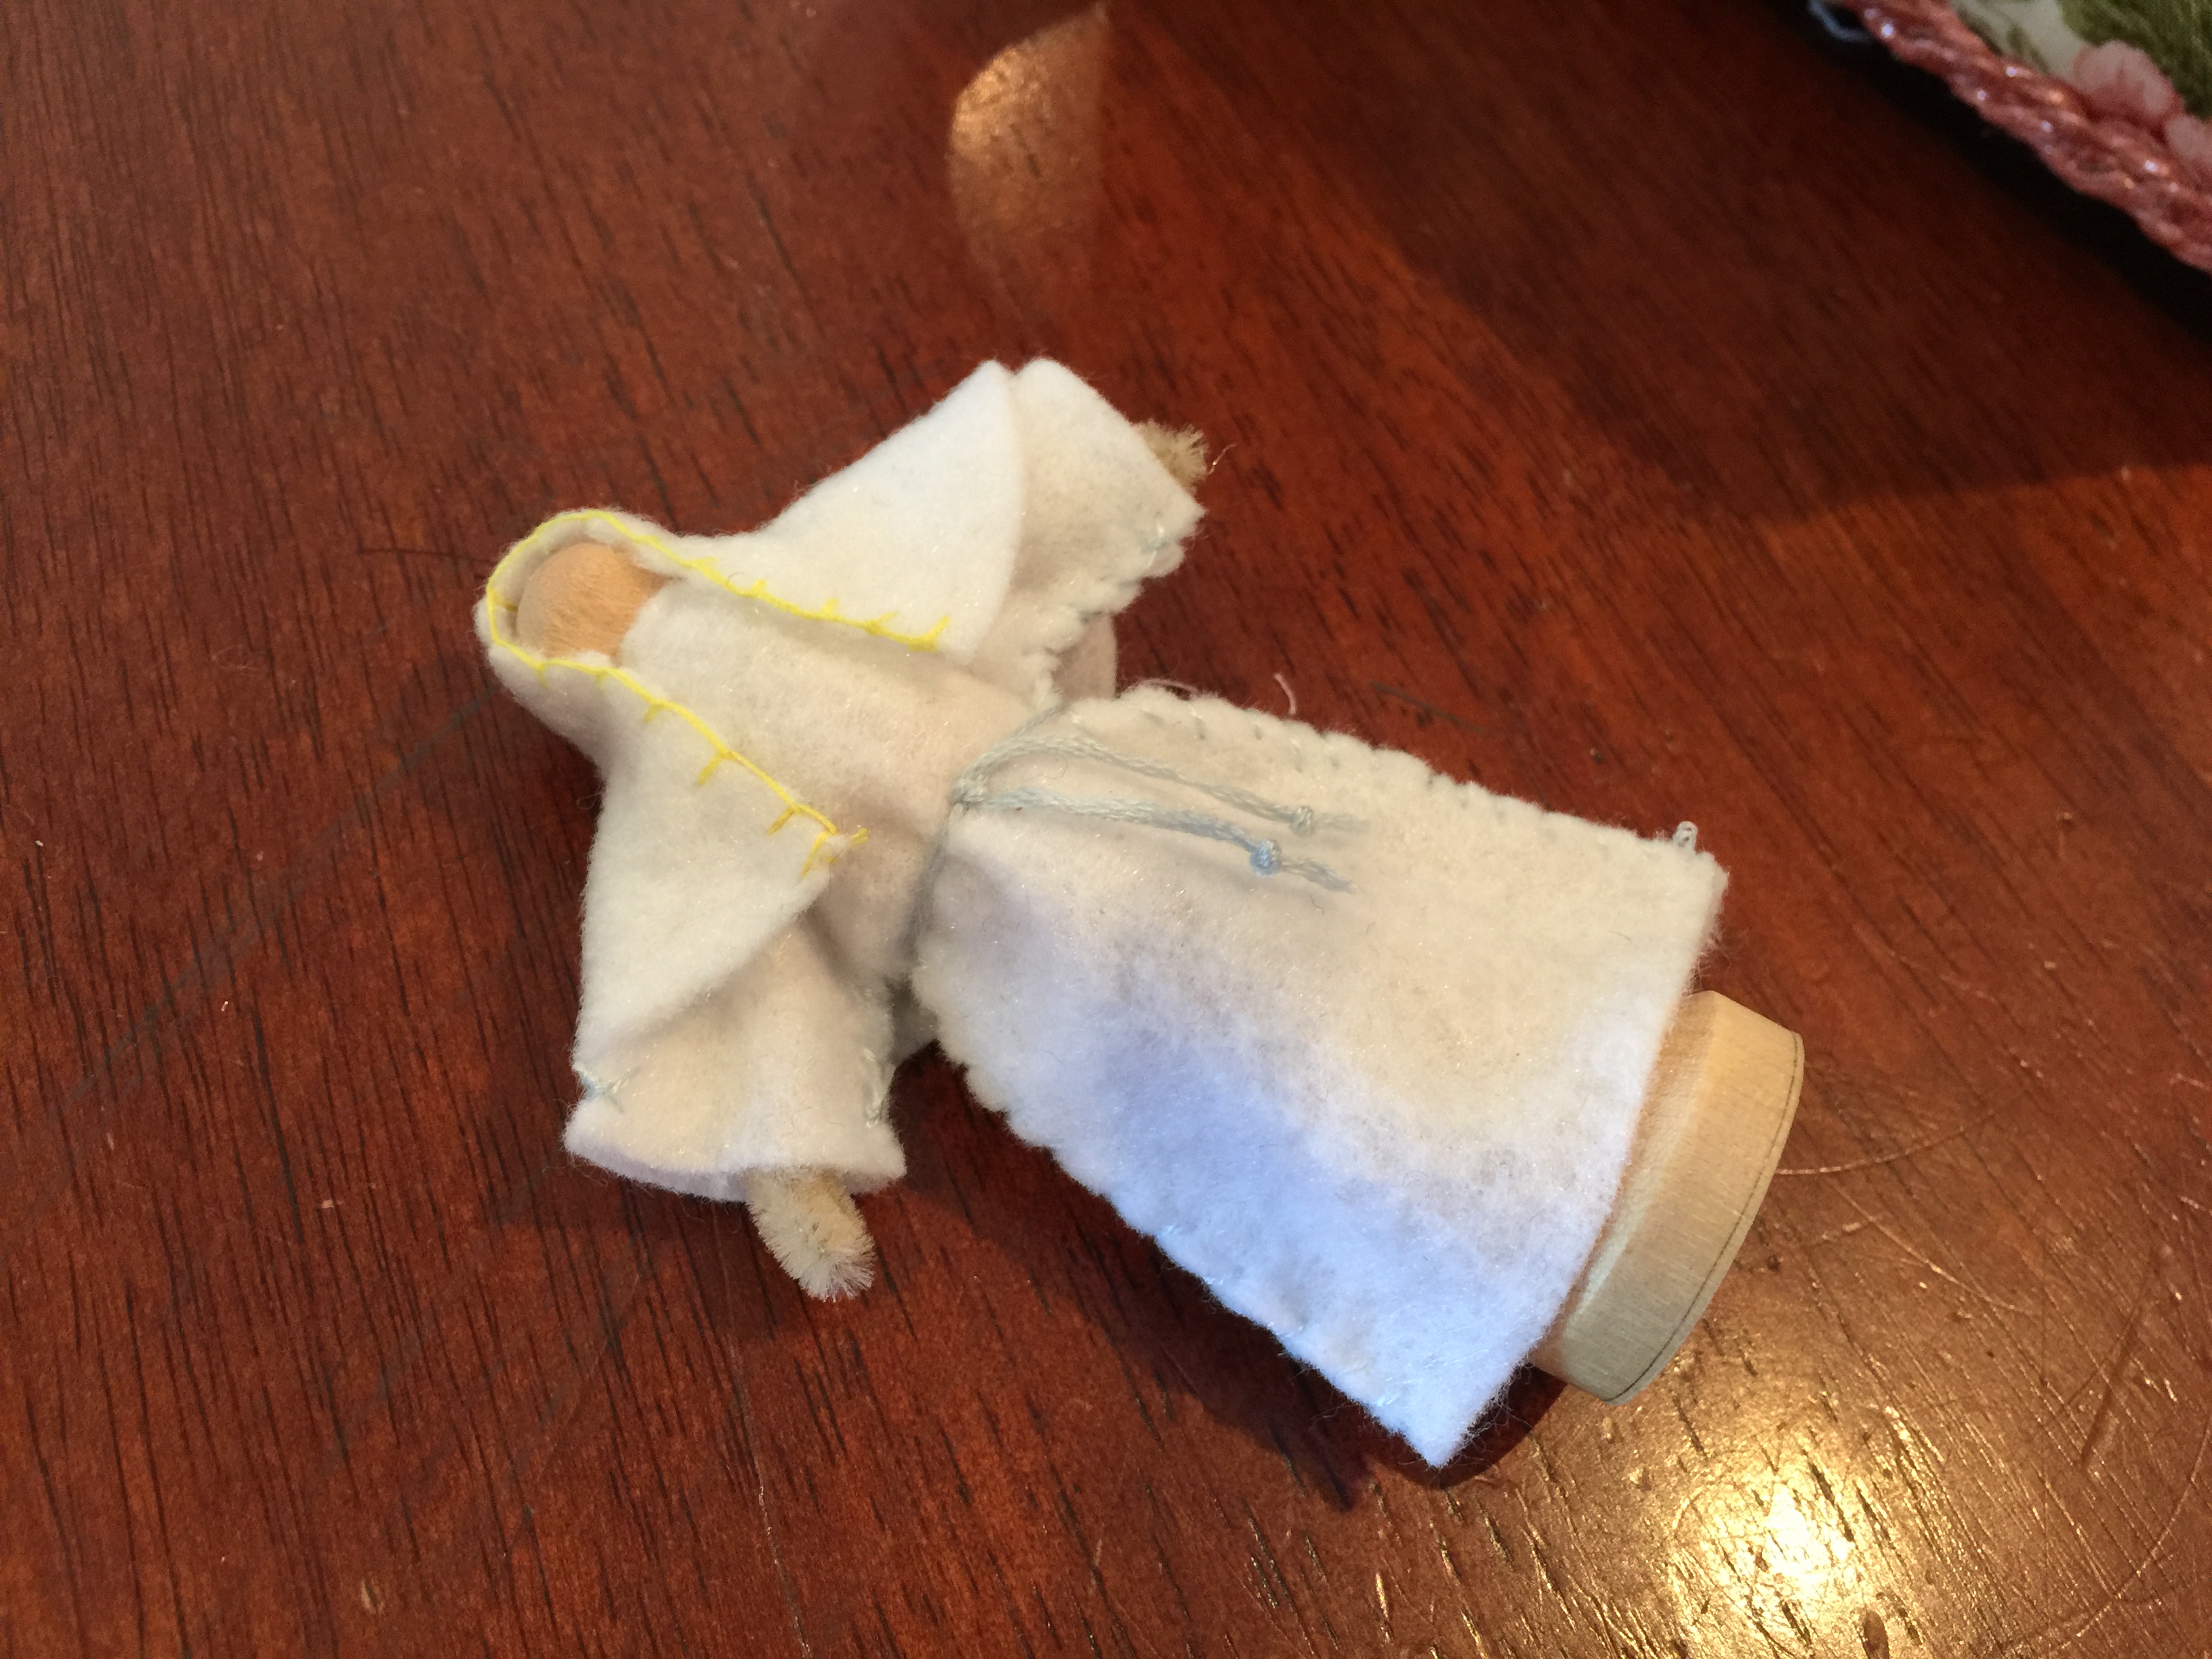
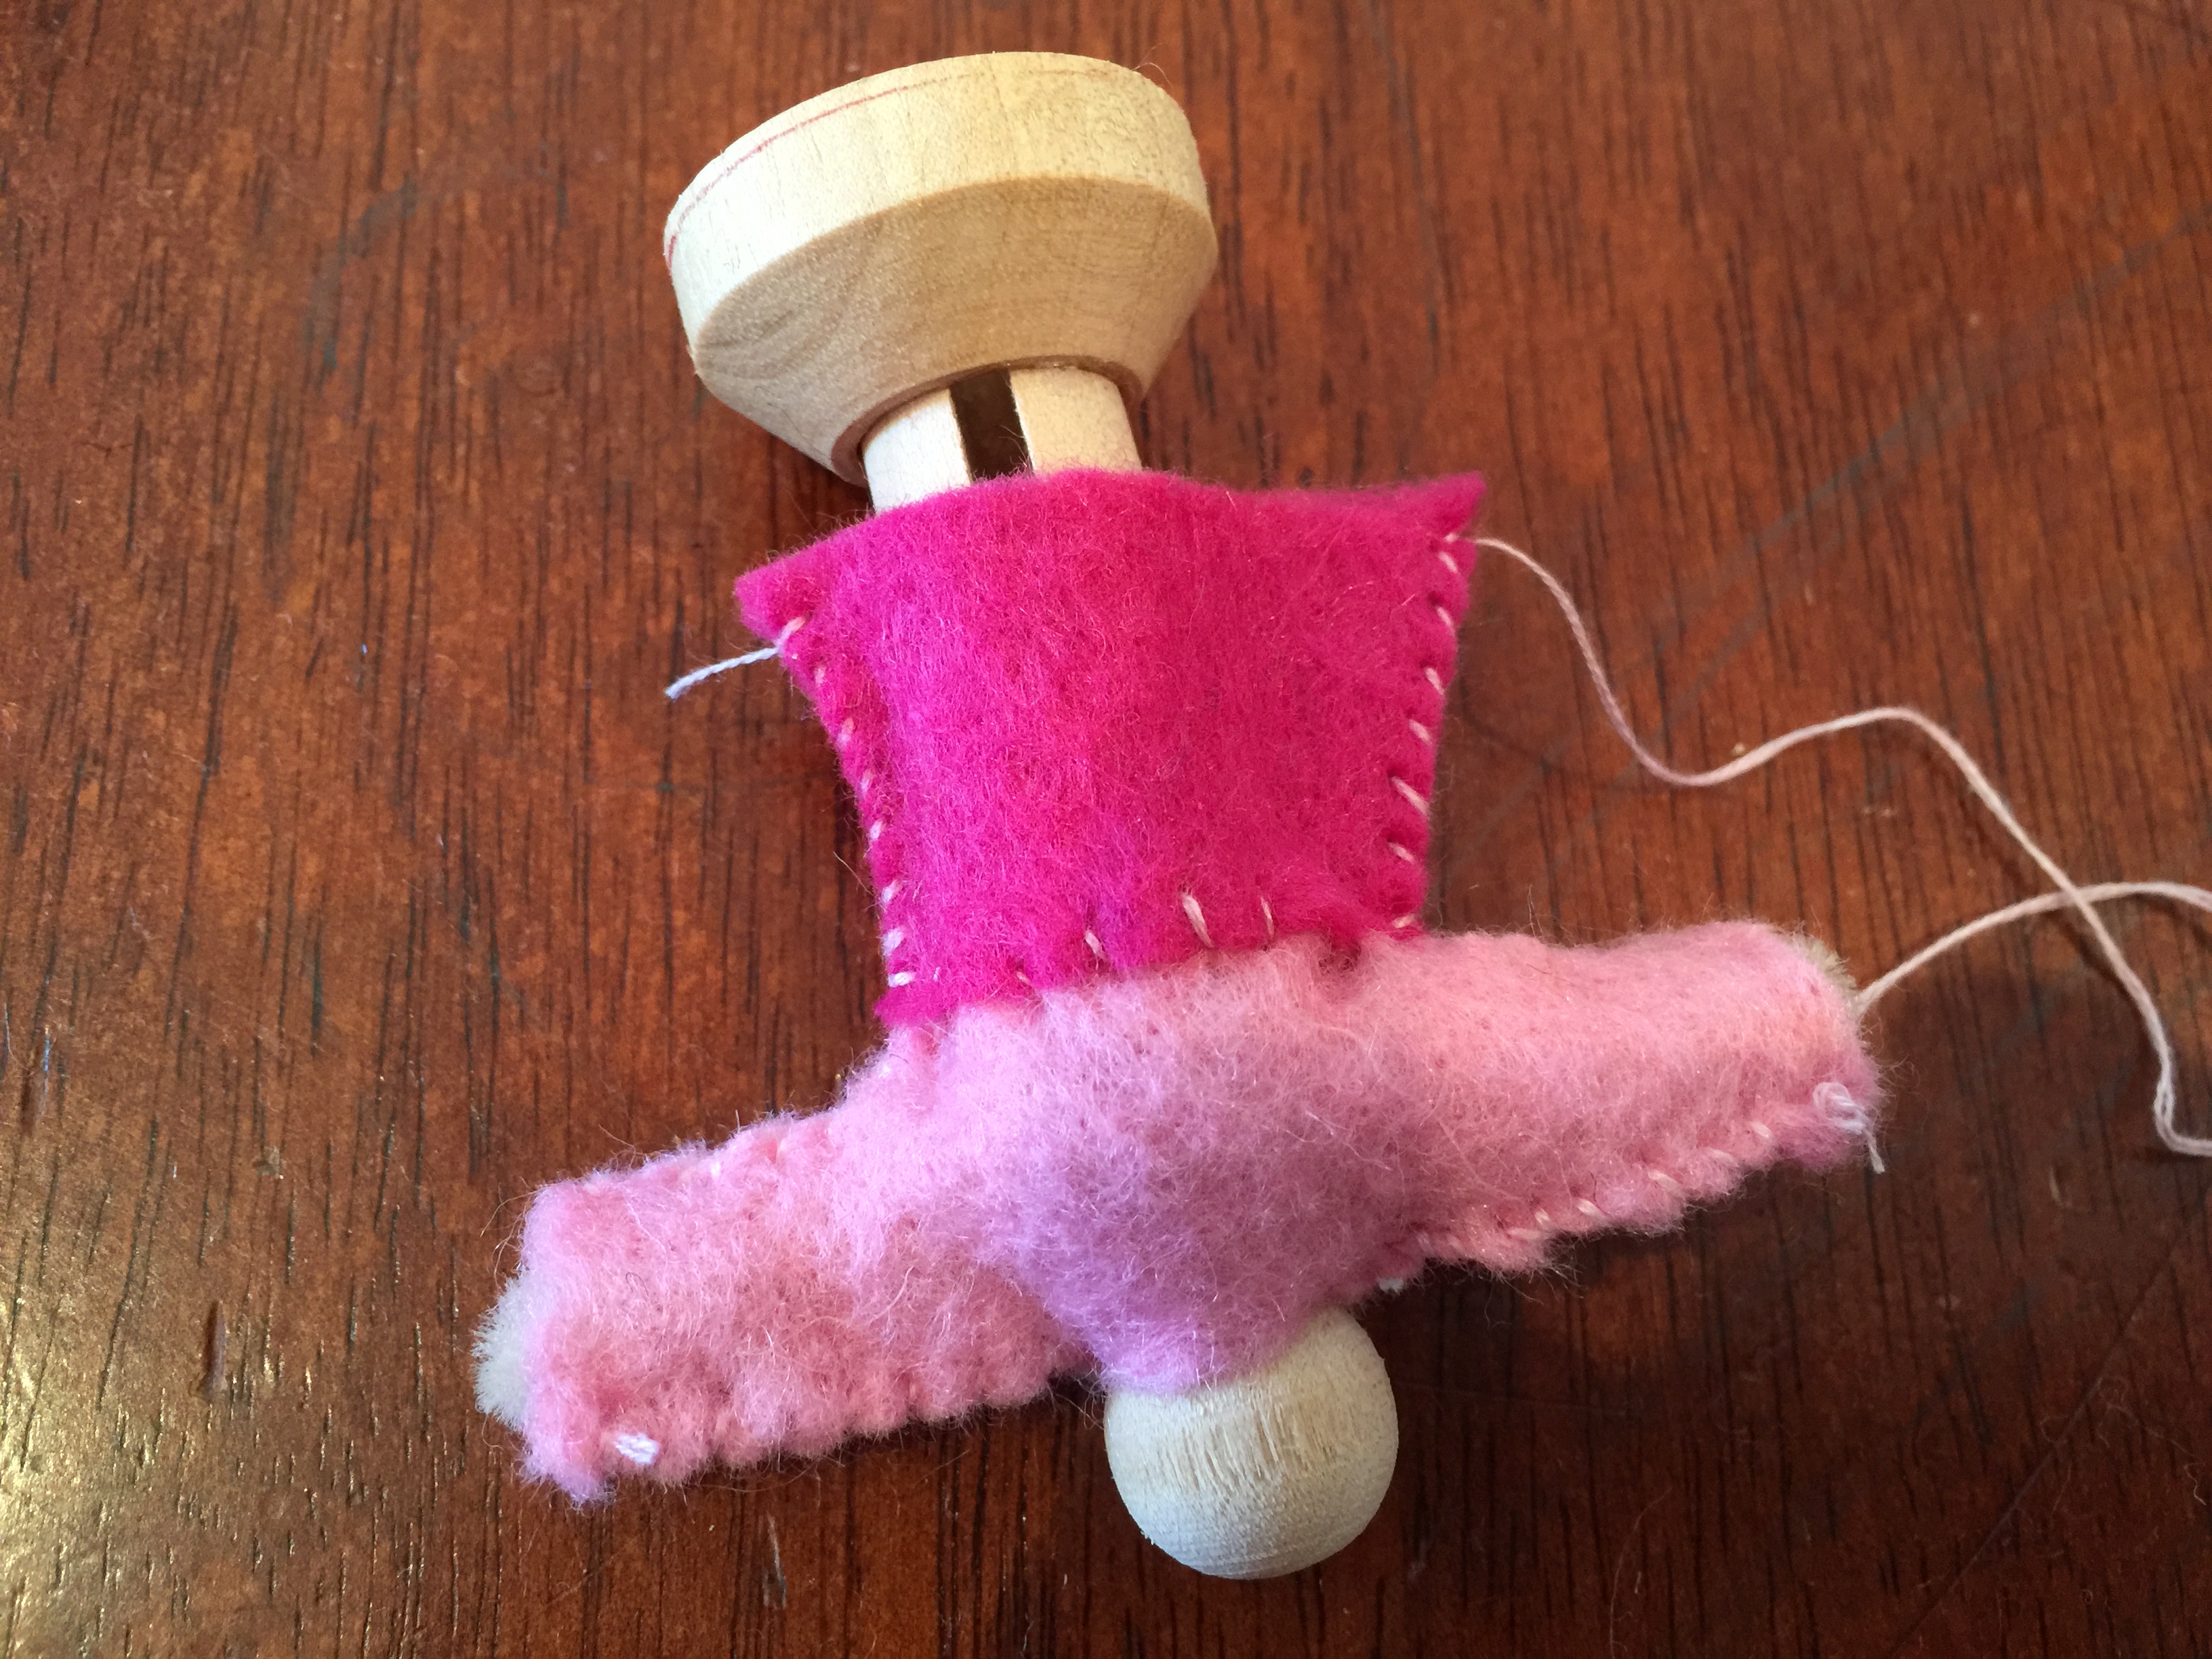
Cut 2 tunic pieces. Sew under arms and side seams.
Slide onto doll and sew shoulder seams closed. Tie cord around waist (I just used 6 strands of embroidery cotton) and glue in place.
Cut 1 veil piece. Blanket stitch in yellow or gold (or use gold fabric paint) along straight edge.
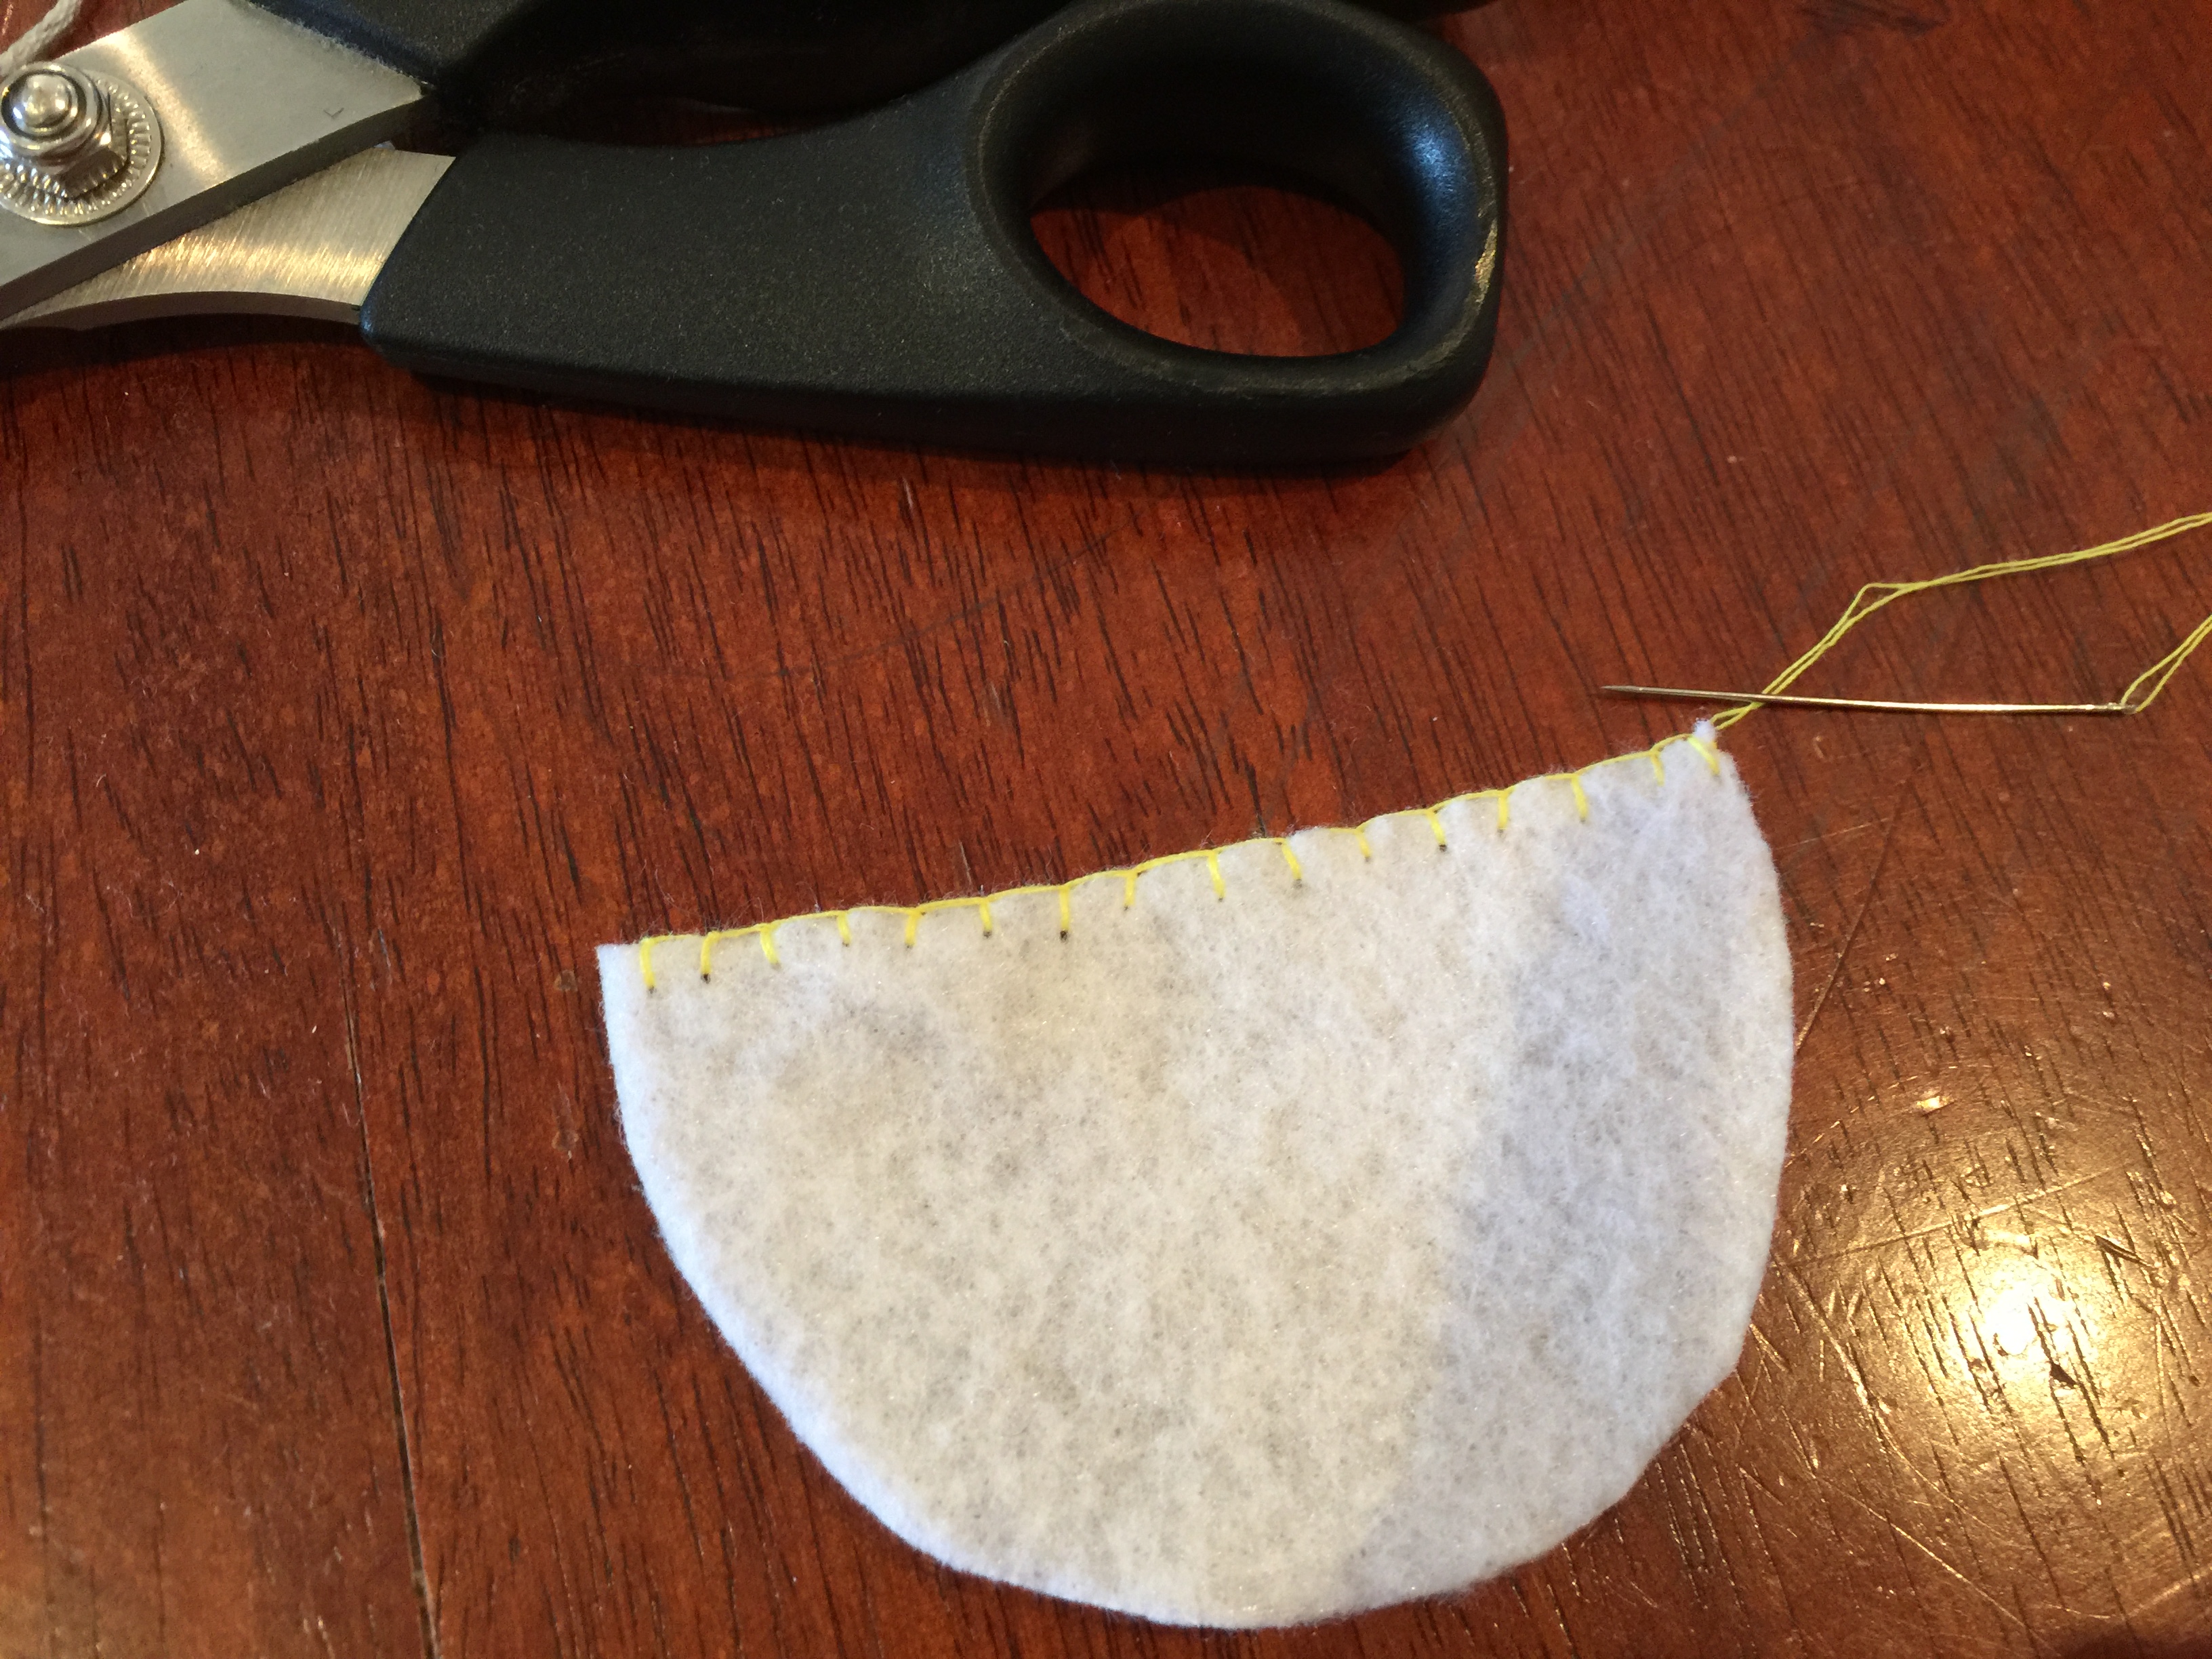
Fix to doll using glue.
JACINTA AND LUCIA
Cut 2 shirt pieces. Sew under arm and side seams.
Fit onto doll and sew shoulder seams.

Cut 2 skirt pieces. Sew one side seam.
Slide onto doll and sew other seam closed. Use a running stitch to attach the top of the skirt to the bottom of the shirt.
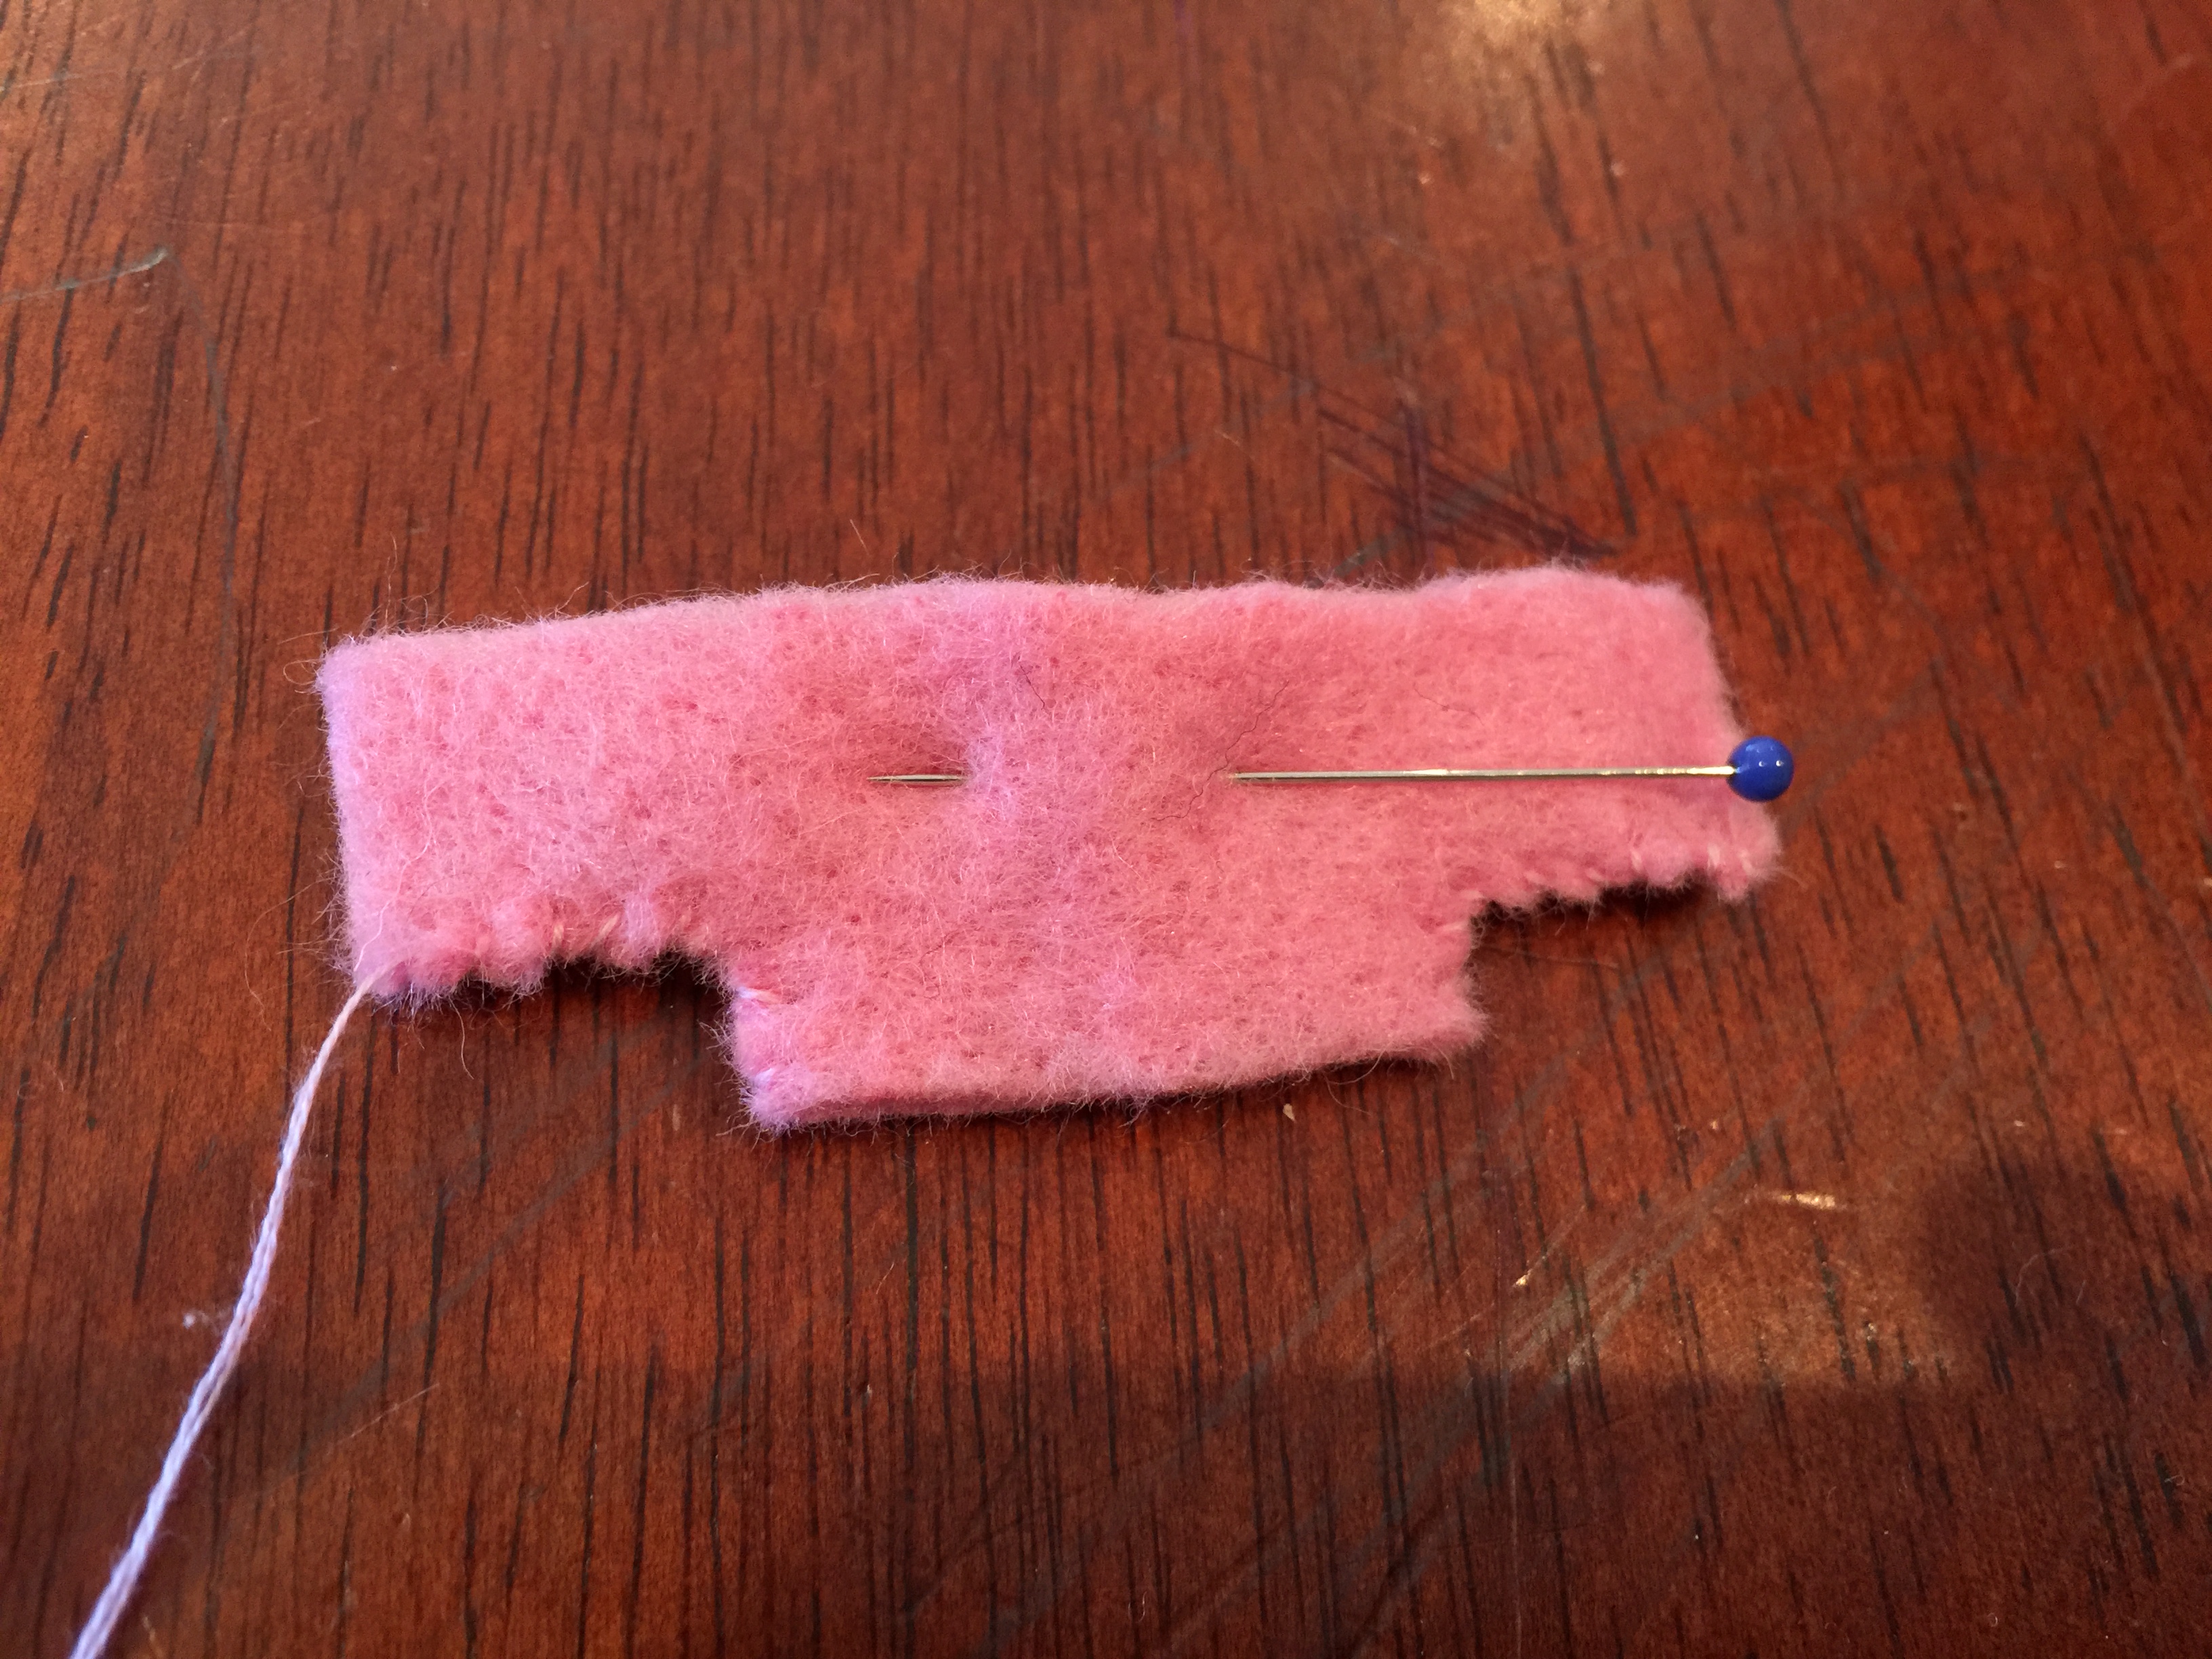
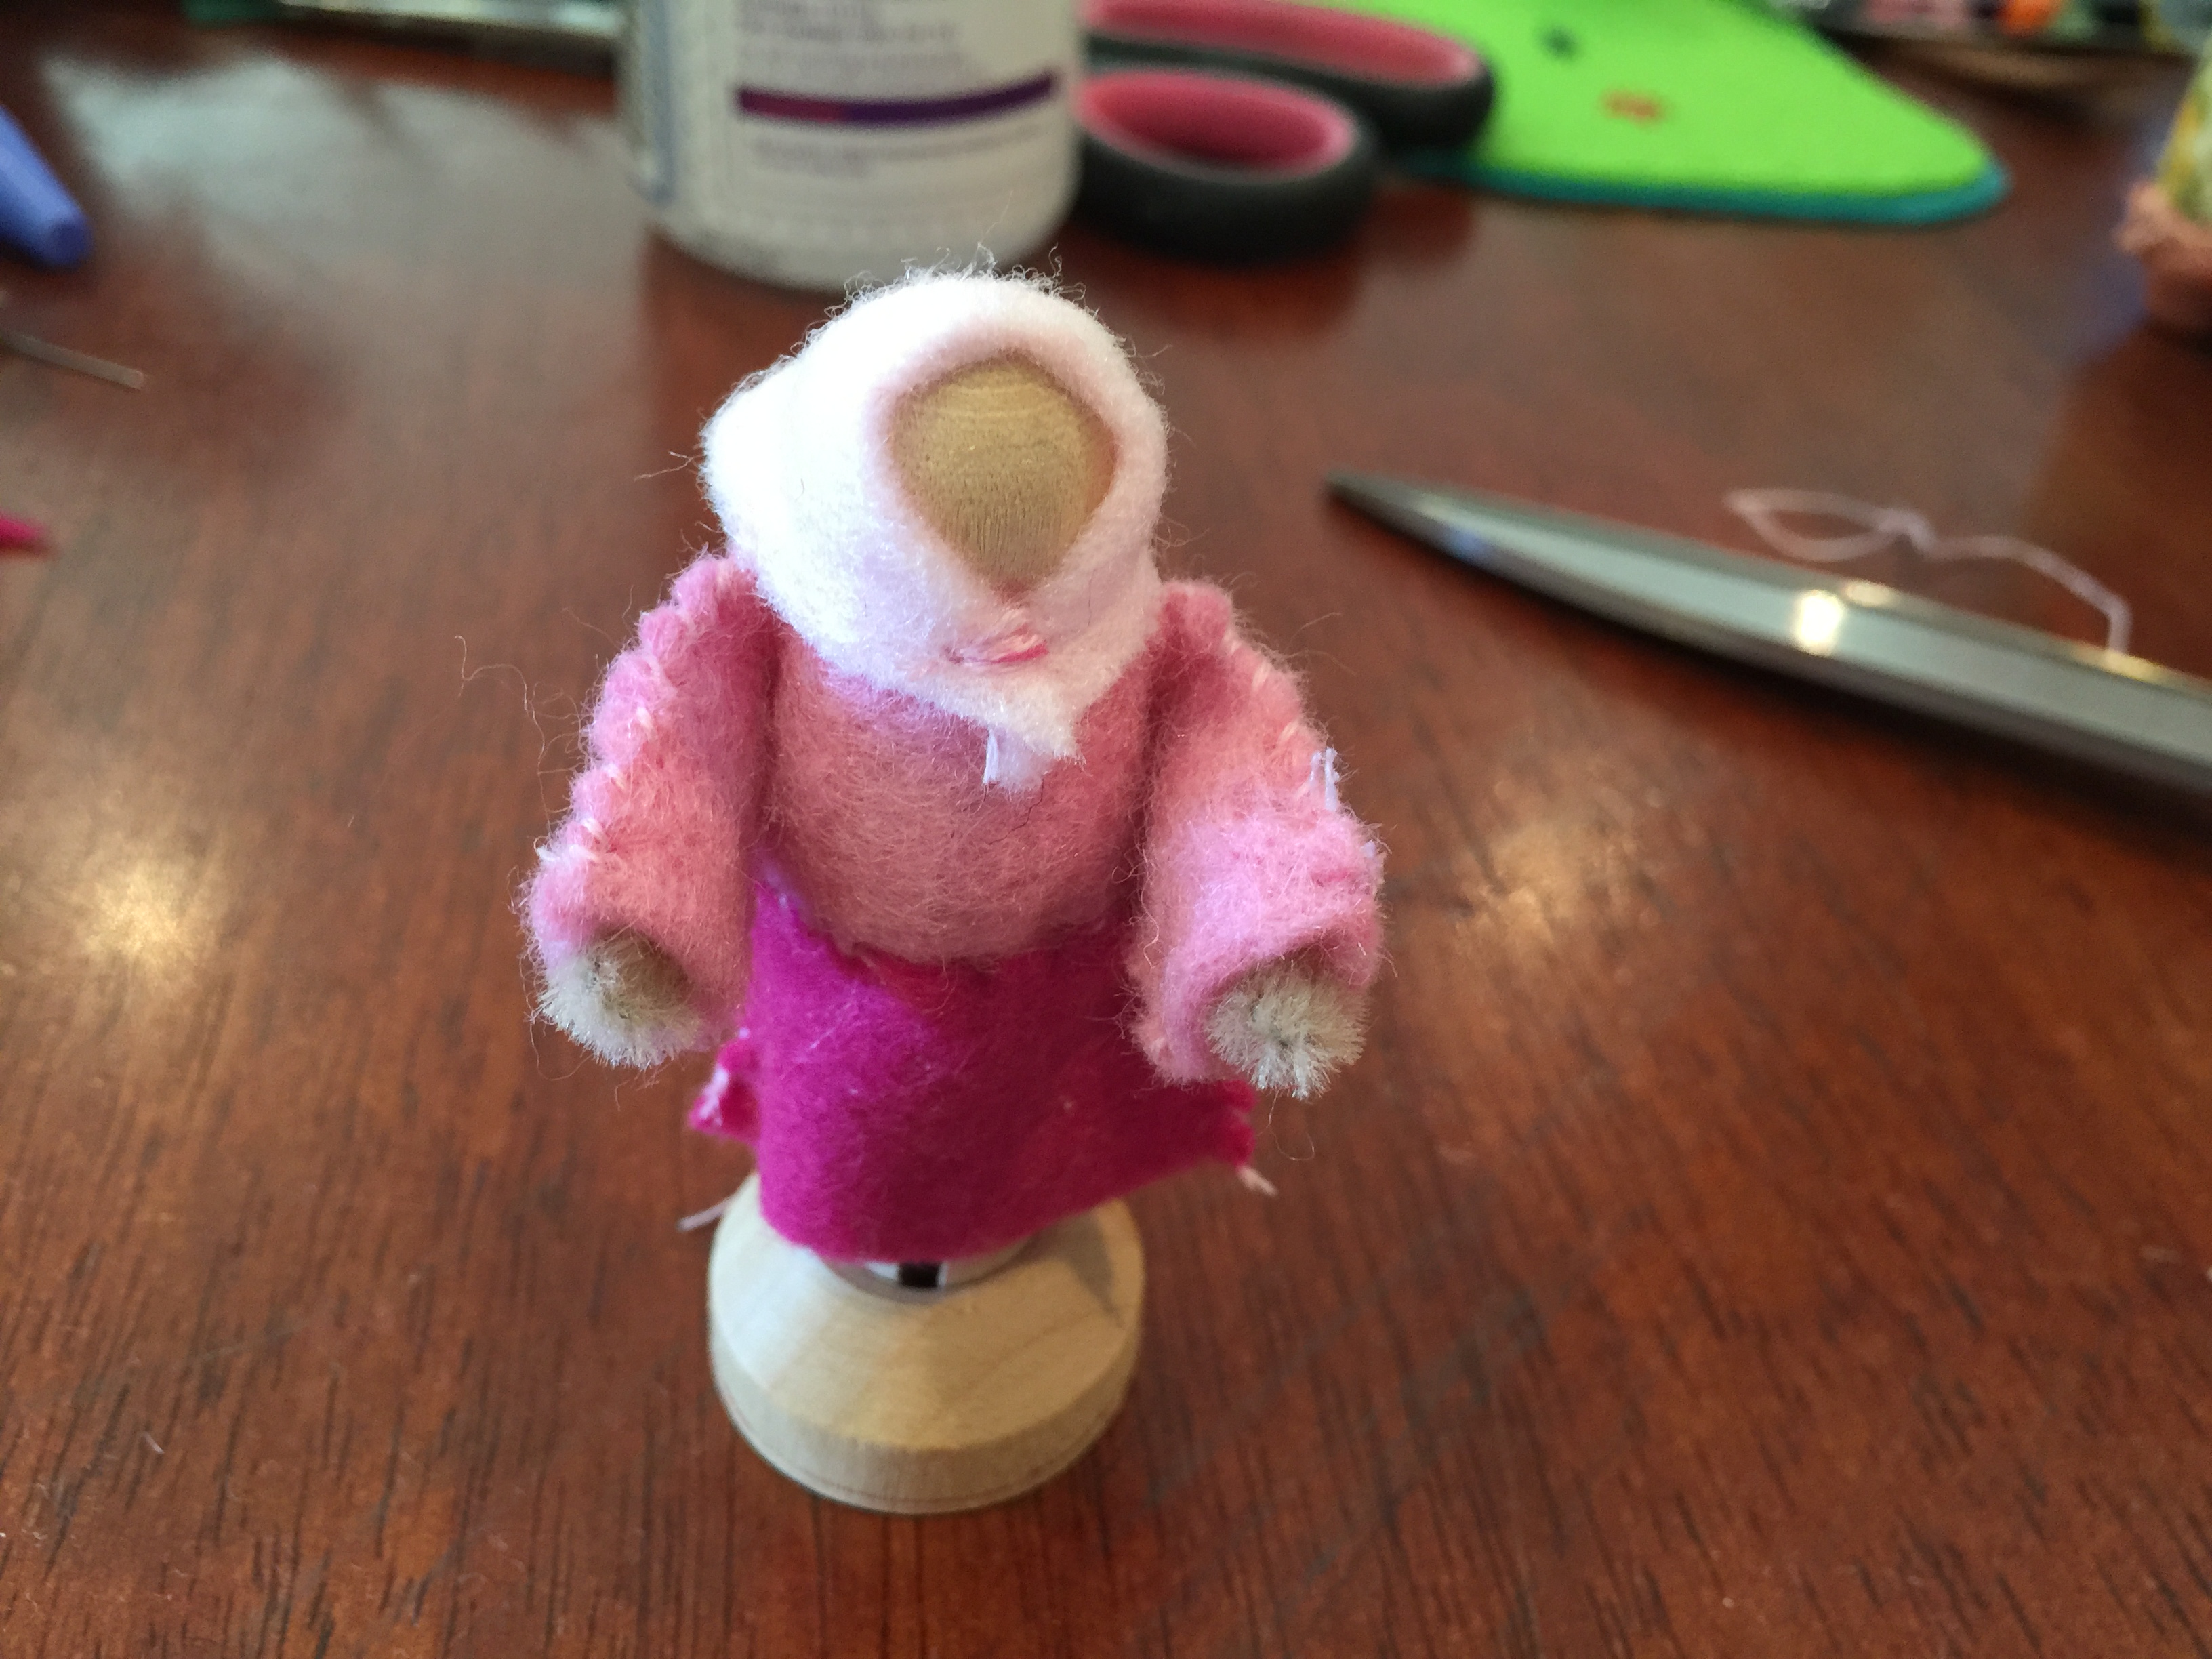
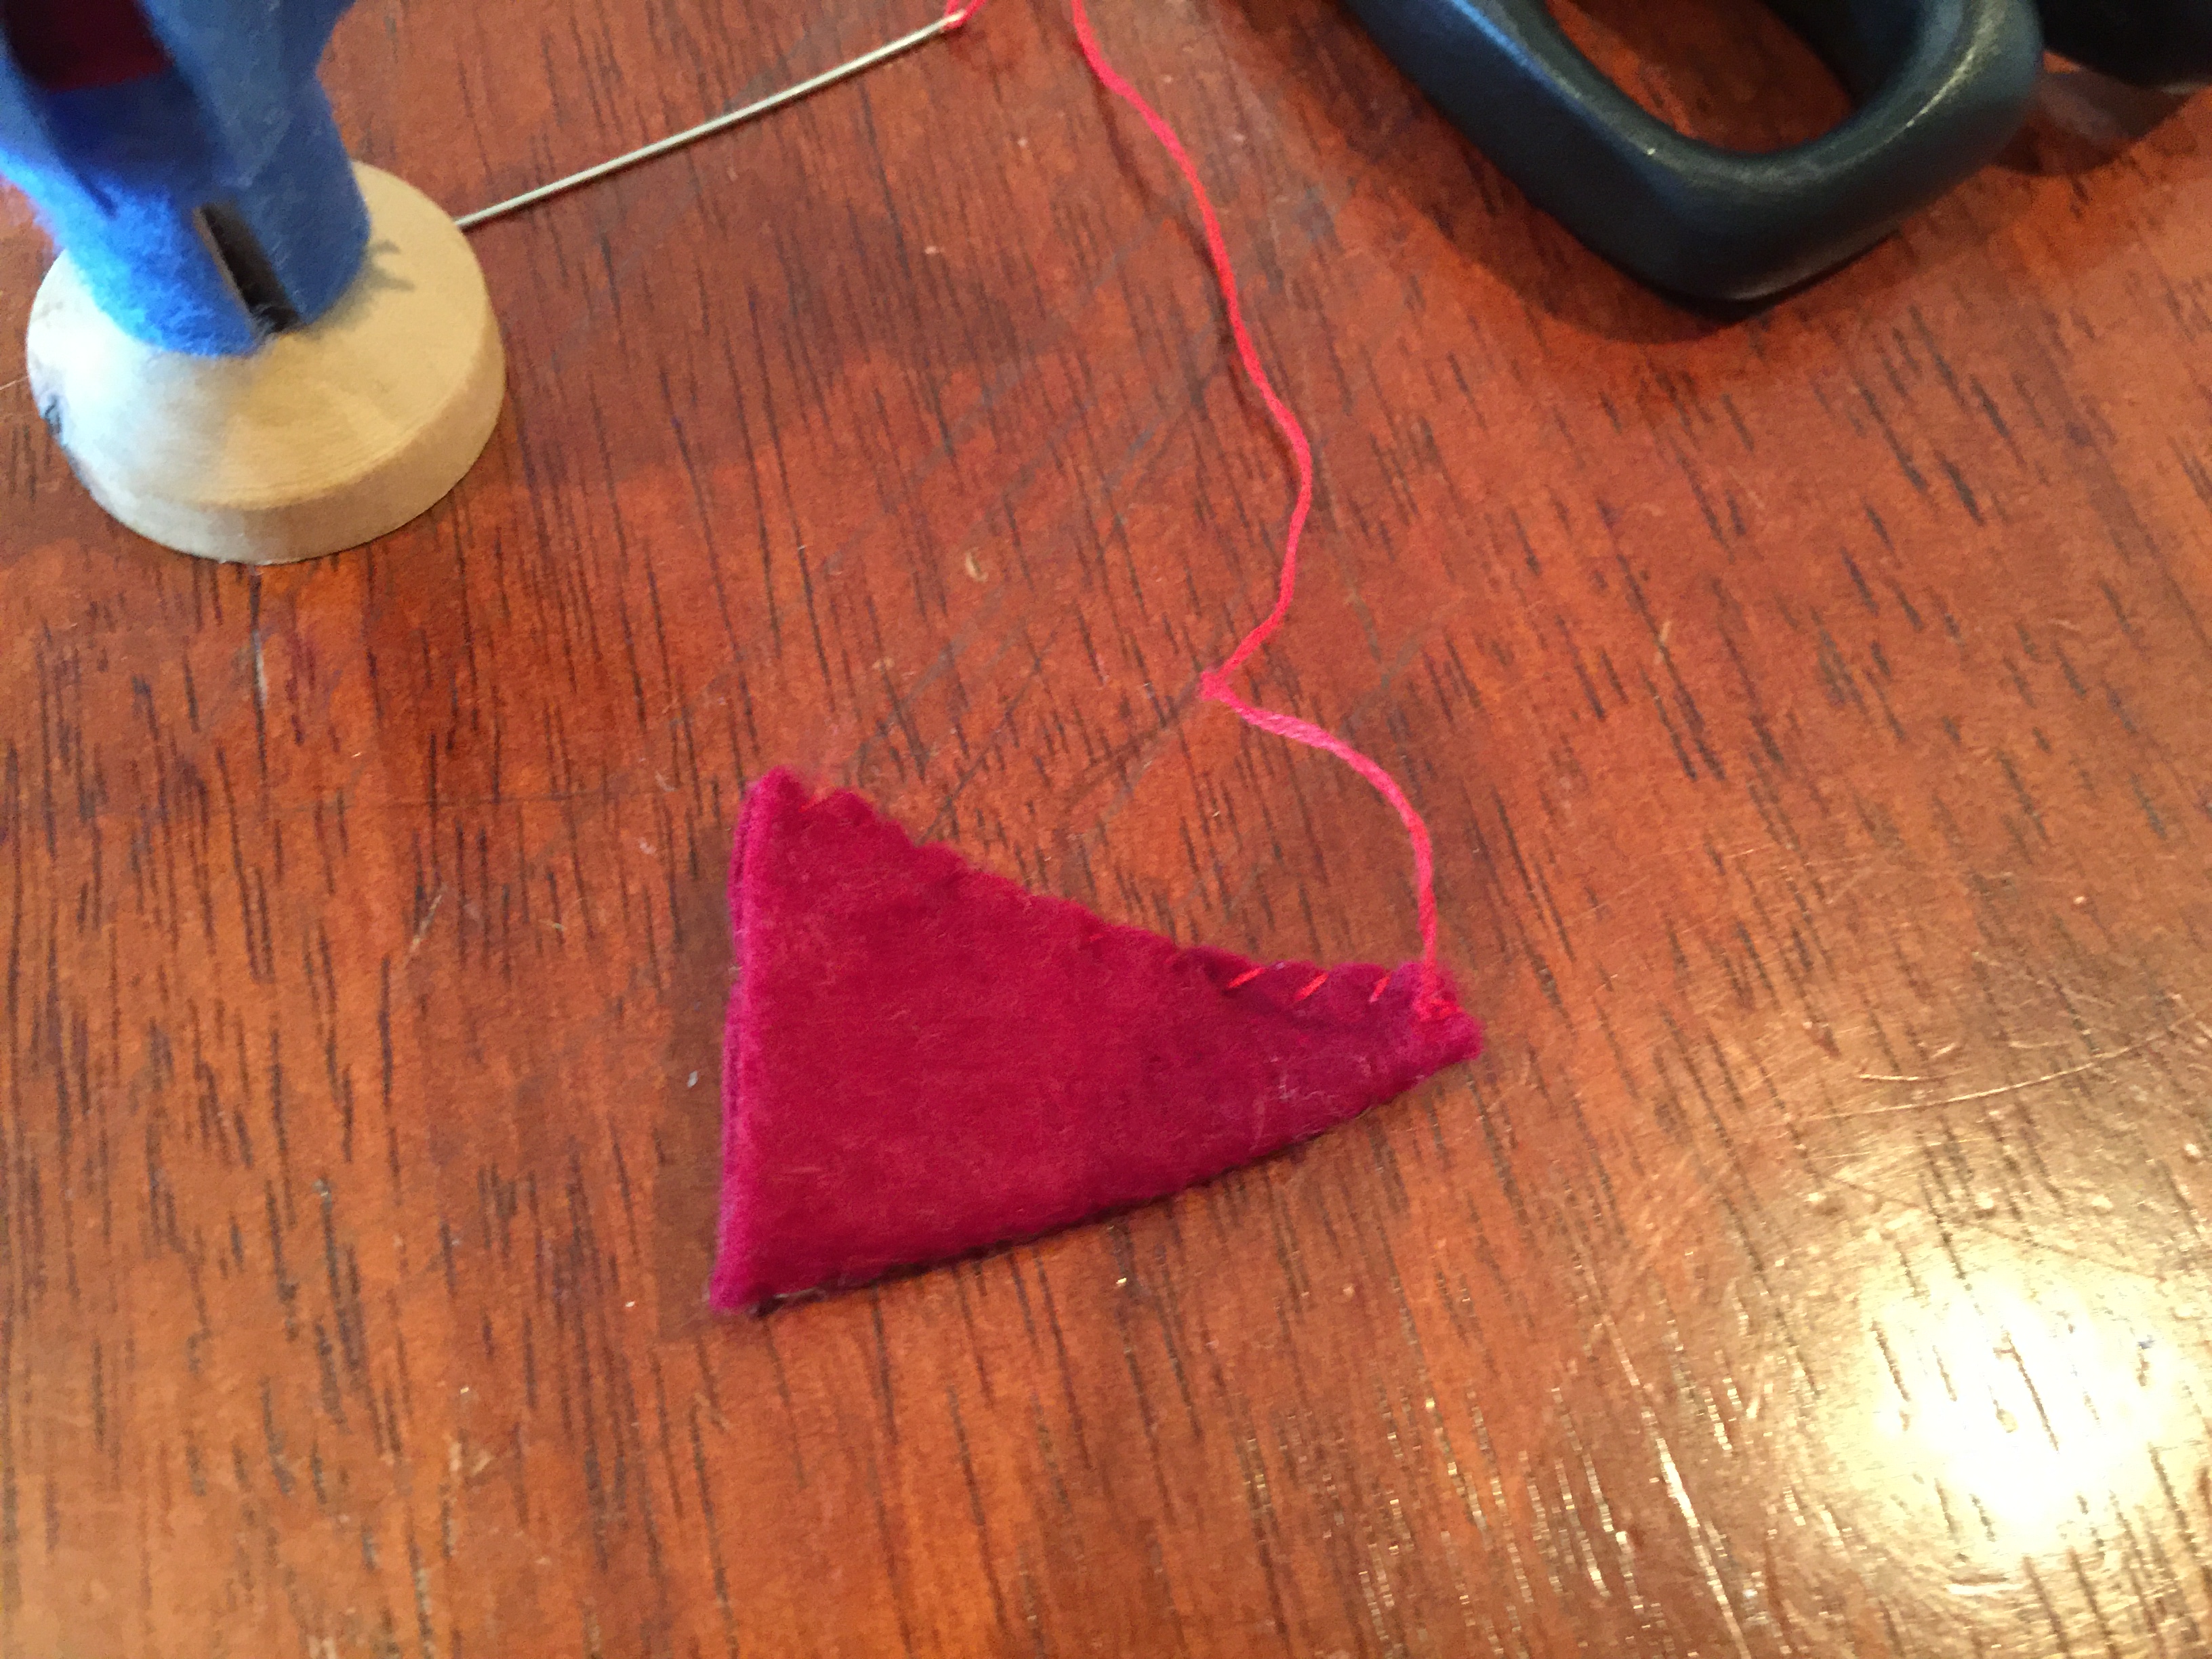
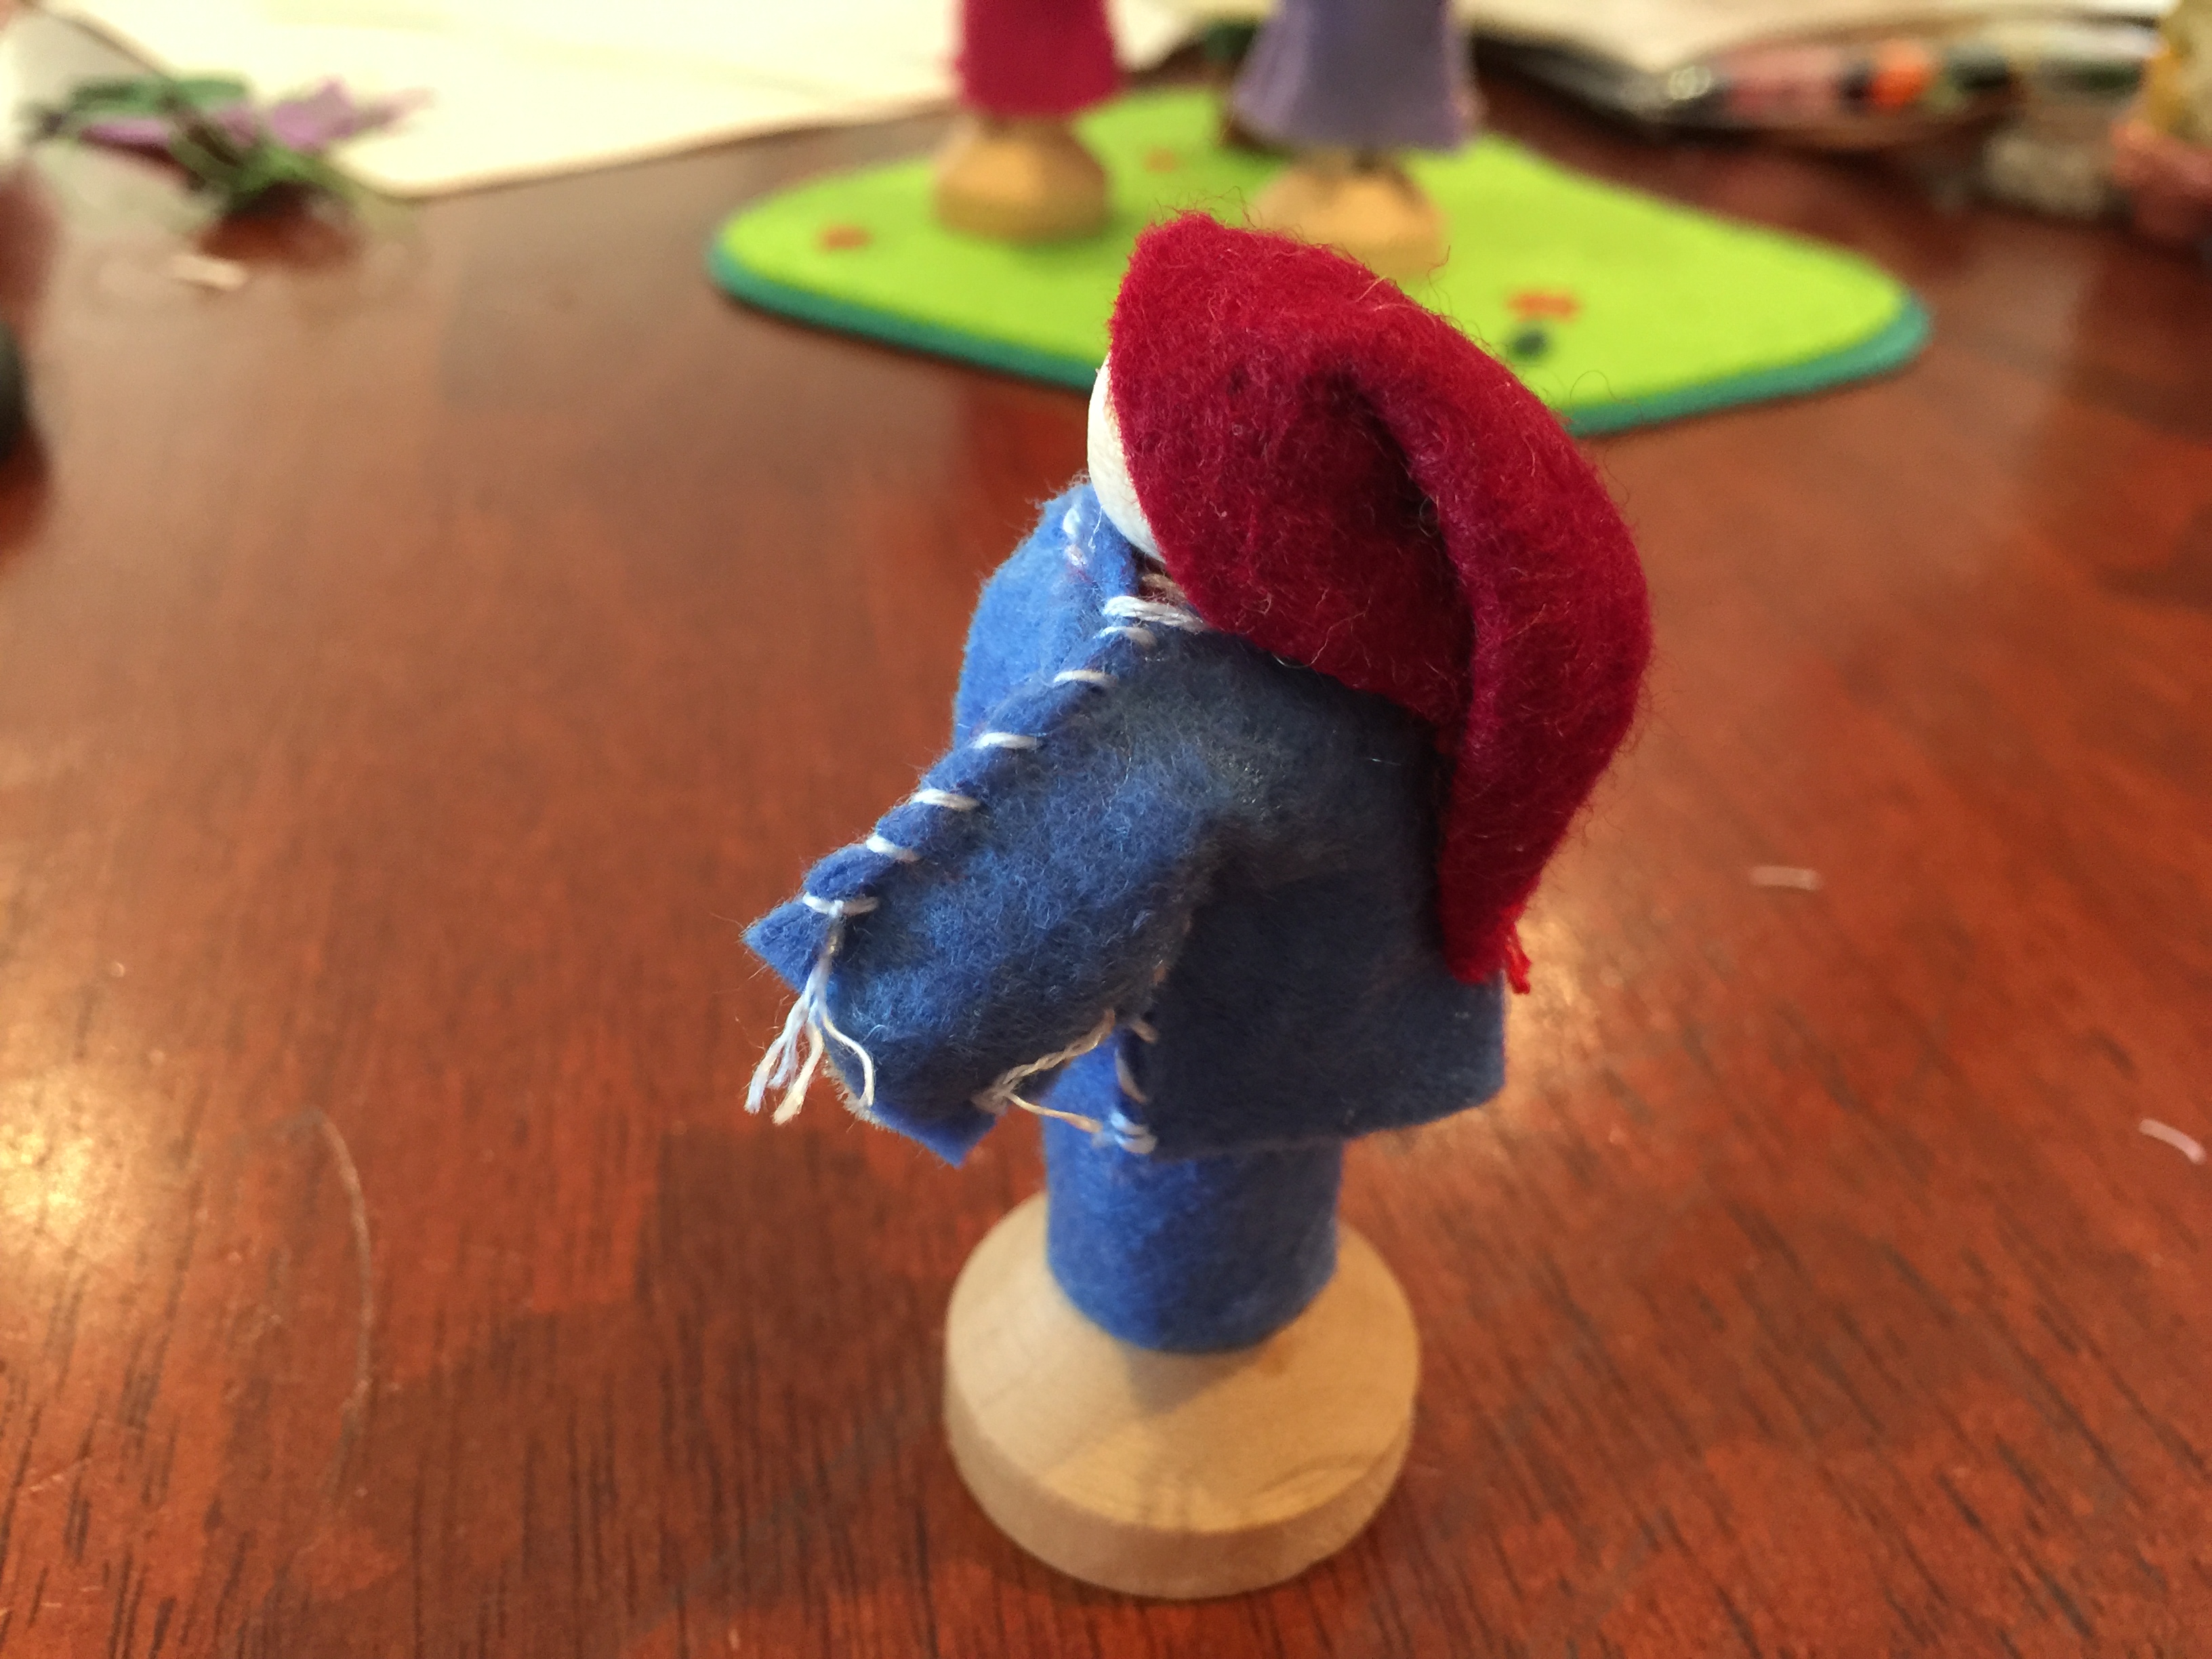
Cut 1 headscarf. Glue in place on head and use a few stitches to secure ends under the face.
FRANCISCO
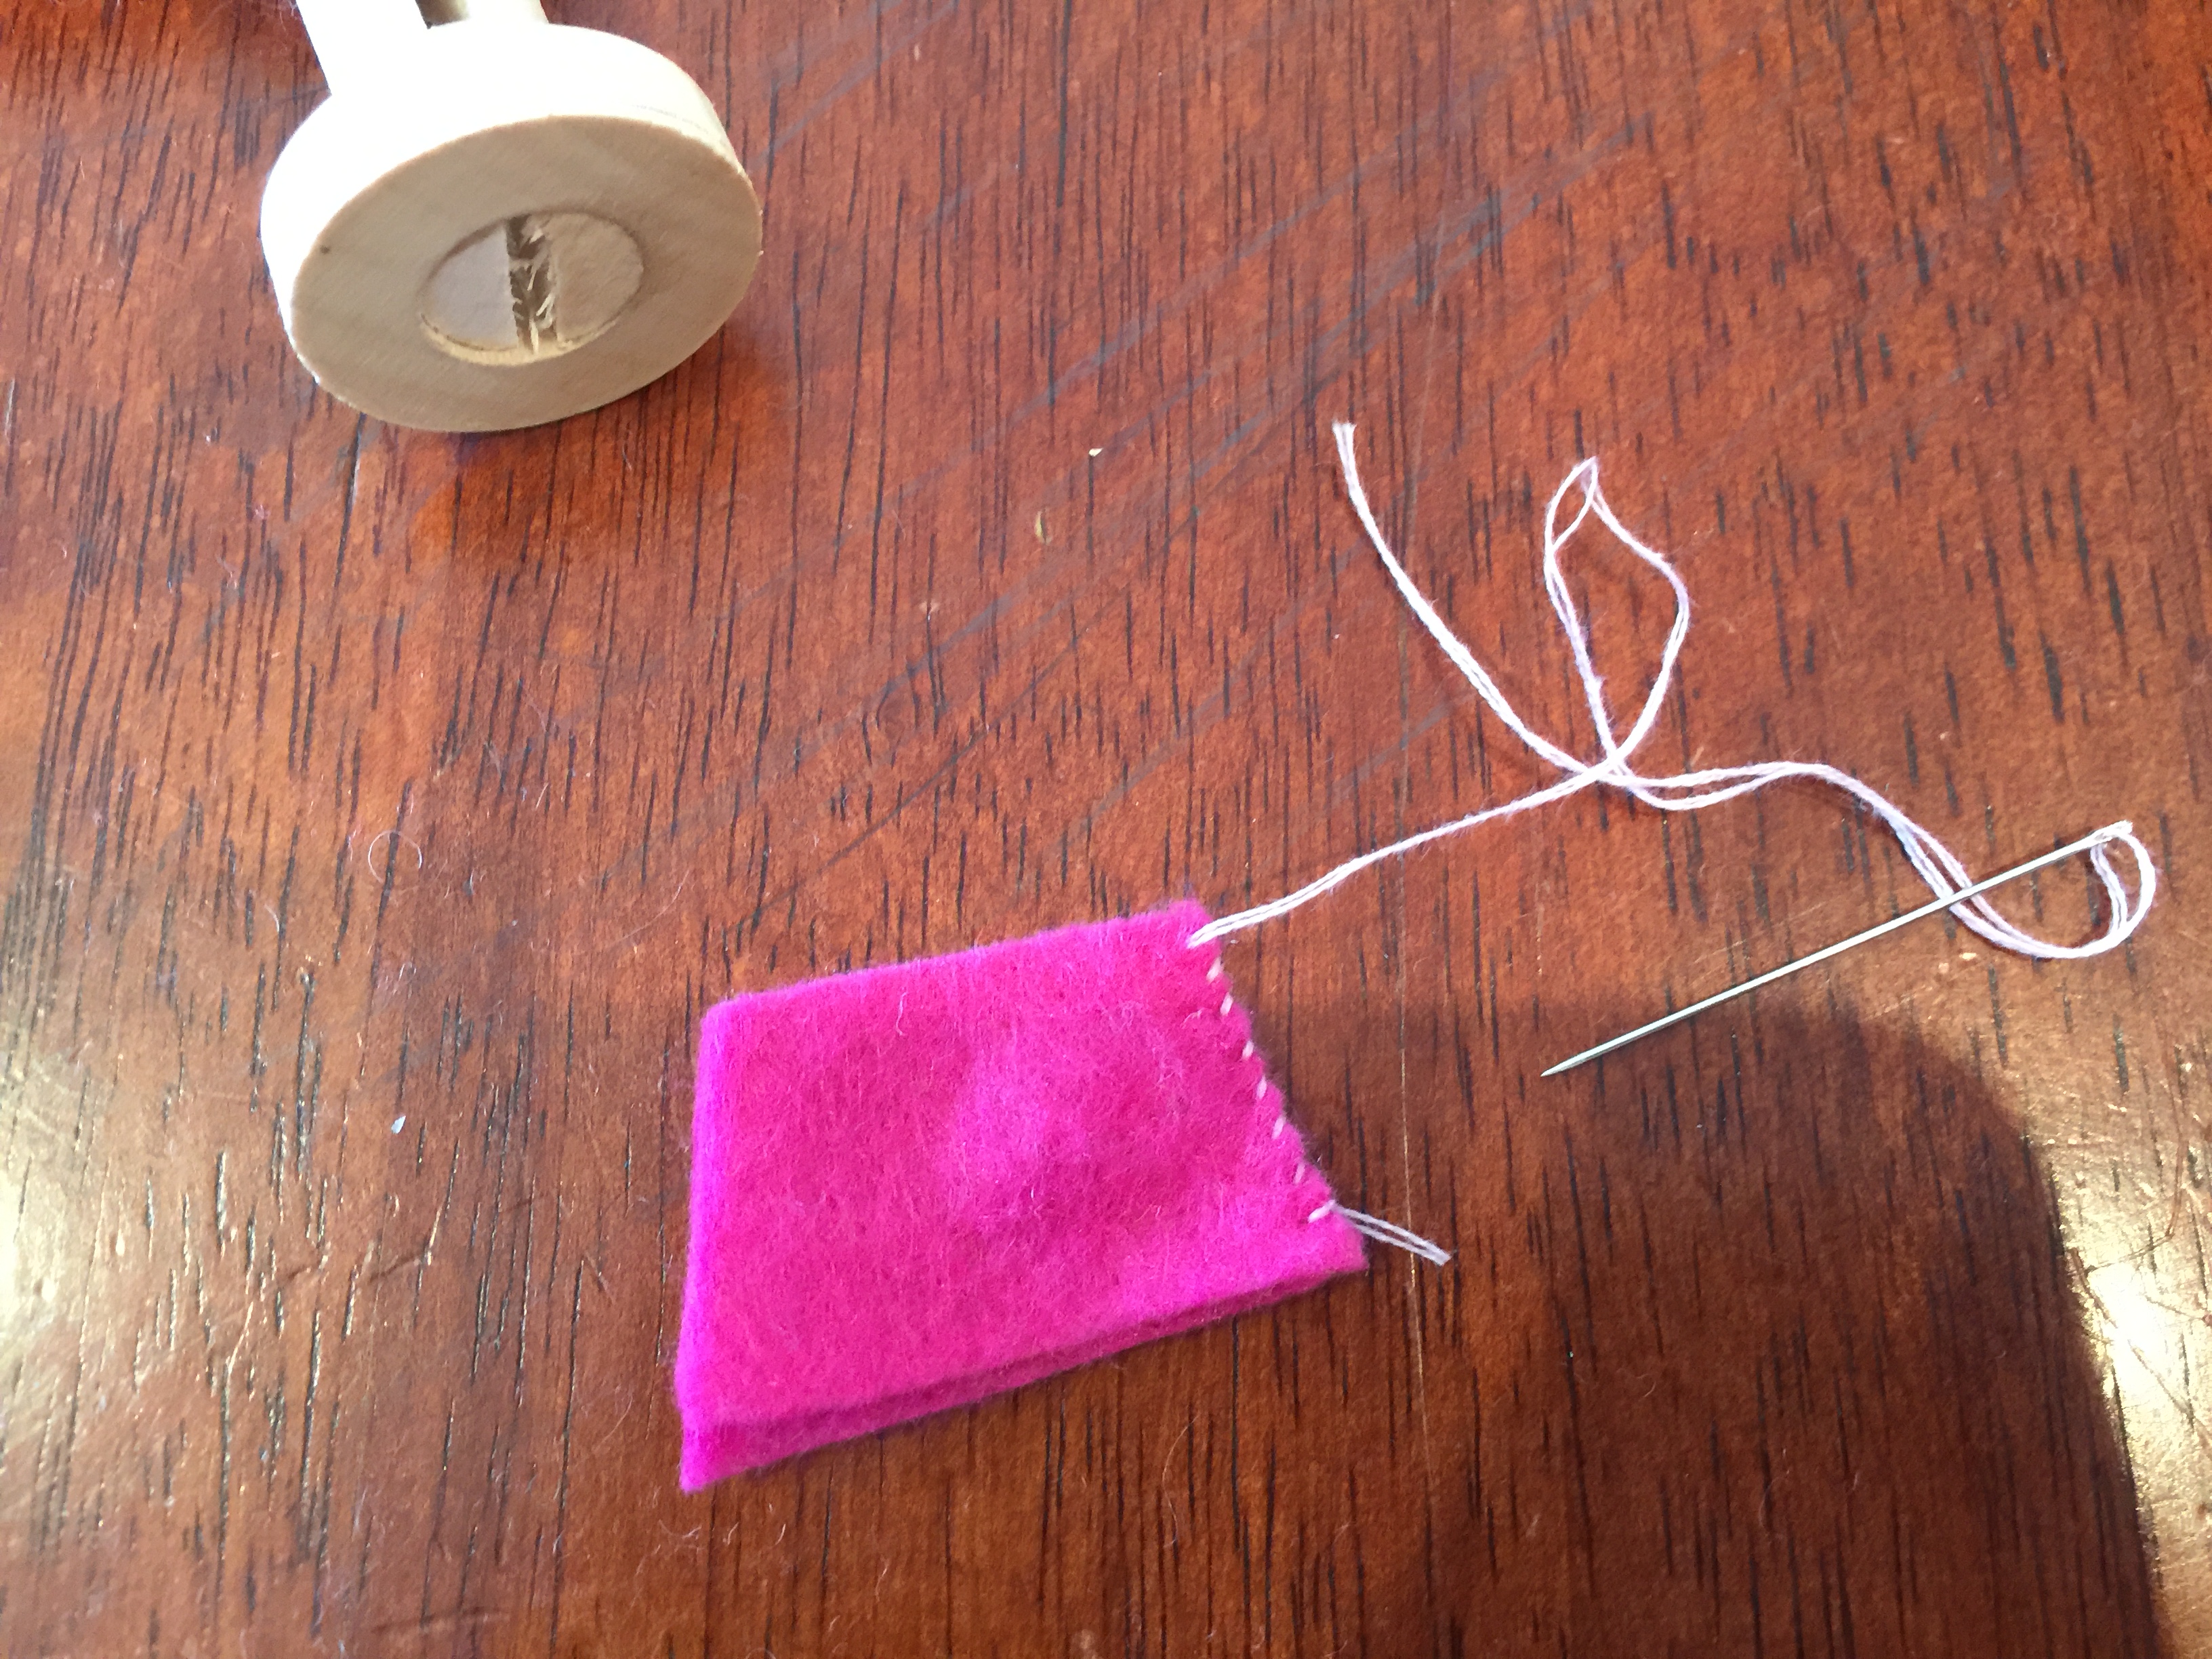
Cut 1 rectangle for shorts (not included as a pattern piece). Mark peg openings on the rectangle and cut these pieces out. Glue in place on peg doll, lining up edges to peg openings.
Cut 1 rectangle shirt piece from felt and glue to the chest.
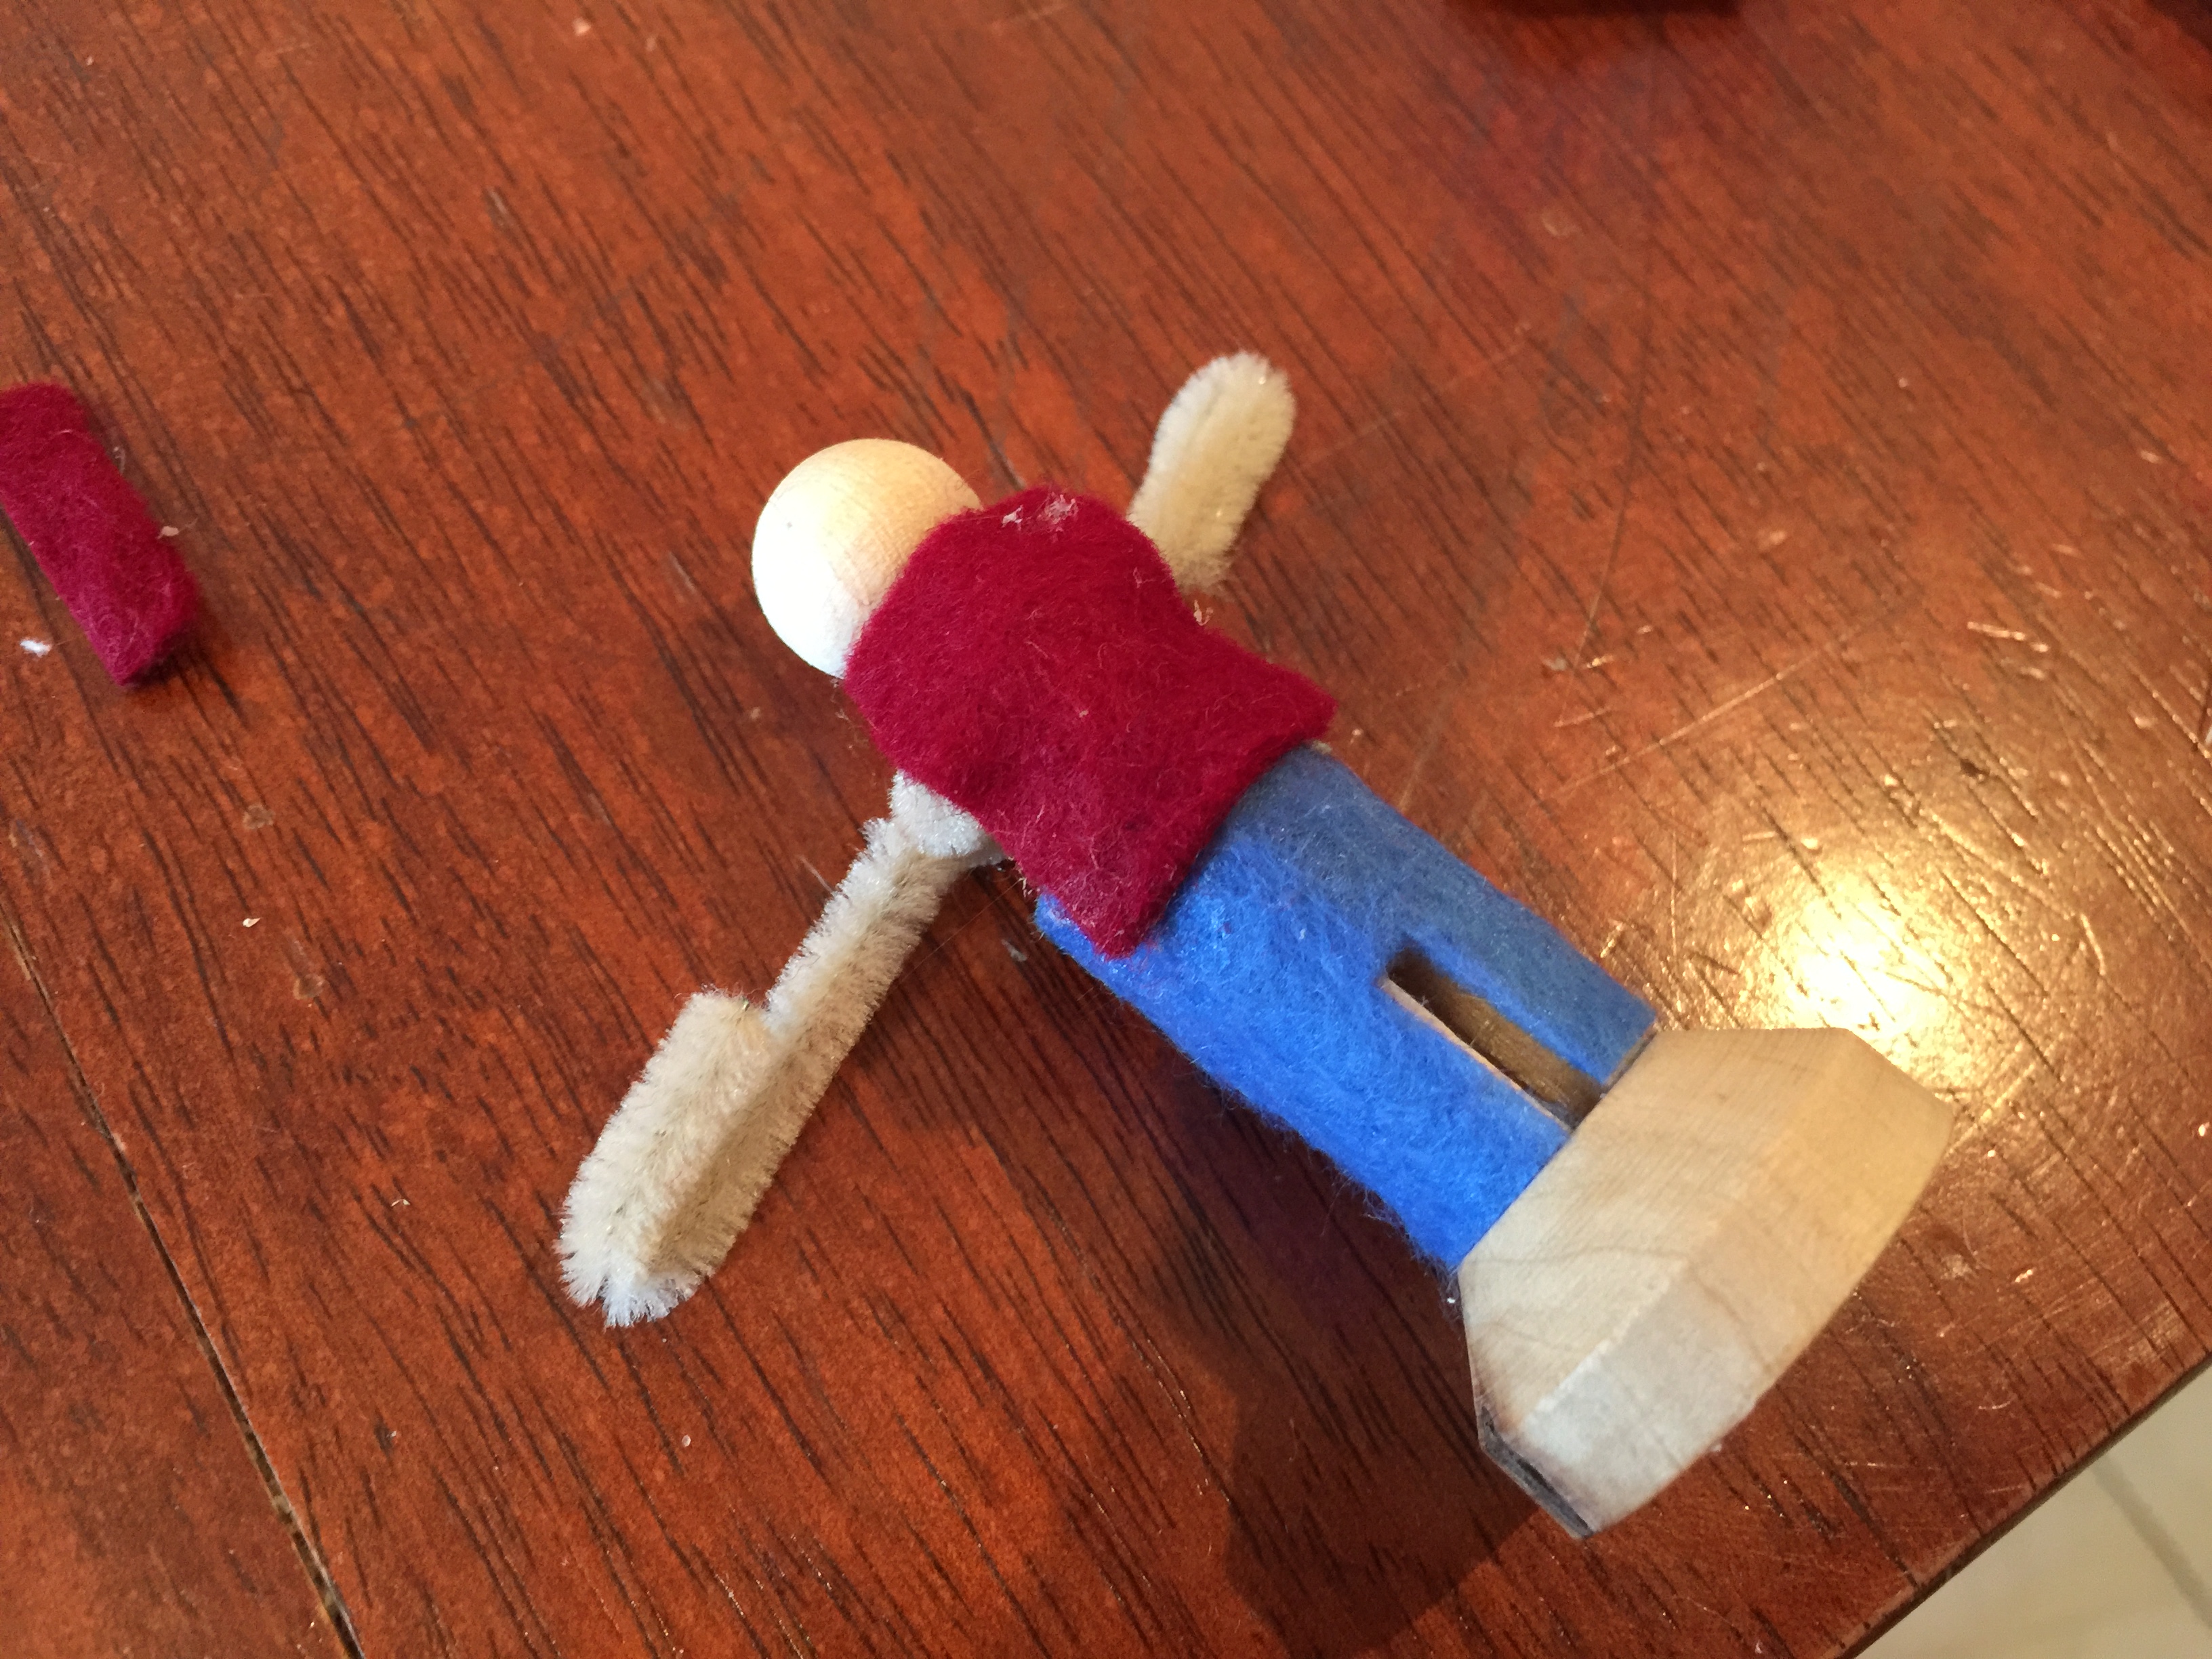
Cut 2 shirt pieces (as per Jacinta and Lucia) and sew under arms and side seams. Also sew the shoulder seams. Cut a vertical line through the middle of the front piece and trim each side 2-3mm so that the shirt is now a jacket.
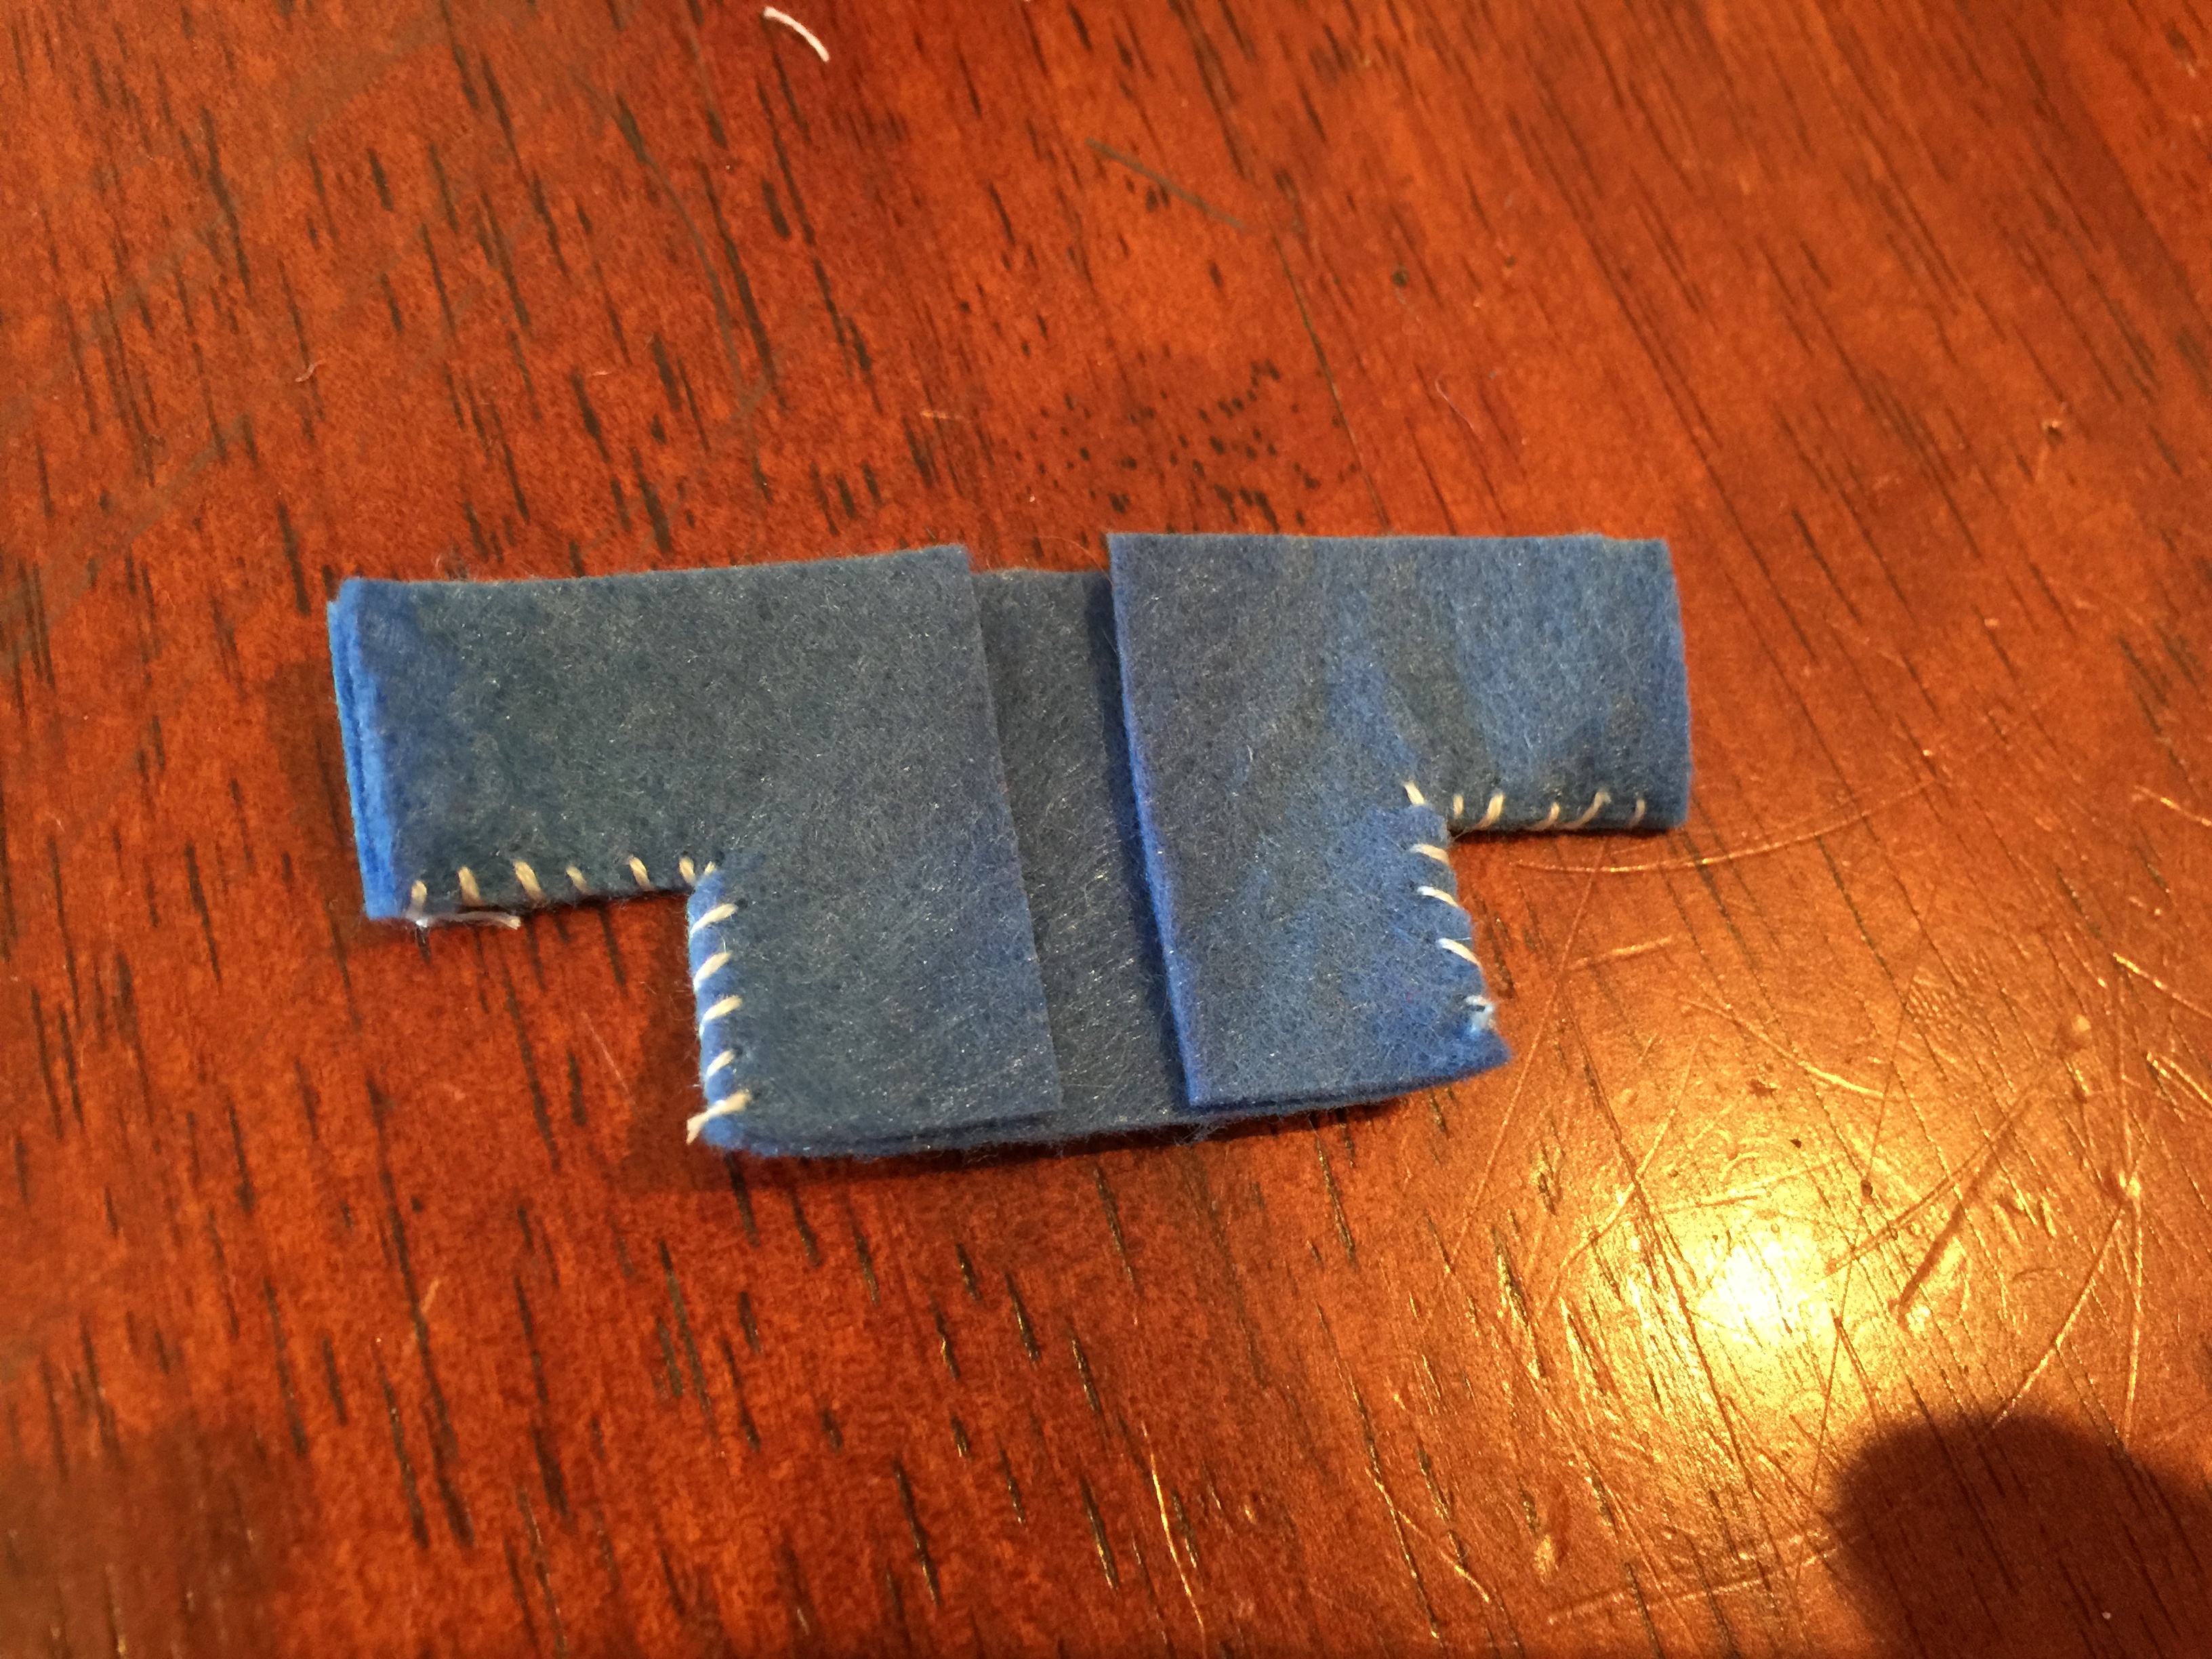
Slide onto doll and use a few stitches under the face to secure the jacket.
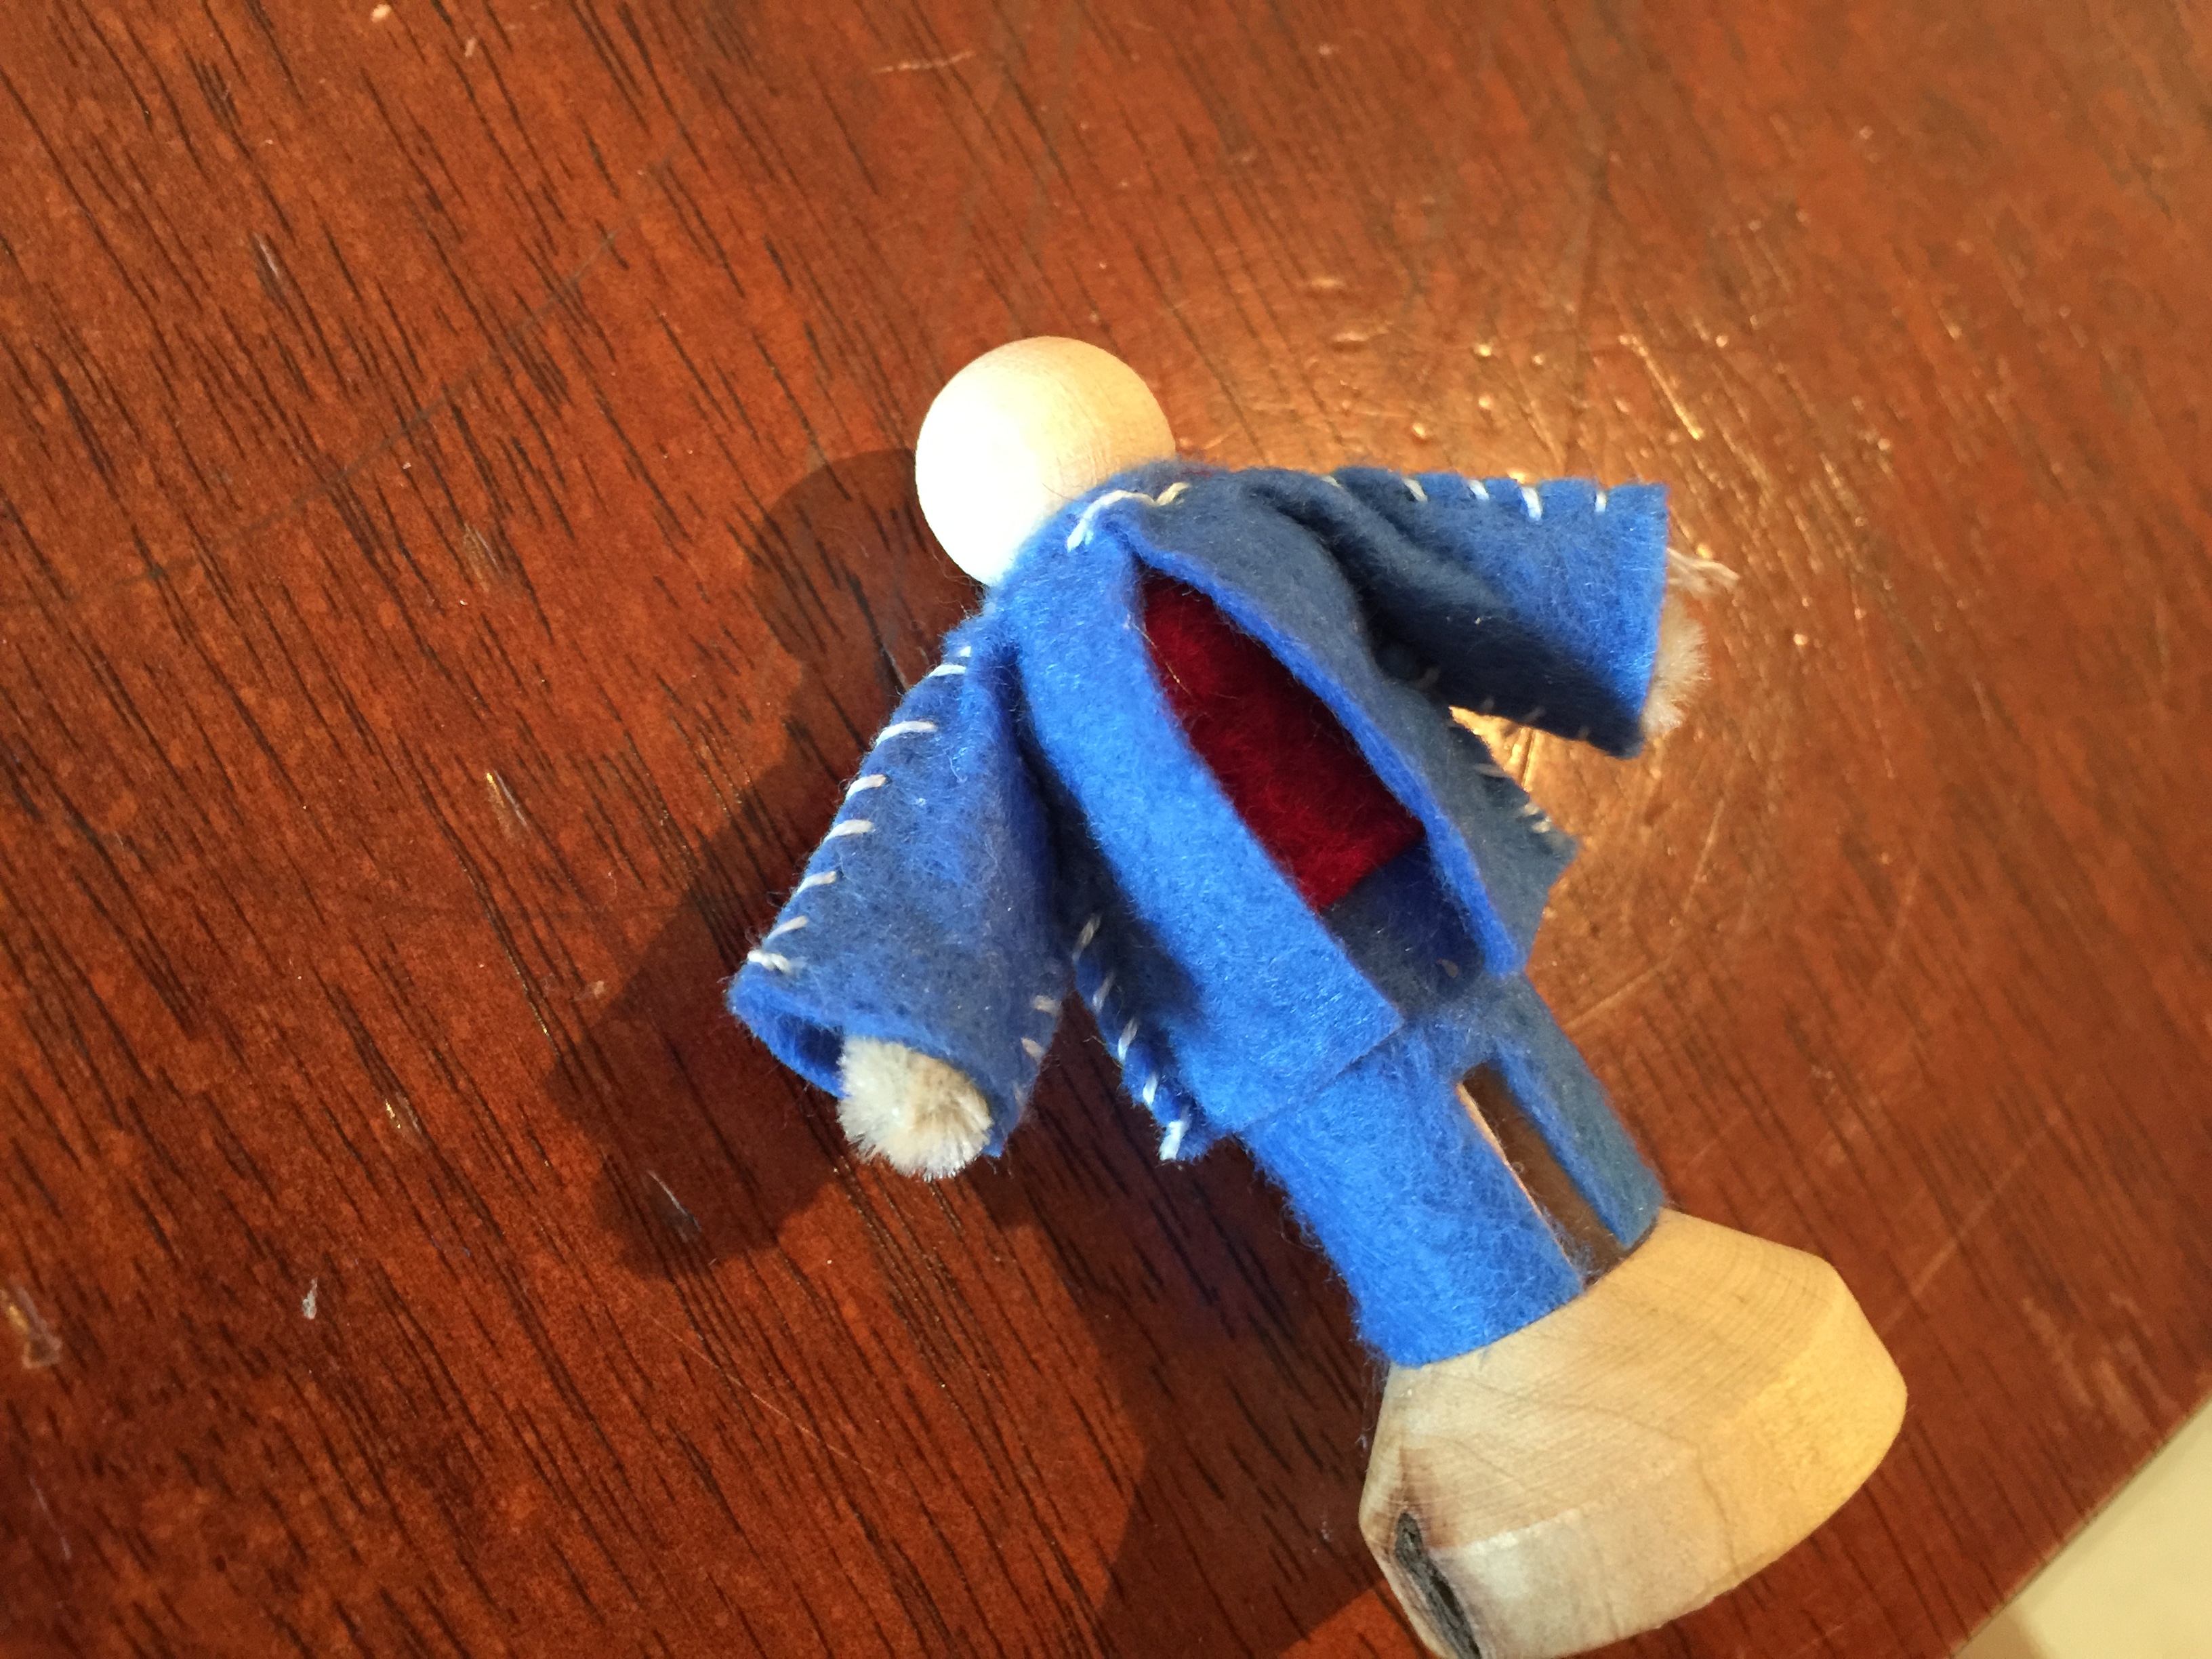
Cut 1 hat piece and fold in half. Sew along seam, ending at short end. Leave thread attached.
Glue hat onto the head and use the thread to secure the point of the hat to the back of the jacket.
Our tutorial ends there but if you’re on a roll you can always make an angel, using the pattern for Mary’s tunic and making some wings out of felt and gluing them on. Or, you could make other details like the flaming sun to enrich the storytelling.
Pattern:
Originally posted 2017-07-13 15:00:33.