
During Advent it is a great idea to set up a Nativity scene inside your house. If you’re like us you probably have a nice and expensive one you like to display well out of the reach of your children. But having a Nativity scene for your children to set up and interact with is a great way of helping them learn about Christmas.
For this activity there are two options:
1. NO SEW OPTION
You will need:
- Wooden pegs (one sawn in half)
- Fabric remnants and scraps
- Ribbon
- Craft glue
What to do:
Download the pattern here:
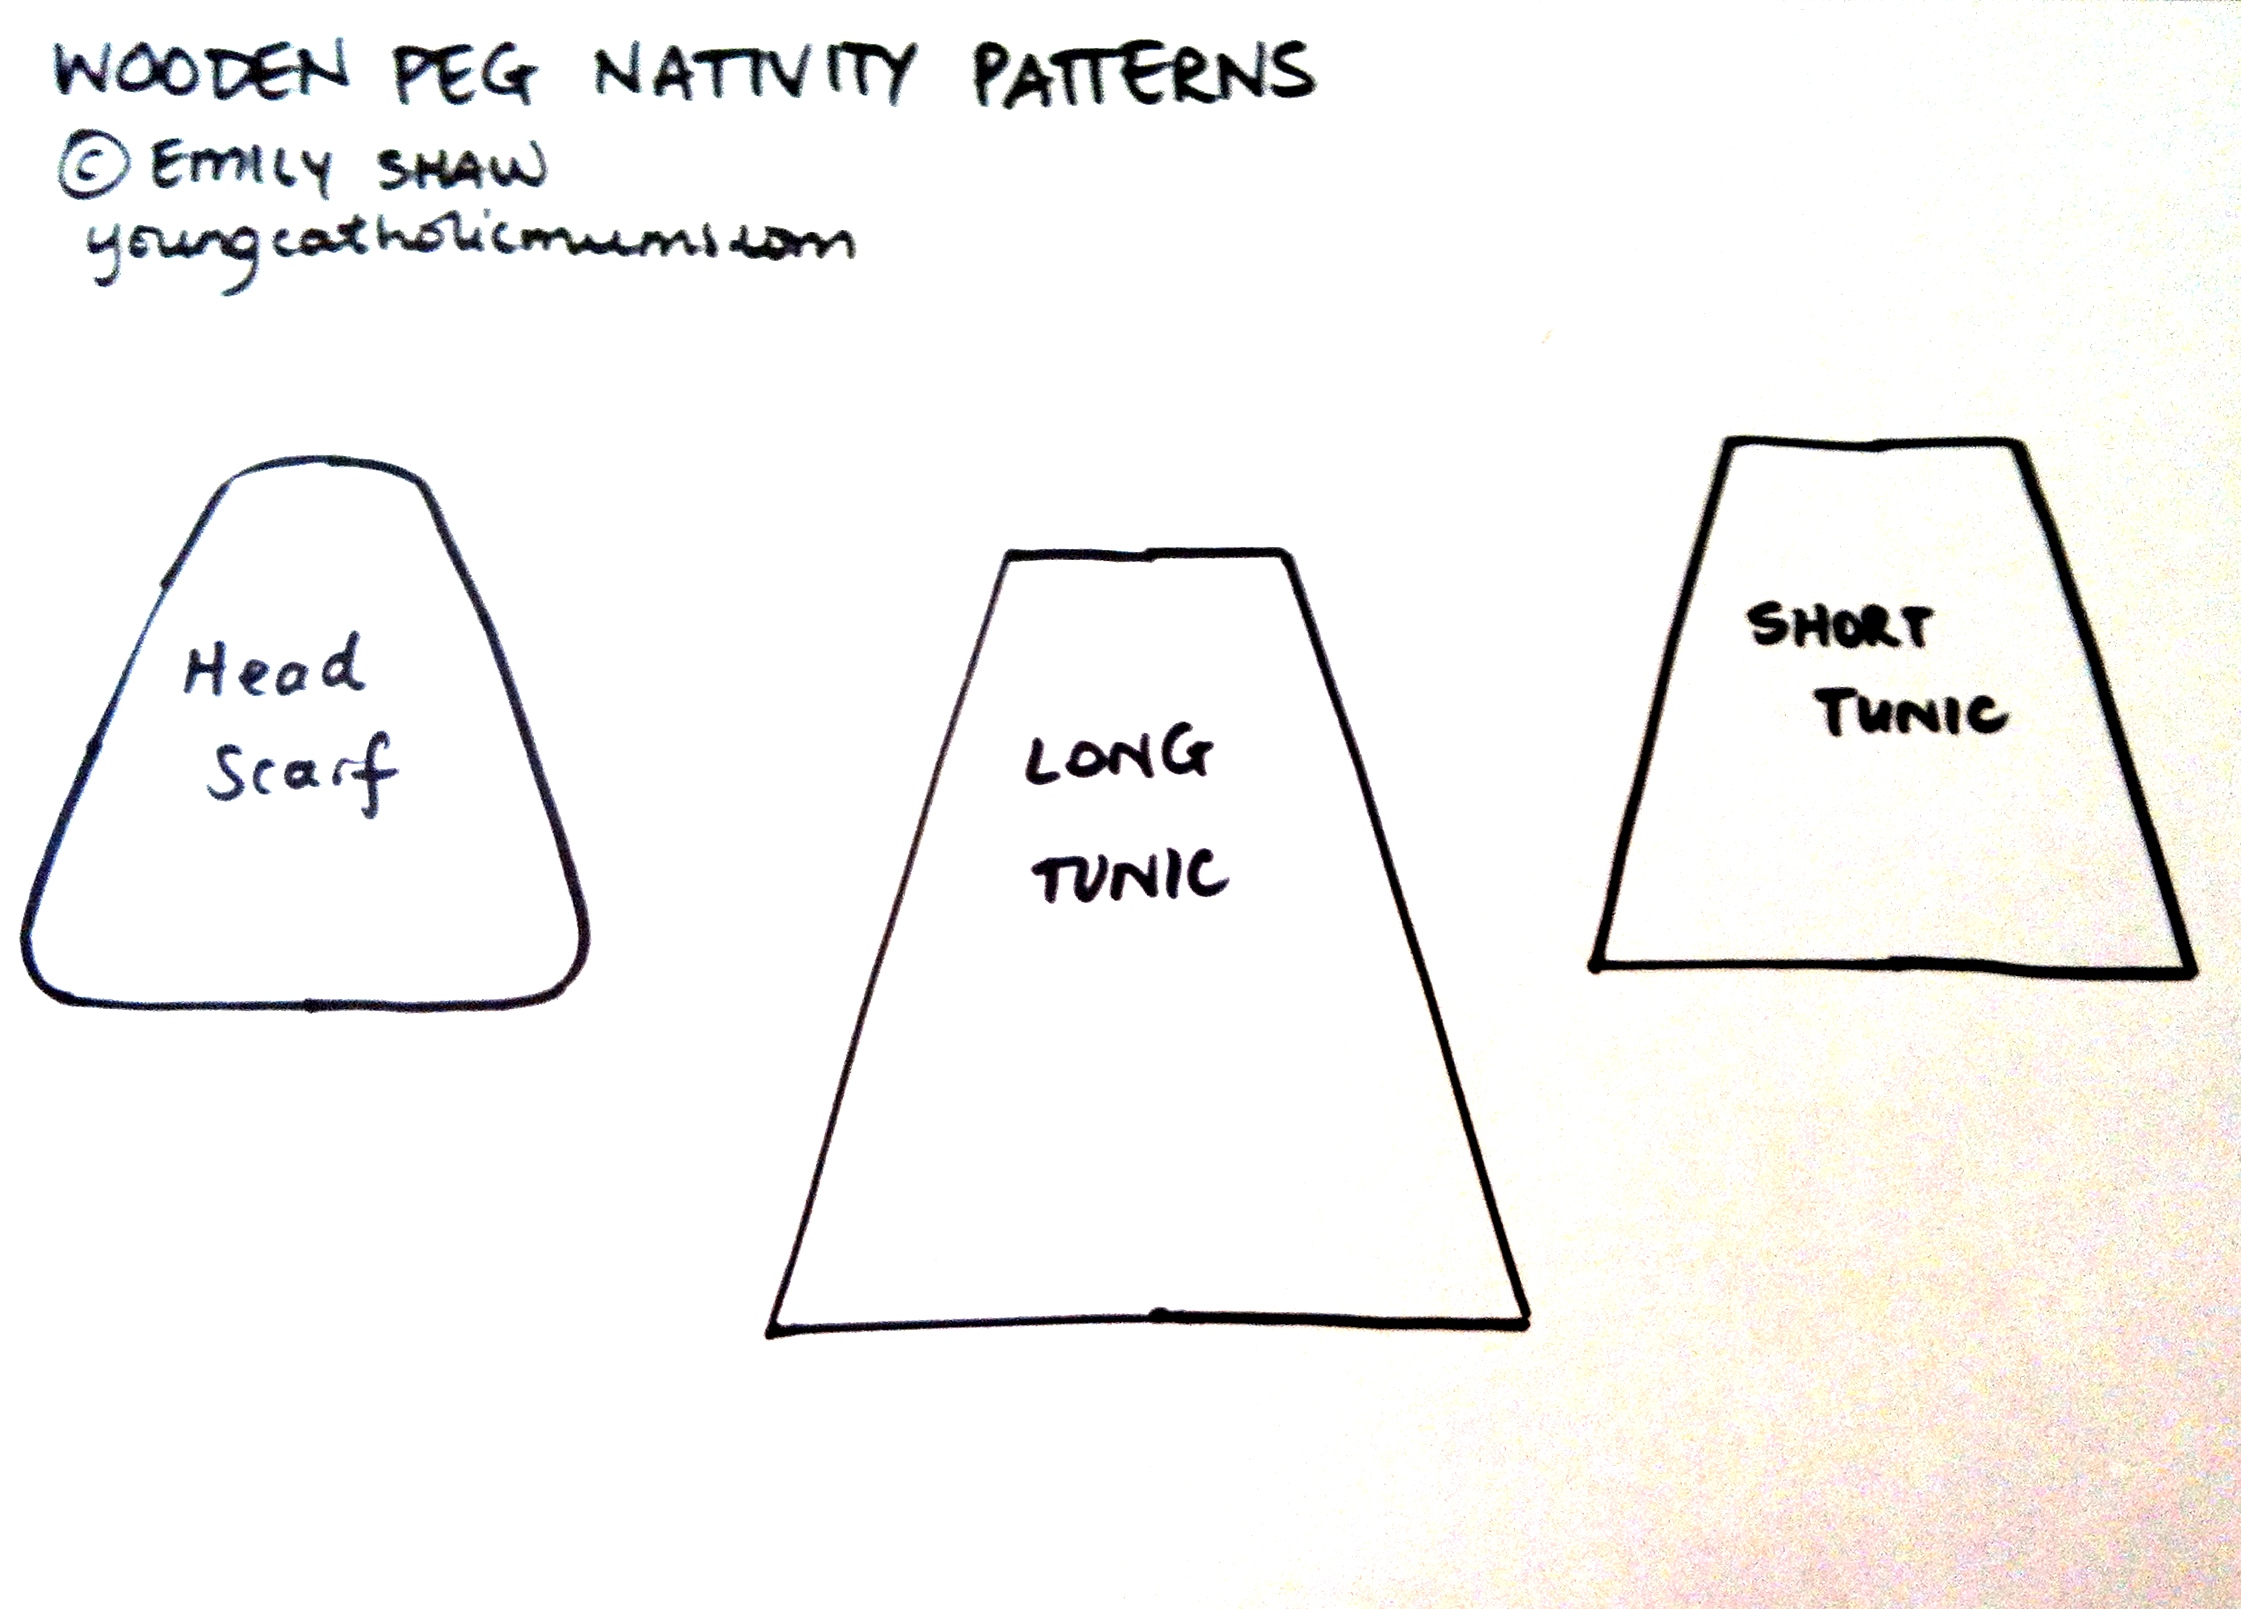
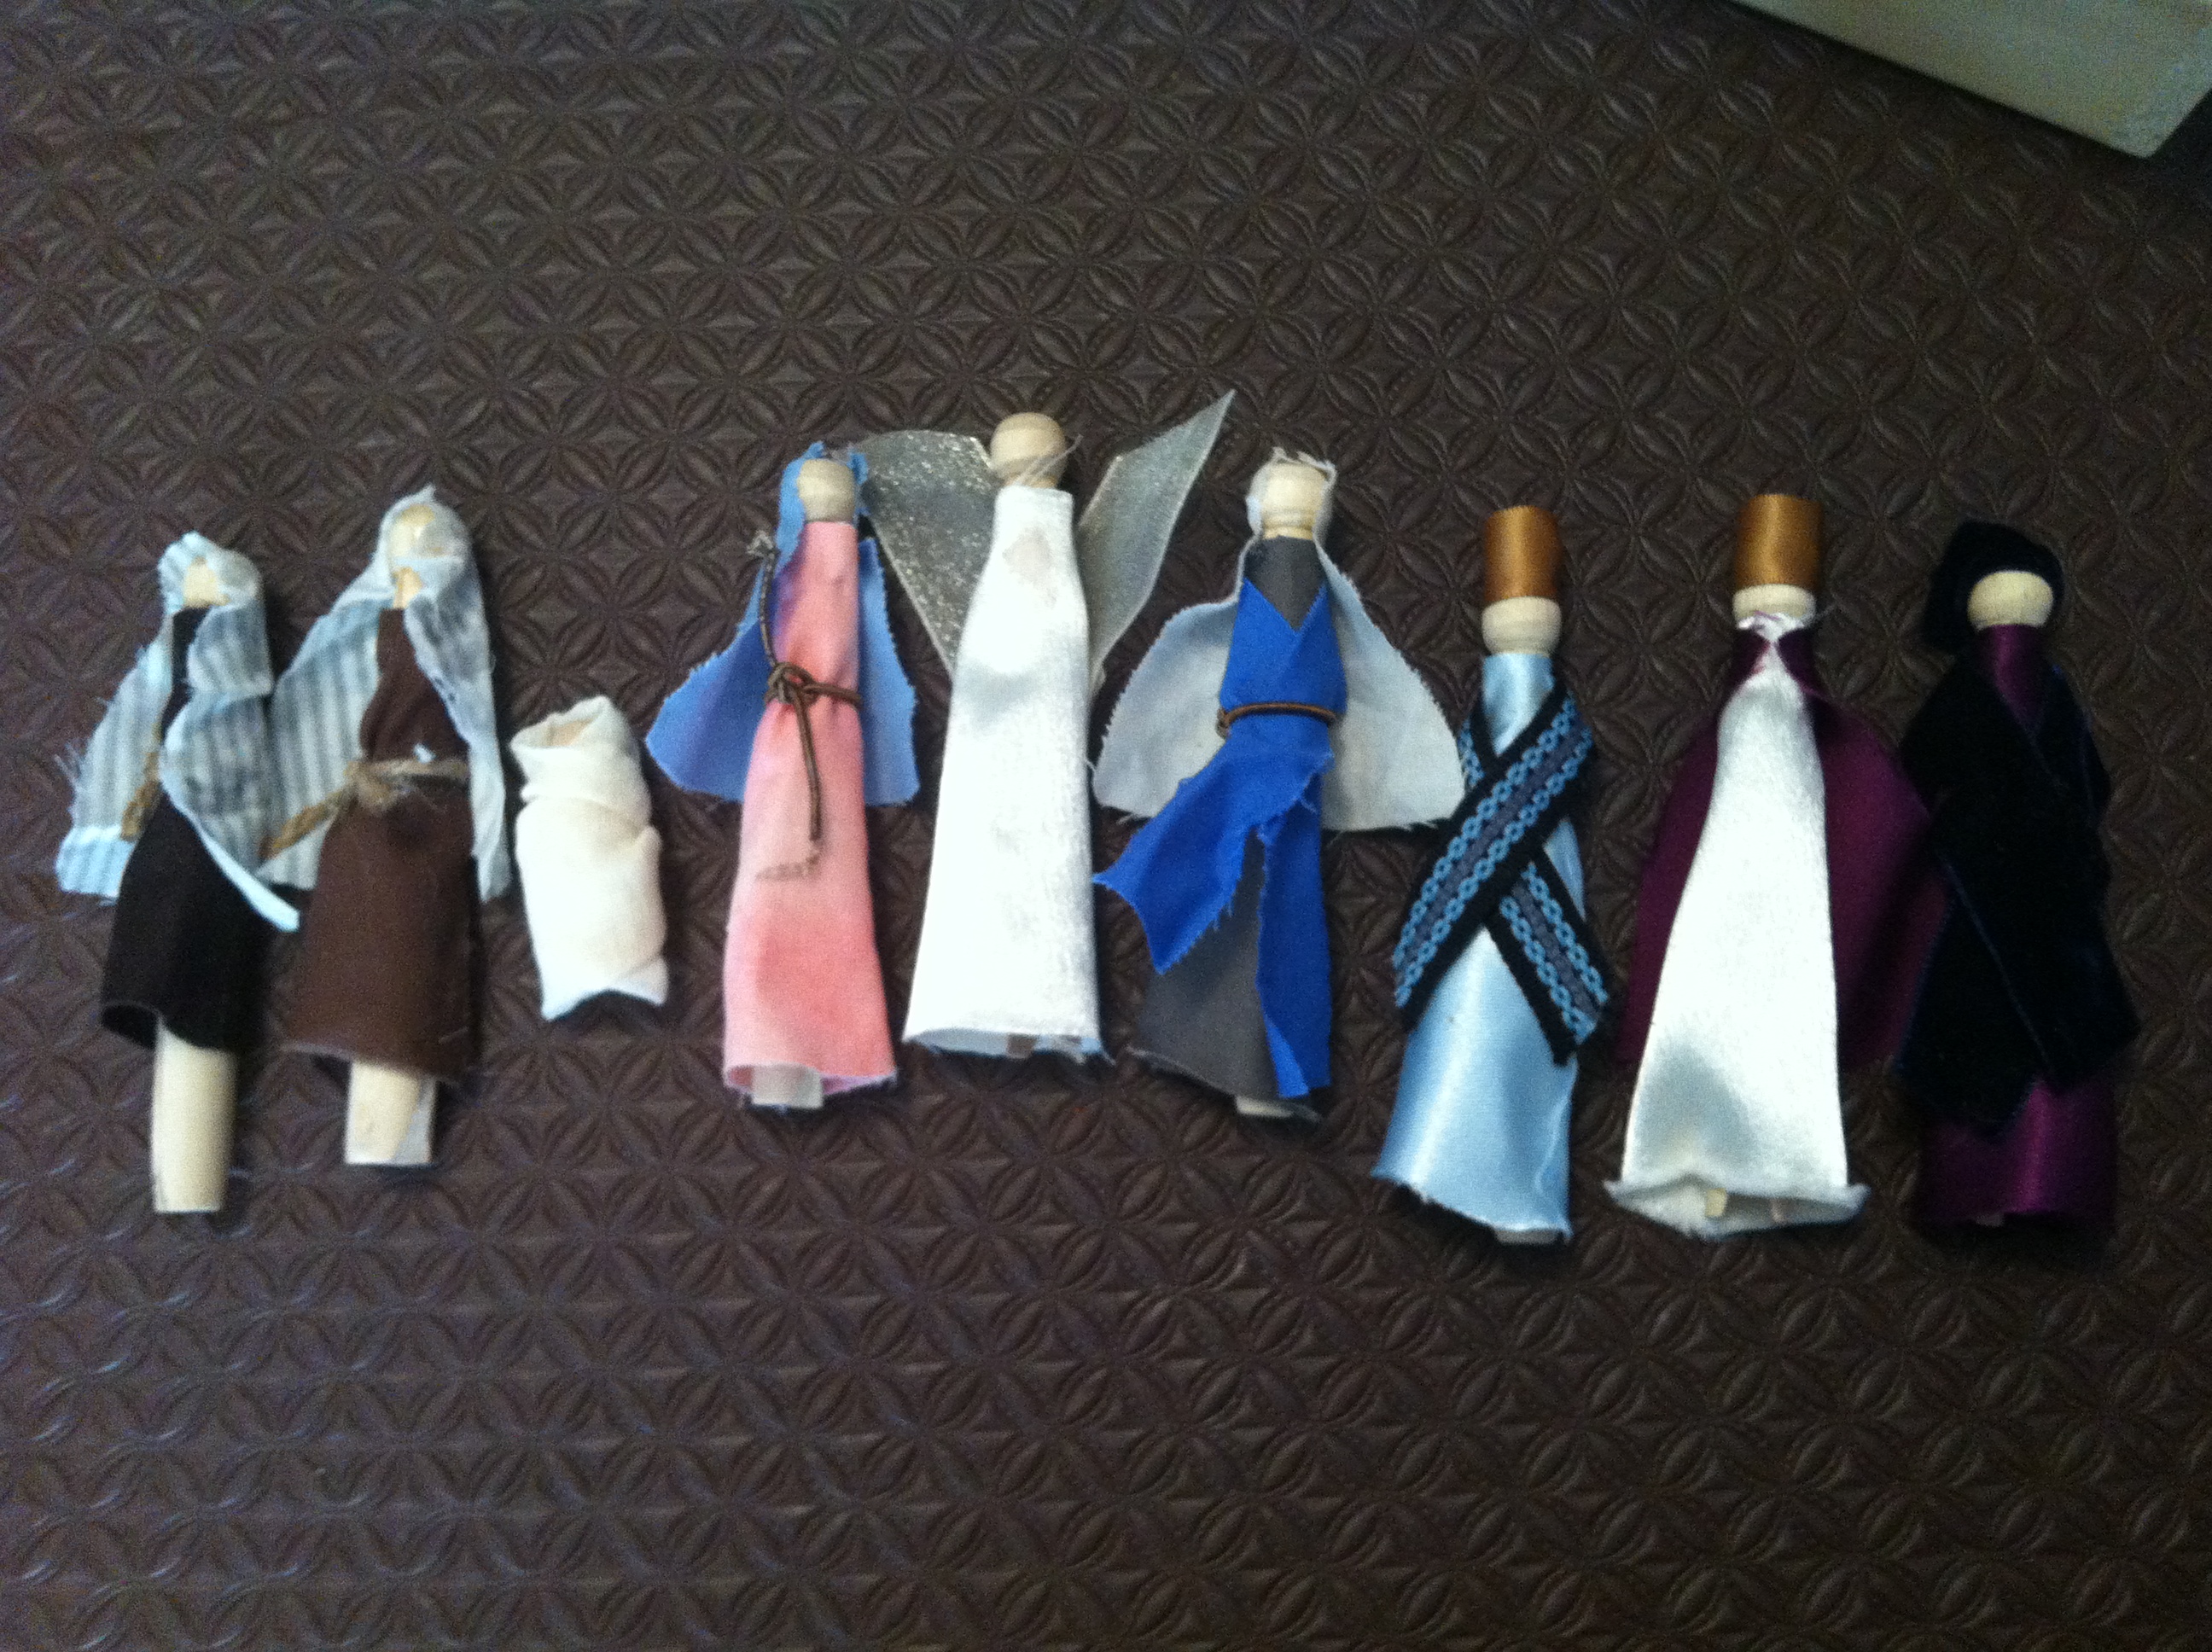
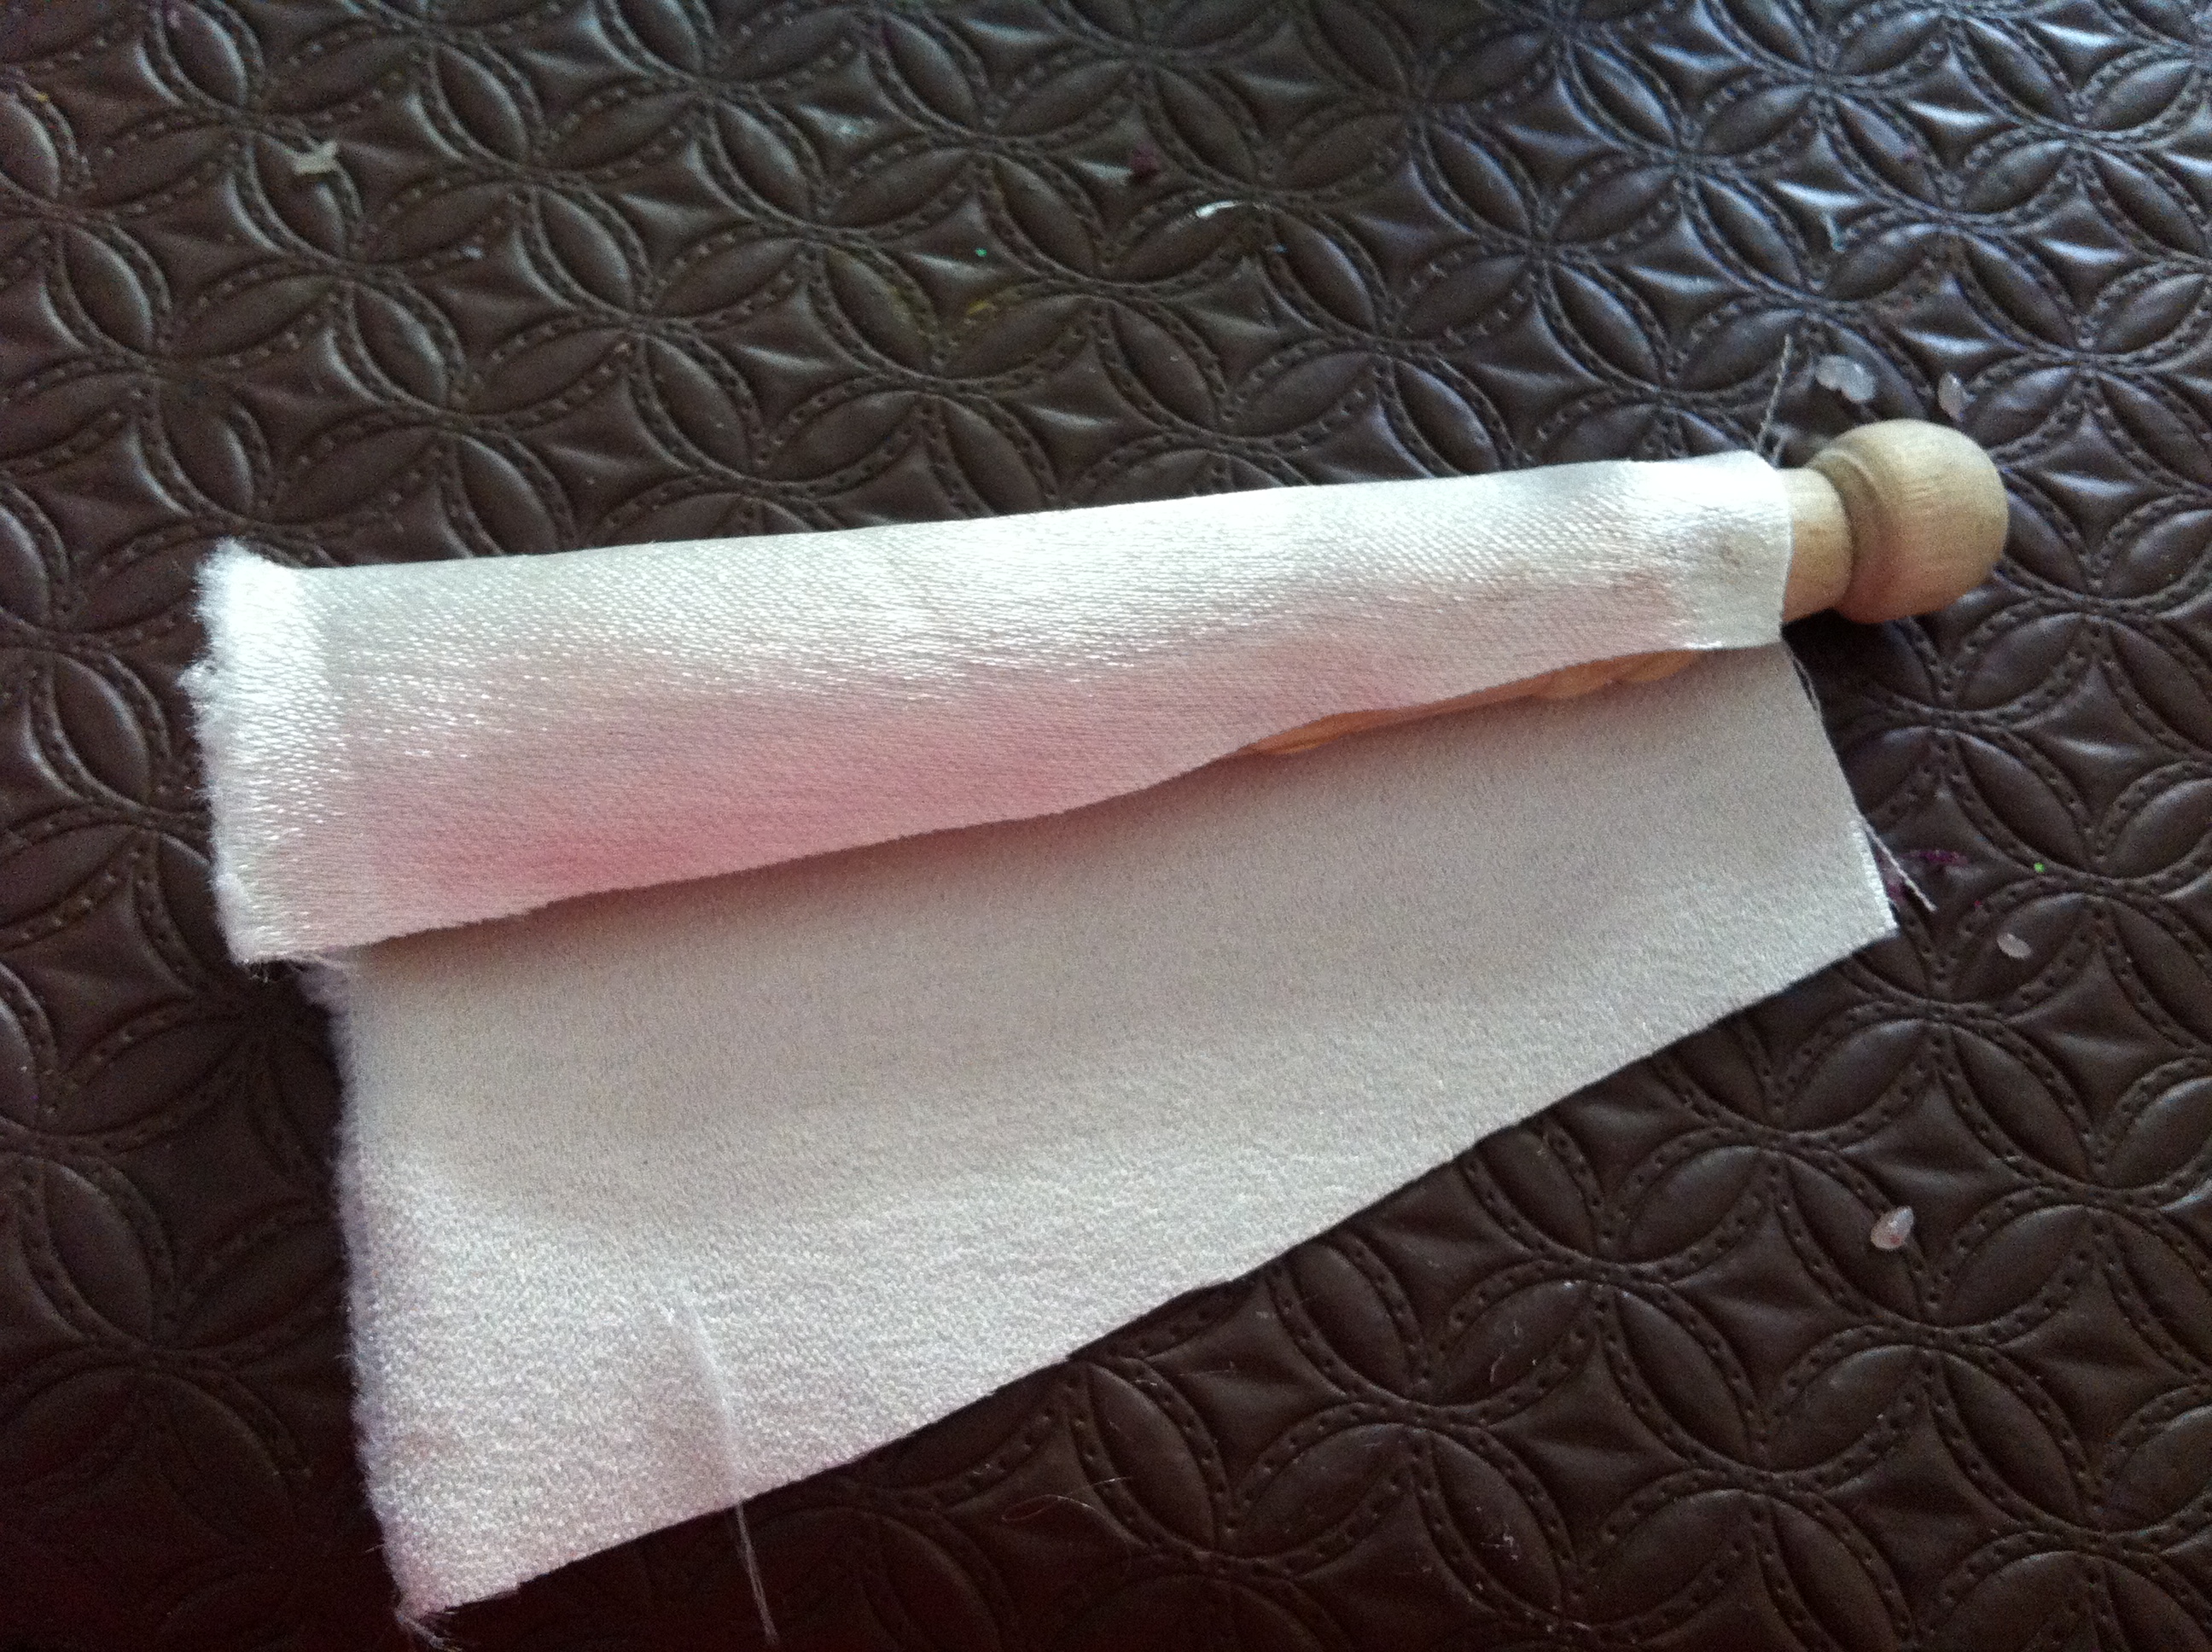
Cut out a long tunic and glue to a wooden peg.
Add the particular details for each character like a head scarf, wings or crown. We used gold ribbon for the Wise Men’s crowns and details on their robes, short tunics and twine for the shepherd’s belts and ribbon for the angel’s wings as you can see below.

For baby Jesus we simply wrapped a piece of cream muslin around the short peg in much the same way as you would wrap a real baby and glued in place.
2. SEW OPTION
You will need:
- Felt in assorted colours
- Thick cardboard
- Hobby fill or other stuffing
- Needle and thread, scissors
What to do:
Download pattern here:
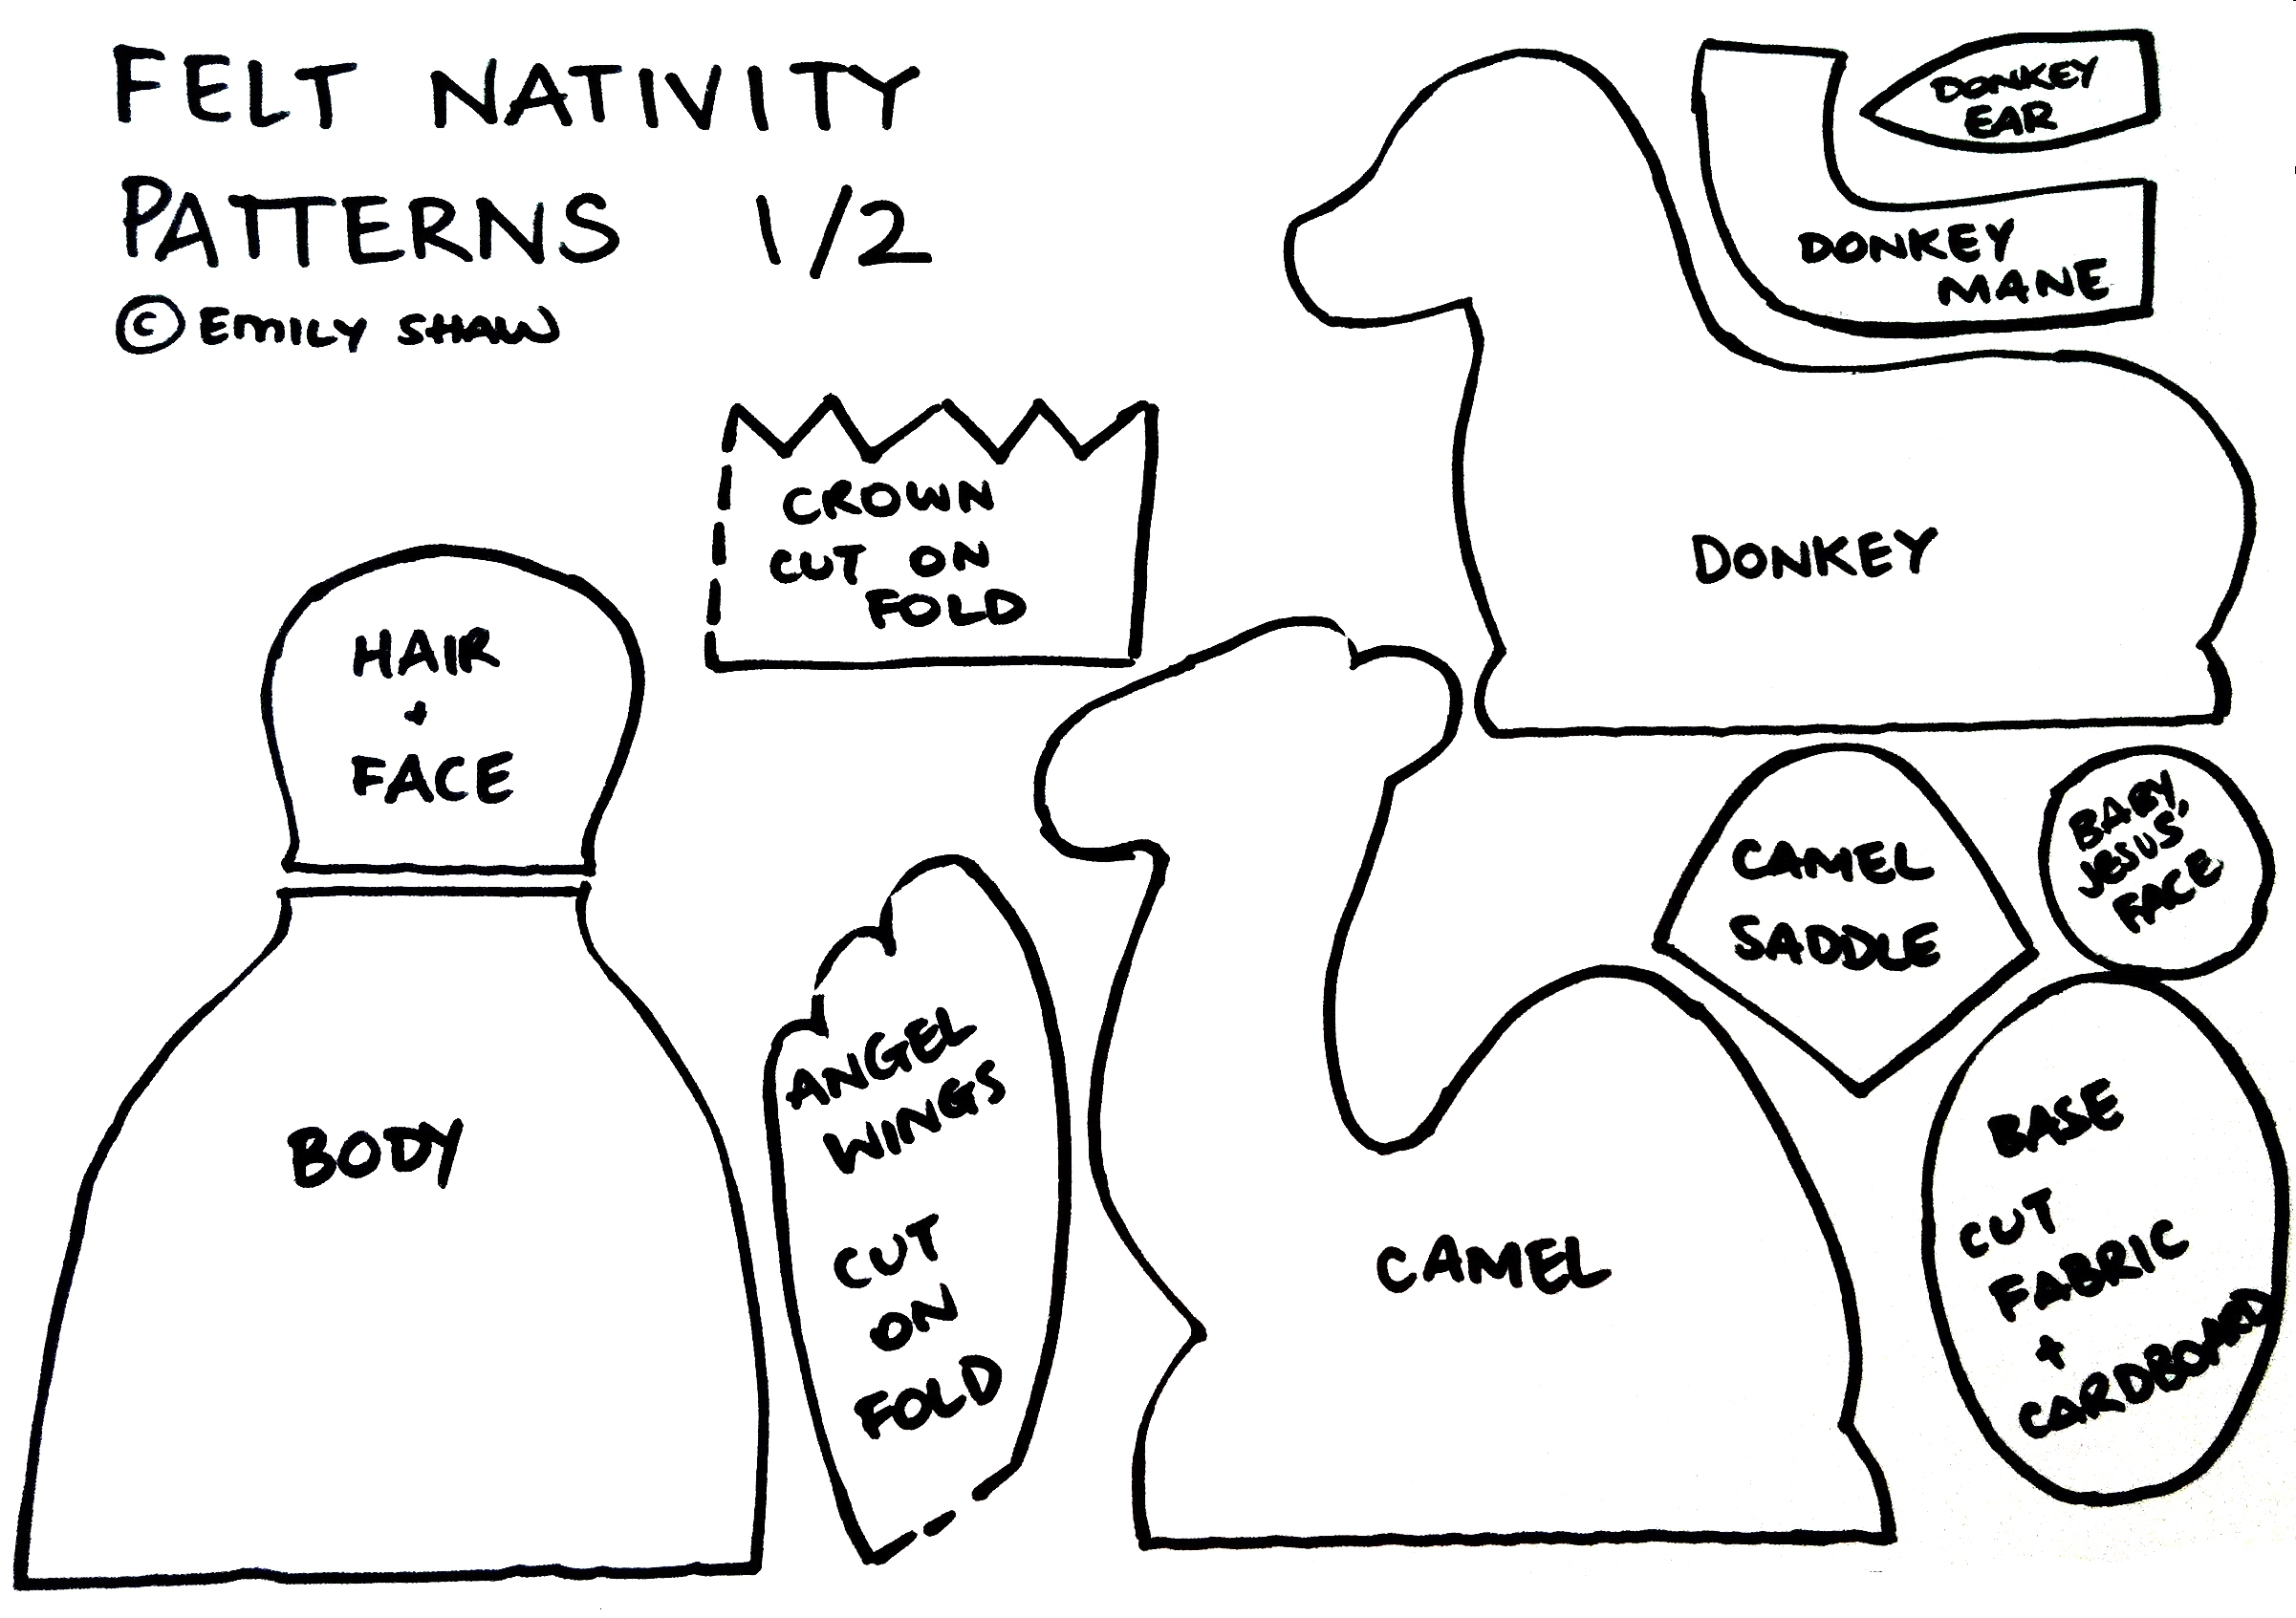
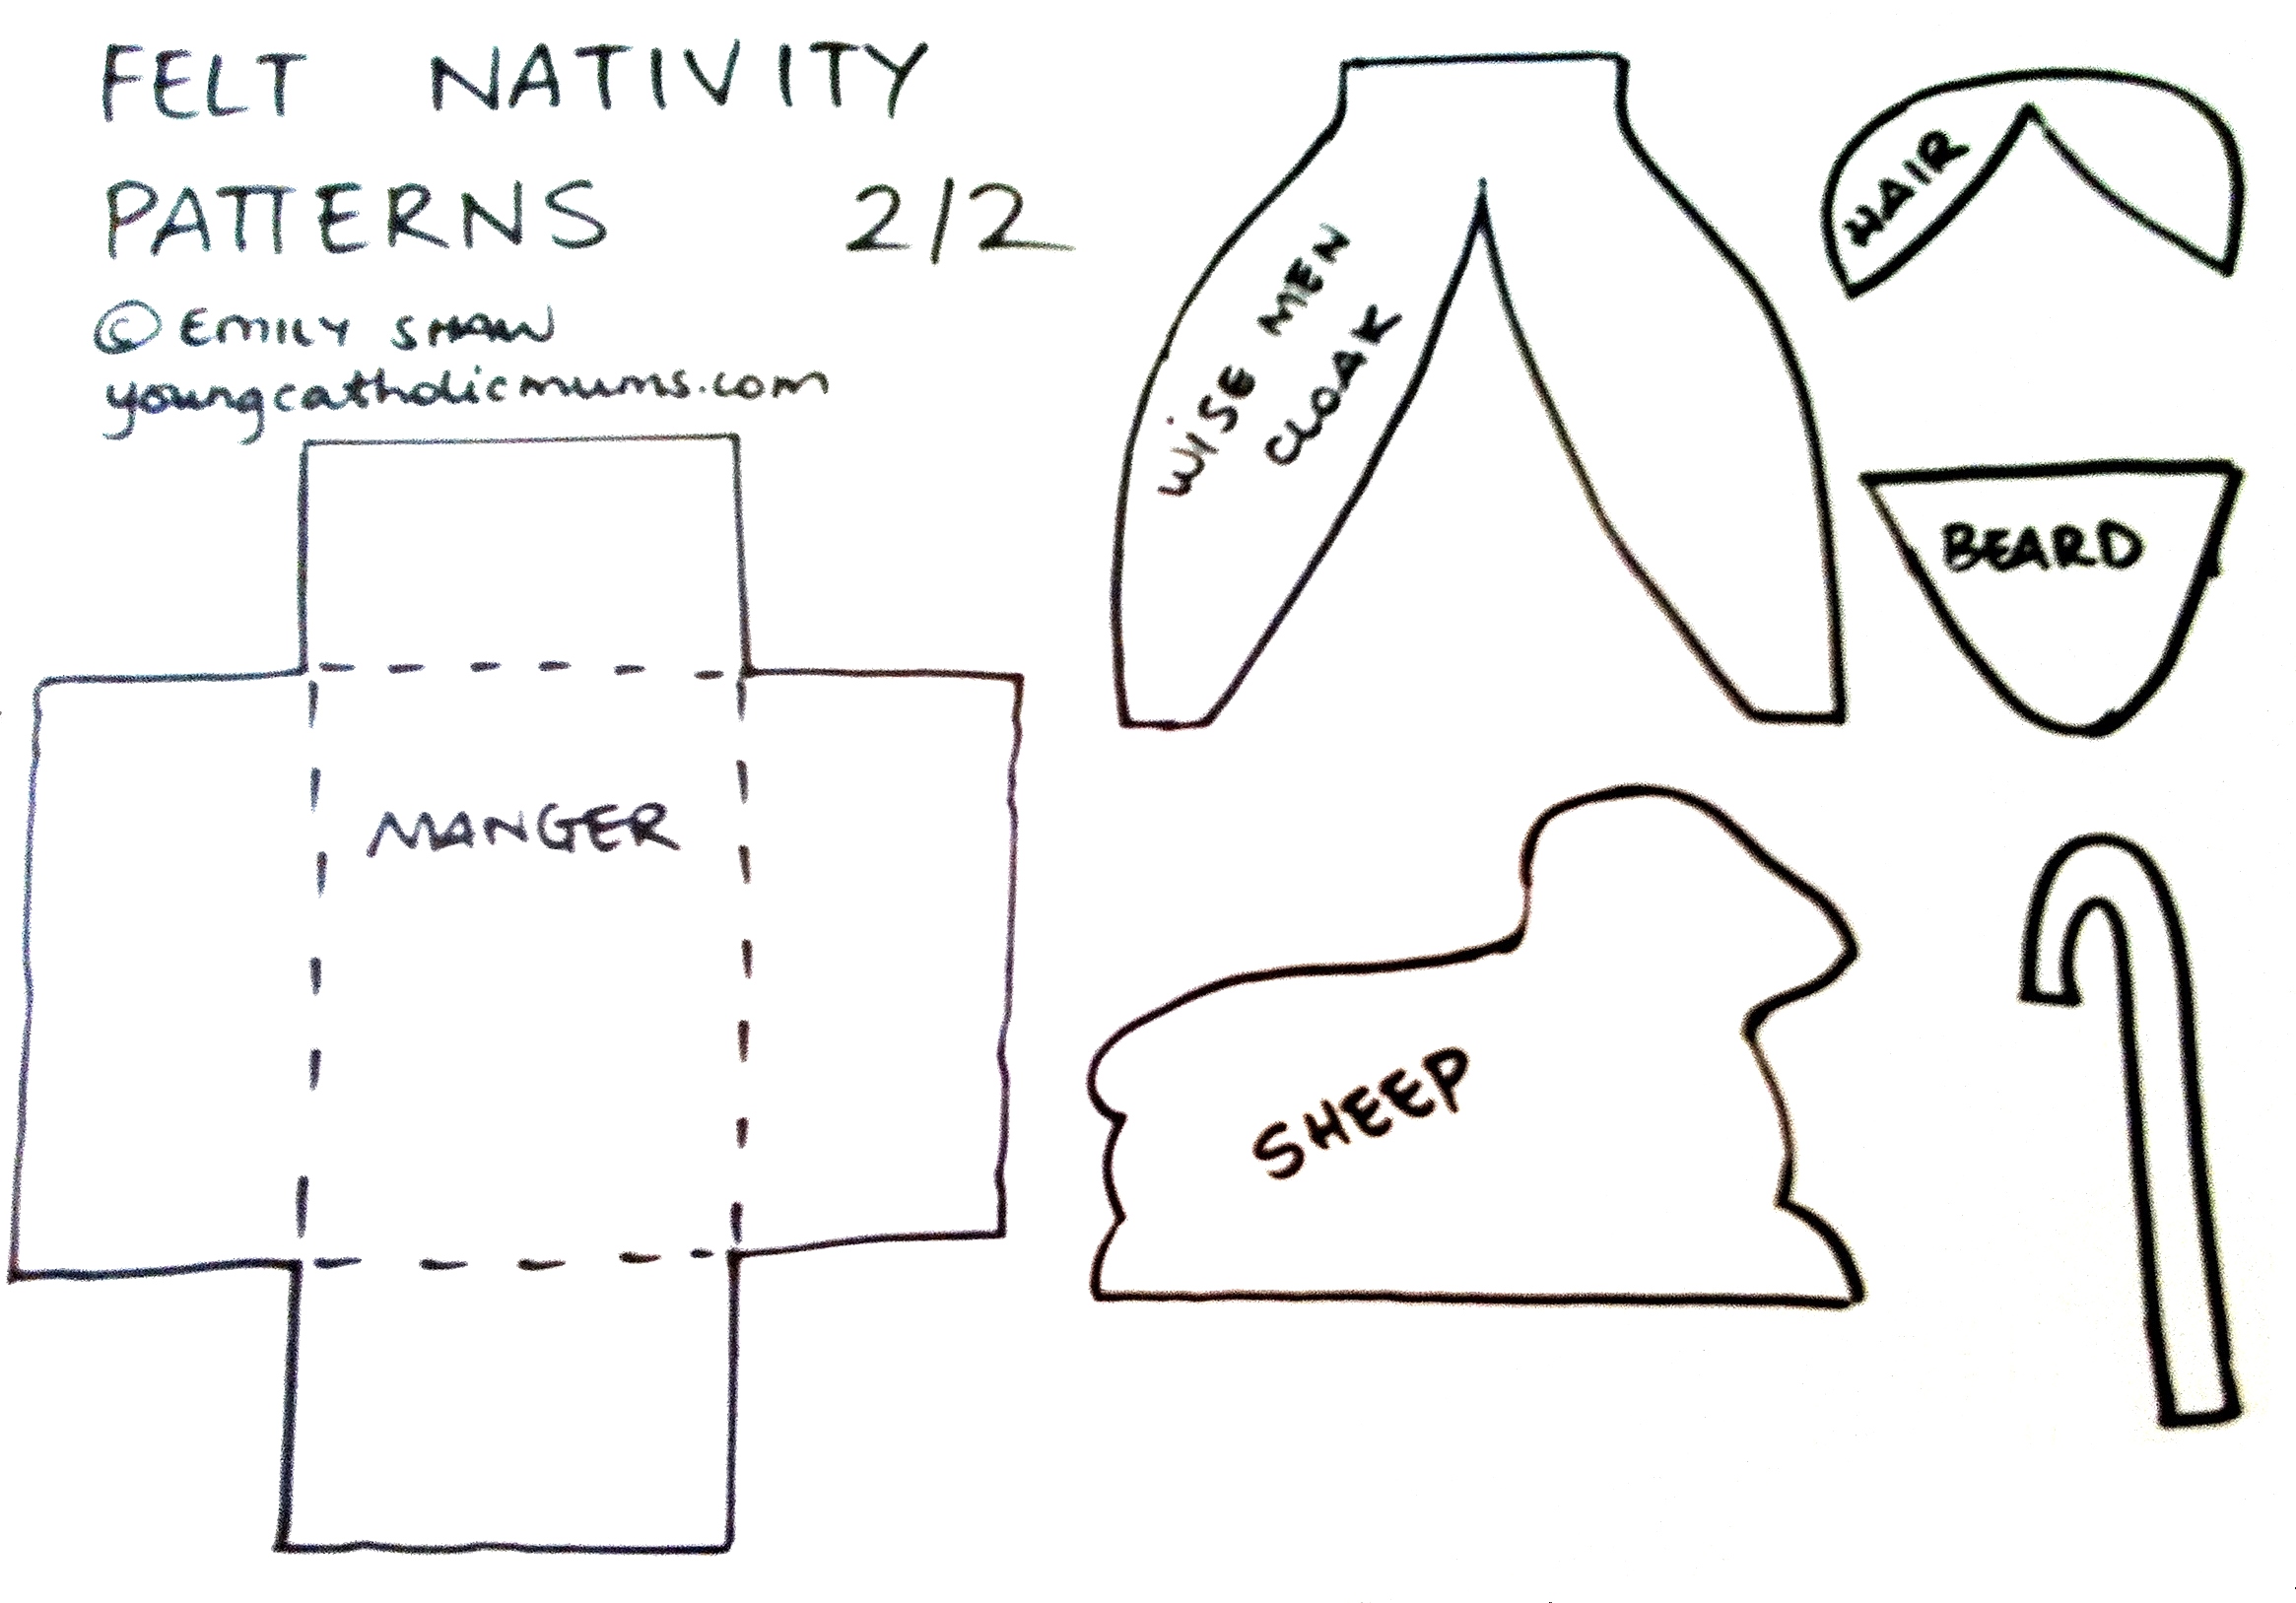
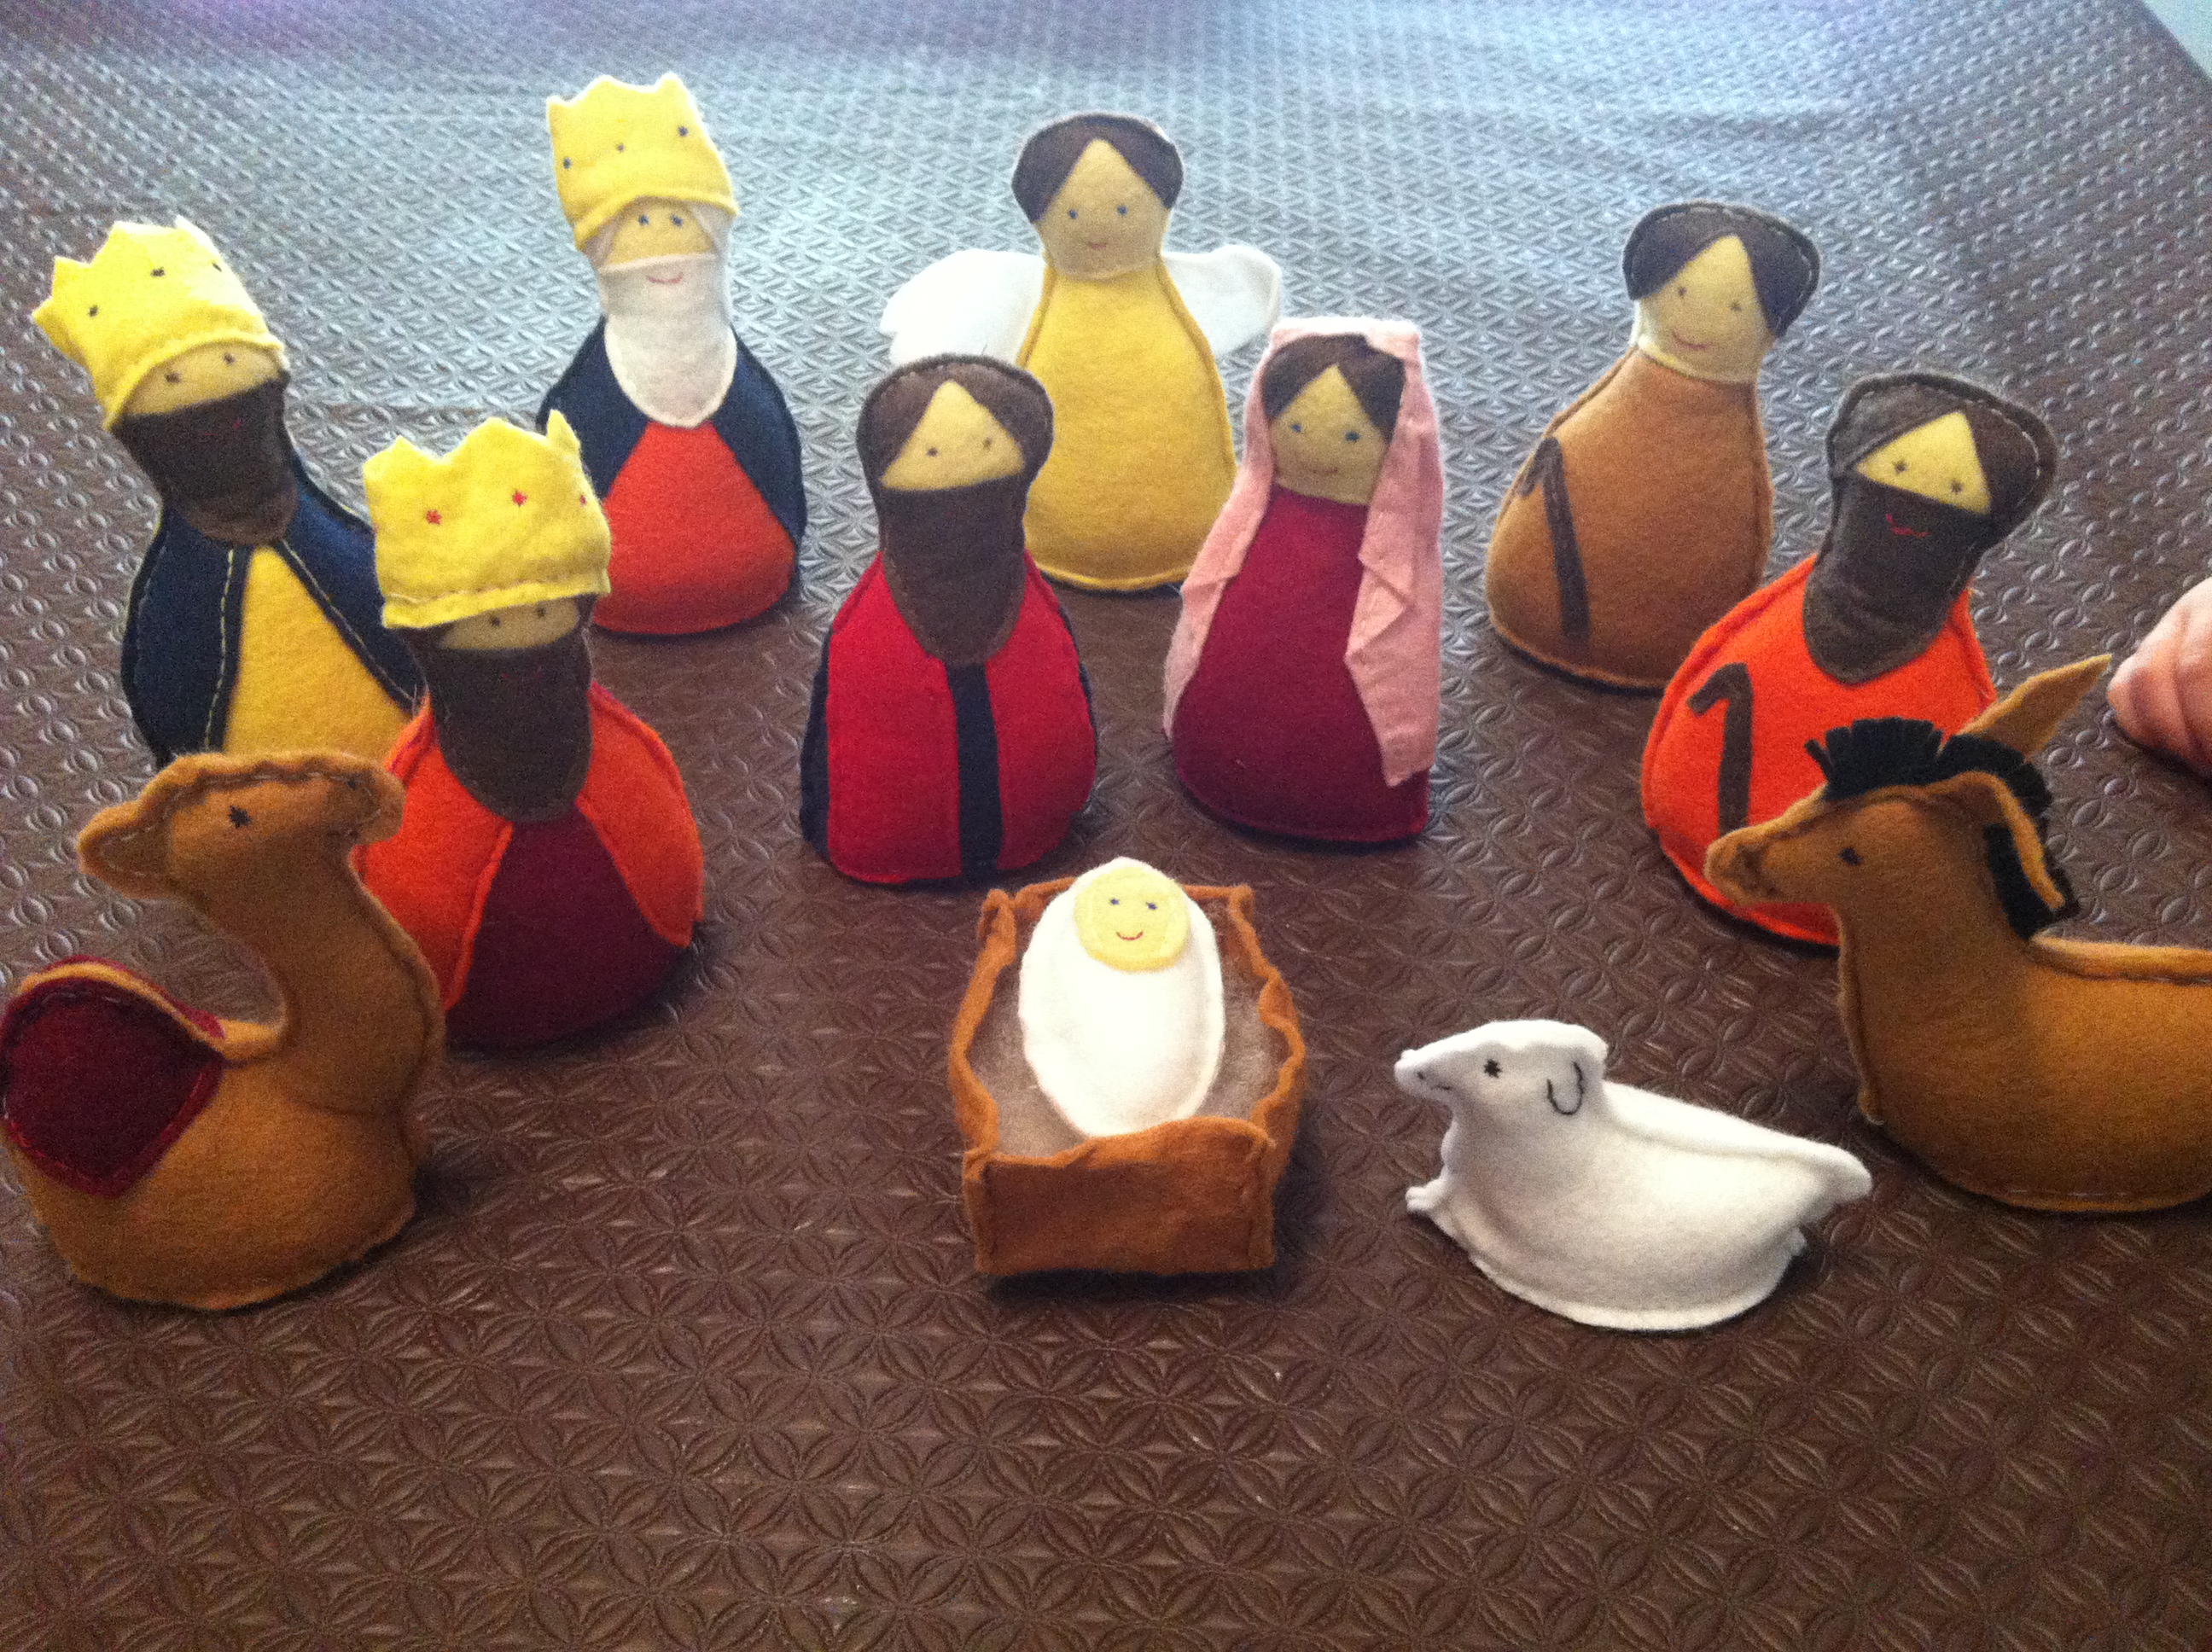
For Mary, Joseph, Angel, Shepherds and Wise Men: Cut two body pieces the same colour as well as a face piece and a hair piece the same shape (For the Wise Men we cut the body pieces in two different colours and matched their cloak to the back piece. Sew on cloak details here before going any further). To begin with pin and sew a face onto a body piece, then add any extra hair details including beard and sew on eyes and a mouth.
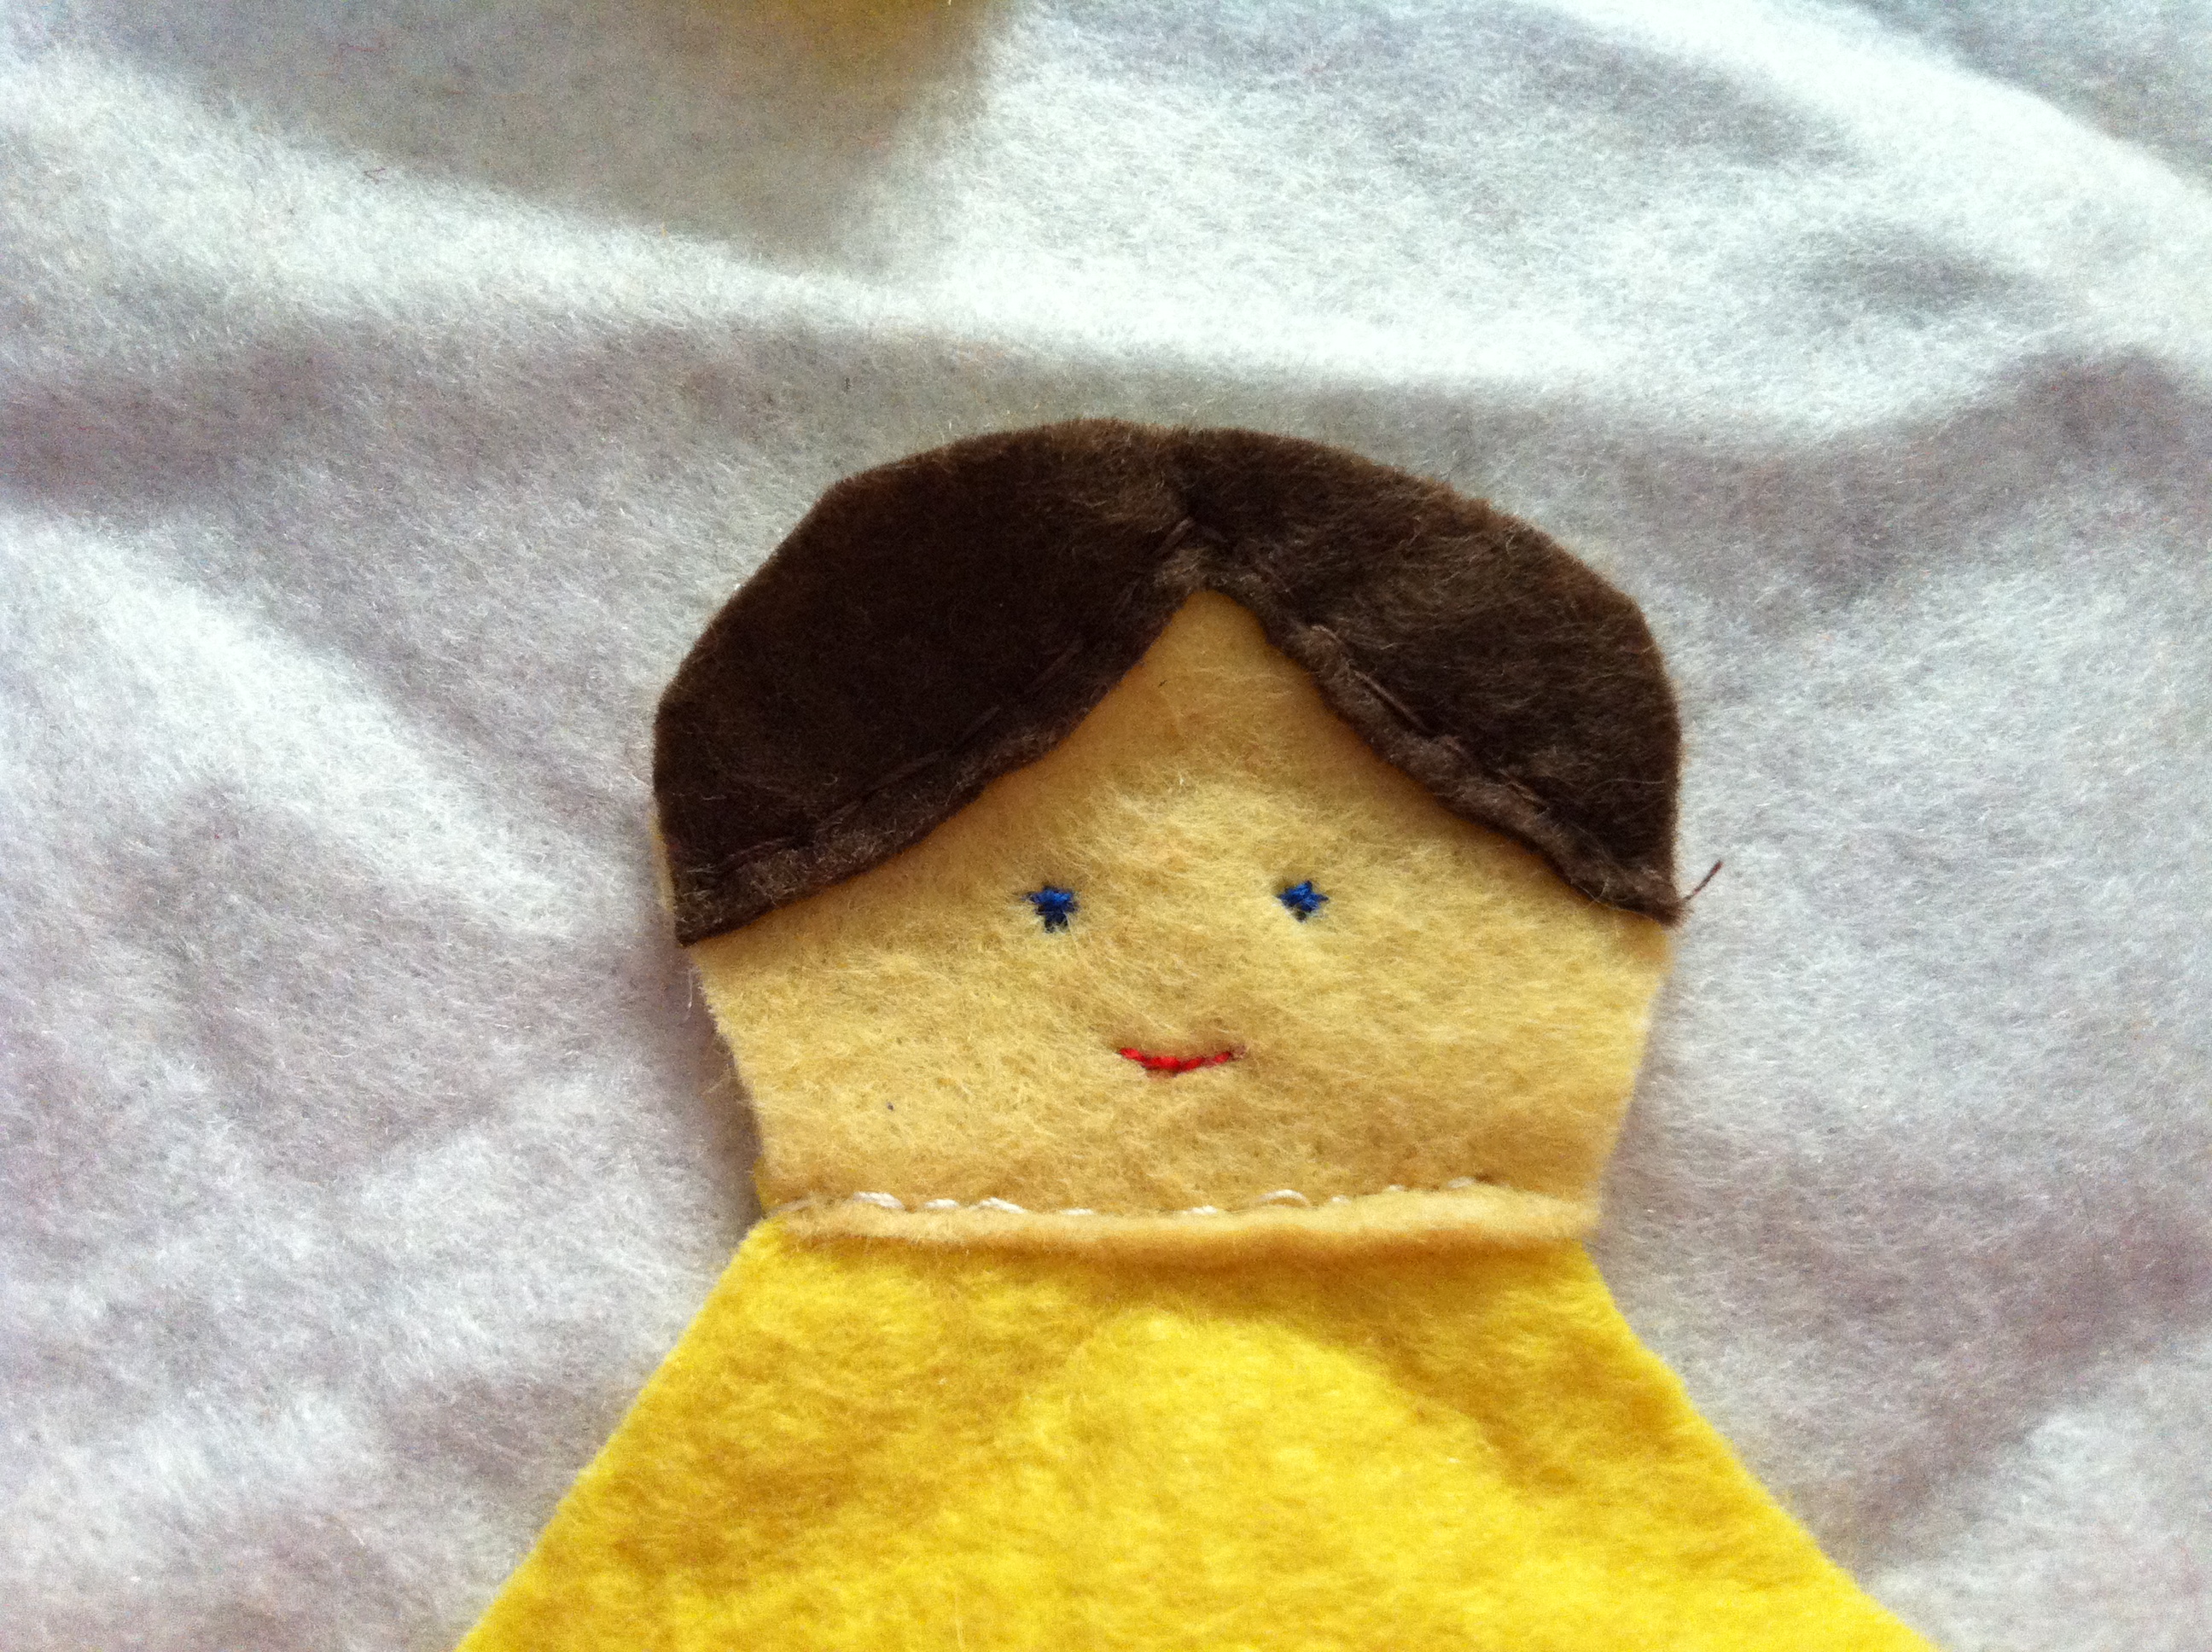
(Now is the time to sew on the Angel’s wings, Shepherd’s crook and any other details you would like to add to their clothing.) Pin and sew the hair piece to the second body piece. Pin both sides together, right sides facing out.
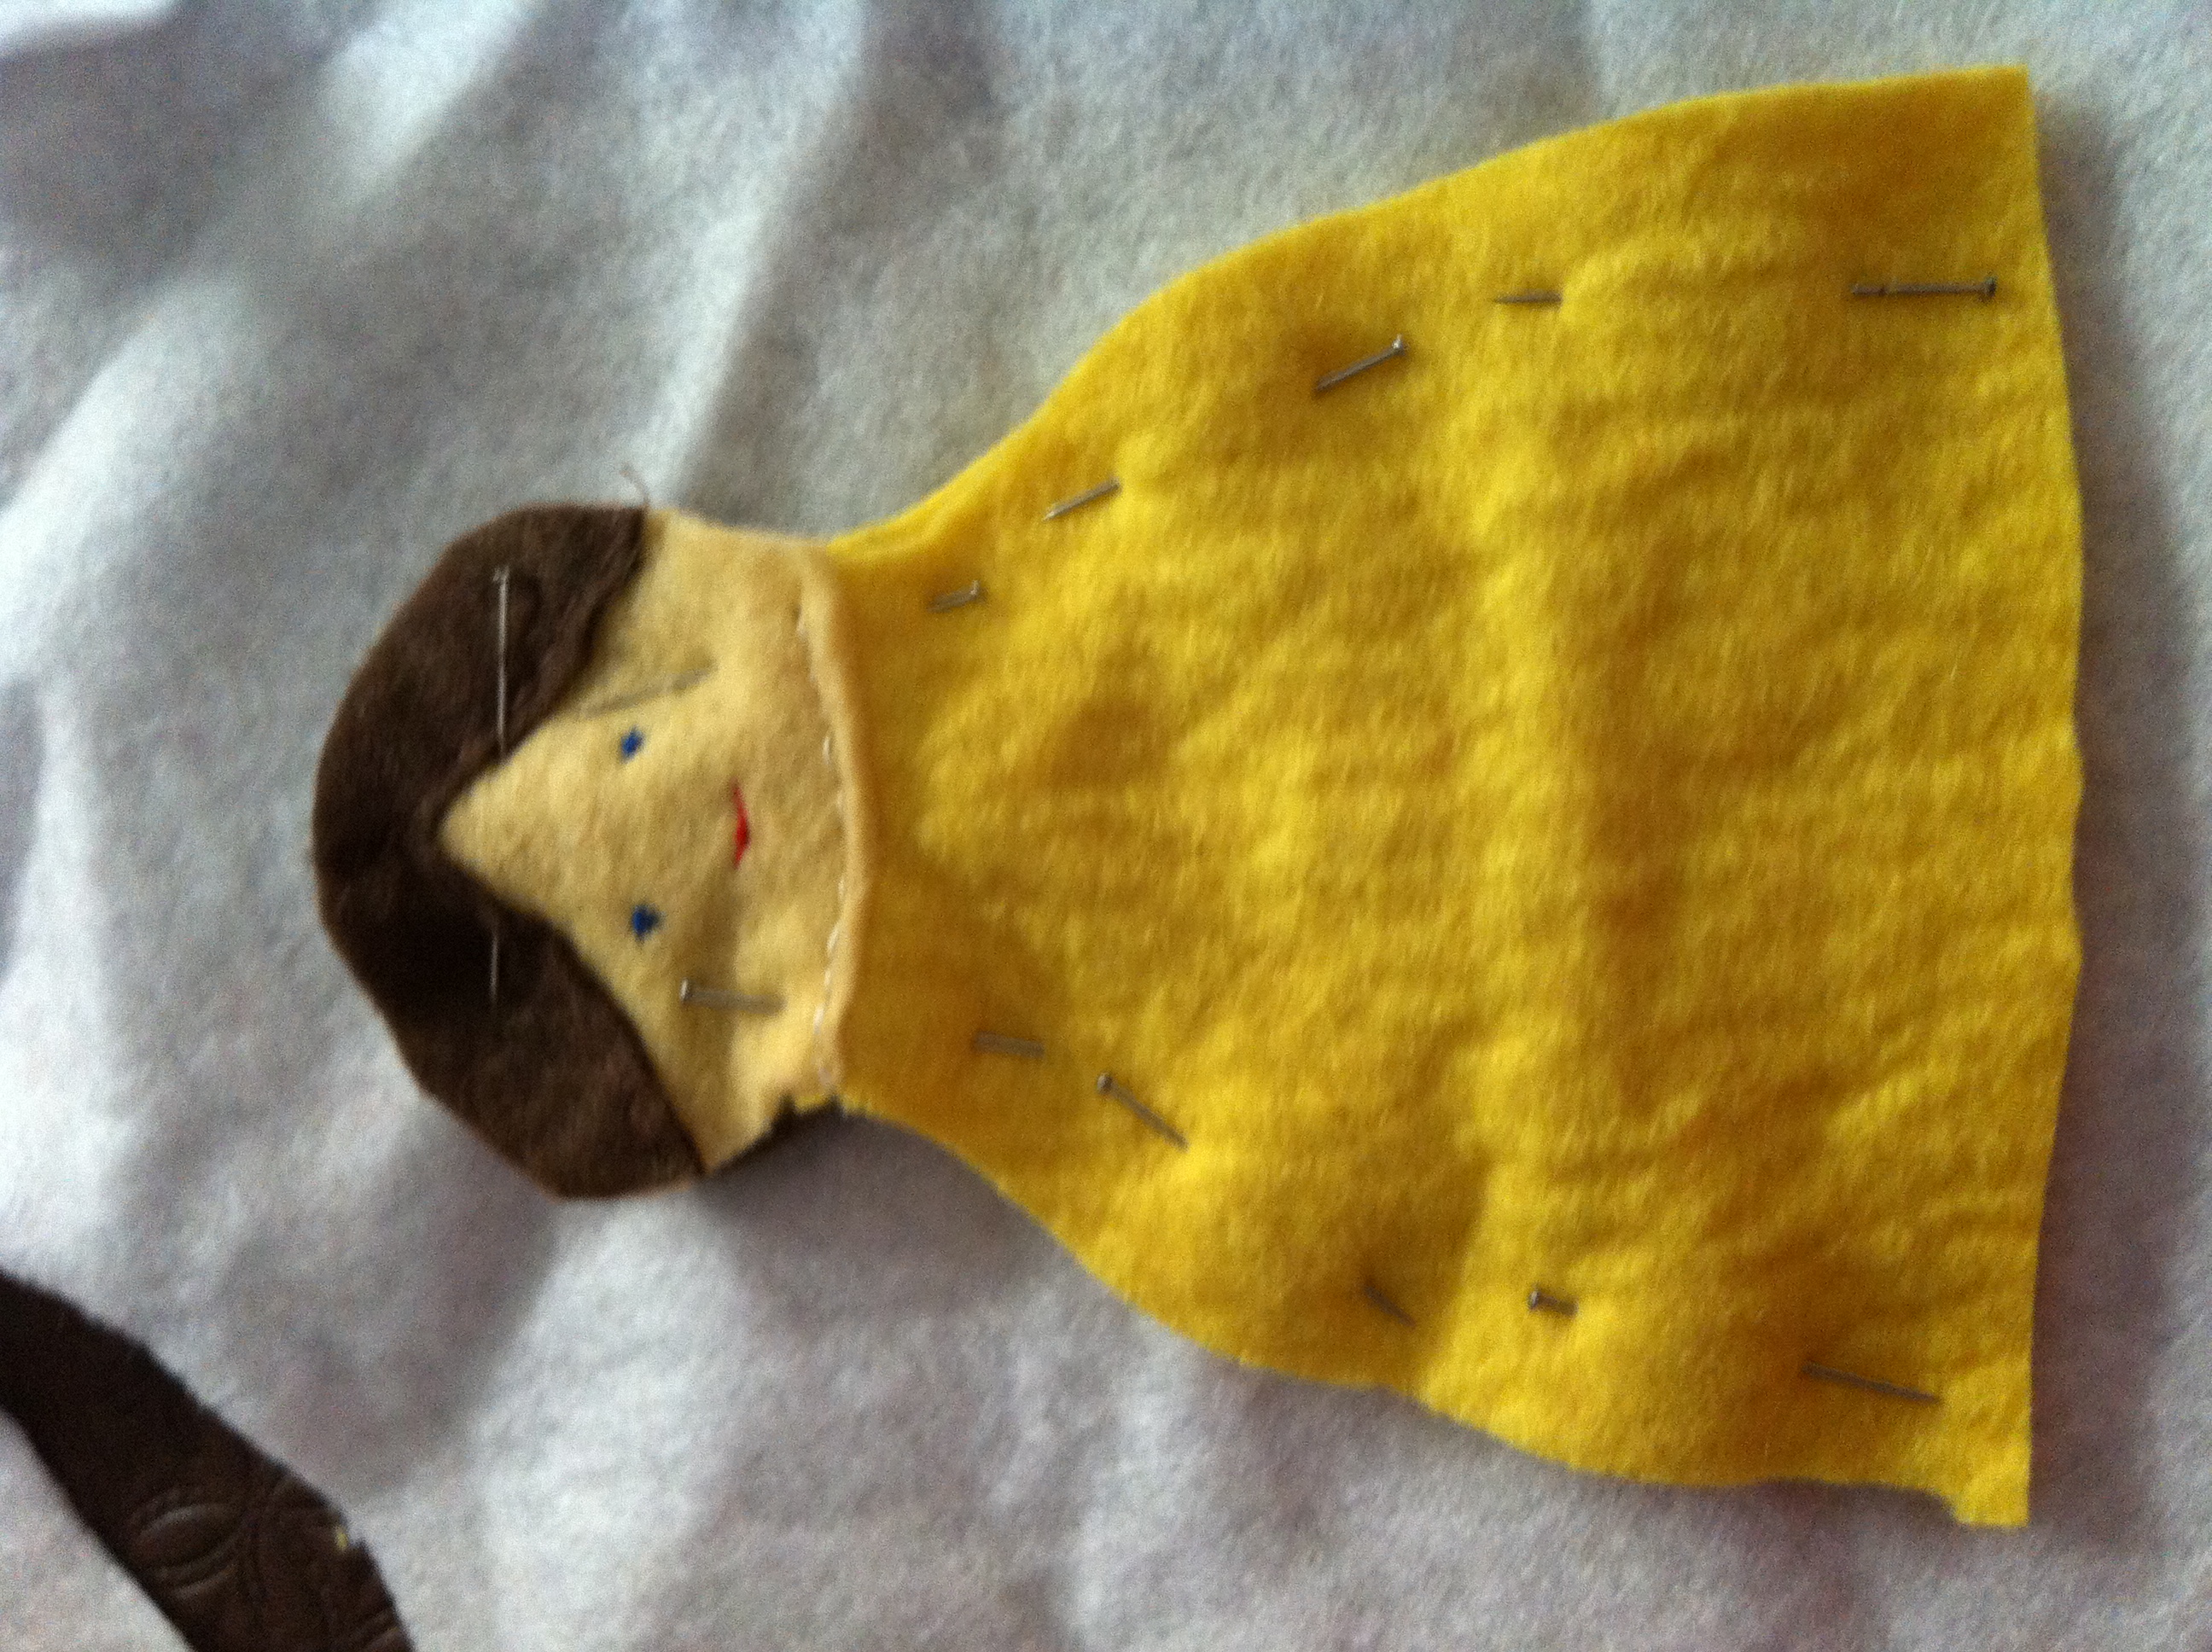
Sew around edges excepting the bottom seam. Pin a base piece, in the same colour as your body pieces and sew around bottom seam leaving room for an opening.
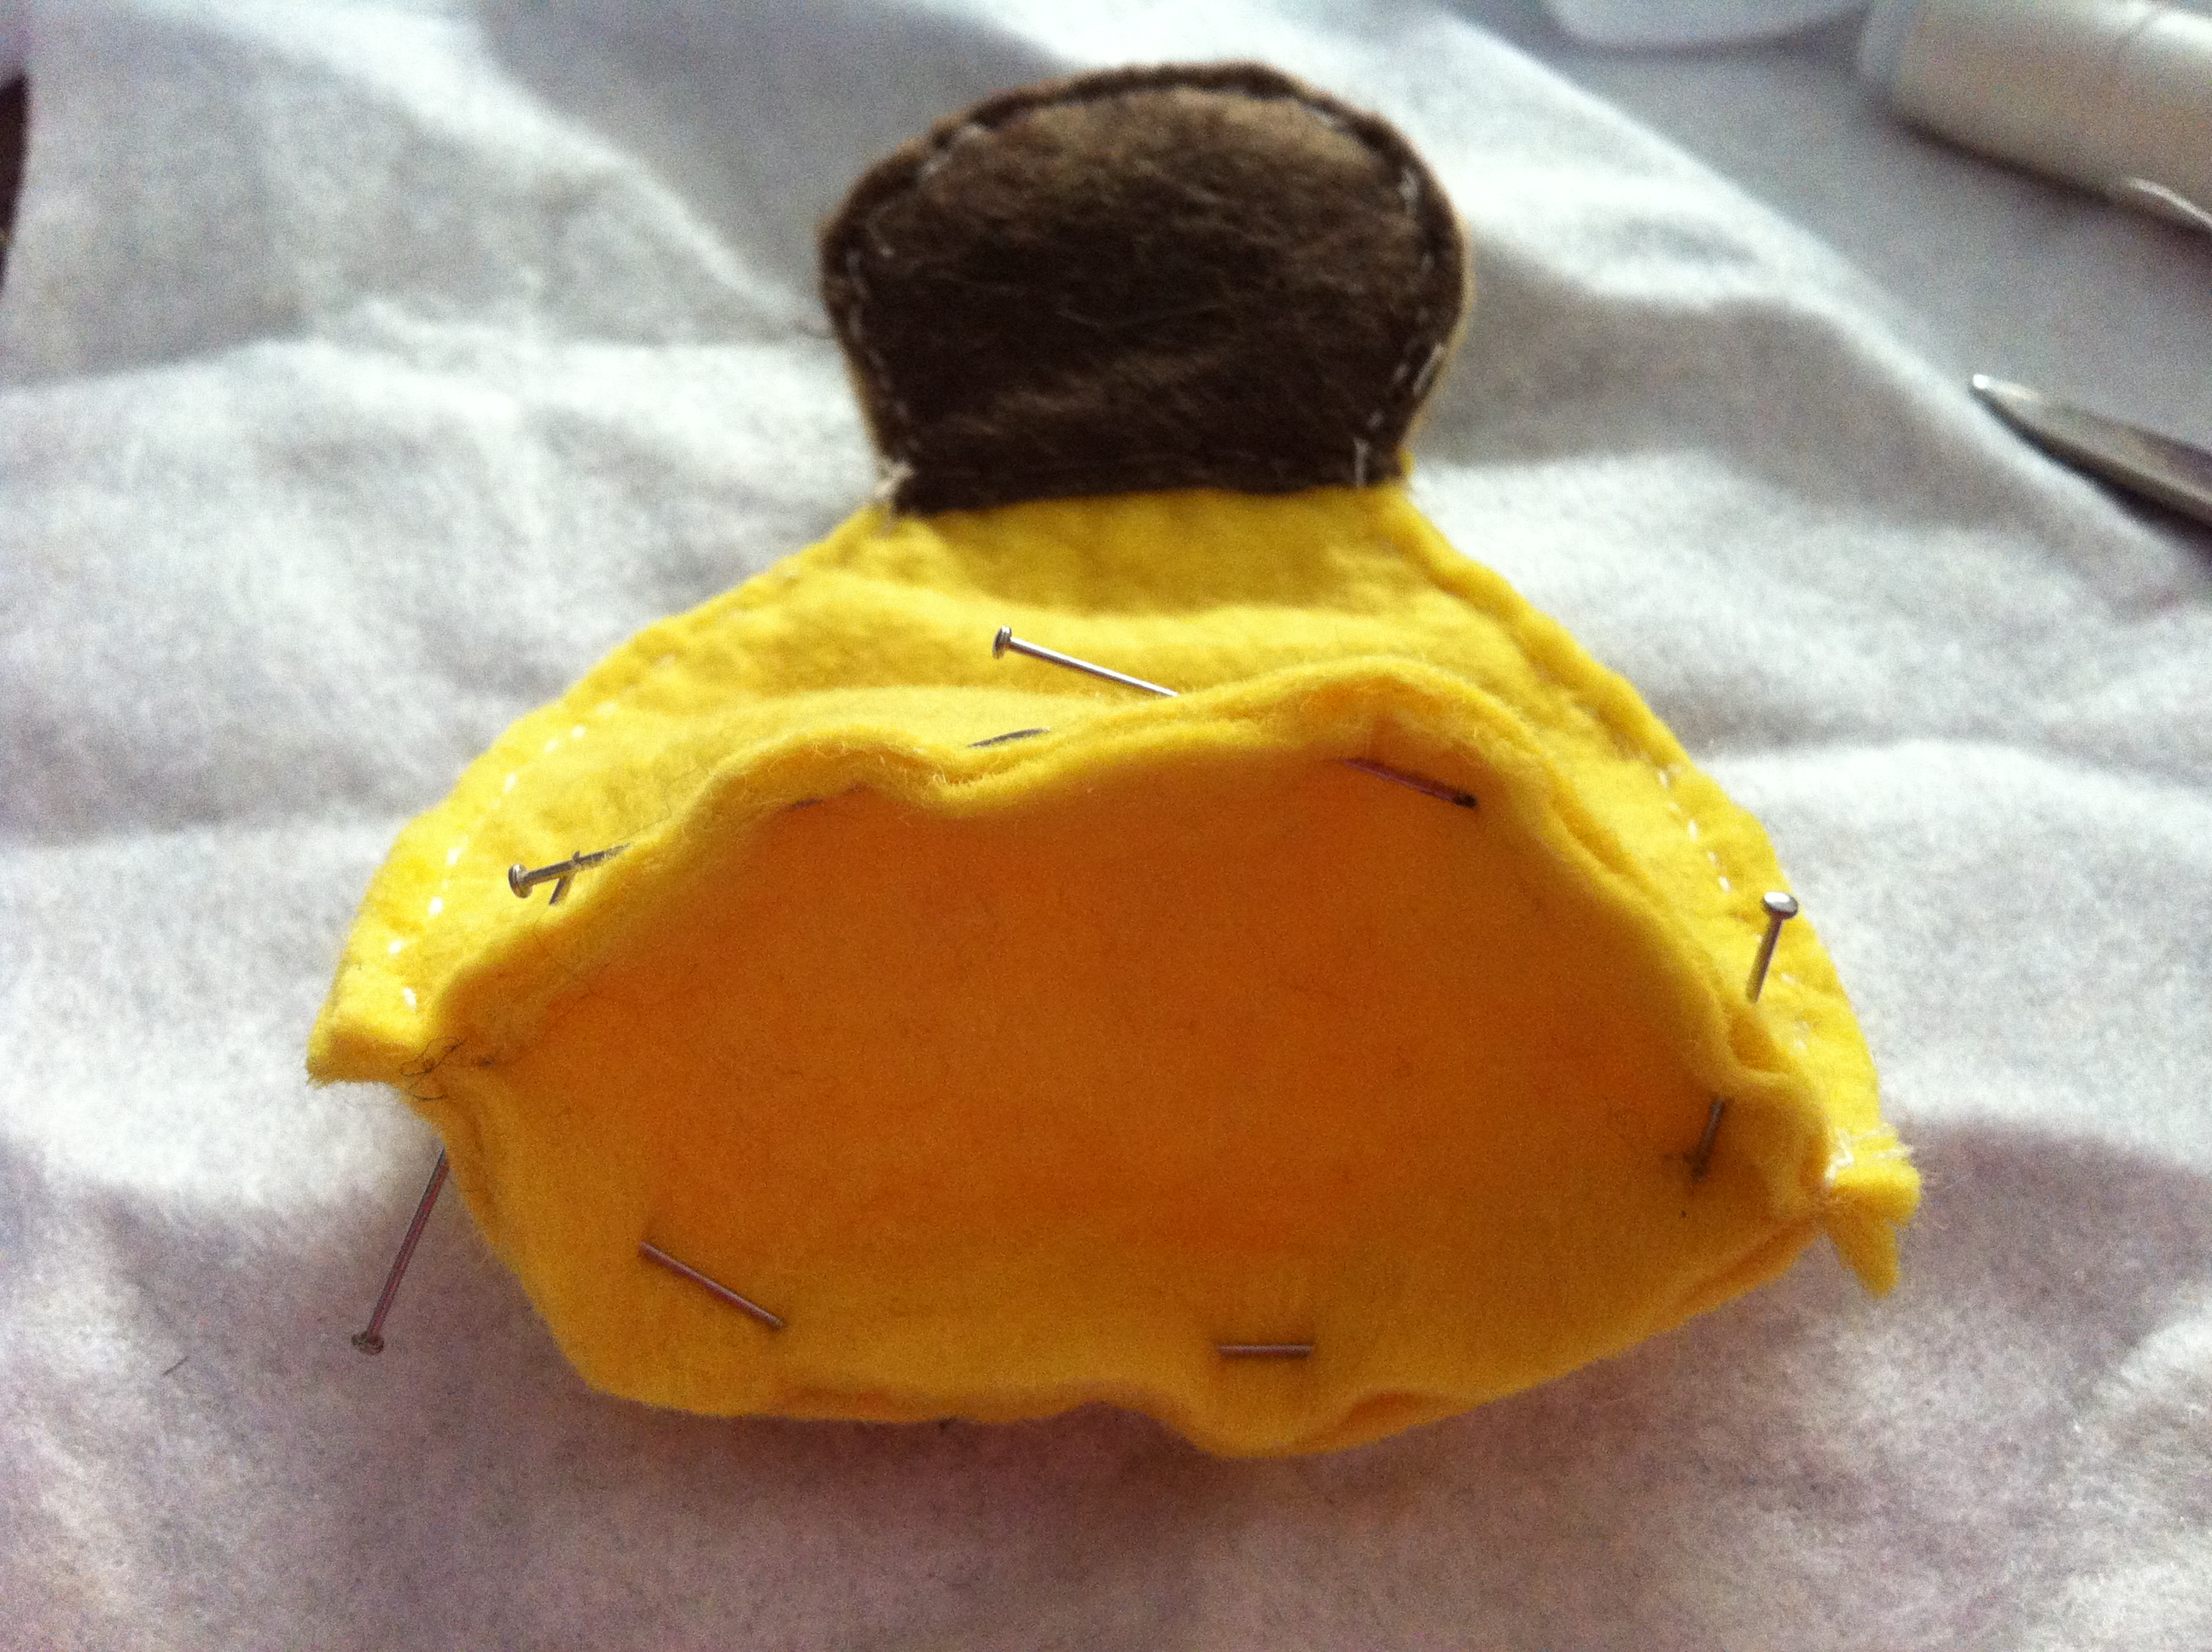
Stuff with hobby fill. When firm enough, insert cardboard base and close seam. Add extra details here like Mary’s shawl, which is a rectangular piece of felt about 4cm by 16cm, and the Wise Men’s crowns.
Baby Jesus: Cut two base pieces in white felt and one face piece. Sew face onto one base and add facial features.
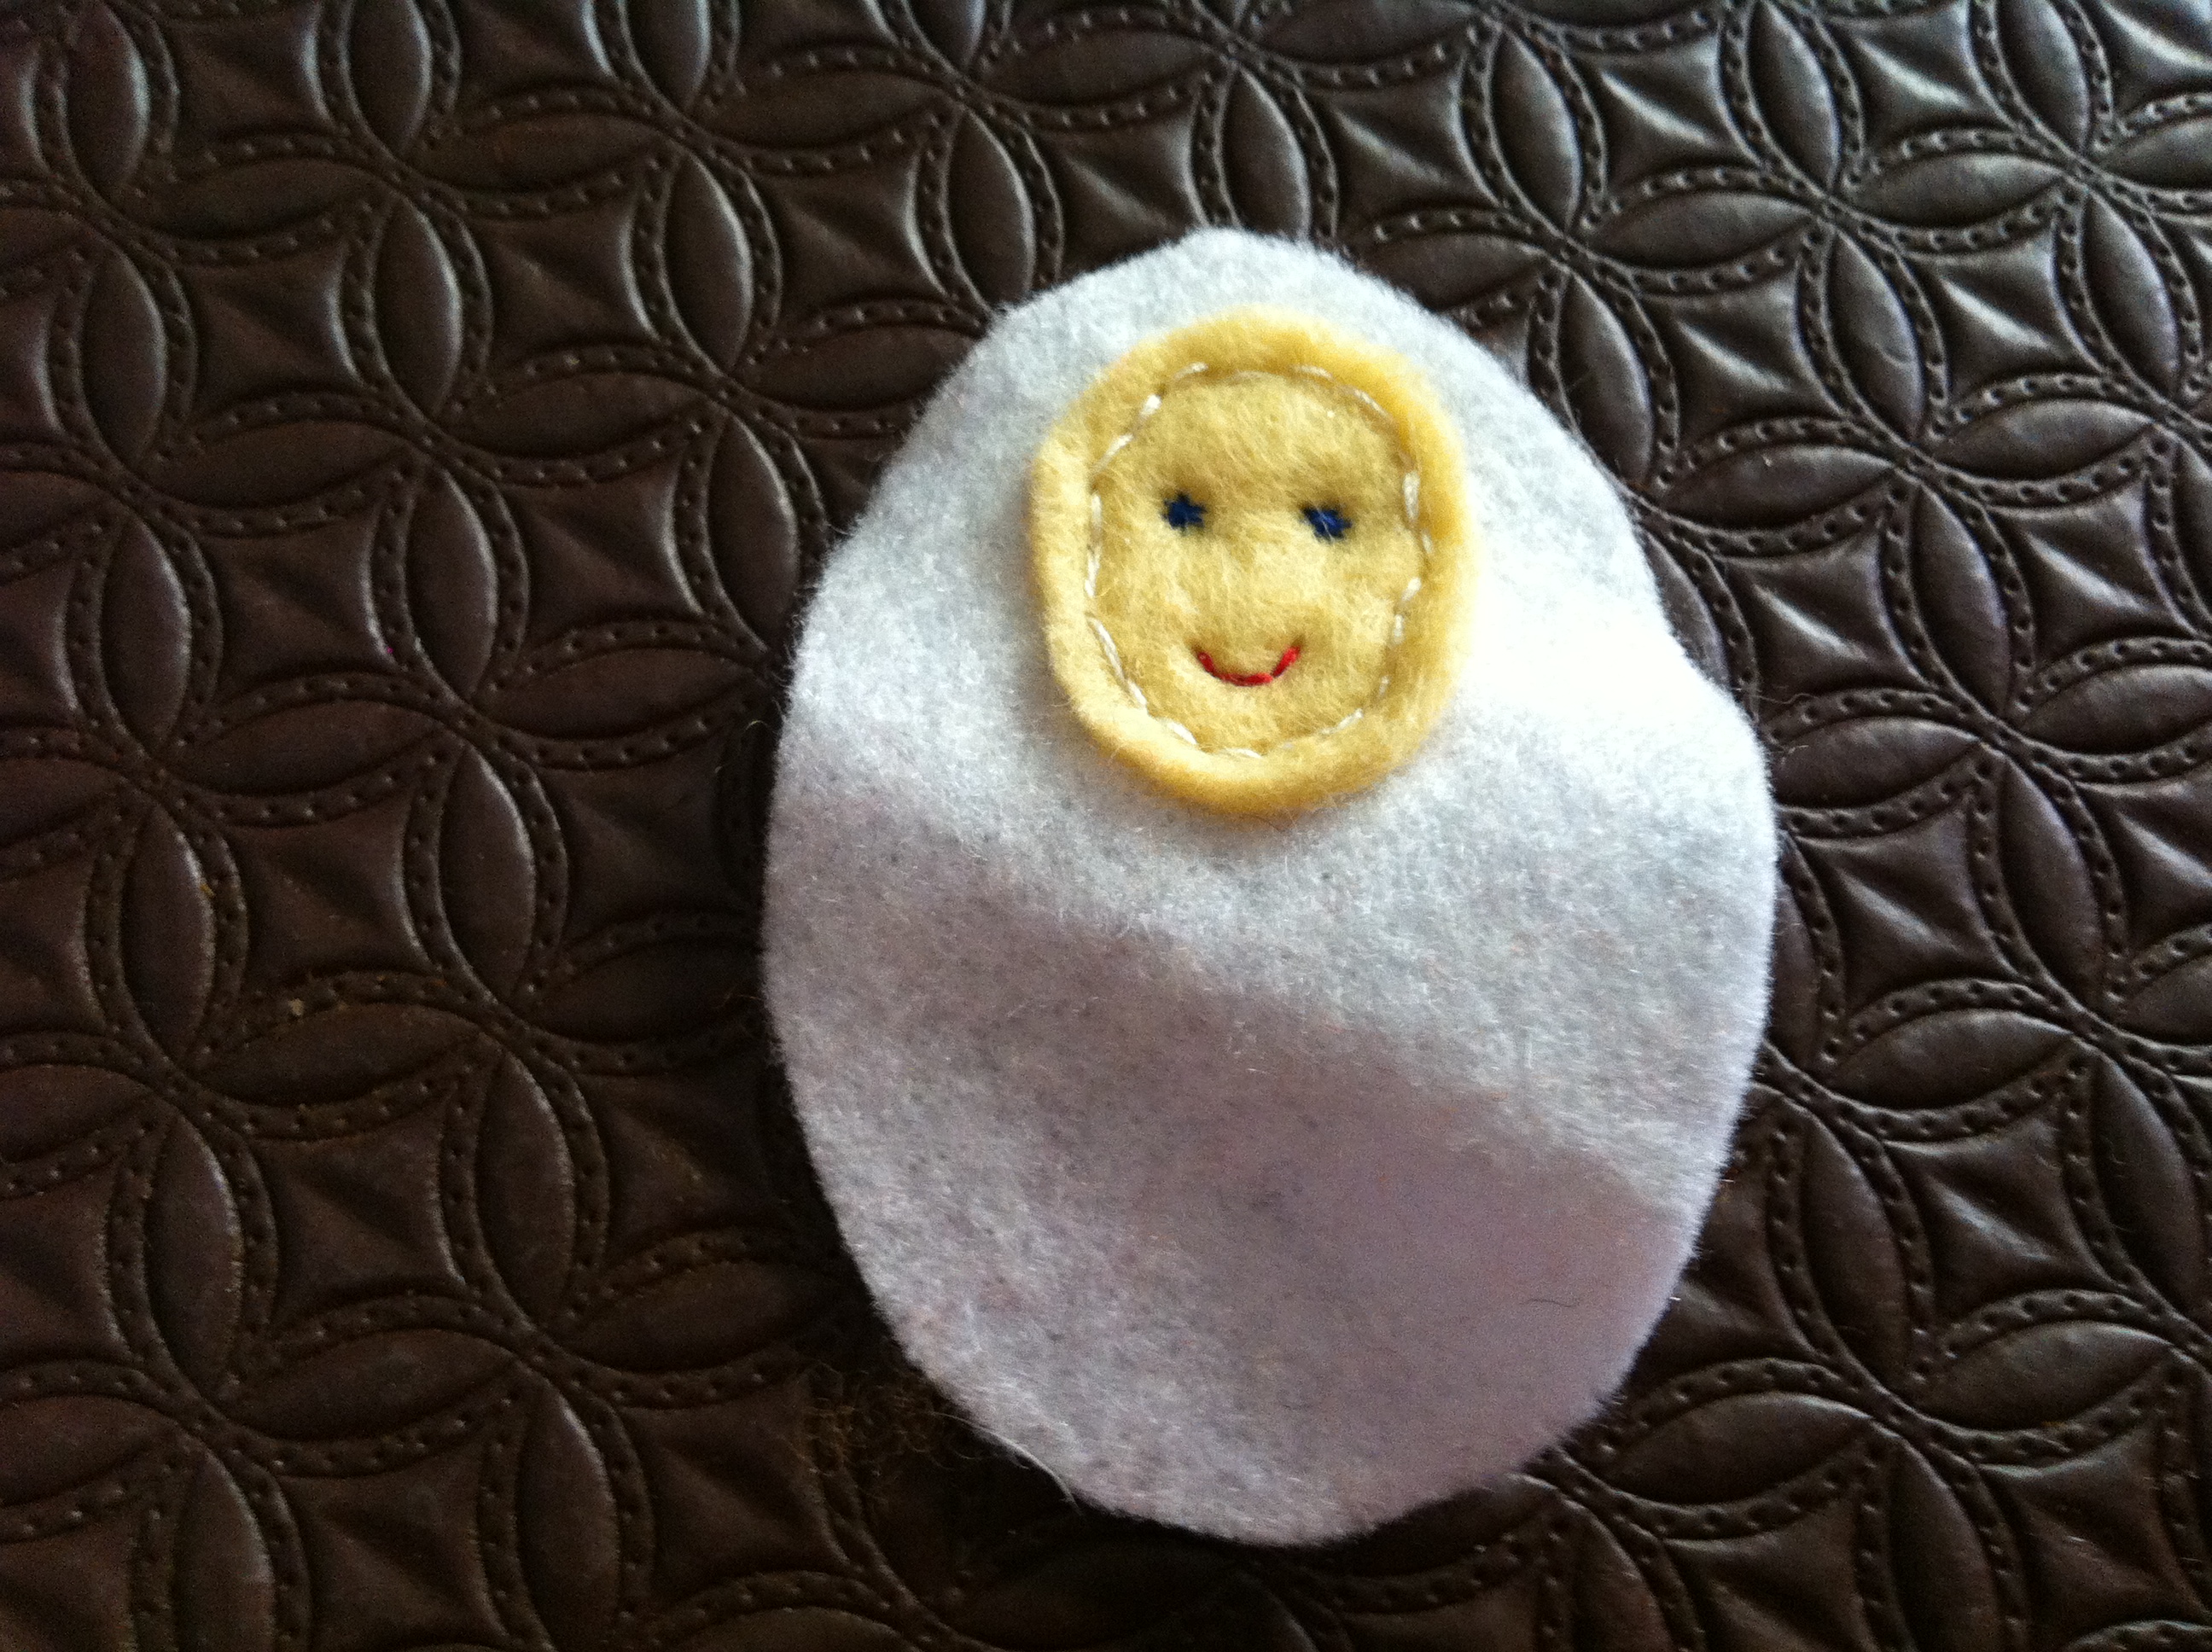
Pin the base pieces together and sew around outer seam leaving an opening. Stuff with hobby fill and close seam.
Animals: Cut two body pieces, one base and any extra detail pieces for each animal.
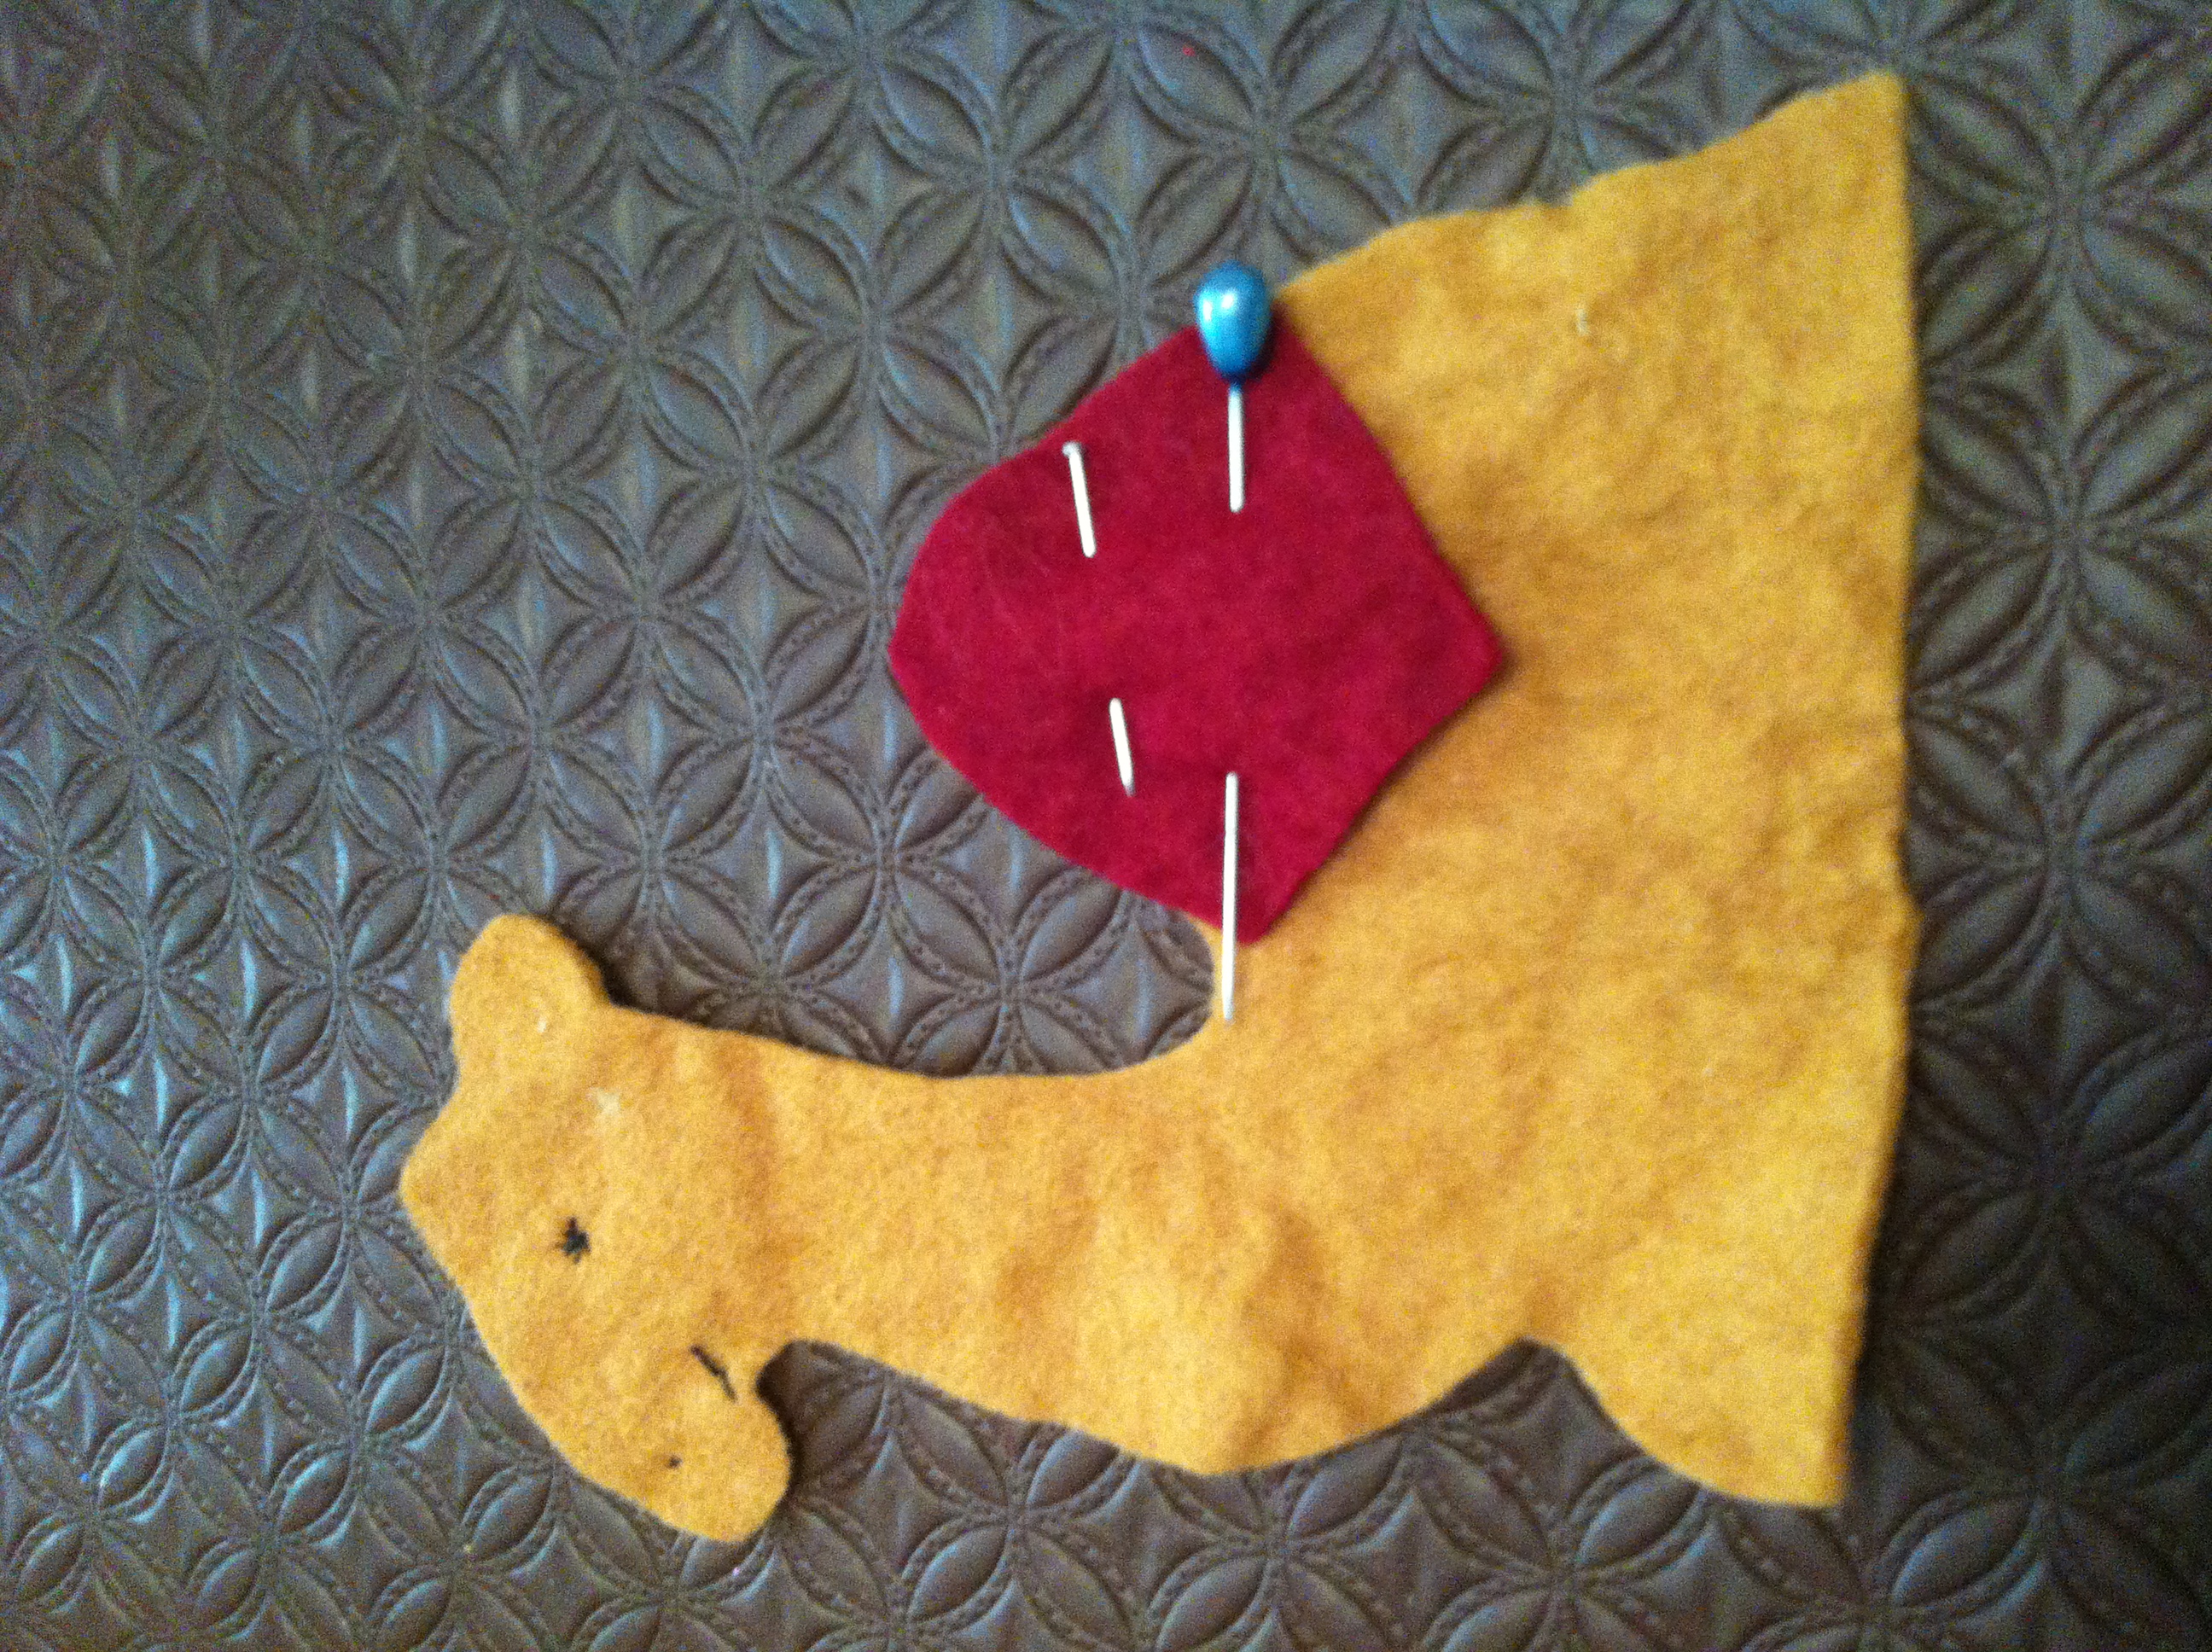
Add all facial details, the camel’s saddle before pinning body pieces together with right sides facing out. For the donkey you will need to pin the ears and the mane in between the body pieces so as to sew them when sewing the seams. Sew the seams excepting the bottom seam. As with the people, sew on a base piece for each animal, sew seam allowing for an opening. Stuff with hobby fill and close seam. For donkey, cut mane into a fringe for better effect.
Manger: sew edges together as below.

If my children are any sort of guide, your toddlers will love playing with their own nativity set!
Originally posted 2013-12-09 05:17:08.